
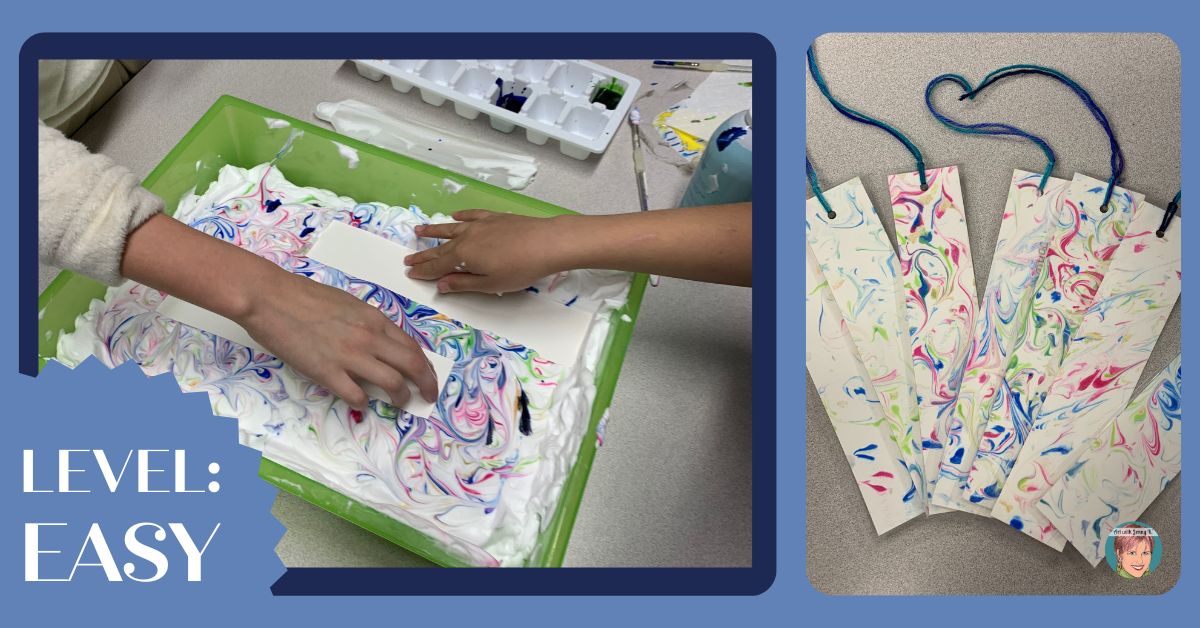
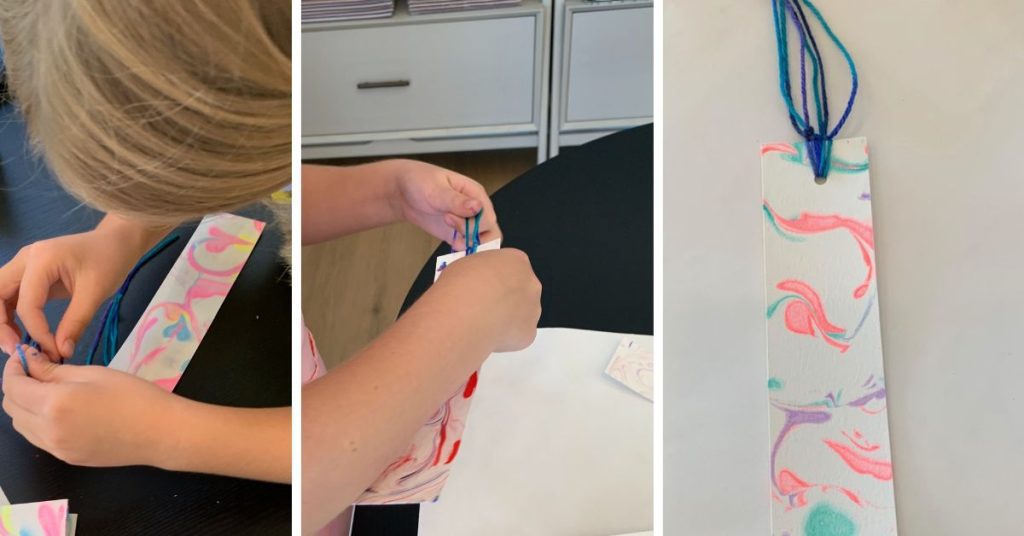
Level: Easy
Supplies: In addition to the supplies you need to make the marbleized paper, you will also need yarn for the tassels.
How-To: I categorized this marbleized paper project as easy because it is simple. Before students create their paper, you can pre-cut the watercolor paper into a bookmark-sized rectangle. This is an excellent option if you have a large group because you can get more kids sharing one bin of shaving cream, and you don’t need as many supplies. Once students print the shaving cream design onto their paper, they can punch a hole in the top and tie yarn in the hole to create a tassel.

Level: Easy
Supplies: Besides the supplies you need to make the marbleized paper, you will also need Watercolor Paper Postcards (or you can cut watercolor paper to a postcard size 4″ x 6″).
How-To: I categorized this marbleized paper project as easy because it is a very simple way to do something with your final marbleized paper. You can cut paper beforehand into a postcard size, or you can use watercolor paper postcards like my students and I did. I like the Strathmore brand of paper, and I like that the address lines and spacing are already on the back. These days, kids don’t do a lot with “snail mail,” so I like to support that learning when I can. One summer, I had my students make marbleized paper postcards (pictured above). Then, I had them use these postcards to send “thank you” notes to their families to thank them for enrolling them in my summer art camp. We even took a “field trip” to the mailbox, and each kid put their own thank you postcard in the mail (after stamping them).
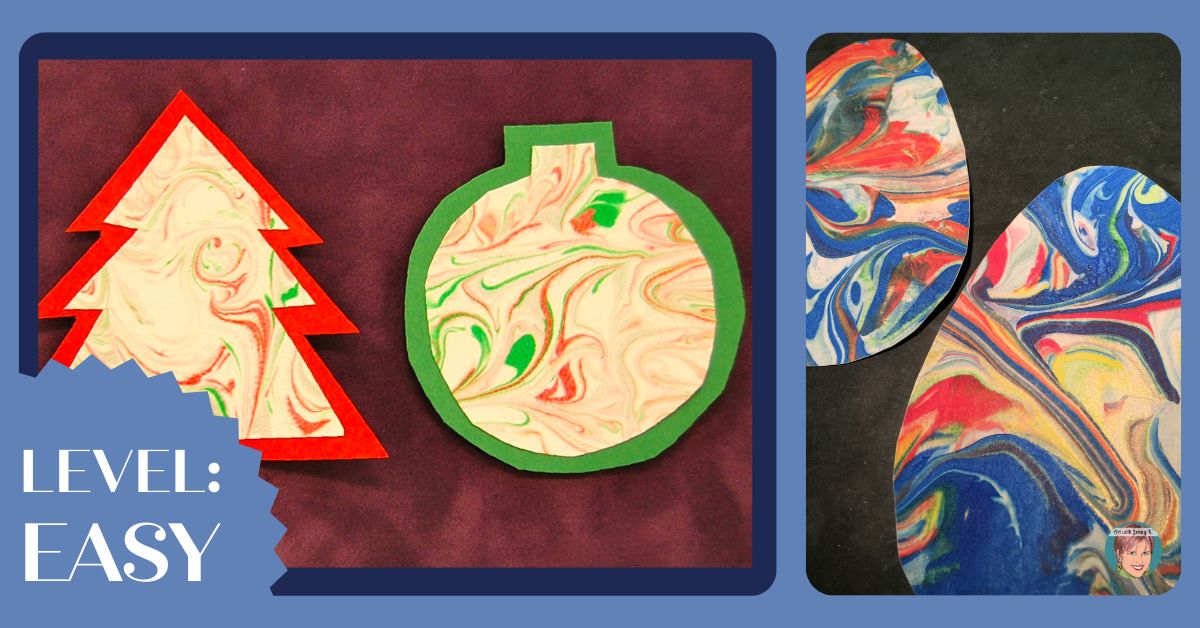
Level: Easy
Supplies: In addition to the supplies you need to make the marbleized paper, you will also need a variety of colorful construction paper.
How-To: It’s easy to make holiday-themed shapes using marbleized paper. In order to do this, you might want to think about the colors of paint you give your students to create the marbleized design. For example, if you wanted to make Christmas ornaments, you could give your students red, green, and gold watercolor paints to use on their paper. You can also provide students with colorful construction paper to add to the back of their marbleized paper to help make their holiday-themed shapes more festive. I’ve done this for many holidays. You can find the templates I use for my Christmas ornaments in my TPT store (for free) by clicking HERE.
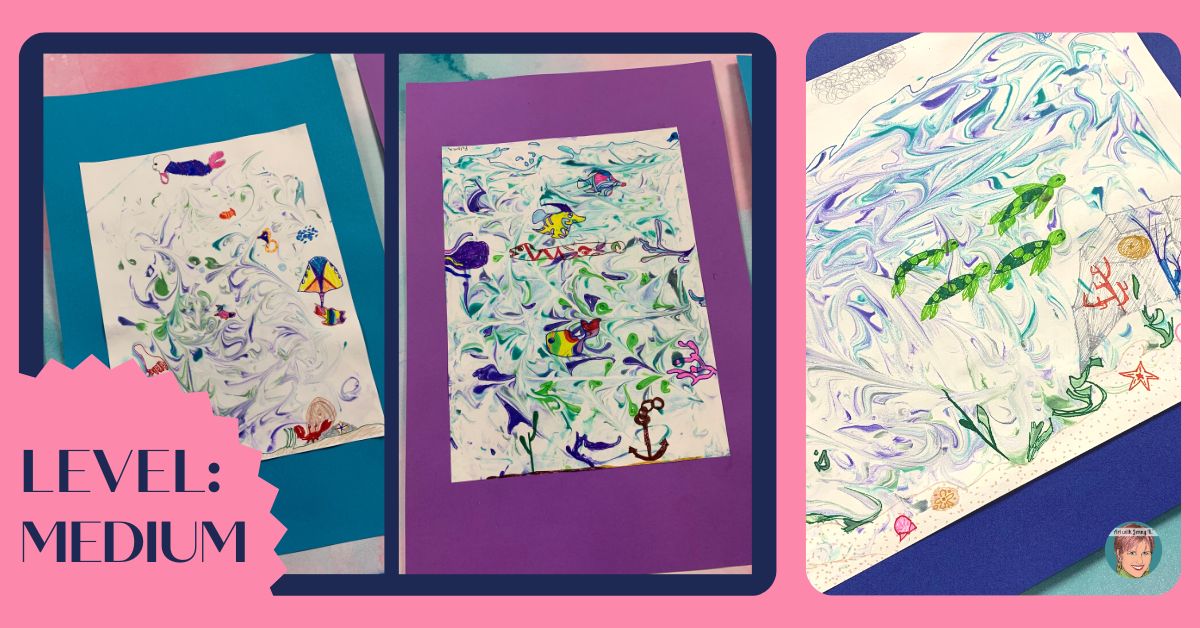
Level: Medium
Supplies: In addition to the supplies you need to make the marbleized paper, you will also need permanent markers and/or ink pens.
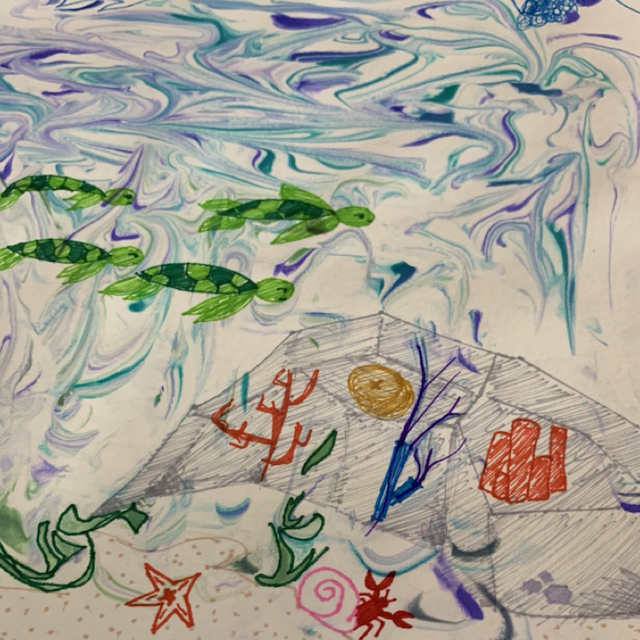
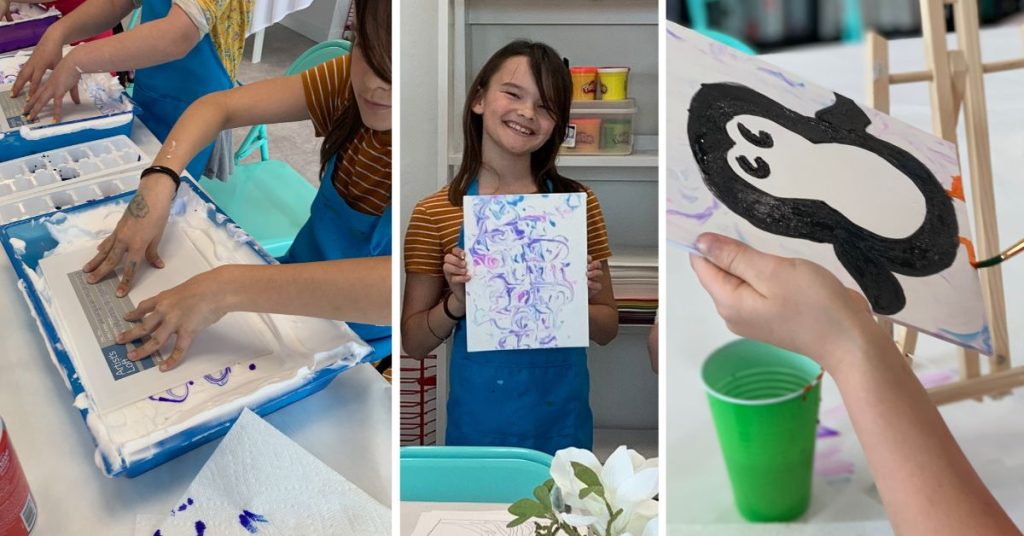
How-To: This is one of the first projects that I have chosen to label a medium difficulty level. This is primarily because children will draw ocean scenes on their marbleized paper and have the option of using permanent markers. This is a little harder, and therefore I recommend it for children in grades 3+. However, that’s not to say you couldn’t modify or give it a try with younger children – you never know what they’ll do!
For this project, I had my students use drawing books with sea animals and their imaginations to create underwater ocean scenes using the swirls of the paper for inspiration. I like to give my students creativity starters, and this is a great one. You can see from the images how much fun they had with this and what beautiful ideas they came up with. Also, I let them use Sharpie markers, and they always love that.
Level: Medium
Supplies: In addition to the supplies you need to make the marbleized paper, you will also need a variety of colorful construction paper (and optional glitter!).
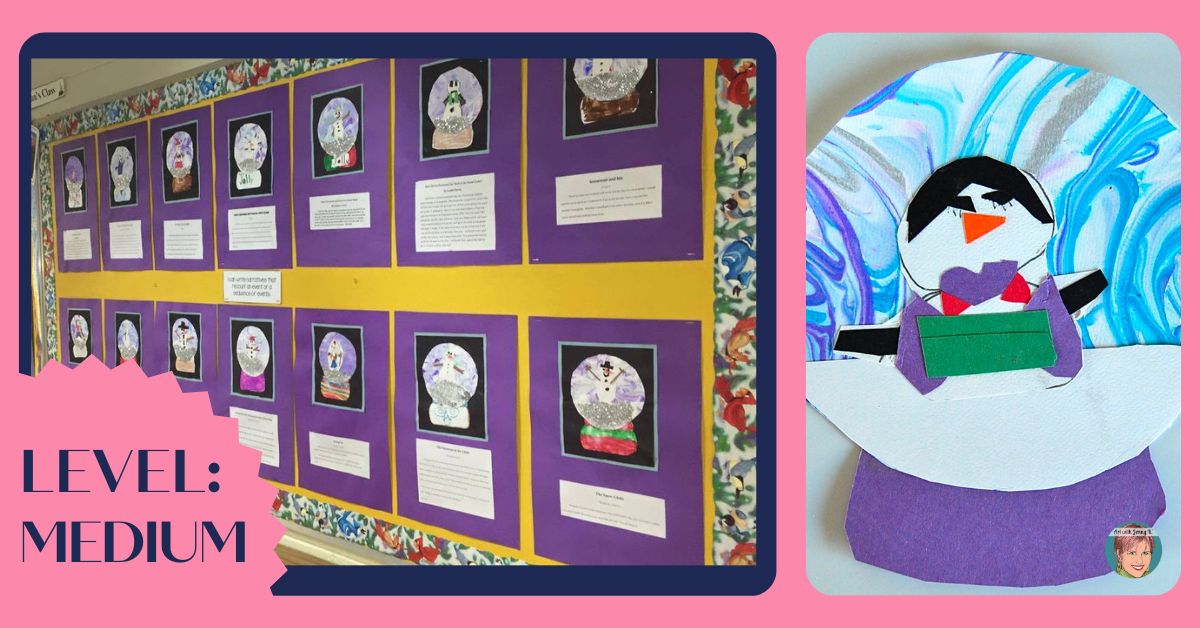
How-To: This is such a fun project to create using marbleized paper. The complete steps and the snowglobe template for this project are in my TPT store (for free) HERE. Once students have created their marbleized paper, they can work on creating their snow globe with a snowman inside. Of course, students could put other characters inside their snowglobe – I had my students work on “building” a snowman as part of a unit we were working on. Be sure to click on the free link to my TPT store and download the PDF of this lesson so you can get the complete instructions and mostly the template – it will be helpful for your students.
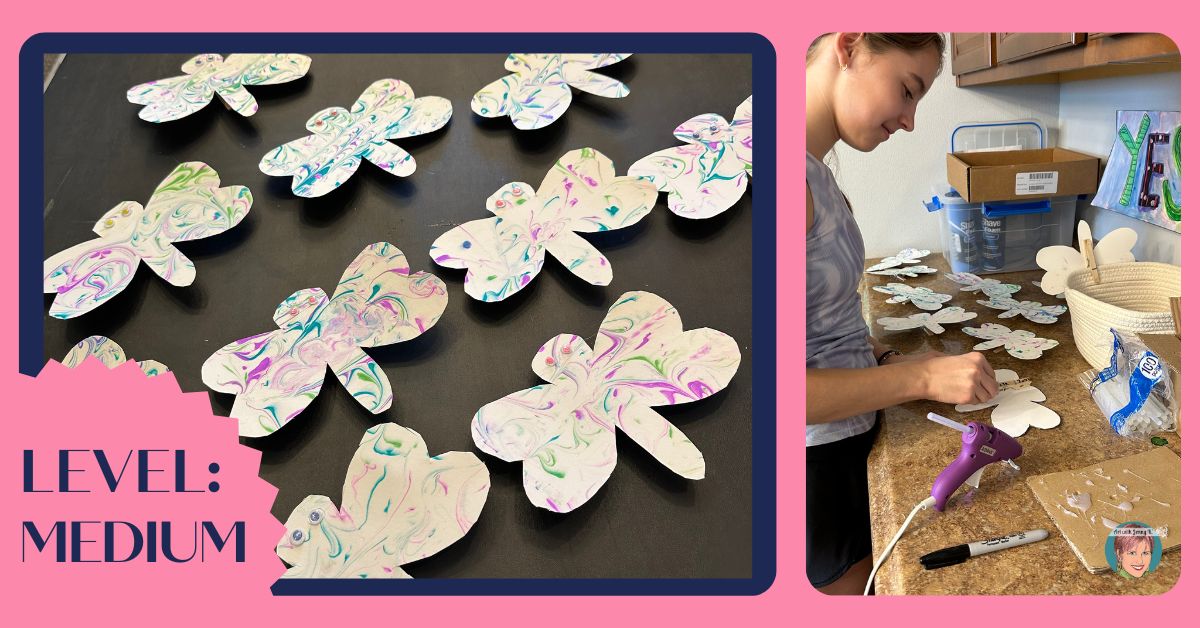
Level: Medium
Supplies: In addition to the supplies you need to make the marbleized paper, you will also need wooden clothes pins, hot glue, a hot glue gun, and googly eyes.
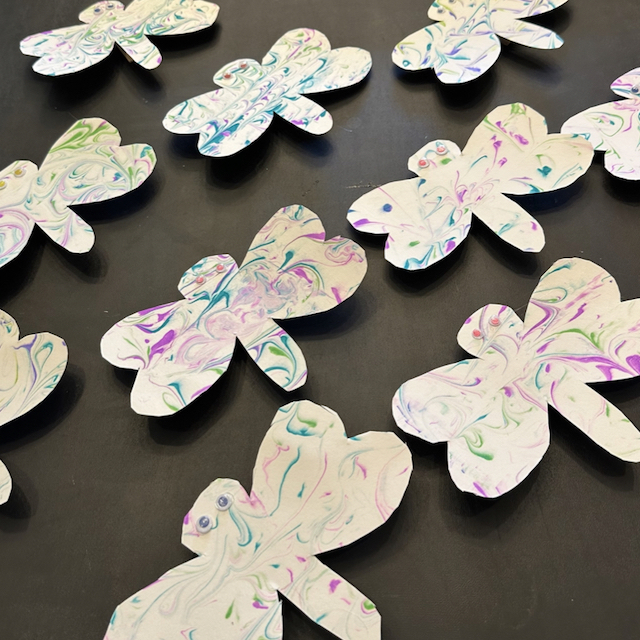
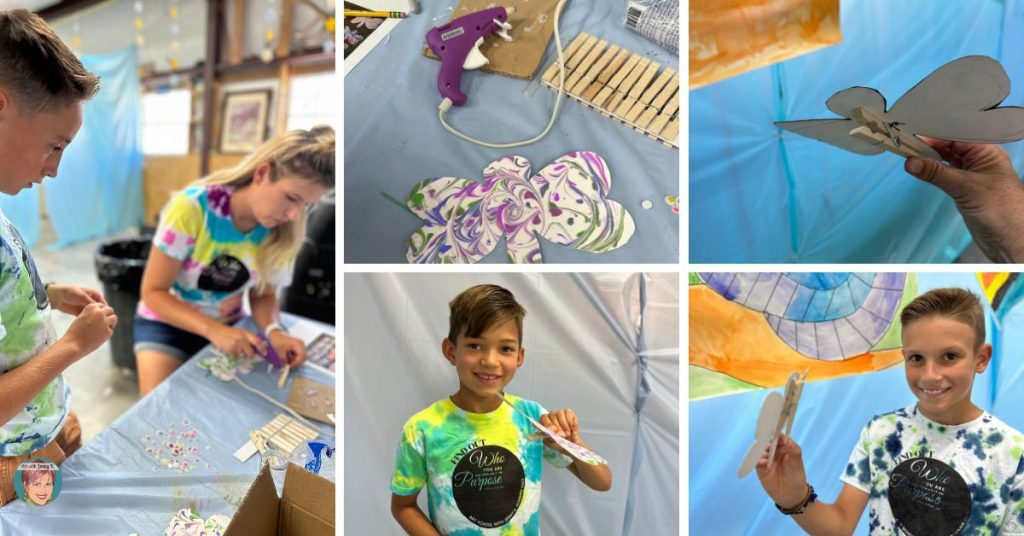
How-To: Well, anytime we add hot glue to the mix, we are going to have to up the difficulty level a bit. I like to use wooden clothes pins for this project and then have my students cut out a dragonfly shape from their marbleized paper. Then I use self-adhesive googly eyes, and we build these cute dragonfly clips. I usually have a more advanced student (or a parent) help glue the body of the dragonfly onto the wooden clothespin. Kids love clipping these on their artwork. We clipped them onto the artwork of a bug-themed art show for parents.
Level: Advanced
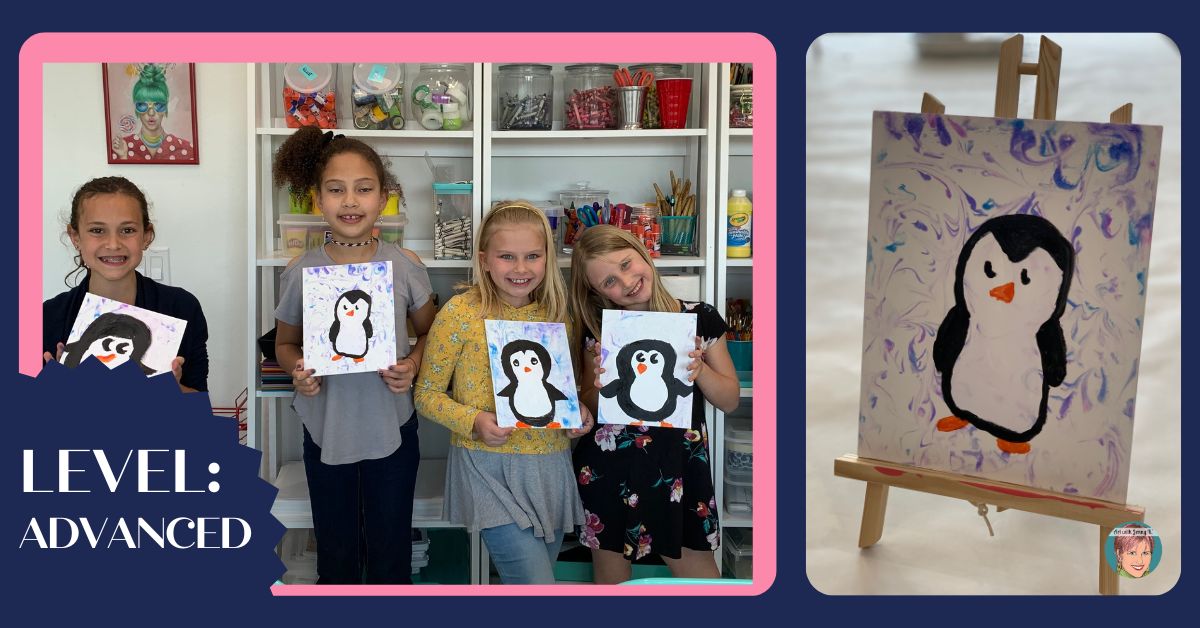
Supplies: In addition to the supplies you need to make the marbleized paper, you will also need board canvas and acrylic paints.
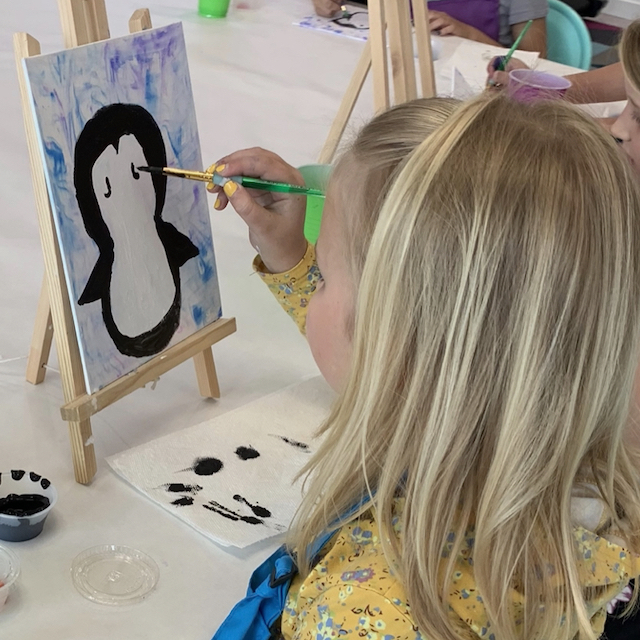
How-To: I did this project once at my Tucson art studio for a little girl’s birthday. She wanted a penguin-themed birthday party, so her mom hired me to create one for her. The main art project was creating a marbleized canvas board and then painting a penguin on top. Since the watercolors and shaving cream dry so fast on paper (and on canvas board), we could easily do this in one event. The process of printing on the canvas board is the same as paper. Once they had marbleized canvas board, the kids painted the body of the penguin with white paint first to help cover up the watercolor paint. Then, they used black and orange to paint the rest of the penguin. Their final penguin paintings turned out great, and they were very pleased with them.
Level: Advanced
Supplies: In addition to the supplies you need to make the marbleized paper, you will also need construction paper, glue, and glitter.
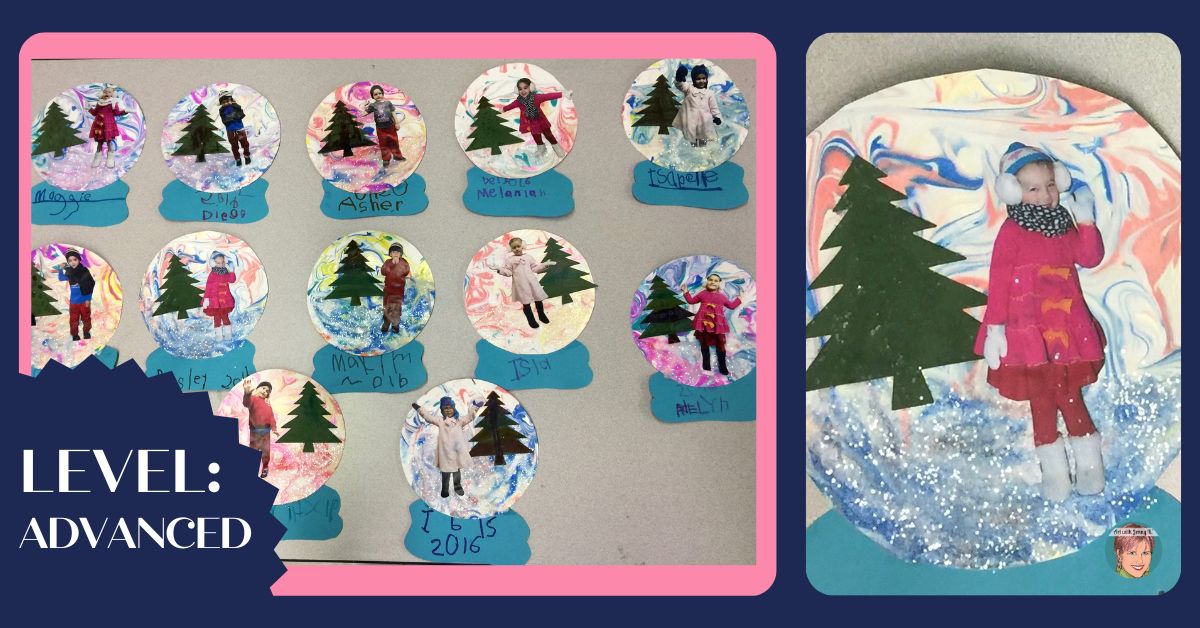
How-To: This project is the most advanced because it requires the most adult preparation and involvement. For the kids, it’s actually quite simple. You can use my snow globe templates from TPT (free download HERE) to create the snow globe. However, you’ll first want to take pictures of your students (or your child(ren) at home). Then you’ll print those out and have the kids cut them out, or if your students are very small, you can cut them out. I did this as a volunteer project for my daughter when she was in preschool. I brought winter clothes and took pictures of the kids all bundled up to look like they were out in the snow.
Then I took those photos home and printed them small enough to fit in the snow globe – this takes some trial and error (hence the “advanced” difficulty level). When I was ready to do this with the children, we first made the marbelized paper, then we created the snowglobe using glue and glitter for the snow, and I used a die-cutting machine to cut out green trees. Some of these things were to save time because my volunteer spot was only one hour. However, if I were doing this with my students in class, I would have them make their trees.
I think we can all agree that these came out super cute! If you are looking for other cute projects that involve fun ways of taking pictures of your students, check out my surrealism project and my “Nowhere to go, but up!” project.


Purchase on Amazon!
Purchase on Amazon!