Art With Jenny K.

Holiday

Paper Mache Christmas Piñata

Paper Mache Christmas Piñata

Description

Making paper mache Christmas Piñatas is fun for kids and an excellent activity for kids to create and use during a holiday event. I designed these in the shape of a holiday ornament, so the top was open and very easy to stuff with candy and treats! In this post, I’ll share how my daughter and niece created these holiday pinatas and used them at our family Christmas event.

This project has extra credit! Check it out!

Supplies

  • Balloon (for ornament shape)
  • Newspaper
  • Flour & Water
  • Mixing Bowl
  • Paint and Paint brushes
  • Plastic cup
  • Masking tape

Before you start, you’ll want to prepare your workspace. Gather your supplies and put something over your table (if it’s not a craft table) to protect it from the mess.

You can also pre-cut the newspaper strips by hand or with a paper cutter. Having the supplies all laid out and ready to go helps make the project more successful.


Preparation

Prepare the Balloon

Blow up the balloon(s) to the desired size for your Christmas ornament. This will serve as the base for your piñata. Then, attach the balloon to a plastic or paper cut and tape it to the cup.

Mix the paste

There are tons of recipes for making the paste for paper mache. I don’t do anything fancy. I put flour in a mixing bowl and then add water until it is liquid enough to run off the newspaper strips.

Instructions

Once you have gathered your supplies, prepared your space, pre-cut the newspaper, and mixed the paste, you can start creating your paper mache Christmas piñata. How involved your children or students are in the process up to this point is totally up to you. If you homeschool a very small group of children, you will probably want to involve them in most of the preparation.

However, if you are a classroom teacher or art teacher and you are getting up for 25-30 kids, you will probably want to pre-do as much as possible.

Modify however works for you. This is just how the project worked for me.

  1. Apply 2-3 layers of paper mache on the balloon.

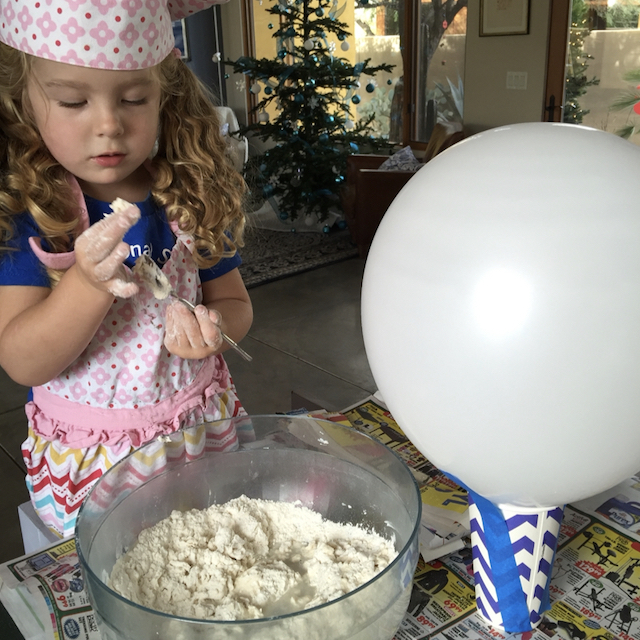
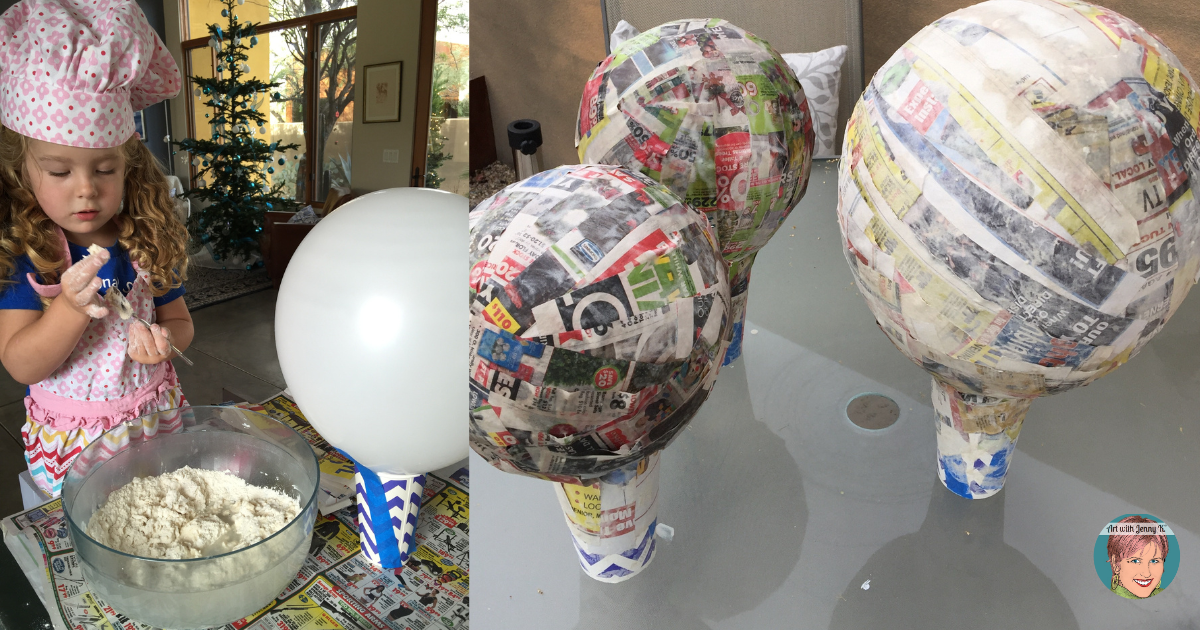
    To begin, dip the newspaper strips into the paste and then lay them on the balloon — smoothing the newspaper against the balloon as you go.

    Cover the entire balloon with one layer of paper mache.

    You’ll want to add a few layers to ensure your ornament is strong enough. Let the paper mache dry between each layer. This may take a few hours or overnight, depending on the thickness of the paste.

    When you add the next layer of paste/newspaper, run the strips perpendicular to the last layer to make the final shape stronger.

    Depending on the size of your ornament, you’ll want 2-3 layers.

    TIP

    Make sure the entire newspaper strip is coated with paste, then hold it up and run it through your fingers to remove any excess paste. You don’t want too much or too little.

  2. Add a base coat of white paint.

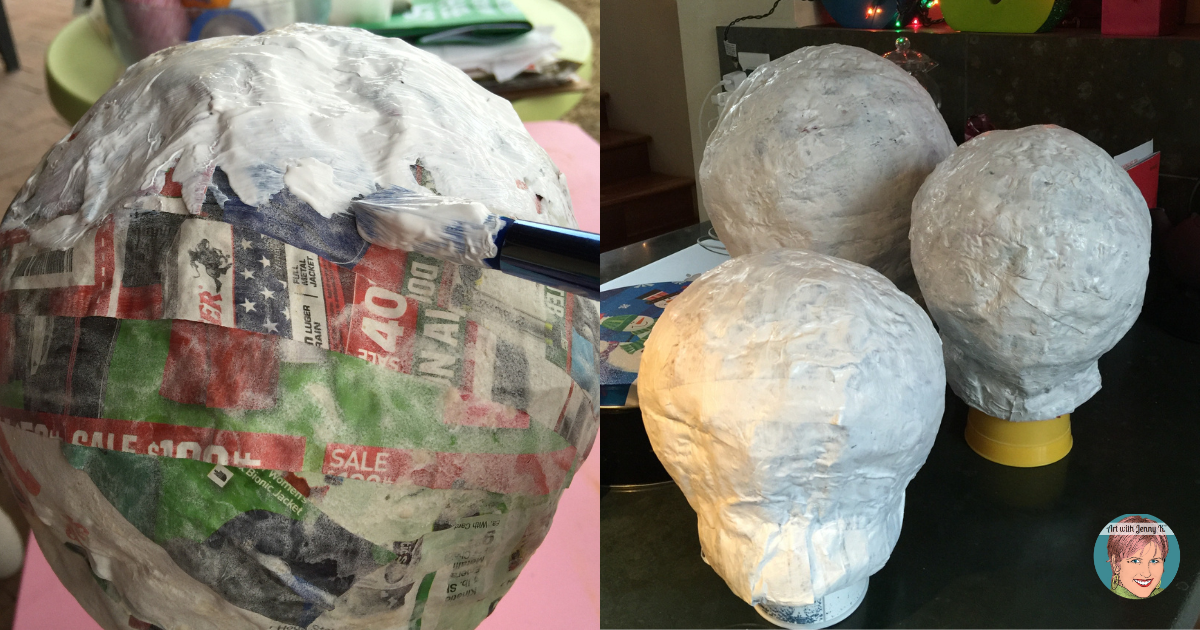
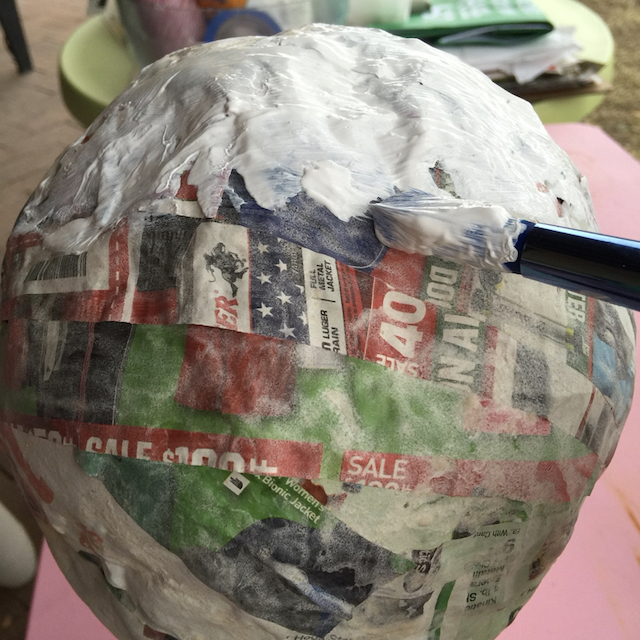
    I wanted the colors to really show up on the final design. So, for that reason, I had the kids paint a base coat of white acrylic paint onto the ornaments after they were dry and before they painted them colorfully. Doing this helps the top coat of paint to show up vibrantly!

  3. Paint your paper mache piñata with fun, festive colors!

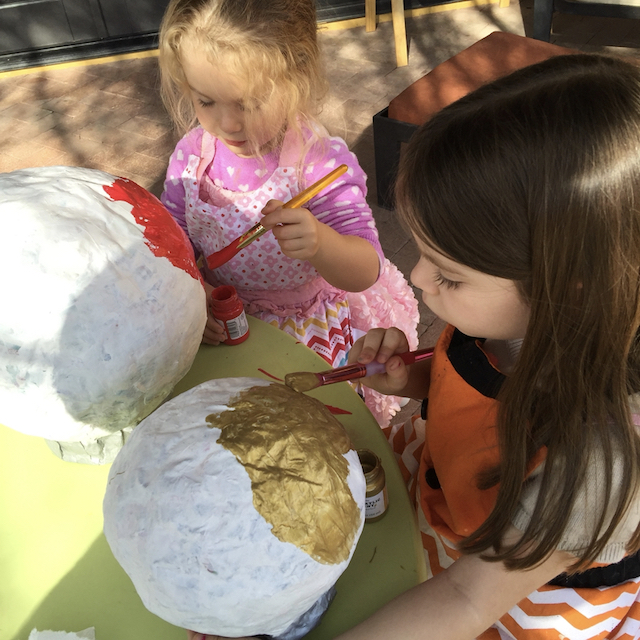
    Once the paper mache ornaments are completely dry and hardened, paint them in your desired colors. You can use acrylic or tempera paint for this step. However, I highly recommend using acrylic paint because it has more of a flexible finish and won’t crack all over the place and make a mess – it also looks shinier at the end.

    My daughter and niece painted our ornaments red, gold, and light blue with a silver trim at the top. However, that is just what we did – you can do this in so many different ways. If you are working with older students, they can paint on designs and even add the hallmark look of tissue paper.

    Since the kids were little, I didn’t add tissue paper because I wanted the final design to be smooth and round, like a Christmas ornament ball.

  4. Hang the final piñata and fill it with candy!

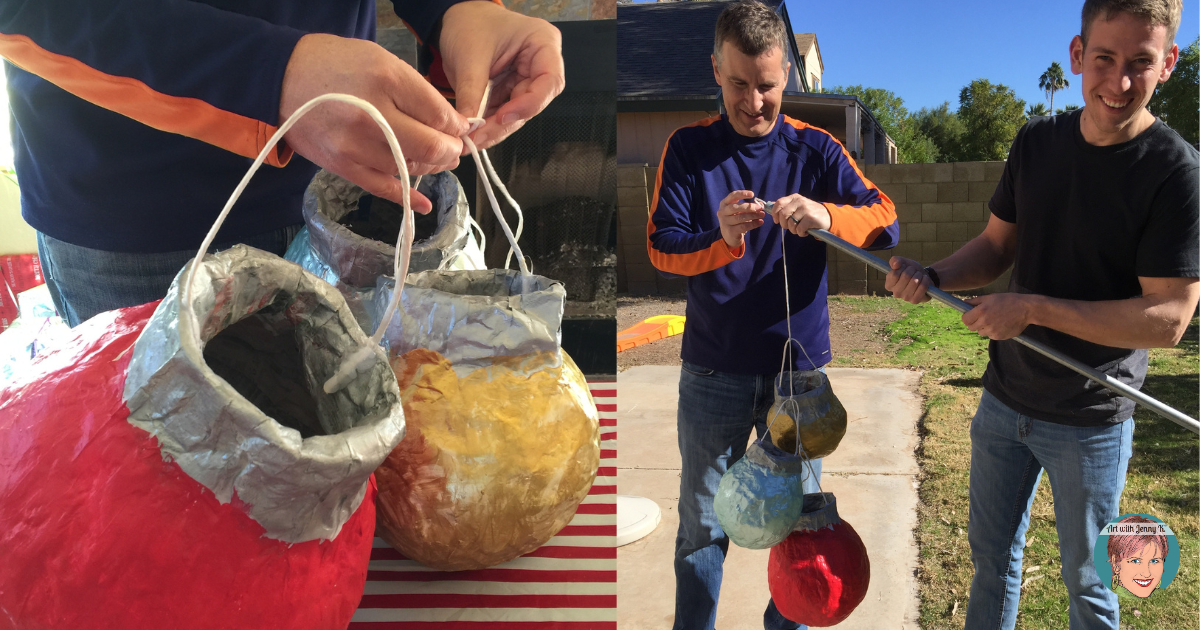
    Create a loop with a piece of string or ribbon and attach it to the top of the ornament for hanging. Ensure it is securely fastened. Allow your decorated piñata to dry completely before filling it with treats or hanging it up.

  5. Break open the final piñatas!

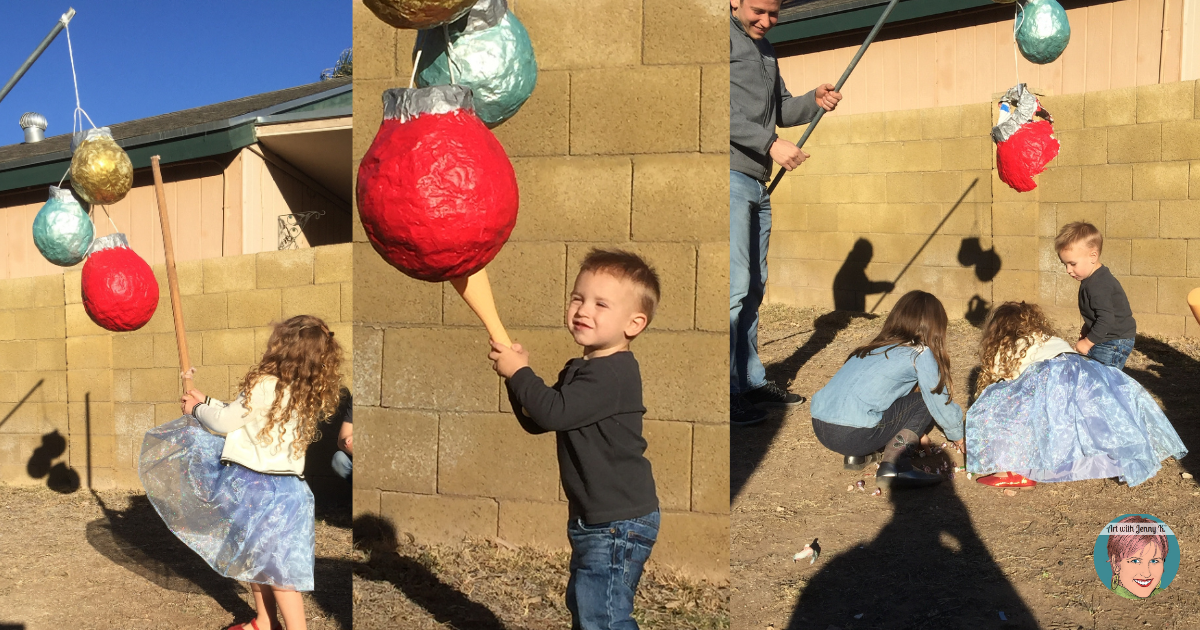
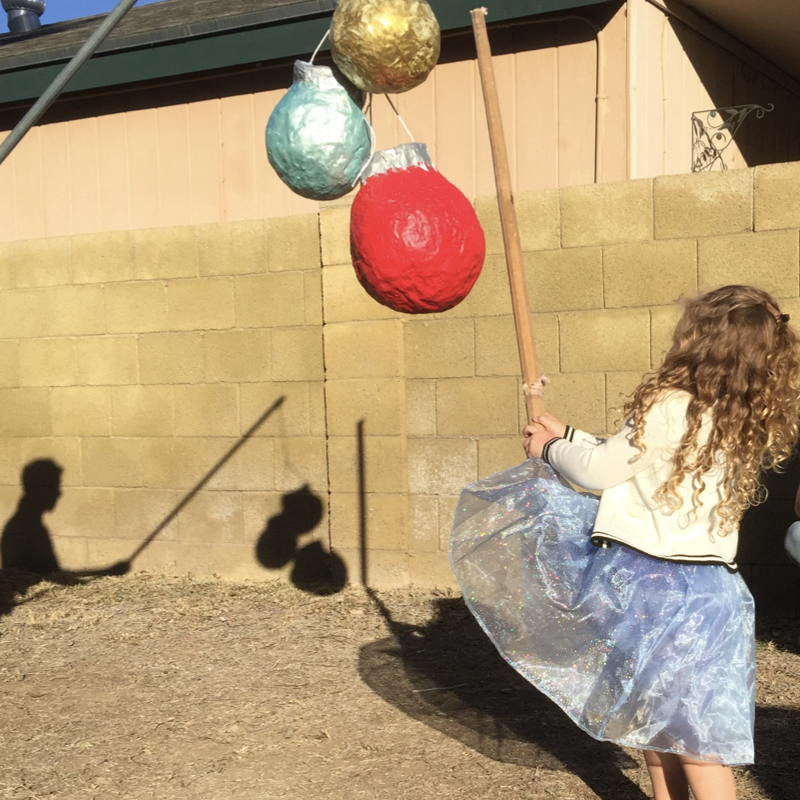
    Once you are ready to use your final piñatas, you can get a long pole or something to hang the pinatas on and a stick for the children to use to break the ornaments open.

    Now, you have a festive Christmas ornament piñata ready to add excitement to your holiday celebrations!

Great job!

If you decide to do my project with your students at school or children at home, please tag me on social media @artwithjennyK or contact me (here on my website) so I can celebrate what your kids have made! I love to see my projects being created by kids and am always amazed at the creative ways they enhance my ideas!

Thanks for reading,
Jenny K.

Pin It!

Extra Credit!

DIY Christmas Ornaments

Something for your tree! The fun of a Piñata is that it’s art you are meant to break apart. If you want something for Christmas that can last as a keepsake, you might want to try my 3D “Pop Art” ornaments! They are an original and unique Christmas activity that I first created and shared back in 2013. These ornaments are a fun way for classroom teachers (or parents) to include children in a super-cool holiday art project!

The Christmas ornament is made from one sheet of paper and is very easy. Follow my how-to video (included in the project) to create Christmas ornaments that your kids will love and hang on your tree for years!

In this lesson, you get…

  • Written Instructions (with photographs)
  • Printables (3 different designs for your ornaments)
  • Handouts
  • You also get an 11-minute how-to video (mp4 file)

Purchase Extra Credit Add-on

$6.29
Submit Your Extra Credit for a Chance to Be Featured!

Share & Save!

Out of the box ideas to your inbox!

Sign up today to receive Art with Jenny K’s eBook, The Benefits of Directed Drawing for Kids, and gain access to the AWJK Subscriber Library of freebies!

More Tested & Approved Projects

Integrate art into your classroom!

Sign up for my newsletter and get out of the box ideas to your inbox!

Fill out and submit this form for a chance to be featured on ArtWithJennyK.com!

Grade
Grade
Category
Category