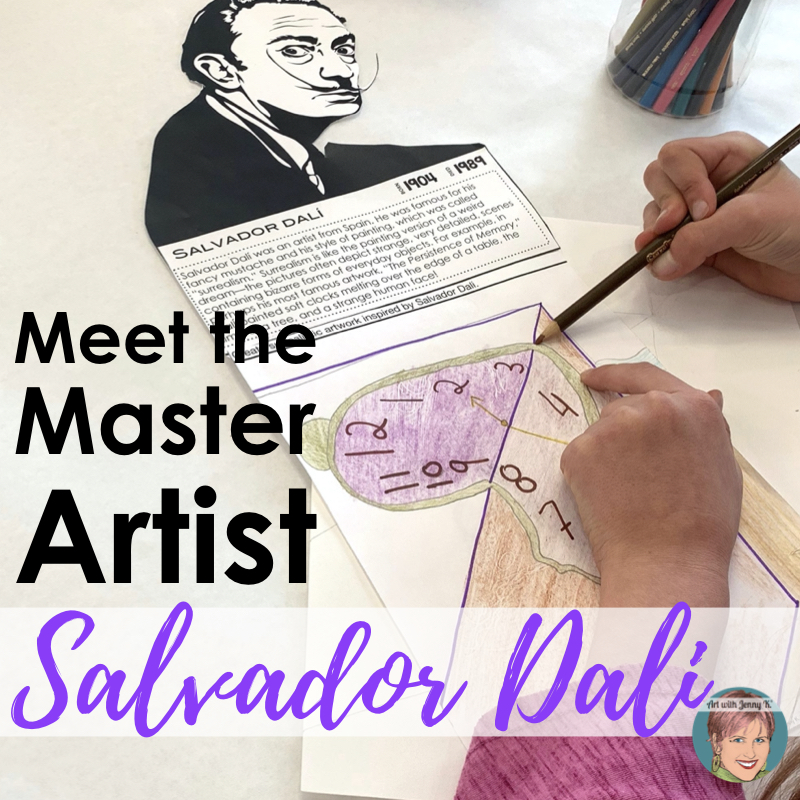

I created this crazy cactus surrealism art project because I love introducing my students to Salvador Dali and doing surrealistic art projects any time that I can. I have found that Dali (and other Surrealism artists) immediately capture my students’ attention. Just showing the kids a picture of Dali, with his unmistakable mustache, and the kids are intrigued, and I have their full attention!
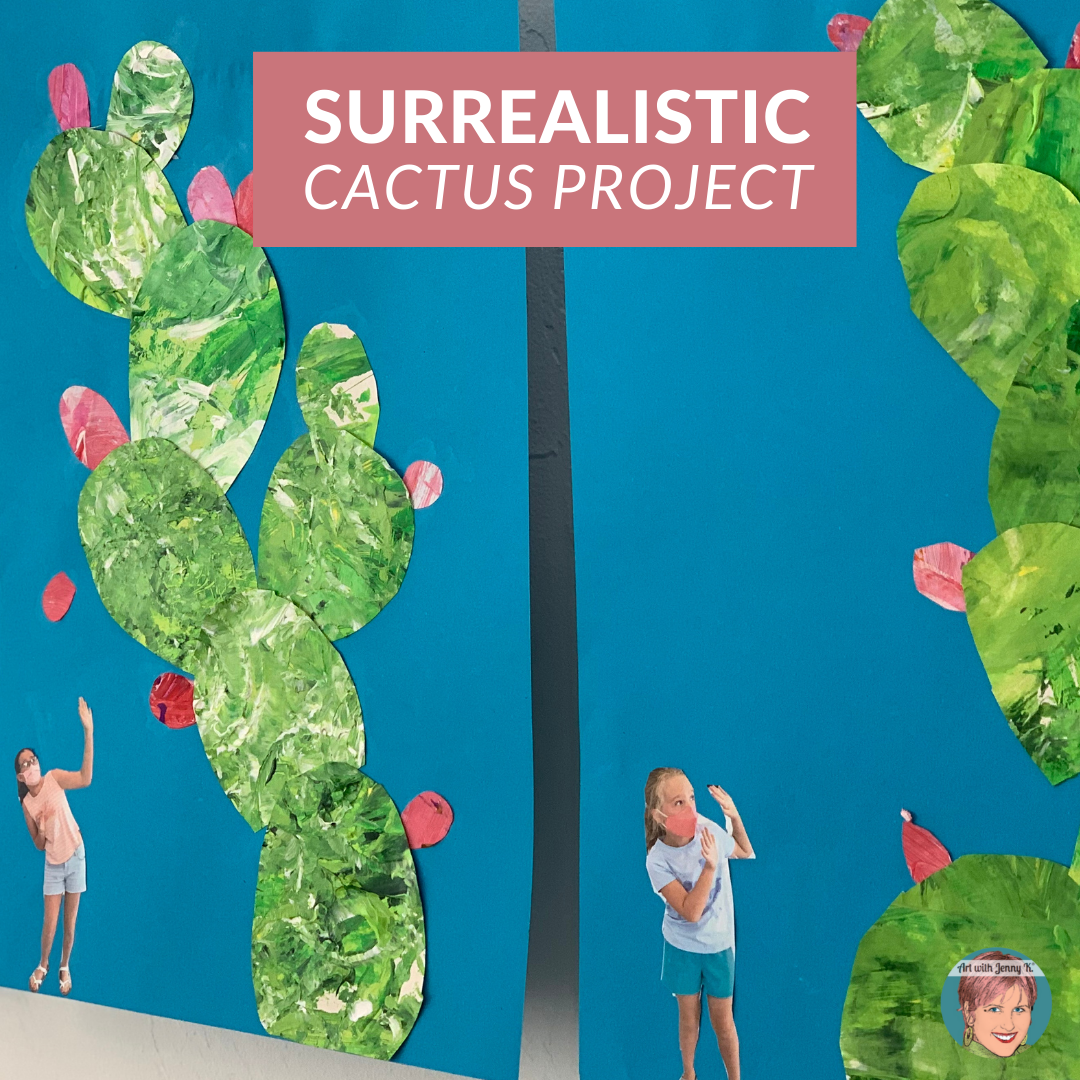
Over the years, I have created many Salvador Dali-inspired lessons which you can find on this website, and today, I’d like to introduce you to a new one. This lesson is a crazy cactus collage art activity where children will put a picture of themselves “inside” of a large bed of prickly pear cactus. Think “Honey, I shrunk the kids’ meets Salvador Dalí” for this project.
This entire art lesson is also put together in a PDF on Teachers Pay Teachers (for free). You can download it HERE if you’d like this lesson in that format.
Dali, Surrealism, and Crazy Cactus
To get started, you may want to introduce your students to Salvador Dali and talk to them about surrealism art.
A great way to introduce Dali and this surrealism art project to your students is to read them a short picture book—even older children love it when I read to them. One of my favorite books is Dali and the Path of Dreams, as it captures the essence of Dali and his dream-like world.*
Or, you can have your students do their own searches on Dali if they have the technology. Researching Dali would be an excellent thing for your students to do while you are doing part one of this project (explained soon).
*Any links that go to Amazon are affiliate links. That means I get a small (very small) amount in return for taking you there (thank you for your support in this way). To see my full disclosure click HERE.
Materials
To do this project, you will need the following supplies:
-
-
- green paper (make your own or use construction paper)
- blue construction paper 12″ x18″ preferably
- red construction paper
- pencils and markers
- glue
- photographs of your students
-
Part 1: Take Pictures
To get this cactus surrealism art project started, I took pictures of my students—posing as though they were in a tall tower of prickly pear cacti.
TIP: It’s helpful to either make an example of this project, so your students can understand the pose you want them to create or show them a final example from this post to understand what you are asking them to do.

After taking all of the pictures, I then cropped out any part of the picture that was unnecessary, and then I printed them.
You’ll want them to be pretty small.

You should test print the size you’ll need for this. For example, you can try printing at 25% and see what size that gets you. Keep adjusting until you get the correct percentage. Once you have the right size for the supplies you have on hand, please print them and use them with your students on part three of this surrealism art project.
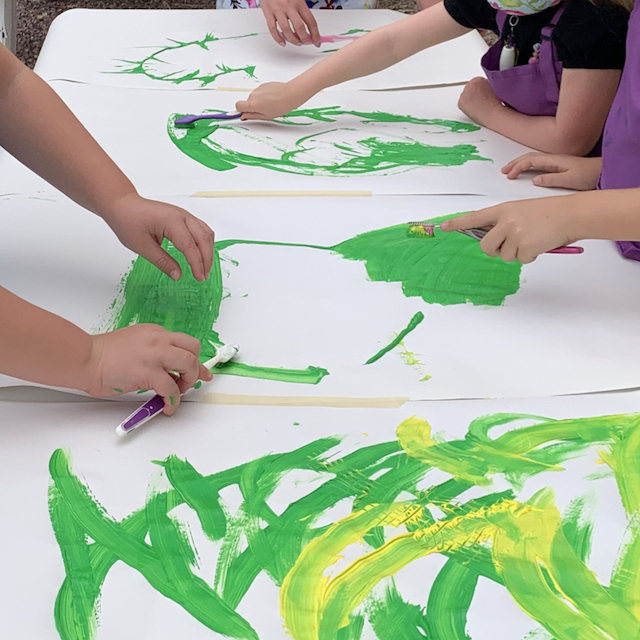
Part 2: Make Green Paper
We made our own textured green paper for this project to use as the cactus parts. I love having my students create their own textured paper whenever I get the chance to do so. They love it too. Making your own paper adds a lot of texture and variety to this project.
If you have never made your own textured paper, I have instructions for doing so in my St. Patrick’s Day Shamrock lesson. You can read that post for details on this step HERE.
If you don’t feel like making your own paper, then all you have to do is use green construction paper.
Part 3: Put it all Together
Once we had our pictures taken and printed, and we had the paper made, we started putting our cactus surrealism art project together.
Here is how we did it.
Step 1: Cut out portrait
First, students cut out the portraits of themselves (very carefully) to remove the background portion of the paper.

Step 2: Draw pads & flowers
Then, students drew cacti “pads” (think oval with a flat bottom) on the back of their paper and cut them out. My students drew on the back of their paper to erase easily and not mess up the green front of their paper.

TIP: It’s helpful if the children make larger cacti pads for the bottom, and they get smaller as they go toward the top.
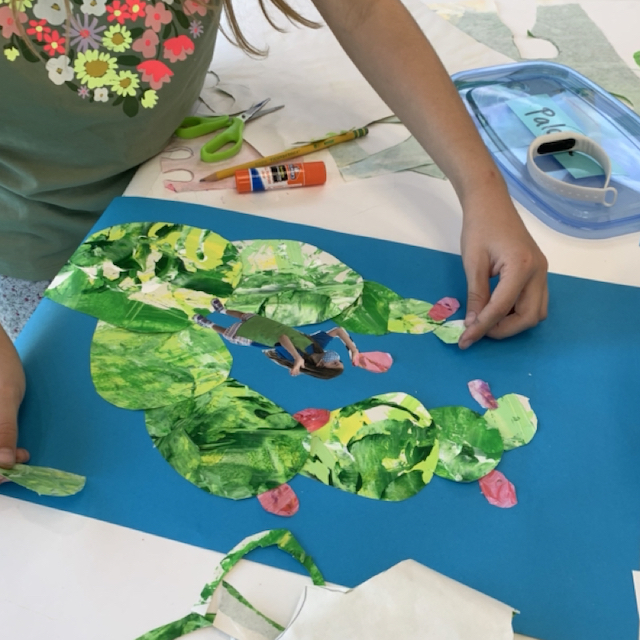
My students also used some red paper to cut out the flowers and fruit for the top of the prickly pear pads (see finished example).
Step 3: Assemble Surrealism art project
I instructed my students NOT to glue down anything until they had cut out their tiny portrait, the parts of their cactus, and had it arranged just how they wanted it. It is essential to wait to glue to the final background paper until they have a final design.

Step 4: Glue down the final design
Once everything was cut out and assembled the way the children liked it, they glued it all together. The final results were nothing if not entertaining and amusing.

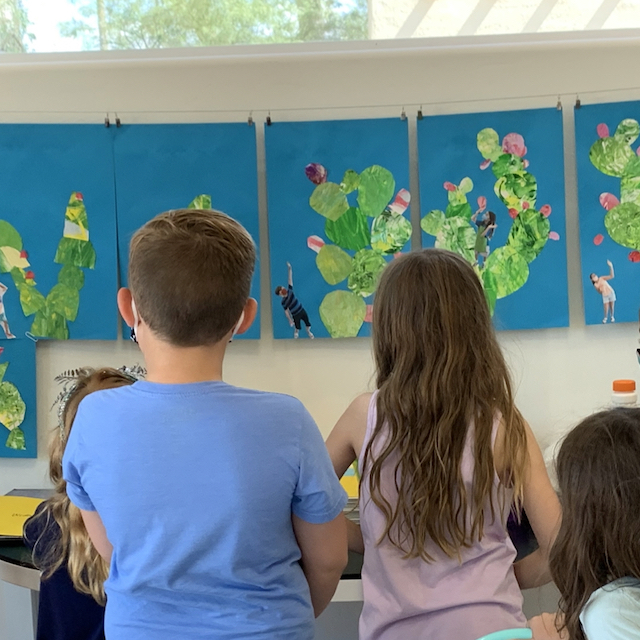
This lesson was such a successful surrealism art project for me and my students. The children enjoyed seeing them all hung up on the art line (as did their parents). This little bit of humor helped them connect to this lesson.

I hope your students enjoy this cactus surrealism art project as much as mine did. If you decide to do this lesson, I would love to see what your students make. Feel free to tag me on social media so I can see what they create! You’ll find me on Twitter, Facebook, and Instagram!
Thanks for reading,
Jenny K.
P.S. Don’t forget you can download this lesson as a free PDF HERE.