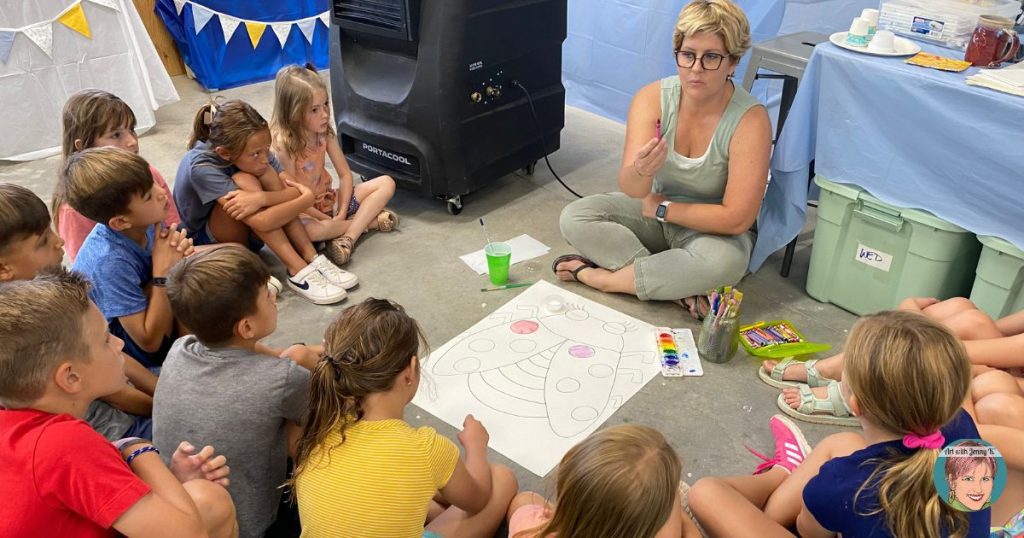
The salt trick that I teach my students is a lot of fun. However, it’s hard to see if you aren’t up close. For this reason, I bring all of my students up close before we start this part of the project, and I demonstrate first how the crayon/wax resist works and then how the salt trick works. It’s fun to have them close by during the demonstration so they can focus on my instructions and see the details of the salt.
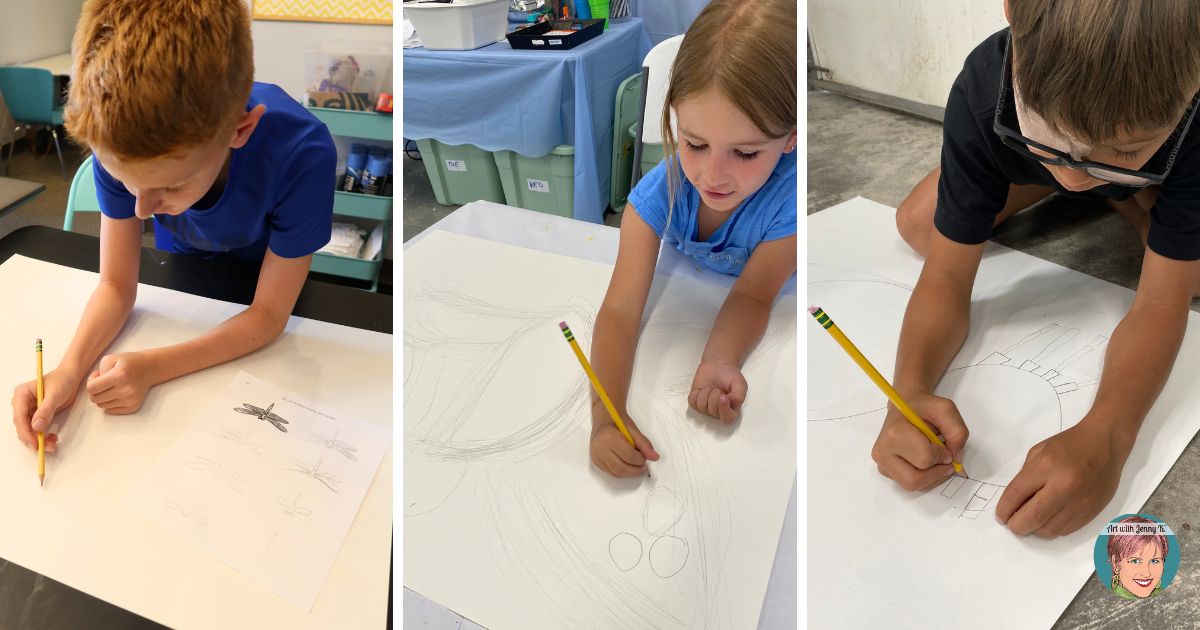
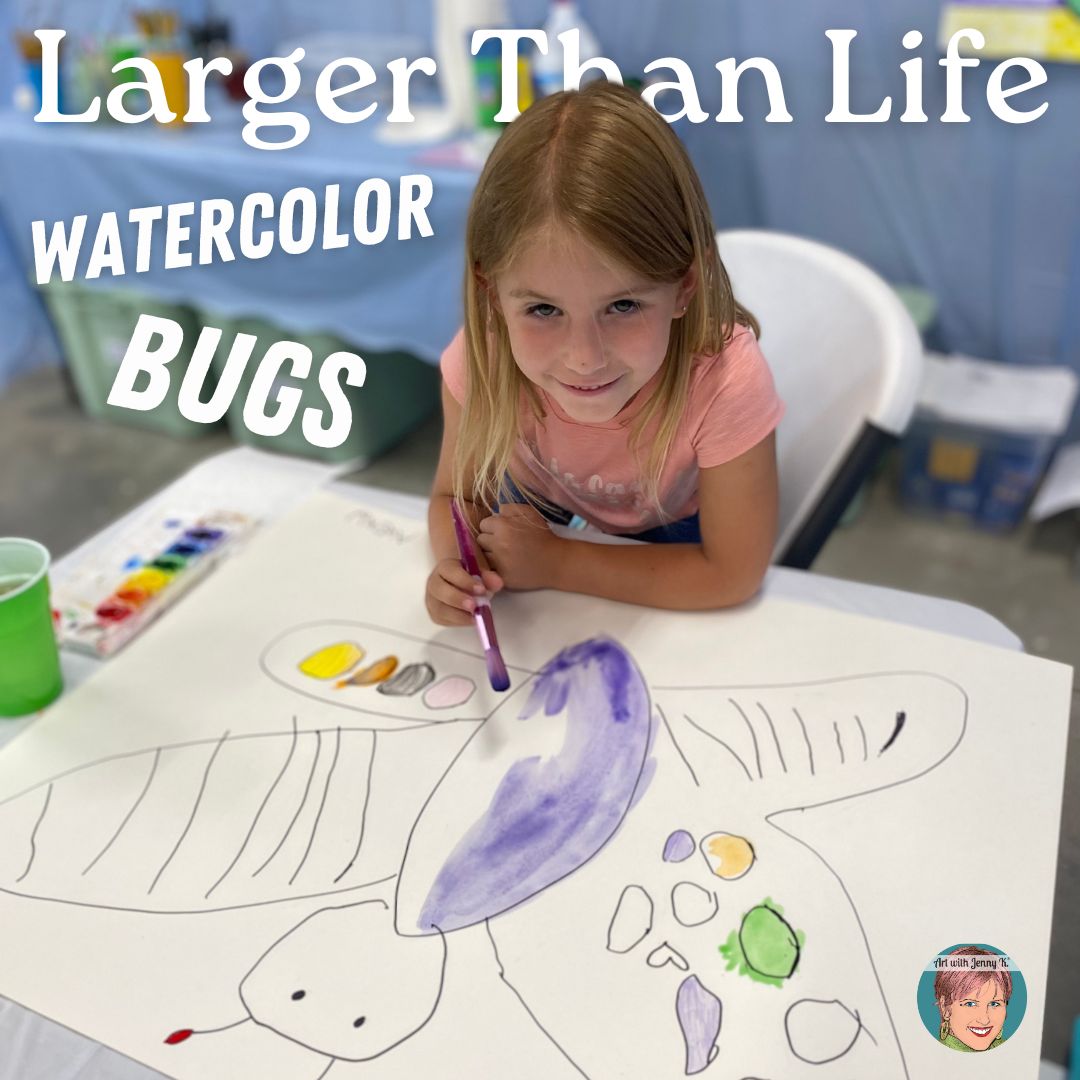
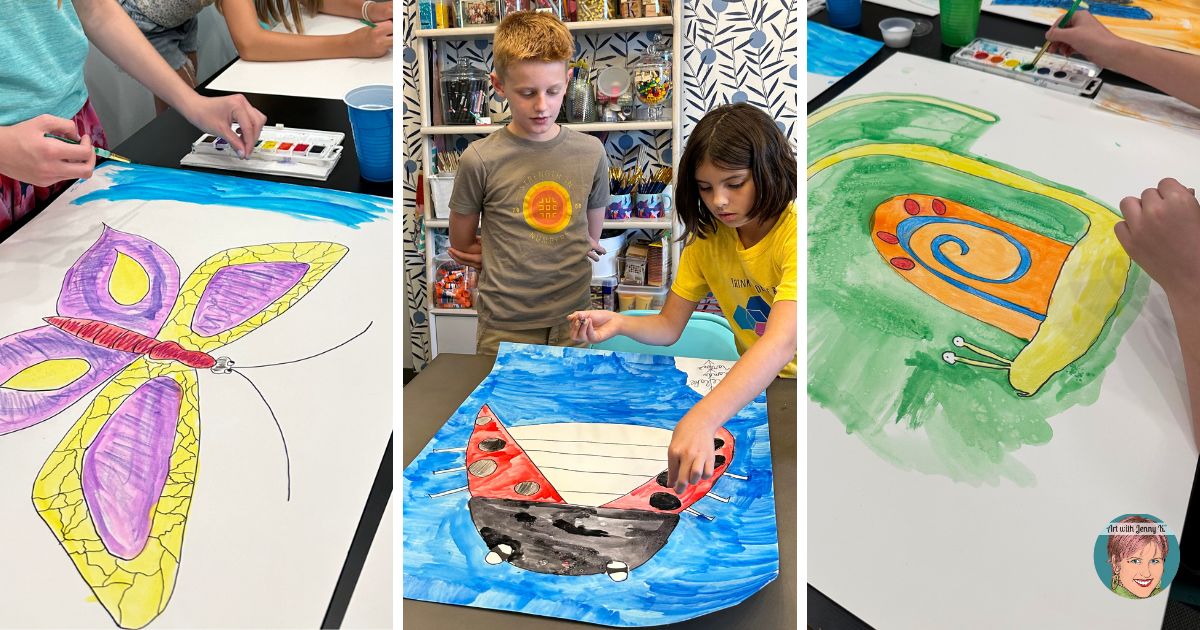
Bugs are such a fun subject for students to make large because we are not used to seeing bugs bigger than the size of our heads (thank goodness)! I always recommend that students first practice drawing their subject in their sketchbooks or a separate sheet of paper before drawing on their large poster paper. This way, students will gain confidence in drawing their bug before starting on their final project. You can look for handouts online for how to draw the bugs you or your students are interested in. You could also print pictures of various bugs as inspiration for your students to work from.
When it’s time to draw on the poster board, encourage your students to draw large enough to fill up the entire page. Drawing this large is not easy unless you’re used to it, and it helps to have the reminder as they work to draw big! I also remind them to draw lightly on their page so that they can erase any lines that they want to change.
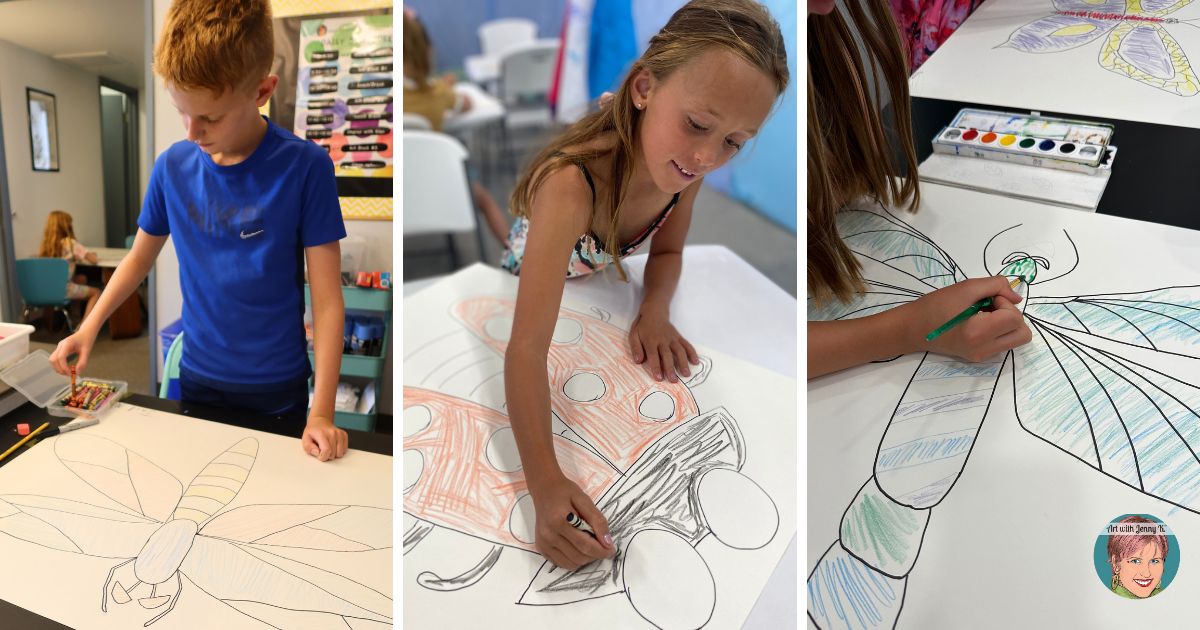
Once your students are happy with their final bugs, they could use a permanent marker to outline over their pencil marks. This part is optional, but doing so does help make the final design stand out. As always, do what works best for you and your students! If you do choose to outline, it is imperative that students use a permanent marker for this step. If they use a water-soluble marker, it will run when they start to paint using watercolor paints.
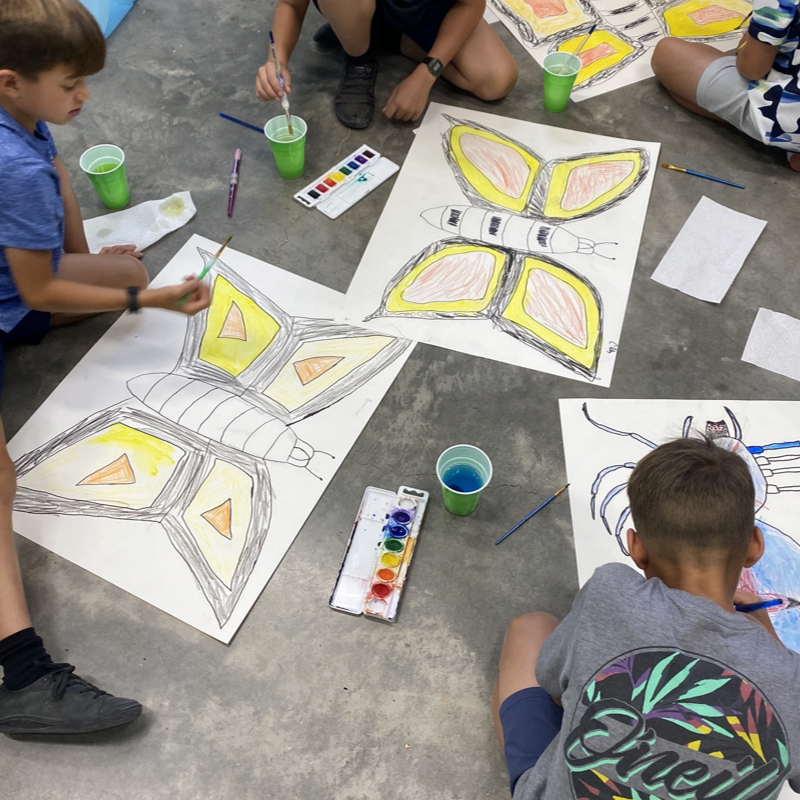
For this step, we mixed things up by mixing mediums. To get more variety in texture and materials, I had my students use crayons to add some details to their bugs before adding paint (next step). Watercolor paint will resist the crayon wax and create a beautiful look.

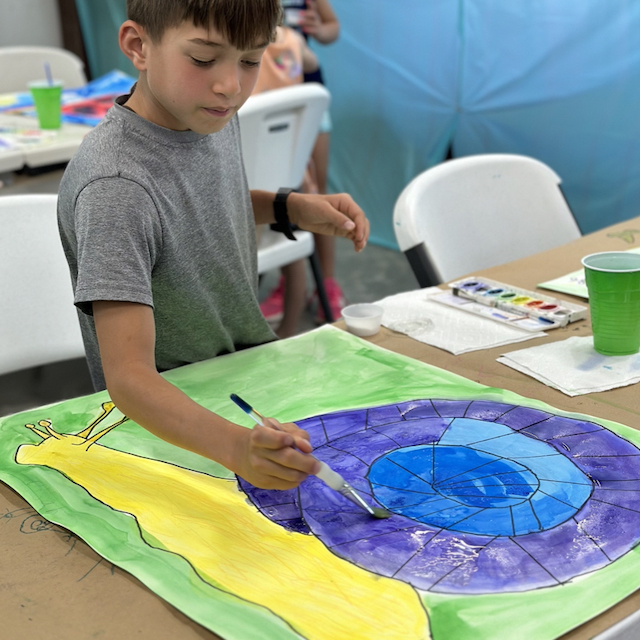
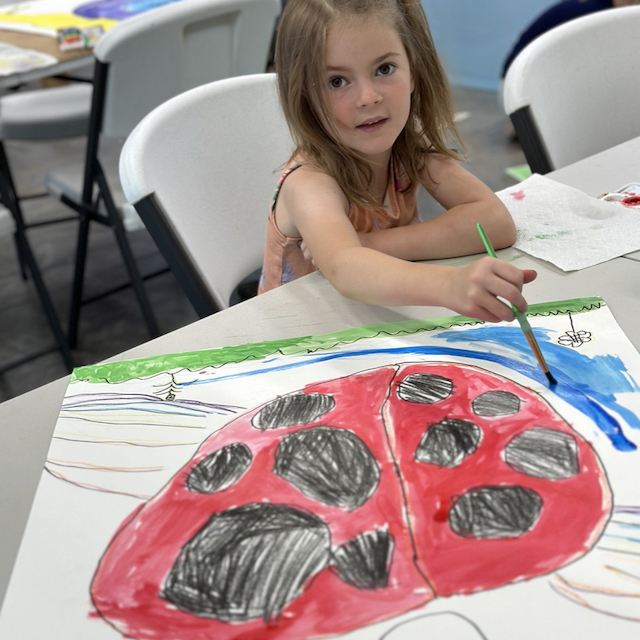
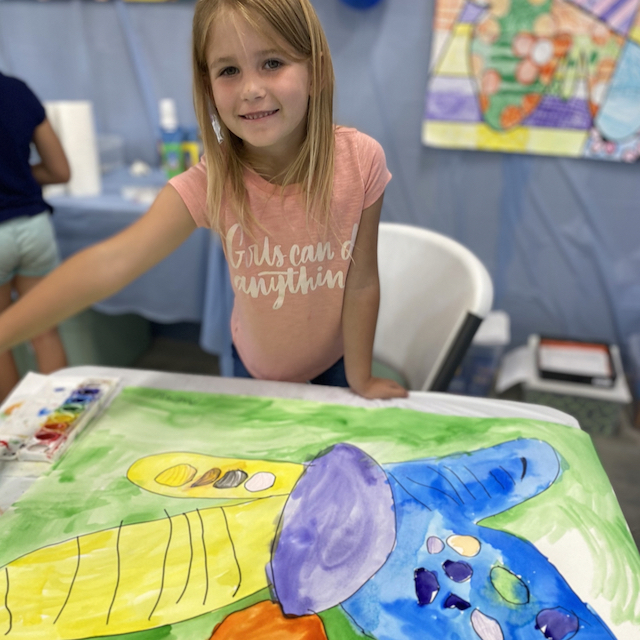
After my students had colored their artwork with crayons, I gave them watercolor paint to start painting their big bugs. We painted right over the crayon. I instructed them to color everything except the background. We are saving the background for the next step.
It’s helpful to instruct your students to start painting with light colors like yellow or orange and work toward dark colors like blue or purple. This helps to keep their water cleaner for longer, which in turn keeps the colors in their artwork looking bright.
This step is one that my students are always very excited about – the step where we add salt! Adding salt to wet watercolor paint creates beautiful crystal patterns in the paint. This happens because the salt is absorbing the water around it, pulling in the color along with it, leaving the crystal design.
I have my students wait to paint the background until I’ve explained how the salt works because they will have to work quickly for this step. For the backgrounds, I give students liquid watercolor and large brushes. This allows them to cover the background quickly enough to add the salt before the paint starts to dry. This will be less of an issue if you work smaller, painting smaller areas at a time and adding salt only in concentrated spots.
Once the paintings are dry, the final thing your students will need to do is wipe off the salt. I highly recommend having your students hold their paintings flat until they are outside or over a trash can. This helps to avoid a mess of salt everywhere.
There are a few things to keep in mind when working with salt:


Purchase on Amazon!
Purchase on Amazon!