
To do this project with your students, you’ll want to be prepared before the kids arrive. Students get really excited when they see the shaving cream, so the more prep I can do ahead of time, the better the lesson goes.
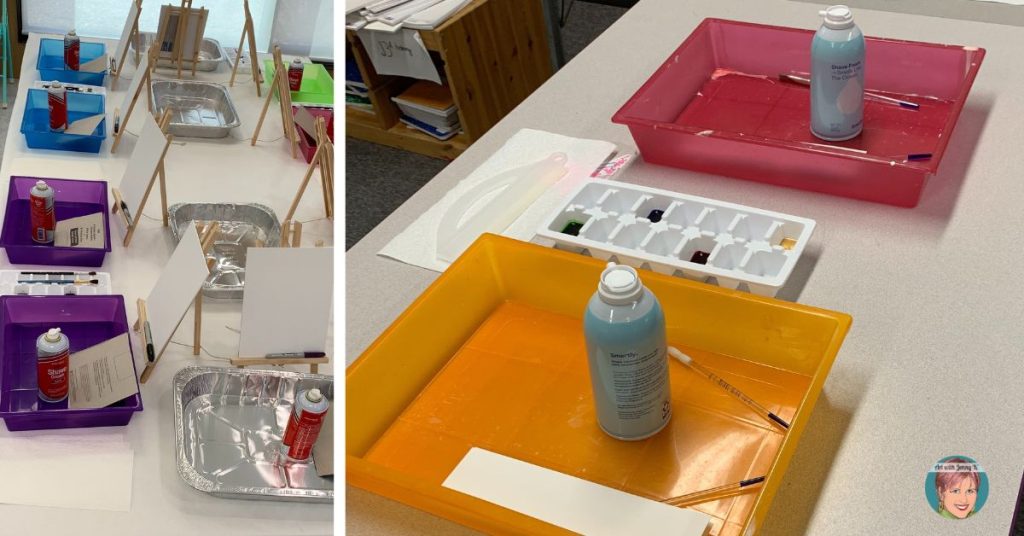
I like to “set the table” for projects like this. By that, I mean I have everything out and ready to go. For this project, I put out the trays with a can of shaving cream and brushes on the inside. Then, for each group of students, I put out an ice cube tray with 3 colors of liquid watercolor paint. Also included at each spot is a squeegee, paper towels, and enough watercolor paper for each child (and a pencil).
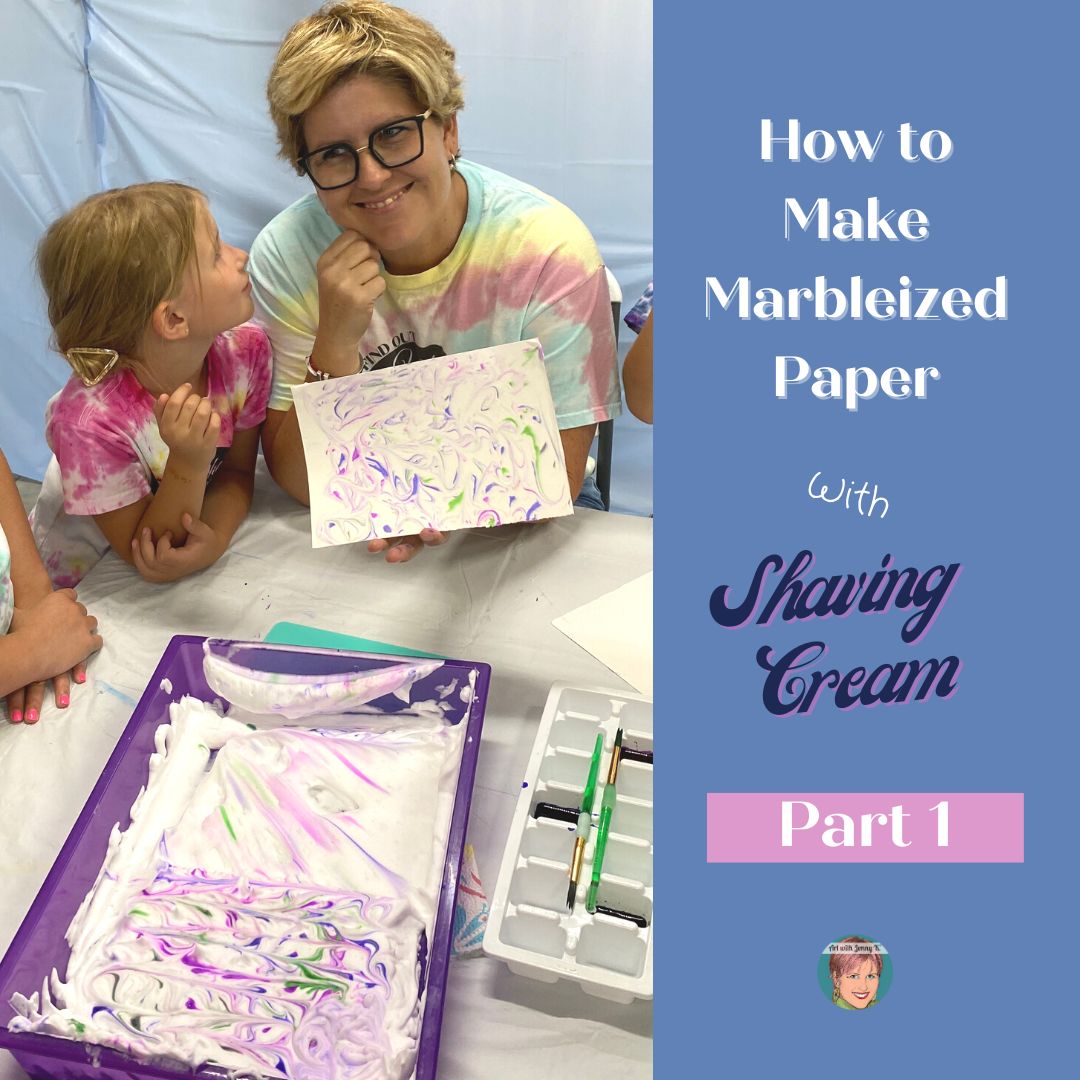
When students arrive at their table, they have everything they need to make marbleized paper with shaving cream.
Best of all, this lesson is so versatile! I have adjusted this lesson countless times over the years to accommodate who I was teaching. I’ve worked with small preschool children all the way to full classes of over 30 kids. I’ve worked on small bookmark-size paper, and I’ve even filled an art cart full of shaving cream to make a HUGE batch of marbleized paper all at once. The possibilities are endless once you know how to do this lesson. So, let’s get to it!
It’s hard for me to say exactly what size container you need for this project. I’ve used all different sizes. The important thing is that the paper you use fits in the container. I try to use containers (and cut the paper to a size) that allow more than one student to work in each container. The container’s depth doesn’t matter because you only need about an inch or two of shaving cream.
Before kids start filling their container with shaving cream, have them write their name on their paper – so they don’t have to worry about it once their fingers are a little bit messy.
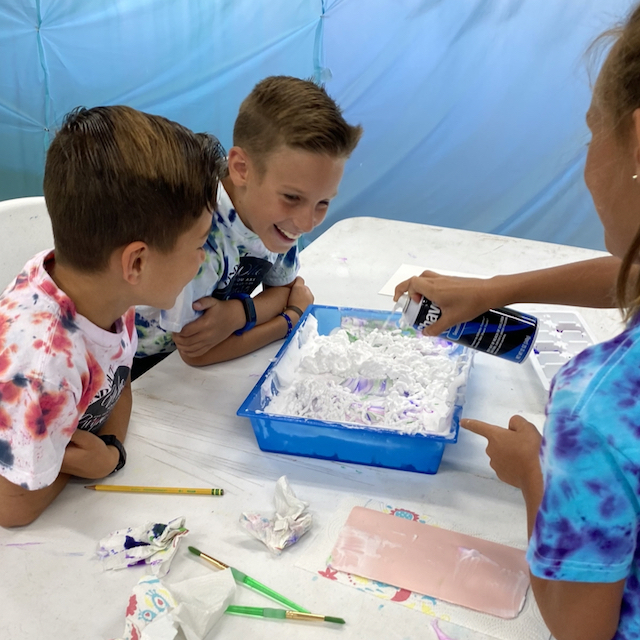
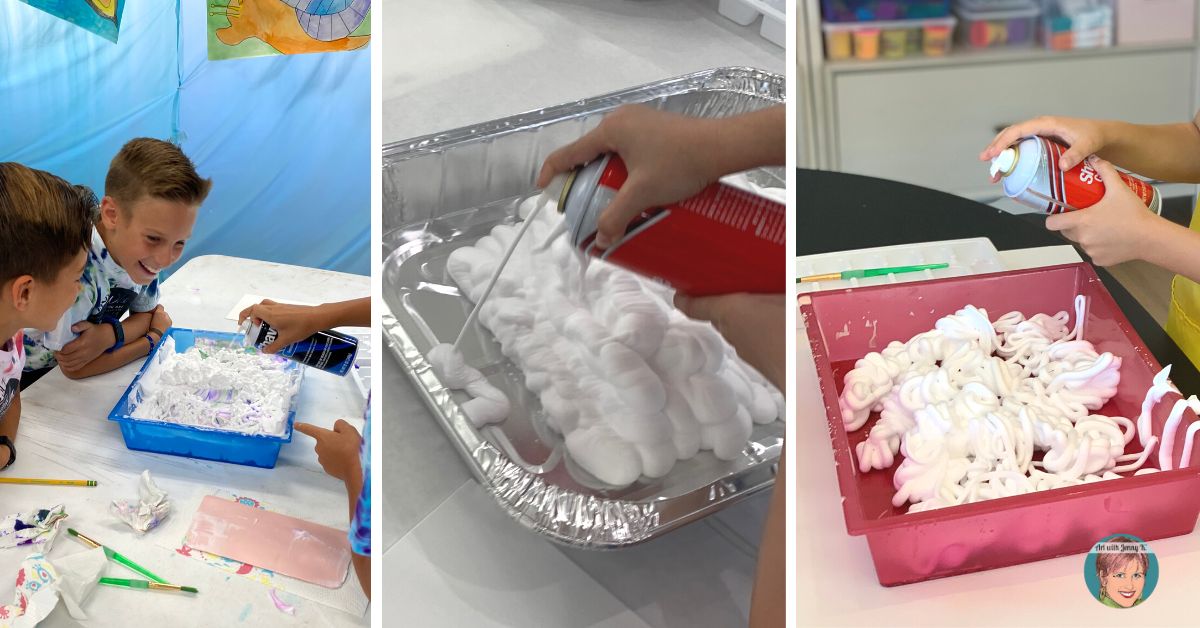
Then, have students shake the shaving cream cans and fill the container – or at least put a decent layer about one inch thick. I let my students work in small groups and take turns spraying the shaving cream – because it’s one of the many fun parts of this lesson.
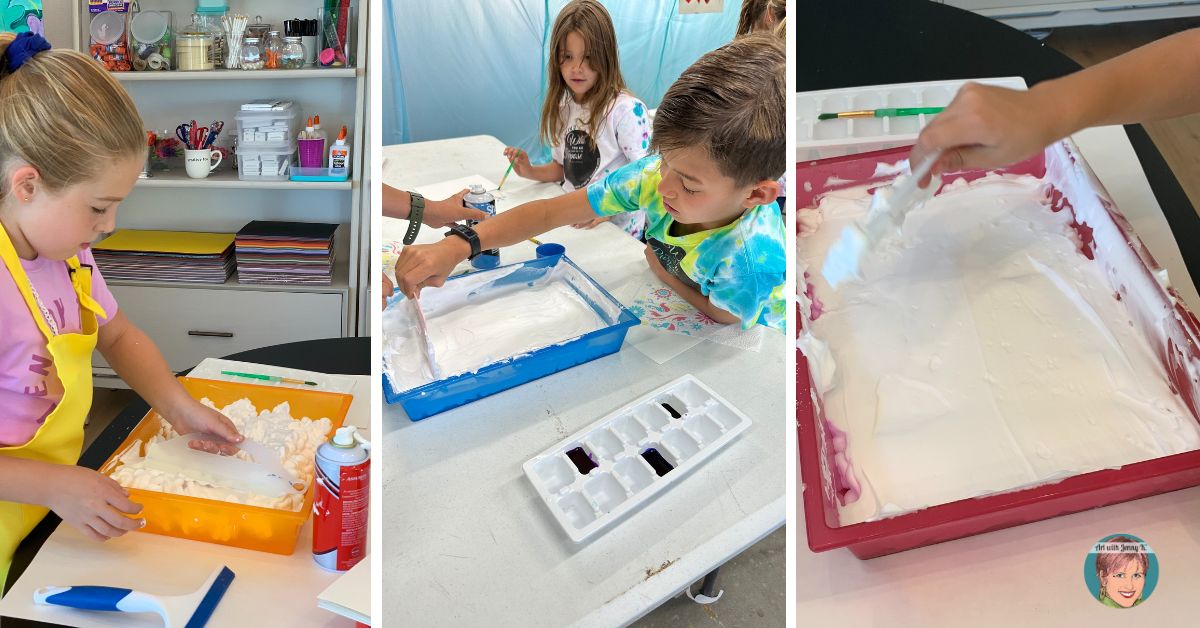
Once there is a nice layer of shaving cream along the bottom of the container, your students can spread the shaving cream out into a smooth layer. I explain this part like spreading icing on a cake – you have to be gentle. If you push too hard, the shaving cream stays in a big pile. Believe it or not, this is probably the hardest part of the lesson (okay, except for kids trying to resist playing with the shaving cream the entire time). I suggest giving your students time to get a feel for moving the shaving cream around to get a smooth layer.
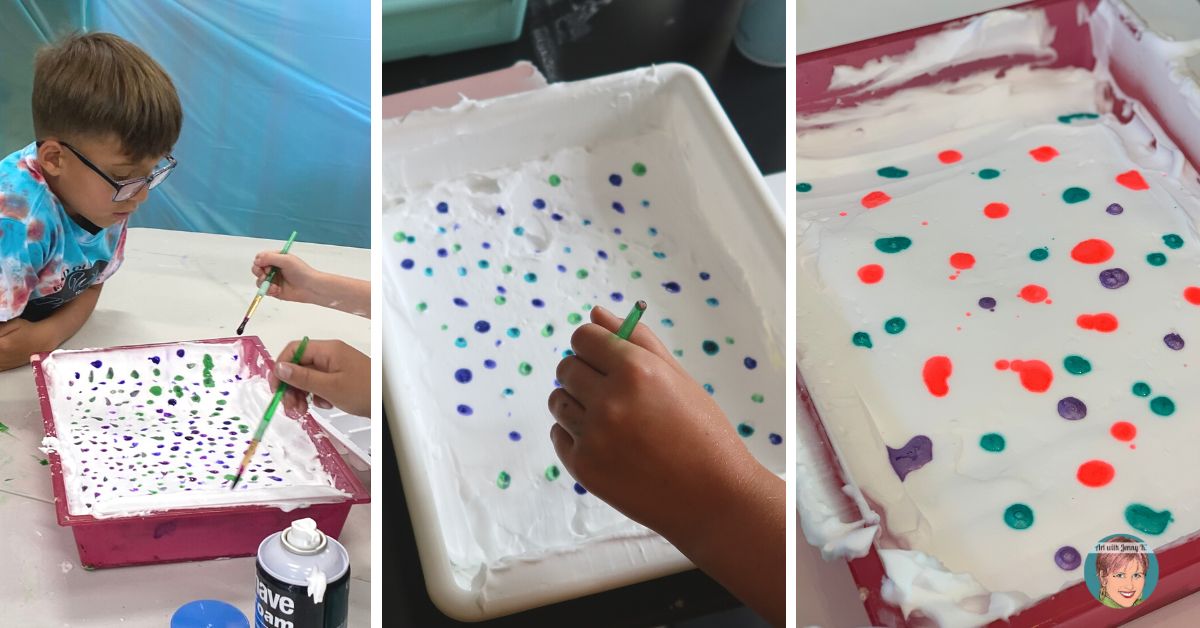
For this step, I always have about three colors of watercolor paint in an ice cube tray and sitting out for my students. When it comes to picking colors -you can do just about anything. I like to pick three colors I think will look nice together – you can always let your students choose a color scheme if you want to.
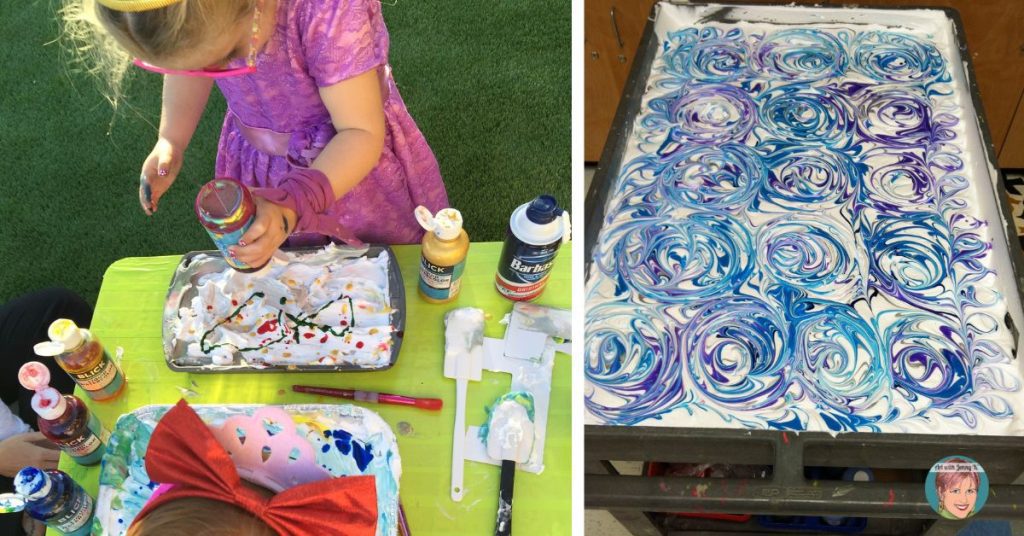
Keeping with the “icing a cake” analogy – students will put small dots of watercolor paint onto the surface of the shaving cream – to look like sprinkles, I always say. For this step, it’s important that kids don’t press too hard – we want the paint to sit on the top of the shaving cream. It’s also important that they transfer the paint onto the shaving cream with dots and blobs – no images. I always make a point to explain that they aren’t drawing on the shaving cream – just dabbing little “sprinkles” of paint onto the surface.
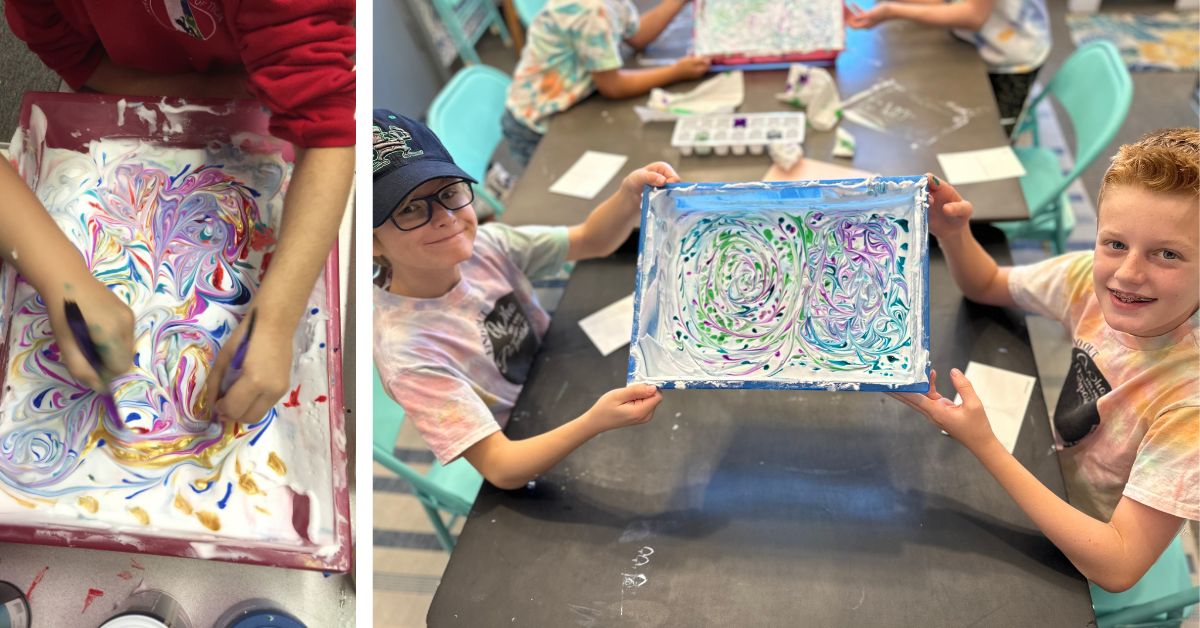
I’d say this is the fun part, but it’s all fun! However, for this step, I have my students flip their paint brush upside down and use the non-bristled side to start swirling the paint on the surface of the shaving cream. This creates the recognizable marbleized look. To swirl, I instruct my students to hold the paintbrush straight up and down and to go slowly. I often demonstrate (trying to be silly) what it looks like if you go fast and stir, and stir, and stir one section (it all gets to be one grey muddy color). I try to demonstrate that if they show restraint, the outcome will be stunning – with the white shaving cream contrasting with the colors of watercolor paint.
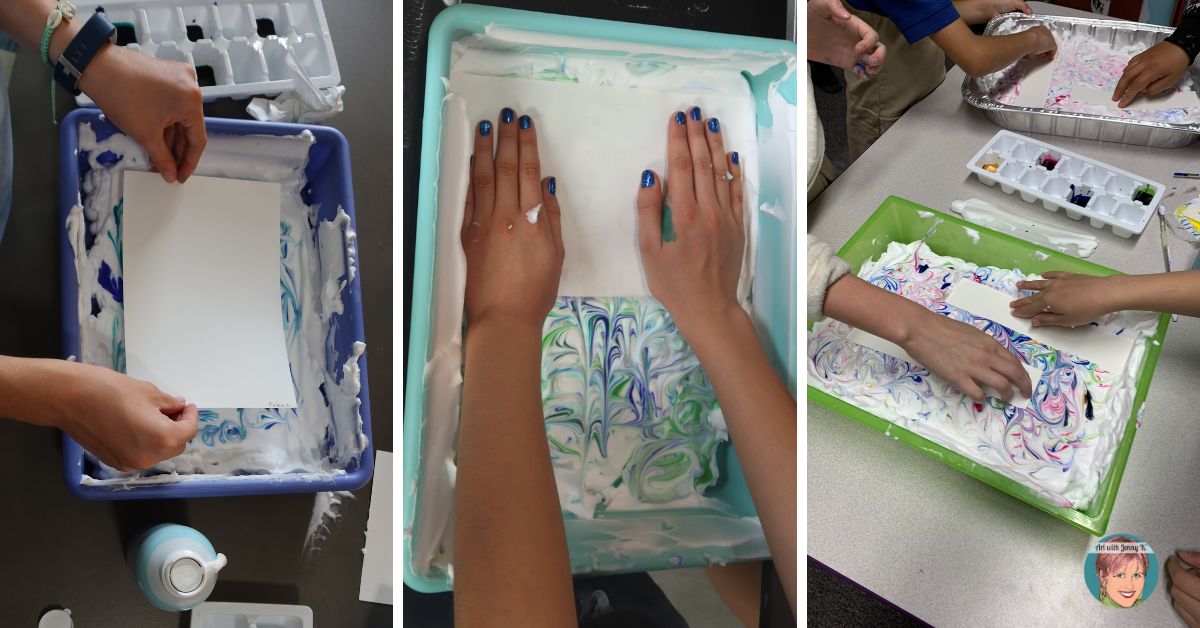
Once the swirling is done, students can put their watercolor paper on top of the shaving cream (lightly). Then, they can press the back, rubbing all over the paper – being sure to get all the corners. Instruct your students that they are making a monoprint, and as they rub, they transfer the watercolor paint onto the paper. Since this is a monoprint (one print), it can’t be made again – it’s a one-of-a-kind!
If you are using watercolor paper, you don’t have to rush his step. However, you also don’t need to wait too long – as long as you’ve rubbed the back enough to transfer the paint, you are done transferring the paint to the paper.
However, if you use thin paper (like copy paper), it will start to absorb the moisture if you leave it in too long, and it will get wet and tear in the next step. Use the thickest paper you have – even card stock is okay (it has a slick surface). I would recommend using what you have and playing around!
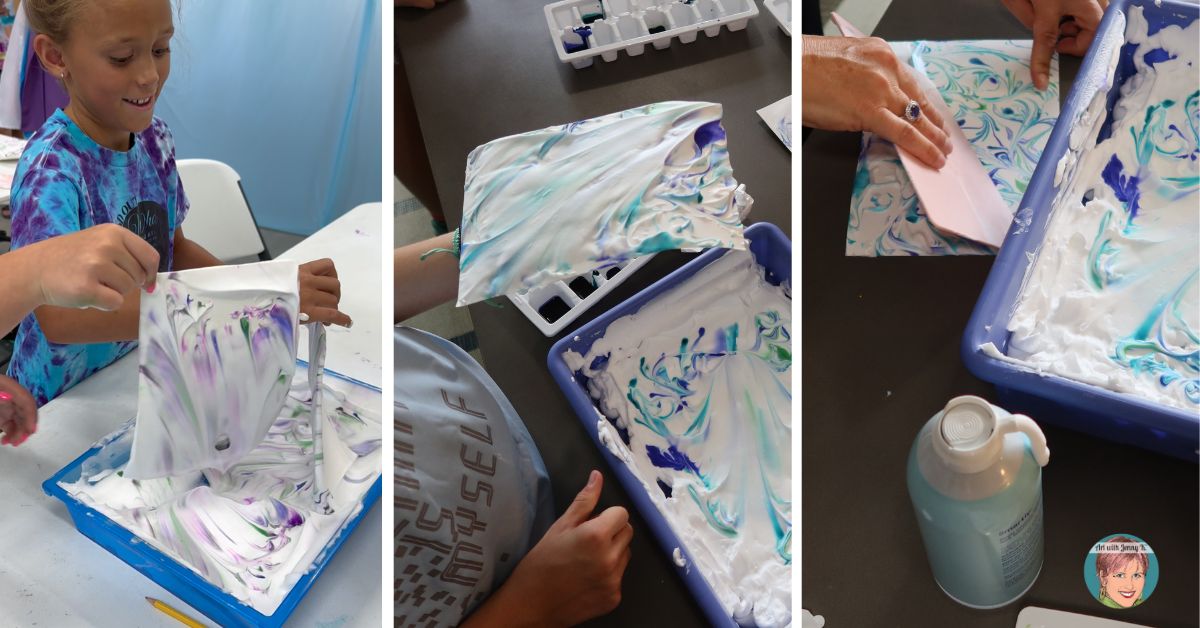
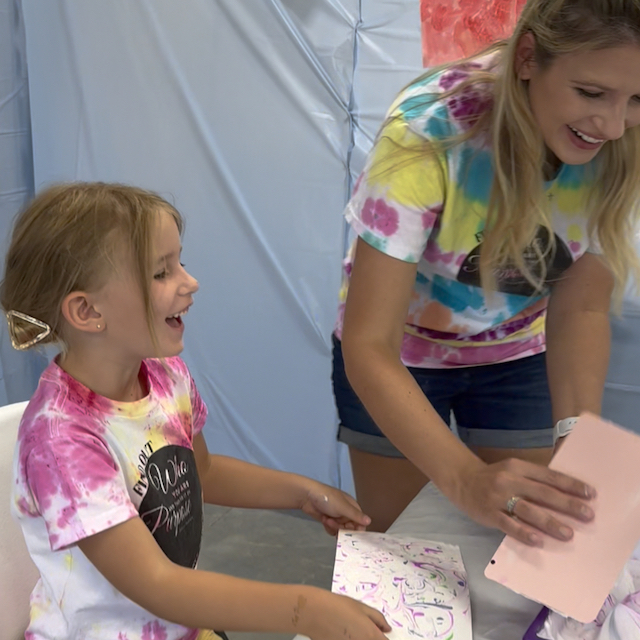
The first time I teach this lesson to a new group of children I always play a joke on them. While demonstrating this step, I pull the paper off (pulling from a corner is helpful). Then, once the paper is lifted and all the shaving cream is sticking to the paper, I say, “Oh, no, I messed it up!” Then, as the kids start to worry and wonder, I grab a squeegee (or stiff piece of cardboard) and scrape the shaving cream off (also starting at a corner). The kids immediately see the magic revealed and all say, “Wow!” ….and they laugh a little, realizing I was teasing them.
If you go slowly through all the steps of this lesson, kids can do them independently. The only step that might be hard (depending on the age of your students) is the scraping part. Sometimes, kids don’t push hard enough to get the shaving cream off in one pass – sometimes, they tear the paper if it’s too wet, etc. Of course, let them try – but this is the step where you might be needed more than others.

Ta-da! Your marvelous marbleized paper is complete, and you used shaving cream to make the transfer – how cool! As I said earlier, I have done this project countless times over the years (since 2006), and I have never gotten tired of seeing the kids’ reactions when their paper is done. It’s always magical.
The nice thing about this project is that it dries fast. By the time kids get cleaned up, it’s dry enough to take home that day. The lovely way your classroom smells is a bonus to this project!
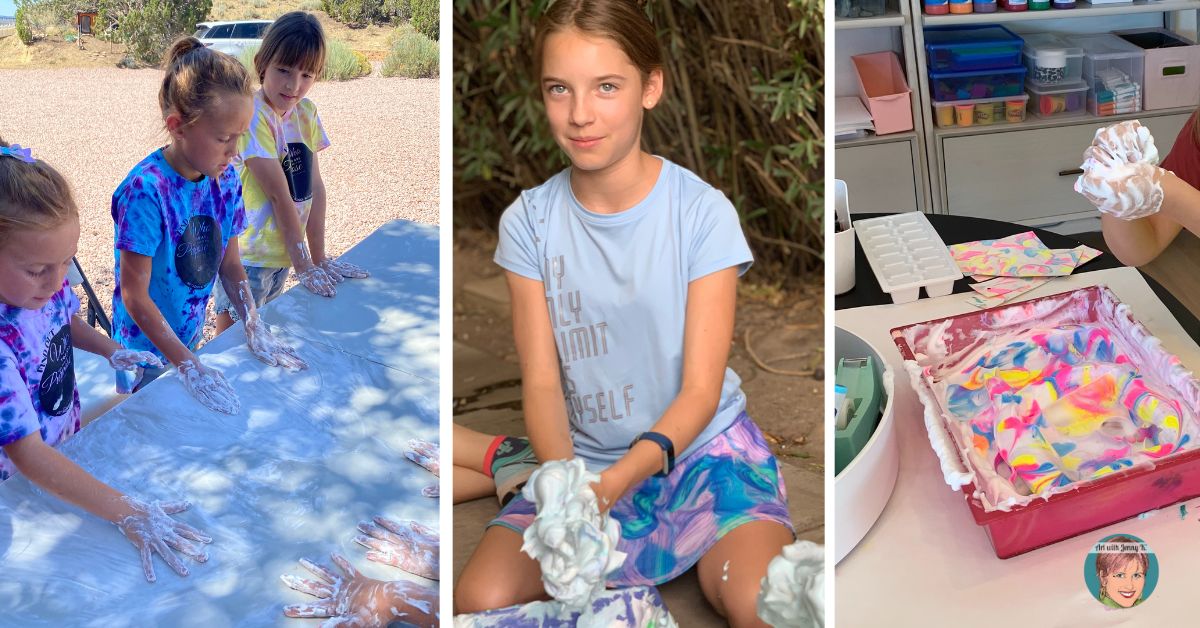
As fun as this project is, and as much as children love it. They also really want to just play with the shaving cream. I don’t always let my students play with the shaving cream – it greatly depends on how many kids I have, how I think they will handle it, and mostly if I think it will get out of hand or not. Sometimes, at the very start of the lesson, when they are goo goo eyed over the shaving cream, dreaming of sinking their hands into it, I’ll squirt a tiny drop in each of their hands and have them rub it in – it’s just soap.
Sometimes, I will let the kids play with the shaving cream. I’ve done this when I’m teaching summer art camp, and my groups are smaller. I’ve also let my students “play” by cleaning my tables with shaving cream. There are a lot of options – but even just a little dollop will make your kids very happy.
Now that you know how to make marbleized paper, you might be wondering what projects you could make using the paper. If so, make sure you check out Part 2 of my Marbleized Paper with Shaving Cream series, where I explain 8 different projects. I have included projects with different difficulty levels; easy, medium, and advanced. There is something for everyone. Classroom teachers, art teachers, and parents alike!
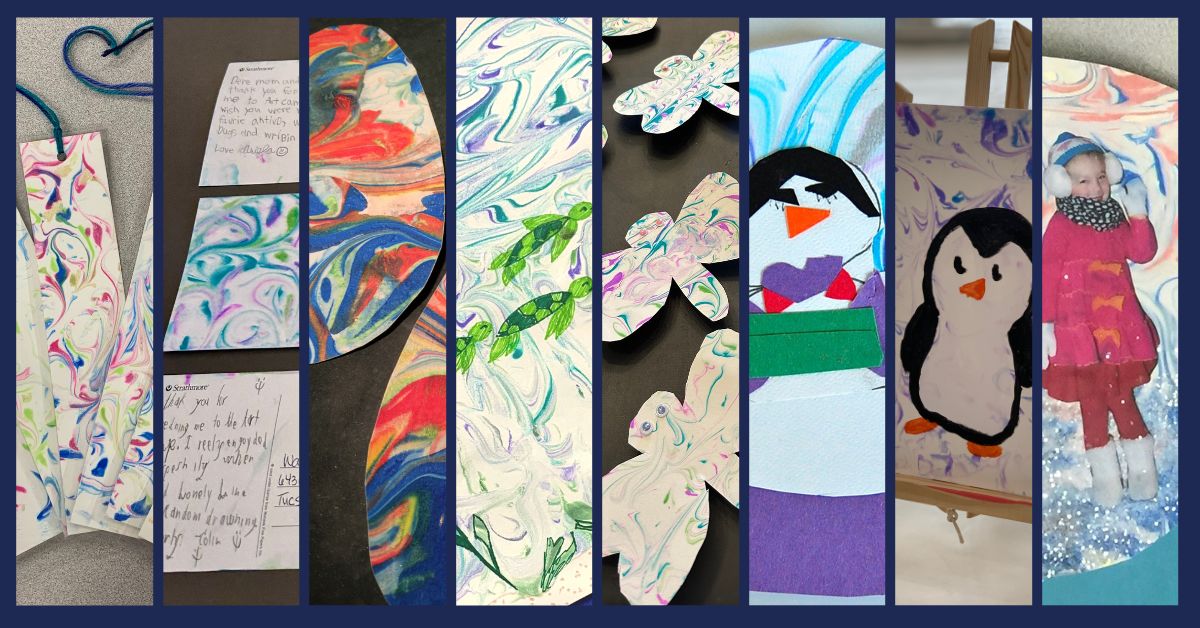
You can read Part 2: Projects to Make with Marbleized Paper HERE.
If you decide to make marbleized paper using shaving cream with your students, I’d love to see what you make. Please feel free to tag me on social media (@artwithjennyk) to show me what you’ve done. You can also reach me through my contacts page and share what you’ve done.
Thank you for reading and for making art with your students!
Jenny K.
Art with Jenny K. LLC is a participant in the Amazon Services LLC Associates Program, an affiliate advertising program designed to provide a means for sites to earn advertising fees by advertising and linking to amazon.com.


Purchase on Amazon!
Purchase on Amazon!