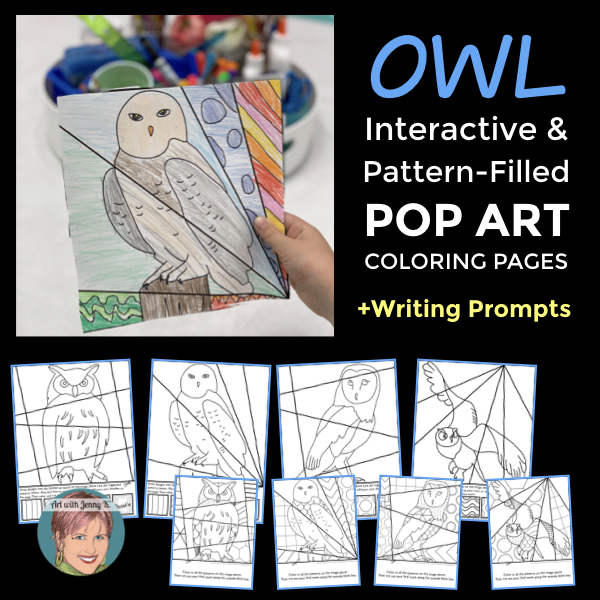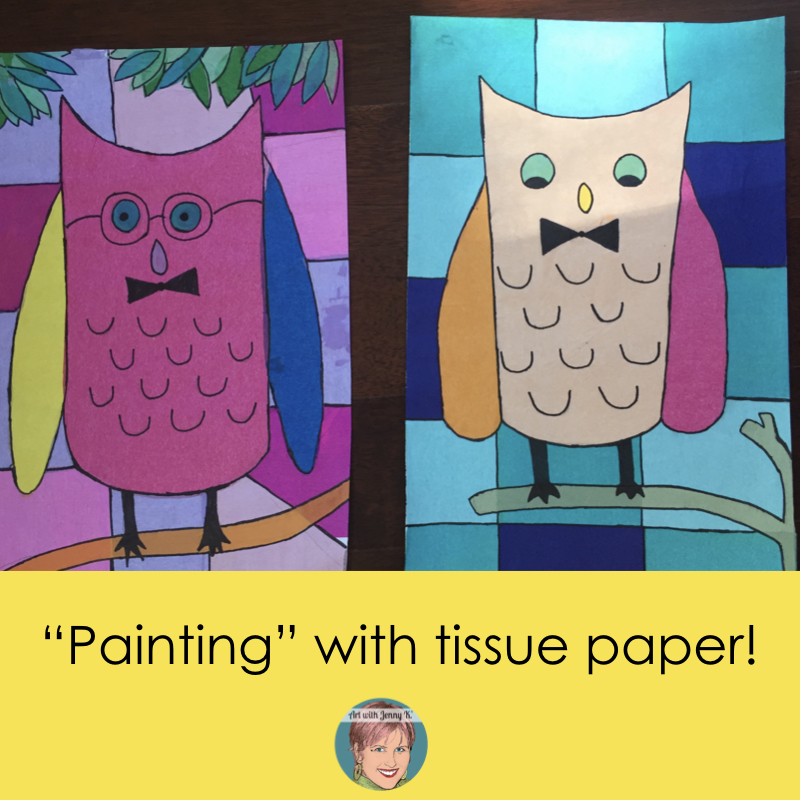
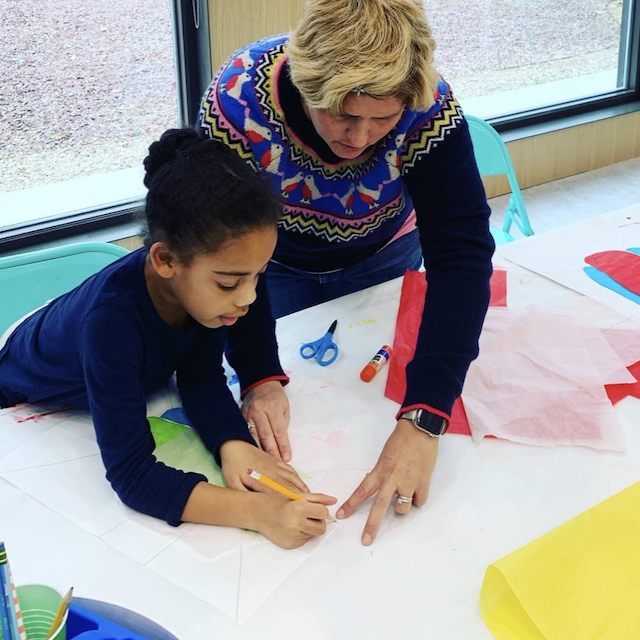
Owl Art Project: Painting with Tissue Paper
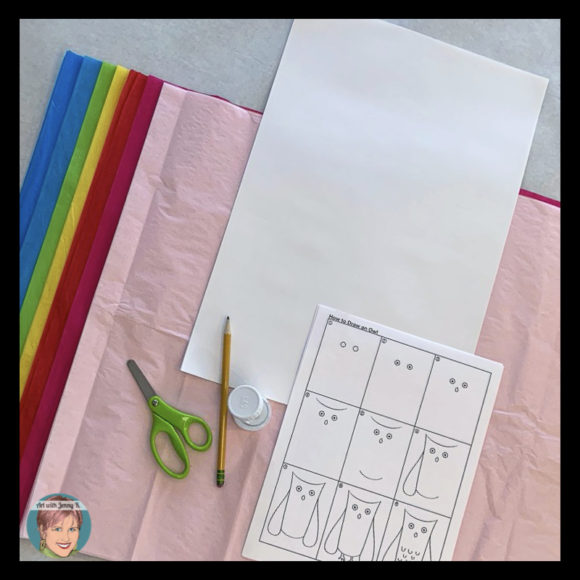
Materials
-
-
- 1 piece of paper 12” x 18”
- Pencil and eraser
- Assorted tissue paper
- Scissors
- Glue or glue stick
-
Owl Art Project Steps
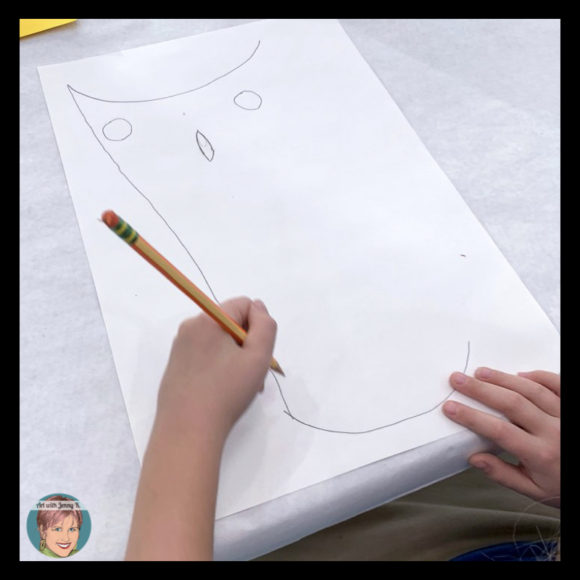
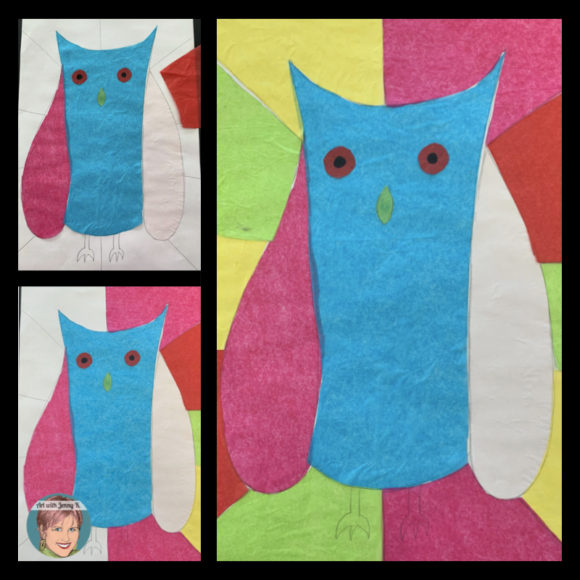
Step 1: Have your children draw an owl (or any image you want – but keep the shapes simple and large). Make sure you draw big, filling up the page, and save the small details for the end.
You can use my FREE step-by-step how-to-draw-an-owl page from Teachers Pay Teachers HERE. If you are a parent, you are, of course, welcome to use anything from this site, too – you’ll need to set up your free account first (easy to do!). Then you can download and print this PDF with the steps of how to draw an owl.
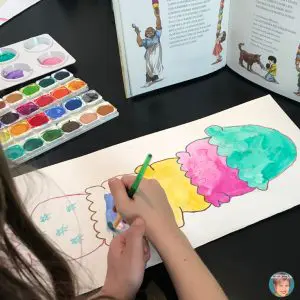
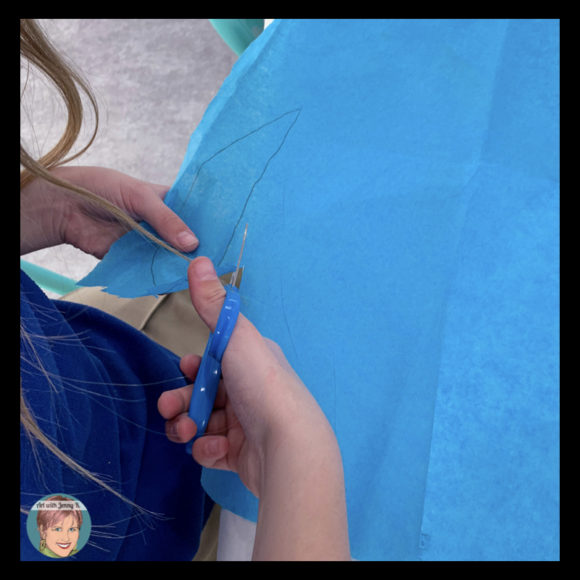
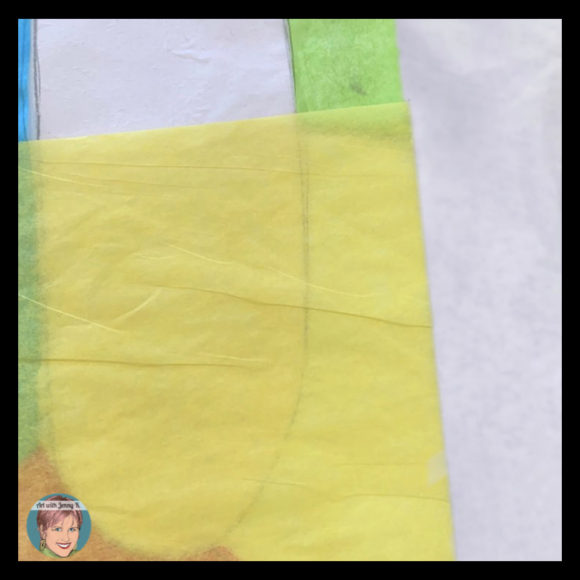
Step 2: Once the image is drawn, place a piece of tissue paper (using the color of choice) over a drawing section – in this example, the wing. Trace the shape onto the tissue paper (tissue paper is like tracing paper – you can easily see through it).
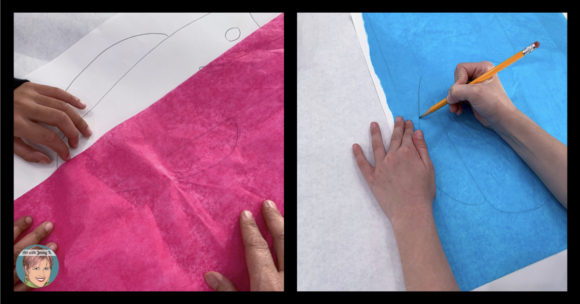
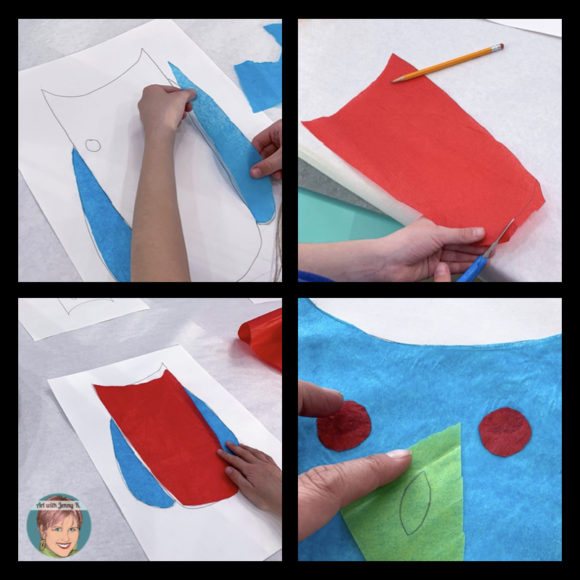
Step 3: Then cut out that shape from the tissue paper.
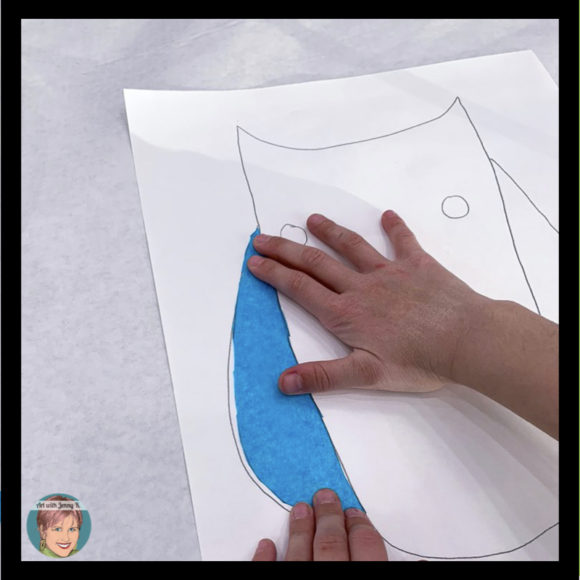
Step 4: Now, on the paper with the drawing, cover the wing area (and only the area of the wing) with glue. Glue sticks work best if you have them. If not, use regular glue, but smooth it out on the paper with a paintbrush, so you have an even layer of glue and not large drops of glue.

Troubleshooting: Don’t apply glue directly to the tissue paper – it will tear easily, and be hard to transfer the glue this way, and the child will have to re-do the last step.
Step 5: Place the tissue paper over the area with the glue.
Step 6: Repeat this process for the other wing, the large section of the body, and also trace and cut out the eyes and beak (to add onto the large body section).
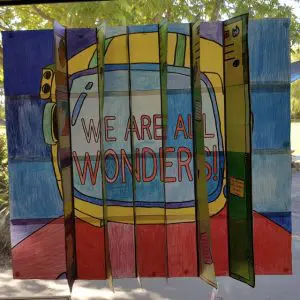
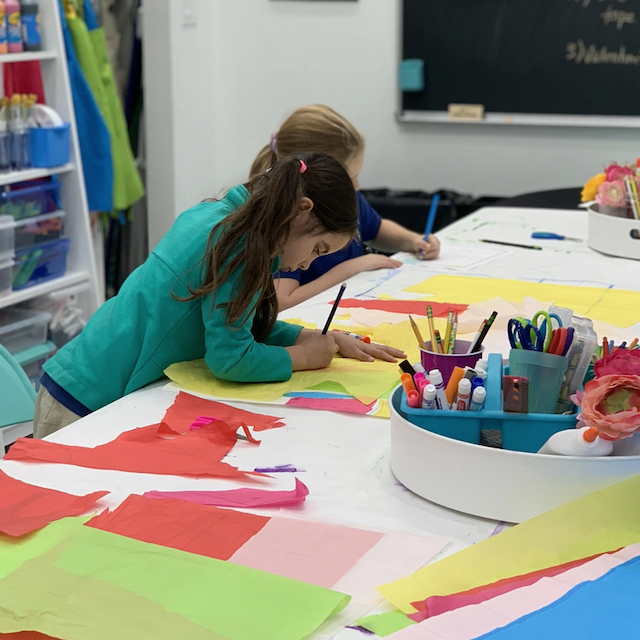
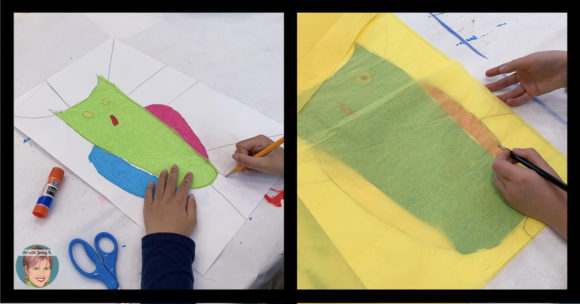
Step 7: For the background. Have the children divide the background into smaller sections. Then, repeat the process of tracing, cutting, and gluing the tissue paper into the spaces of the background.
Tip: When you are doing the background, you’ll notice that the tissue paper has a natural straight edge (using new pieces). If you line up the straight edge of the tissue paper with the straight edge of the paper, at least one cut will already be finished.
Make sure that once the entire owl is complete, your students go through and glue down any pieces that may be still sticking up.
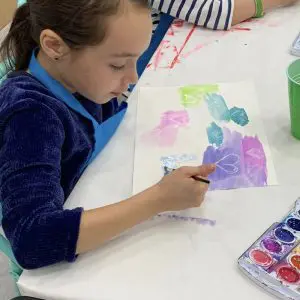
Optional: You can water down glue and give your students small cups of glue and a paintbrush. They can then put a light layer of glue onto the tissue paper to help it all stay down.
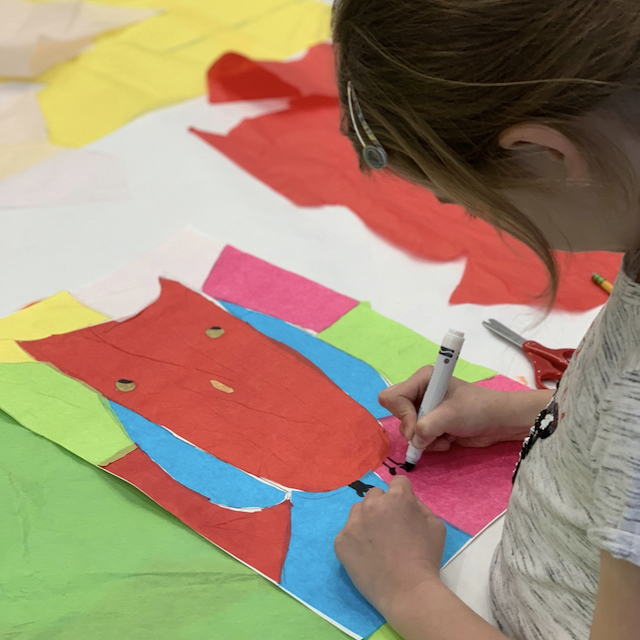
Step 8: For the last step, we added some small details. Using a black marker, we drew on the feet and the feathers in the body.
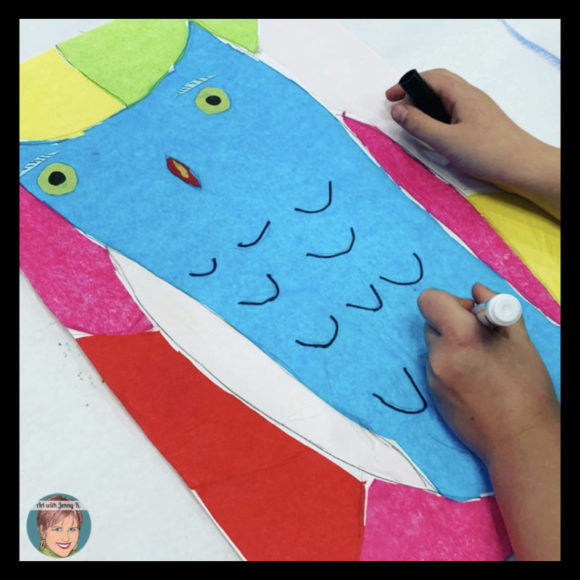
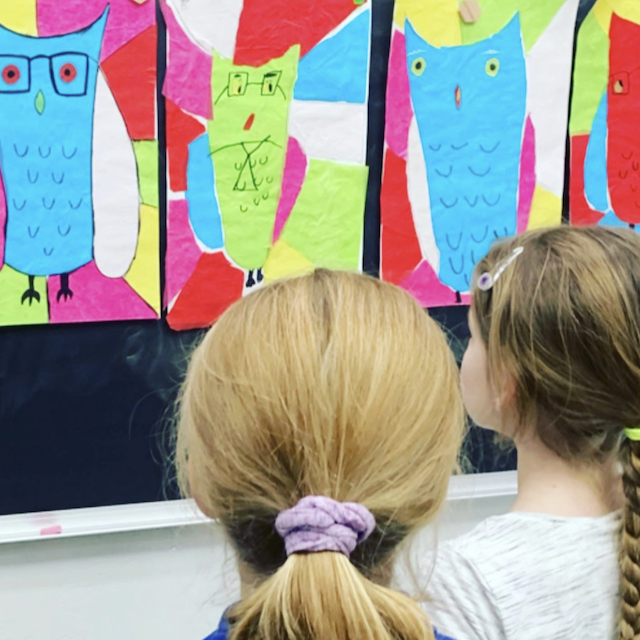
We also (optionally) added glasses to our owl art project to make them wise owls!
Thanks for reading and for making art with your children. I hope they love this owl art project as much as we did!
Jenny K.