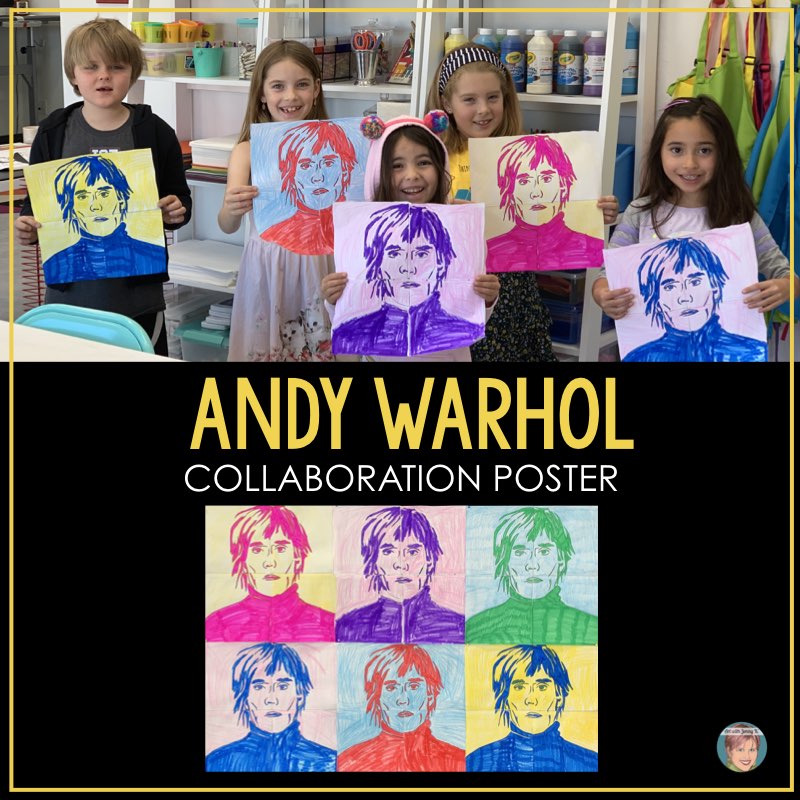
This Andy Warhol soup cans art project will be a huge hit with your kids—at school or your children at home. My students loved it, and I think yours will, too. Plus, you can modify this lesson in many ways—all of which I explain in this post!
Children love directed drawing, also commonly known as step-by-step drawing. When I teach this way of drawing, I like to do something a little extra special to keep the kids focused and engaged…
I first “sing” the steps (I put sing in quotes because I can’t hold a tune to save my life).
Then, the children sing the instructions back to me while creating the part of the drawing I have just instructed.
It’s like a call-and-response system where I sing and do a step, and then they follow by singing and doing the step. I have found that this keeps the class together, and children don’t spend a lot of time erasing and then getting lost and behind the rest of us.
If you are having your kids use a pencil, you can always give them time to go back and erase later.
This call-and-response singing is a technique I use with almost all of my directed drawing lessons. So much so that recently, when I was getting ready to lead my students through a project, one of my students even asked me if we would sing the steps! (They are getting to know me pretty well!)
I have put together a video of how I do this with my students. It works so well that I’m willing to embarrass myself to show you—hoping that you will use this technique with your students.
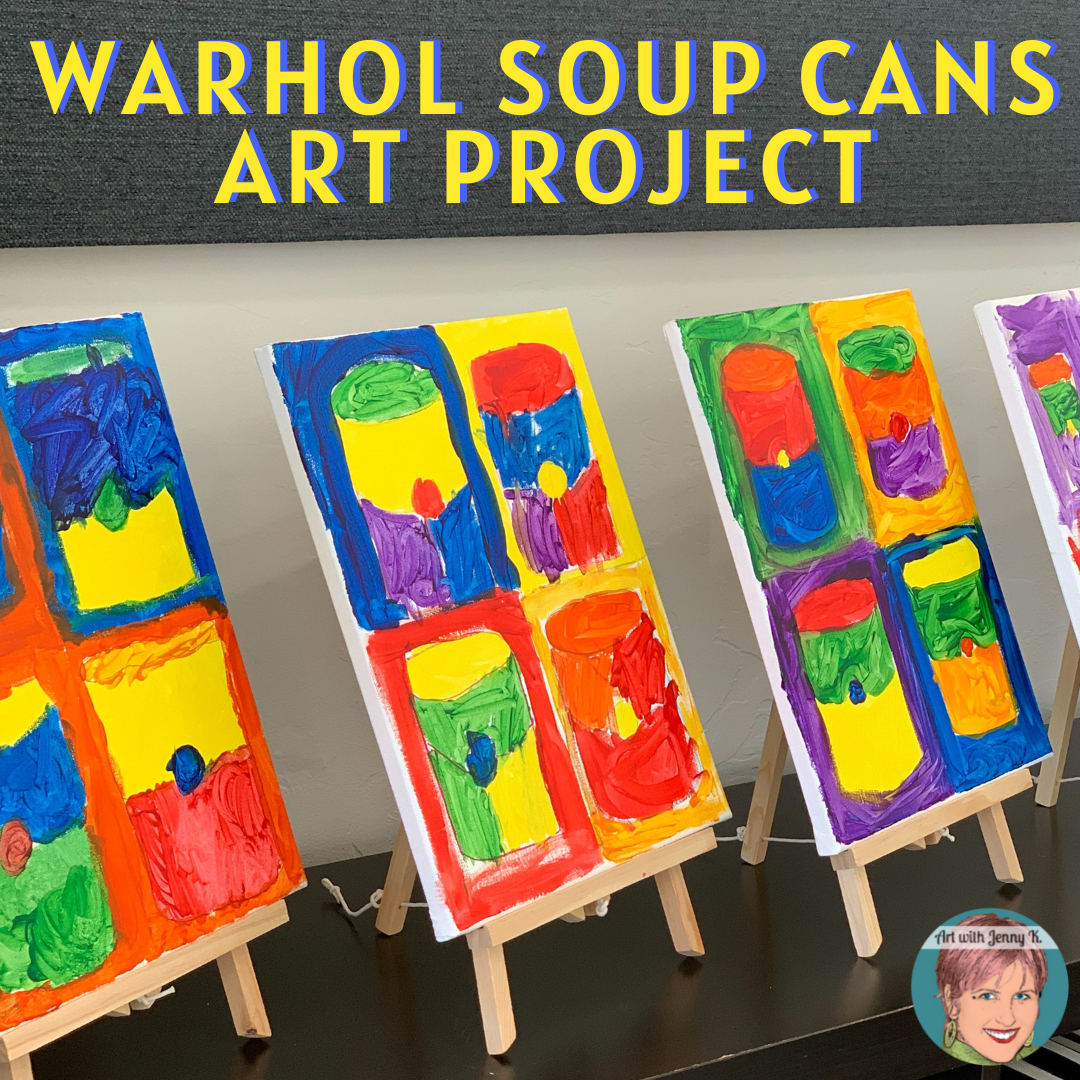
Warhol Soup Cans Art Project
Materials:
-
-
- 11” x 14” canvas
- Sharpie markers
- acrylic paint
- paintbrushes
- aprons or smocks (since Sharpies and acrylic paint are permanent)
-
Modifications:
There are MANY ways you could modify this lesson. Here are a few ideas.
You can easily modify this lesson on paper with tempera paint, watercolor paint, or simple coloring tools like crayons, colored pencils, or markers. I have a YouTube video that shows this lesson modified in such a way. You can see it HERE.
If you didn’t want to do a grouping of four small “soup cans” on one canvas (Warhol style), you could do one large soup can. I have an entire blog post about how you could do that HERE.
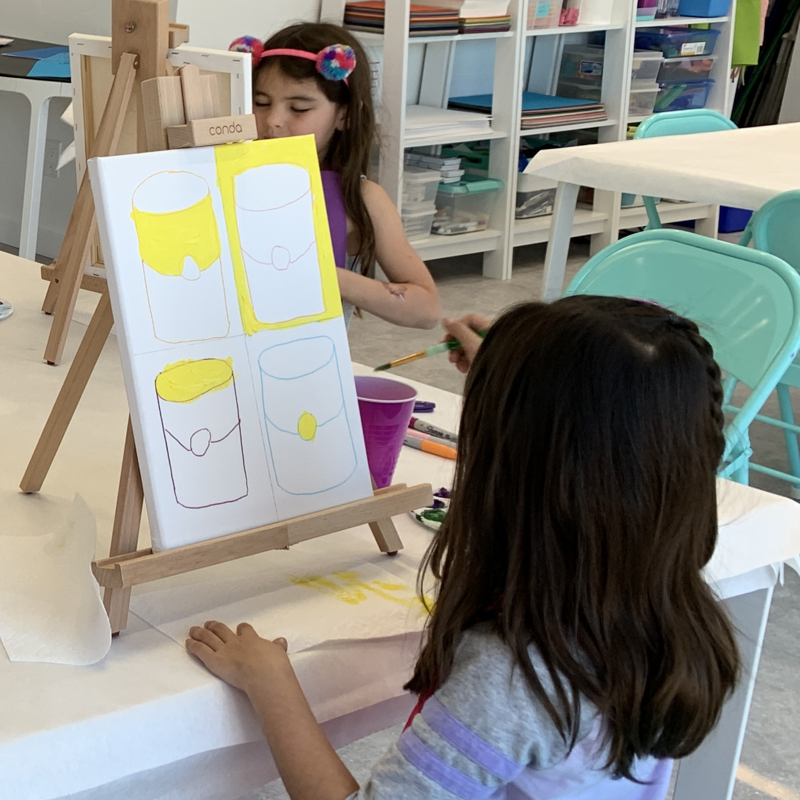
Step 1
The first step is to draw a “soup can,” a.k.a., cylinder, onto a section of the canvas. Children love to draw things in 3D. I have a handout to help you out with this step. You can download it HERE. Feel free to go through the steps with them a few times on paper to be comfortable. Then start on the canvas.
TIP: Before my students arrived, I divided the canvas into four sections. I did this because we were working on canvas, and I didn’t want the kids to press too hard with a pencil and dent the canvas. However, you could certainly have your children to this part—especially on paper. It’s a great, simple lesson on fractions to boot!

Step 2
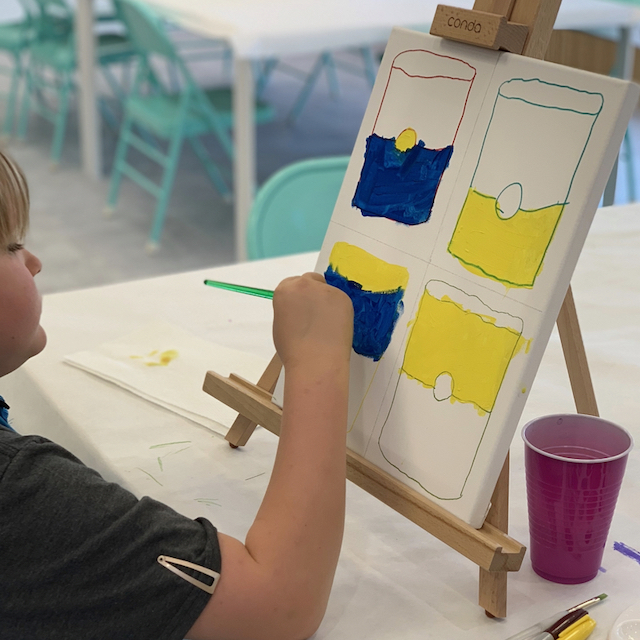
After you have drawn one soup can, you’ll want to repeat that process in the other three spaces, so there are a total of four soup cans.
TIP: I had my students draw a portion of this lesson with colorful Sharpie markers to control their lines better and keep the cans smaller. However, you could let your students jump right in using the paint (this will depend on your students’ age and skill level).

Step 3
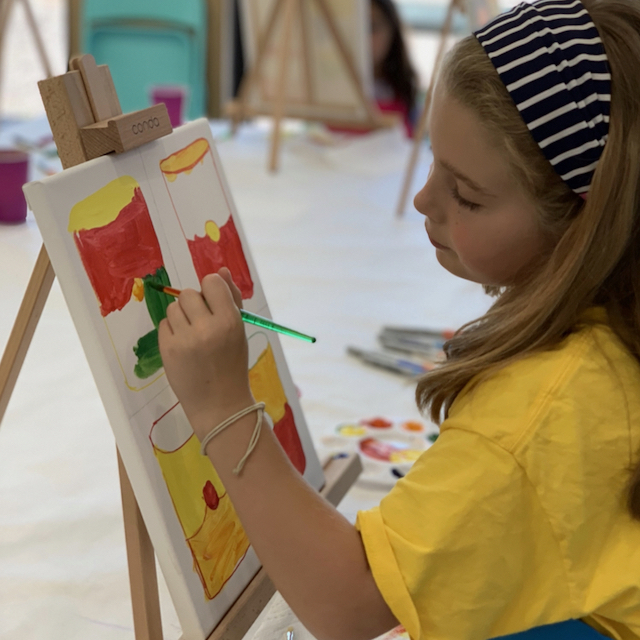
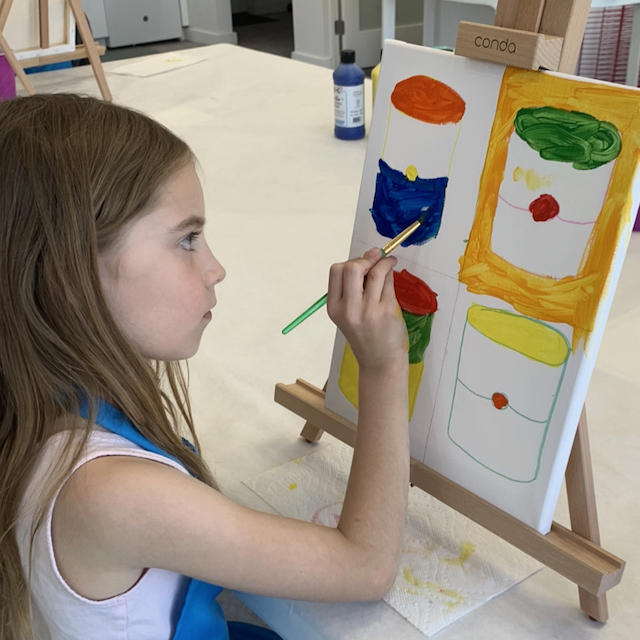
Once all the soup cans are drawn, you’ll have your students paint the soup cans with bright colors. Have your students start with light colors like yellow and orange and work toward purple.

TIP: It’s helpful to teach children to paint from light to dark colors so they can keep their rinse water clean longer and keep their paintings brighter!
Once your students have completed all of these steps, they will have their own Warhol Soup Can Paintings.

I do hope your students enjoy this Warhol Soup Cans art project—my students sure did.
…and don’t forget to sing.
Be brave!
Jump in and “sing” the steps for how to draw the soup cans. Your students will love it, it really works, and I’ll be super proud of you.
Trust me; if I can do it, you can do it!
Thanks for reading,
Jenny K.