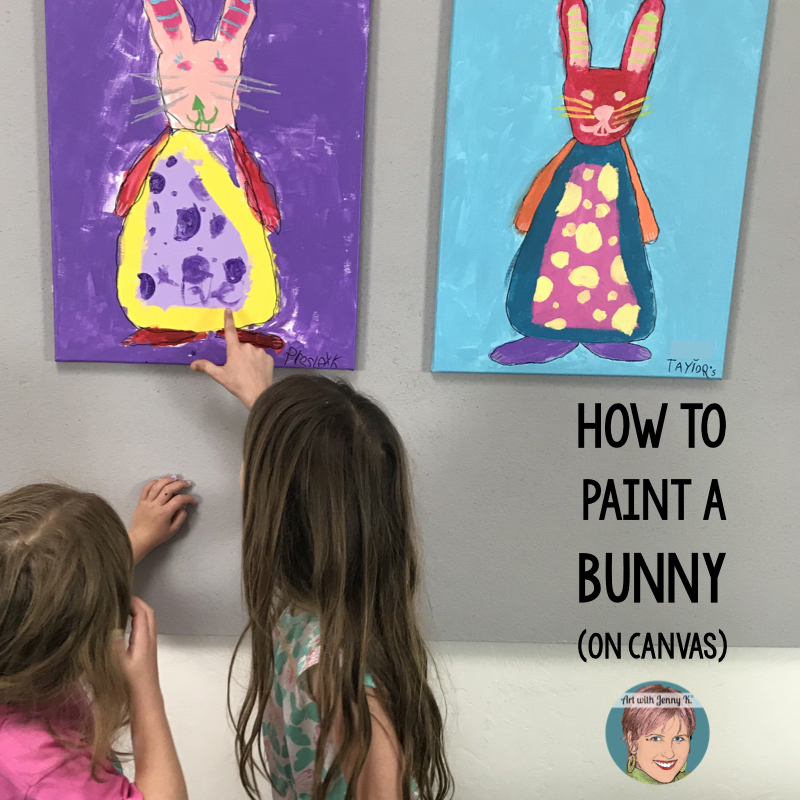

This post is specifically about how to paint a bunny on canvas. However, the steps are easy to adapt to other animals or can be used with other directed drawing (how-to) pages you might have. Let’s get started.
Supplies
Then you will want to gather your supplies. Many of them are things you might already have around. However, you might want to get some of the supplies I like to use. I have compiled a list of supplies to make this easy for you. The links below that take you to Amazon are affiliate links (see disclosure here).
-
-
- pencil & eraser
- paper (about the same size as the canvas you are going to use)
- paint palette
- canvas (pre-stretched and gessoed works best, but if you know how to stretch and gesso your own, go for it!)
- acrylic paint (older students), tempera paint (younger students)
- sharpie/permanent black markers
-
Part 1: Draw
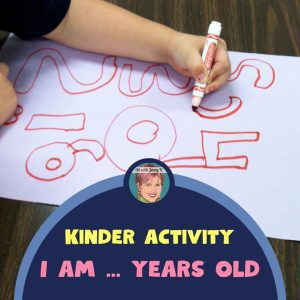
To get started, have your students practice drawing a bunny with my FREE step-by-step directions sheet onto a piece of paper about the size of the canvas you are using. If you haven’t already downloaded it, you can do so HERE.
The size of the canvas is up to you. Use what you have or can get at the price that fits your budget. However, the rabbit must fill the canvas as much as possible. So when your students are practicing their drawing, have them focus on the large shapes of the rabbit. The details can wait until later.
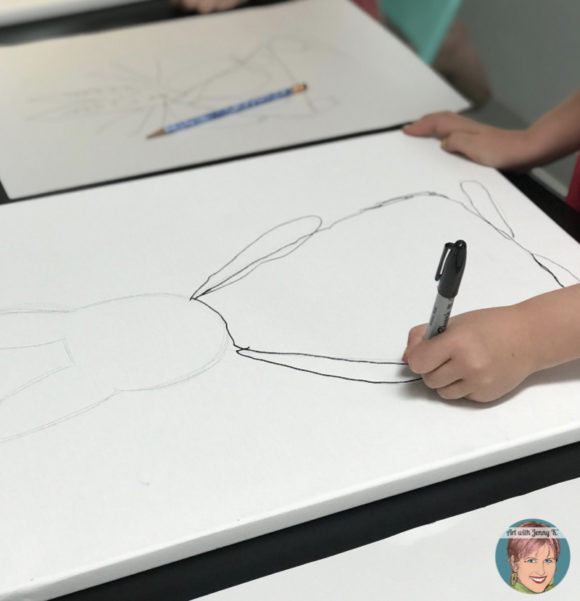
Once they have practiced and feel confident drawing the bunny, have your students draw the rabbit on the canvas. First, they should use a pencil. Then have them trace over their pencil drawing with a permanent marker. Depending on the age of your students, you can offer a little assistance with this step to help them get the rabbit to fill the entire canvas. The rabbit must be large, so it’s easier to paint.
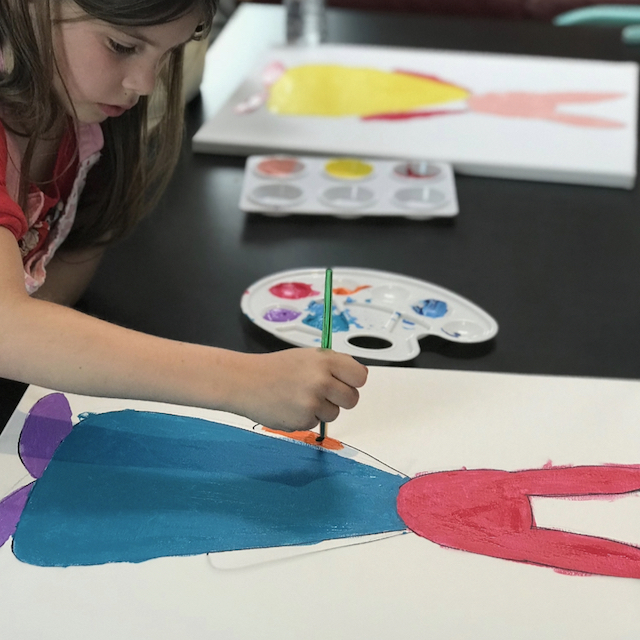
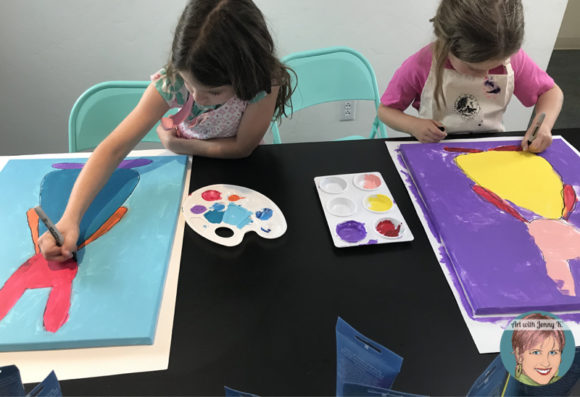
Part 2: Paint
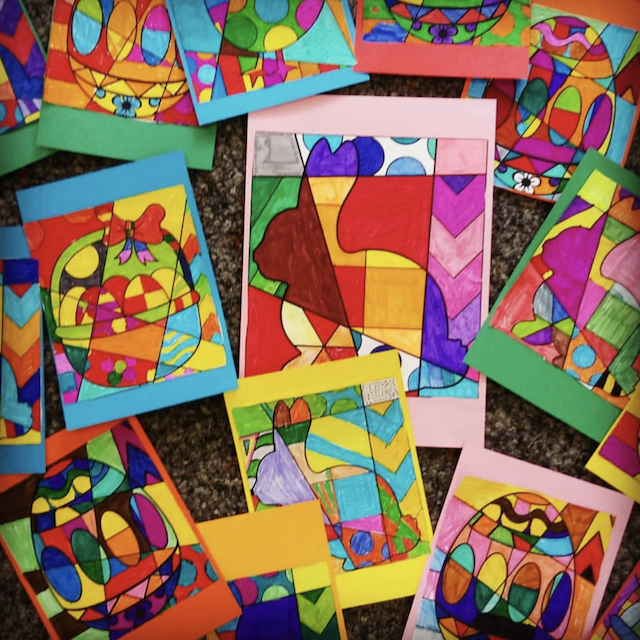
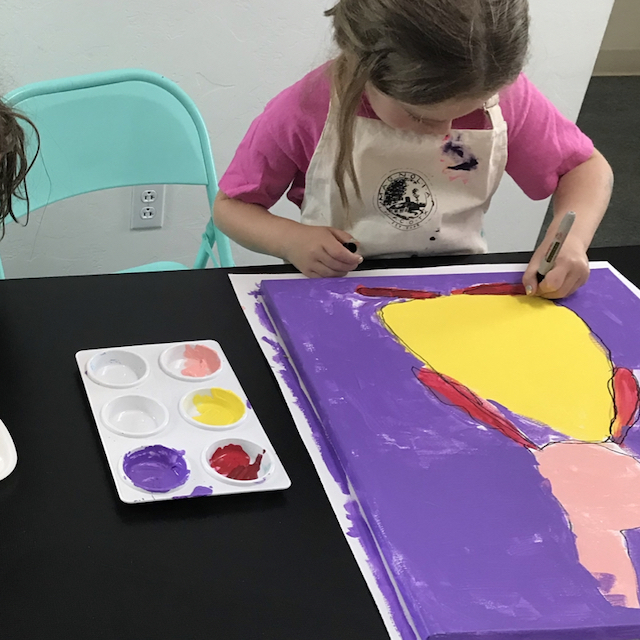
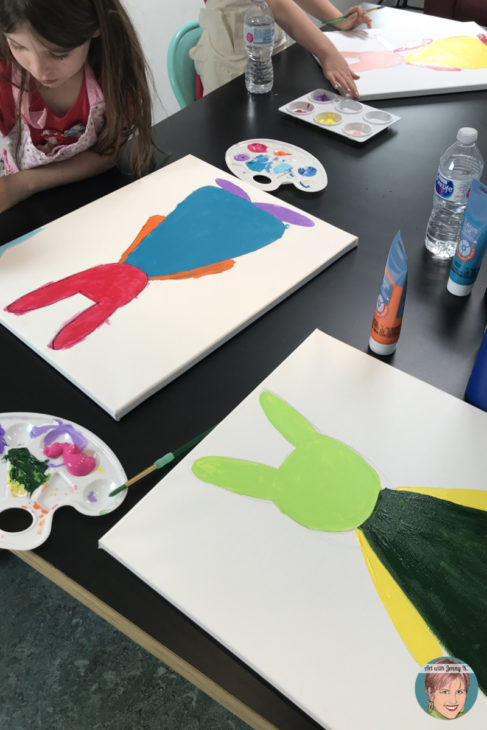
Now that the bunny is drawn on the canvas, it’s time to paint. Instruct your students to paint the large sections of the bunny with solid colors—shapes like the face, body, arms, and feet. There shouldn’t be any painting in the eyes or other details yet. That comes later. This is just blocking in the spaces with solid colors.
There are many ways you can go about giving out the paint for this step. You can have individual colors in their own containers with a brush assigned to each color. For example, a small cup of red paint with a brush for red, and then a small cup of blue with a brush just for blue paint. This will minimize all brush washing in between colors. Brush washing is easy enough to do with your own children at home but is harder with many students. For a classroom, I’d recommend that each student gets a palette of paint with a set number of colors—say 5 colors—and a cup of water. Instruct them to paint from the lightest color to the darkest to keep the rinse water clean longer.
Again, remind your children not to paint in any details yet—just blocks of colors!
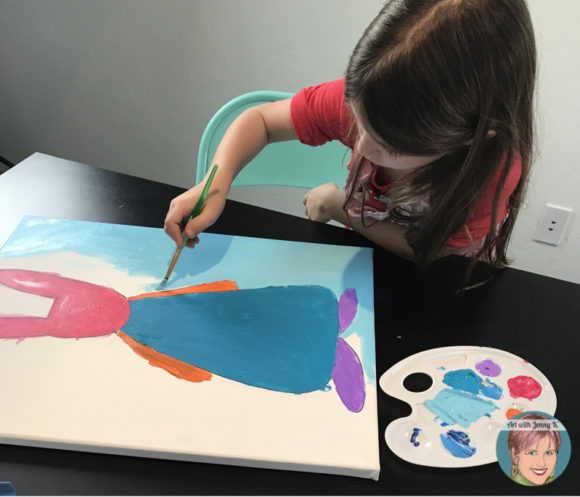
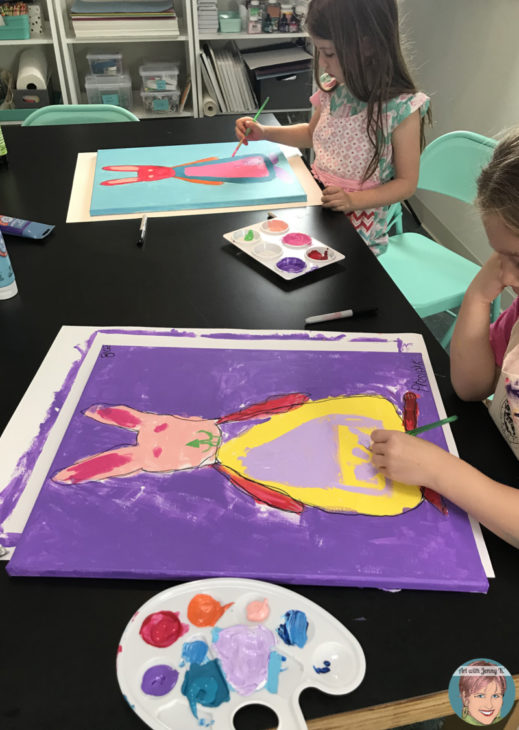
Next, have your students paint the background. If the children haven’t had much exposure to art projects, they may think when you say “background” that you mean the back of the painting. This is a good time to explain that the background is the space “behind” the bunny.
This step is optional: after the background is painted and both the bunny and the background are dry, you can have your students outline the bunny with a black sharpie again. If you are working with older children, they could outline with black paint. While this step is optional, I think it helps make the bunny stand out a bit more.
Having your students paint the bunny first and the background second allows time for the bunny to dry. Once they are finished painting the background, the bunny should be dry, and details can be added.
Have your students paint a large section for the belly. This is a good time to have students think about what colors will work well together. Adding a little bit of white to just about any color will make it opaque enough to cover darker colors. You can see this in the picture above, where the pink belly covers the rabbit’s darker blue belly.
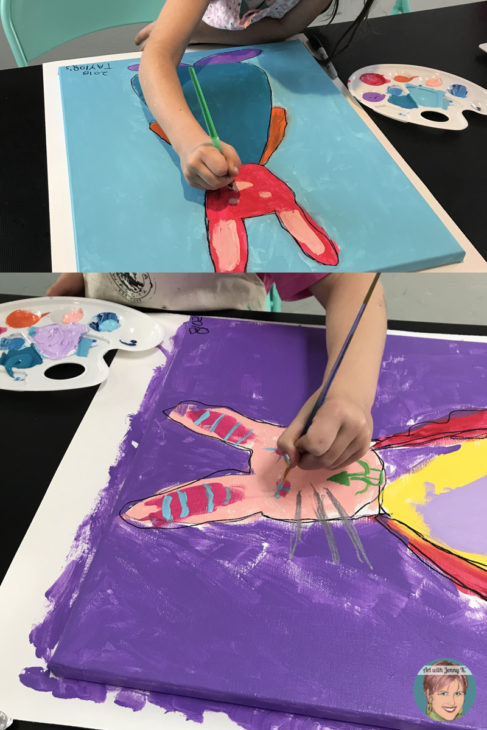
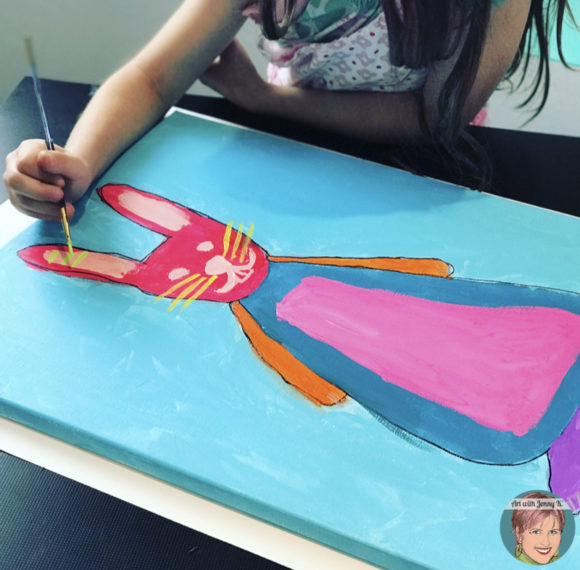
Next, have children paint the face on the bunny and the details like whiskers and maybe even eyelashes! Encourage children to add details and patterns that they like. This encourages as much of their creativity as possible.
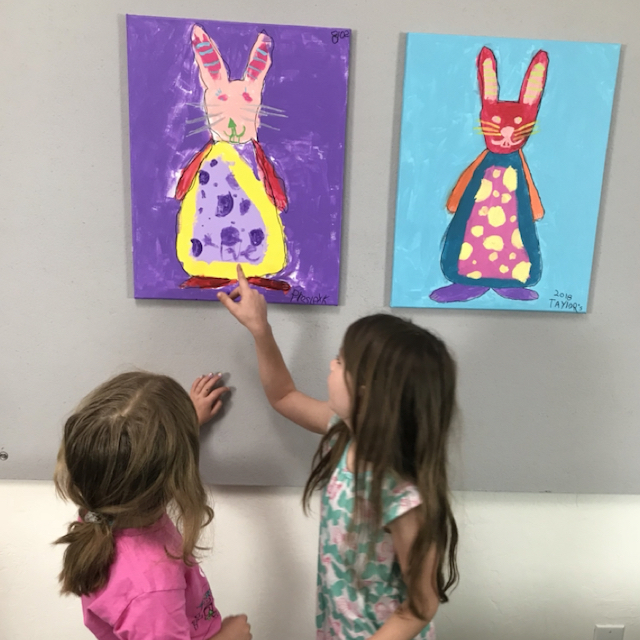
Once the paintings are dry, hang them up and do a little gallery walk with your students —let them look at the work of others and notice colors, shapes, patterns, and the decisions others made.
If you are doing this with your own children at home, try taking down a piece of art in your living room or family room and hanging up your child’s new artwork to show them how much you value their art and creativity!
Thanks for reading and for making art with your students/children!
Jenny K.