International Dot Day (yes, it’s a real thing) is a fun day to celebrate creativity with your students. This official day is always on September 15th, and it is focused on the book, The Dot (affiliate link to Amazon.) by Peter Reynolds and encourages children to “leave their mark” (figuratively and literally). It’s a great book to read to your students to support their own unique talents. If you are an educator, you most likely know the book!
I’ve done a Dot Day art project in the past. You can see one of those posts HERE.
But this year, I wanted to put a little different spin on Dot Day. I had just completed a new collaboration poster of Georges Seurat’s A Sunday Afternoon on the Island of La Grande Jatte. I realized this would be the perfect (and unique) Dot Day art project.
A Unique Dot Day Art Project
Materials:
-
-
- Seurat collaboration poster (available on Teachers Pay Teachers HERE)
- Markers (work best), colored pencils, crayons
- Scissors
- Tape
-
Here’s what the fourth graders and I did.
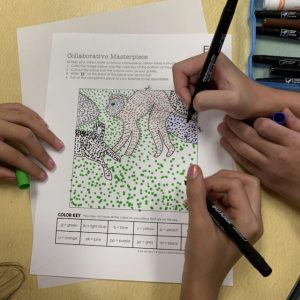
Before starting, I printed the pages of my collaboration poster (available on Teachers Pay Teachers HERE). To help prep, I also printed the individual coloring page (enough for each child). And I organized all the supplies they would need into individual boxes. The kids need various color markers and scissors to do this project.
Instructions:
Step 1: I gave the kids some background by reading the story The Dot, showing them an example of Seurats’ iconic artwork (pointing out how it is completely made up of little dots), and then talked to them about Pointillism.
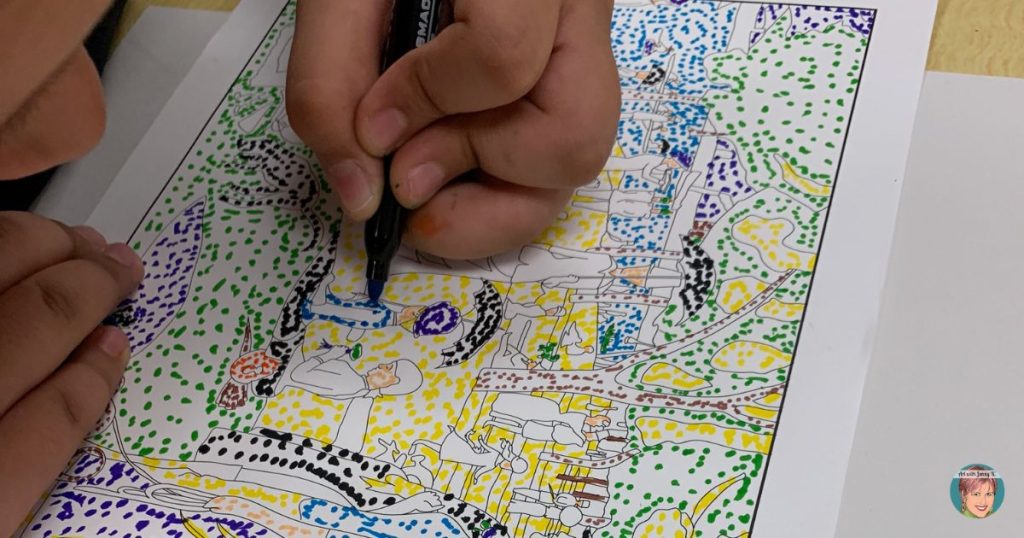
Step 2: After giving each student one piece of the collaborative poster, the students put little dots in each of the spaces assigned different colors.
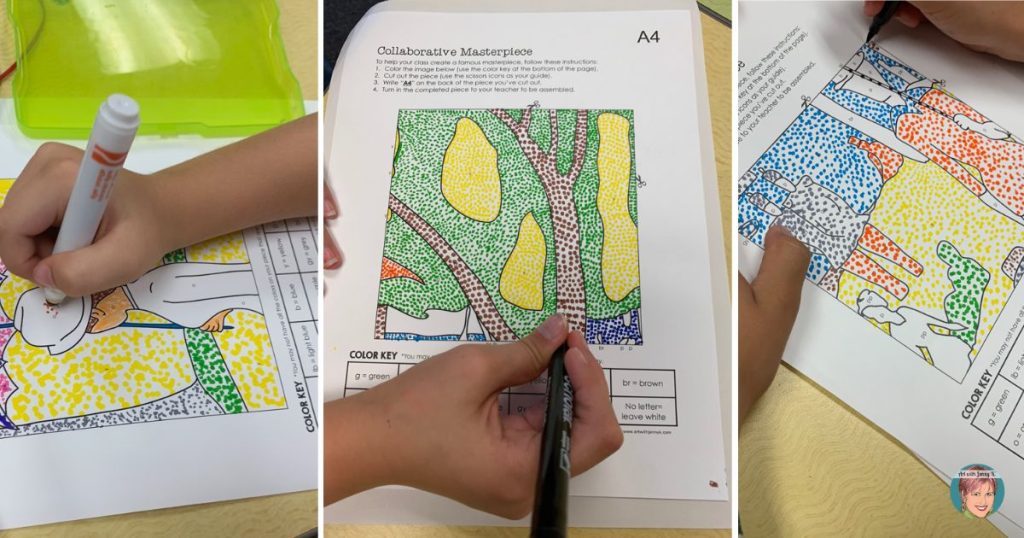
Some flew through this, while others went painstakingly through each part and made perfect little dots. Each student added colors and dots in their own individual ways. If you had more advanced supplies and older students, you could talk more about how colors mix to create secondary colors like orange, green, and purple. Adjust this based on your students’ experience.
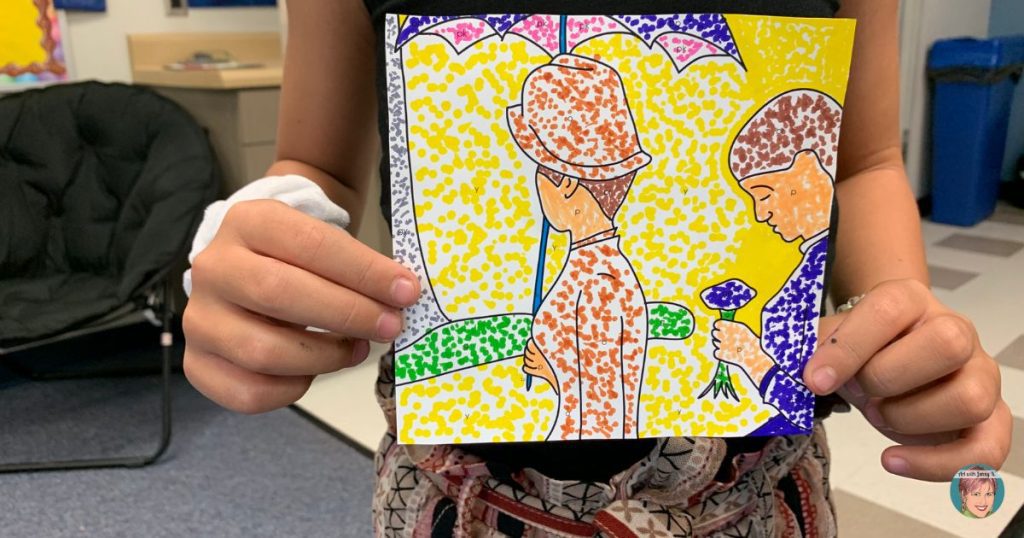
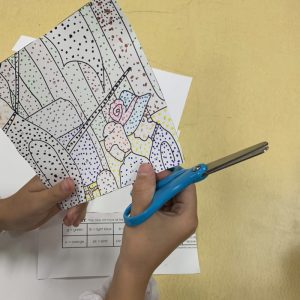
Step 3: After each child colored their poster piece using only dots, they cut out their piece.
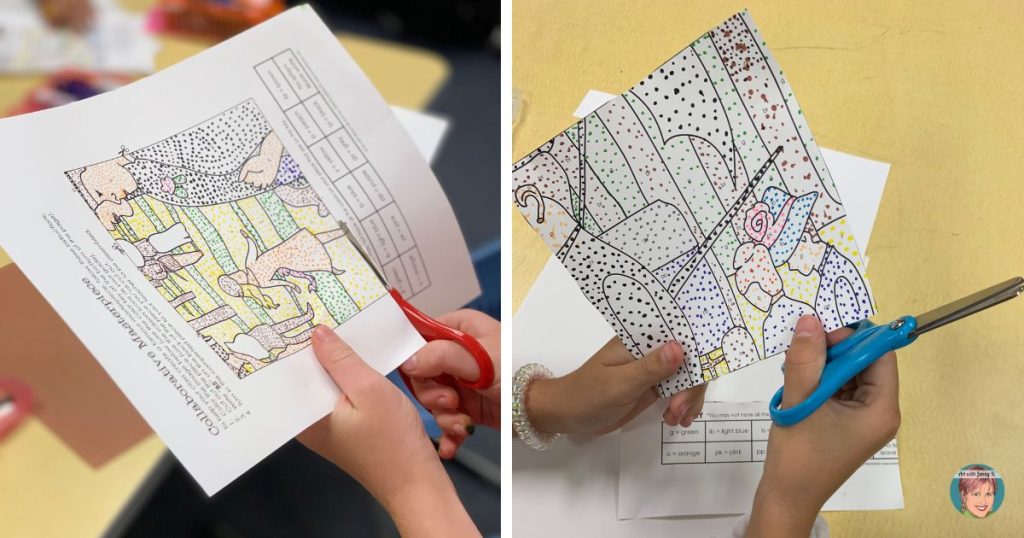
Step 4: Each student wrote the corresponding grid number/letter combination on the back (A1, A2, etc.). Then I stacked the final individual pieces in piles by rows.
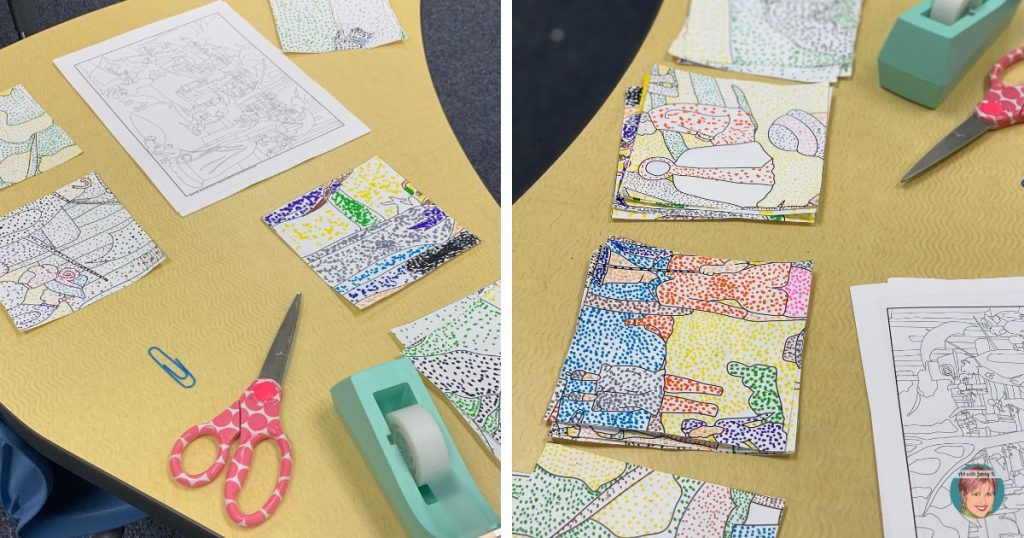
Since there weren’t enough students in the class to do every piece of the collaboration poster, some kids got to do two. Which they were eager to do!
Step 5: We assembled the poster
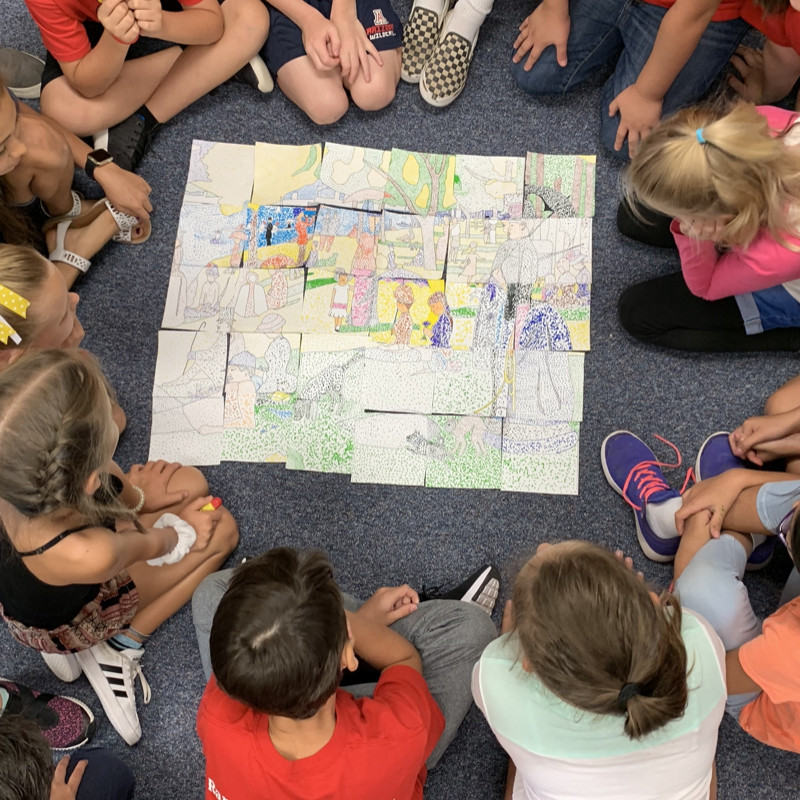
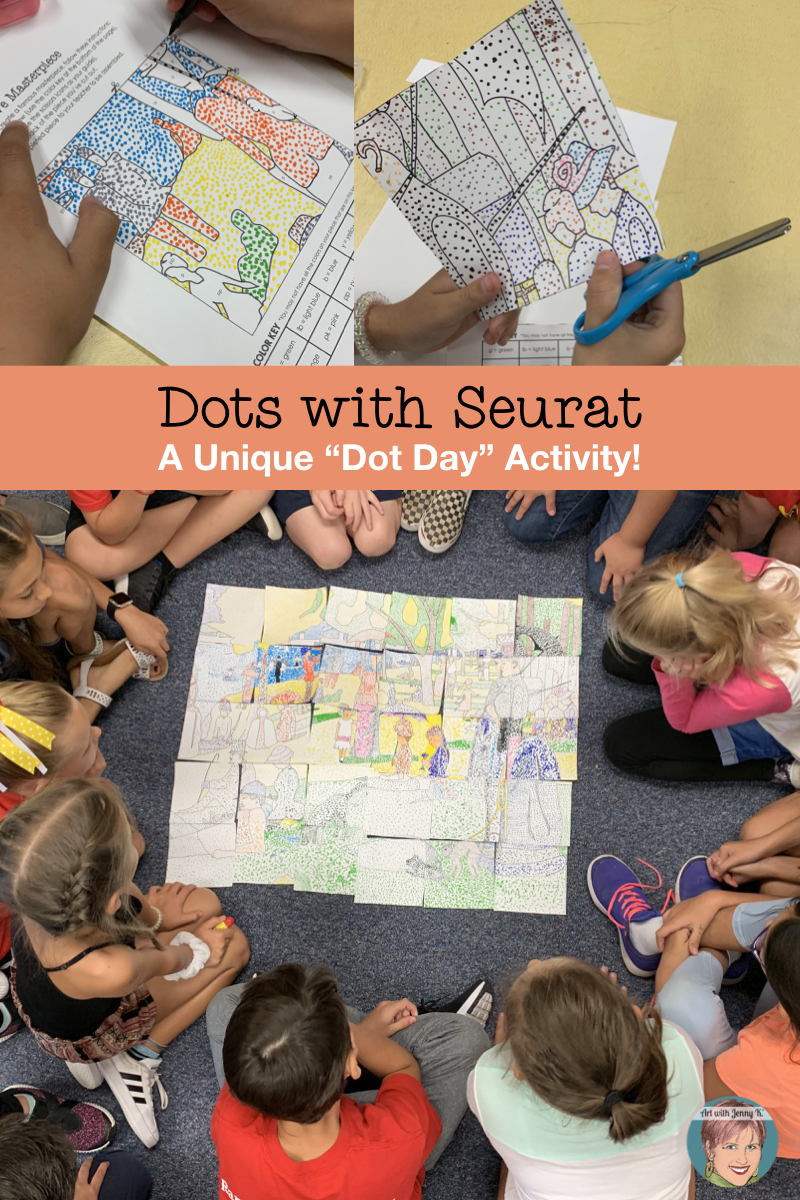
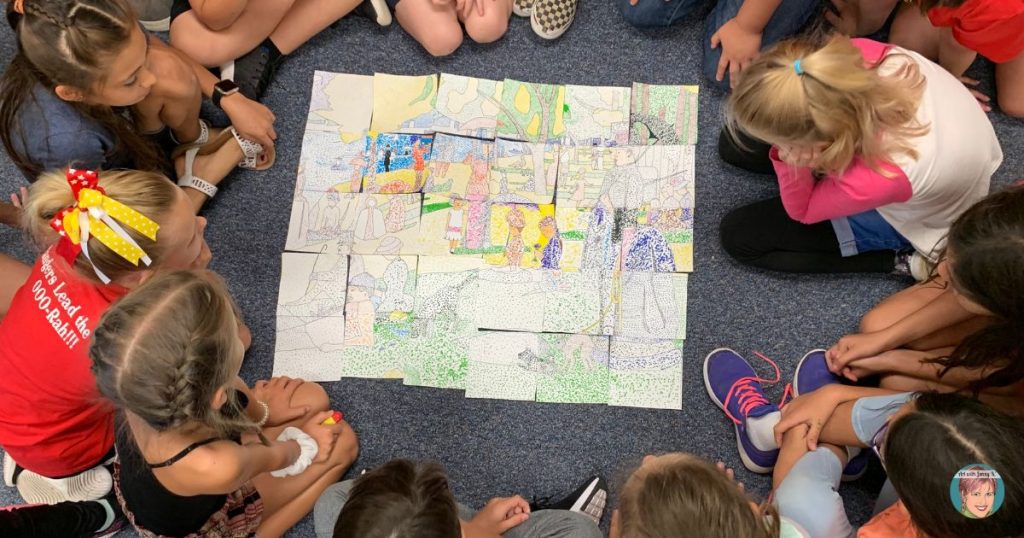
The kids were anxious to see their work. So I gave the individual piles to different students, and they laid out the pieces. This revealed the final poster from our Dot Day art project.
I gave the children a few moments to look at all the pieces and how they came together. They enjoyed (as children usually do with my posters) finding their own piece on the larger poster.
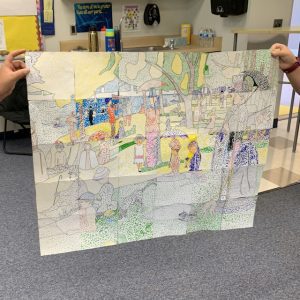
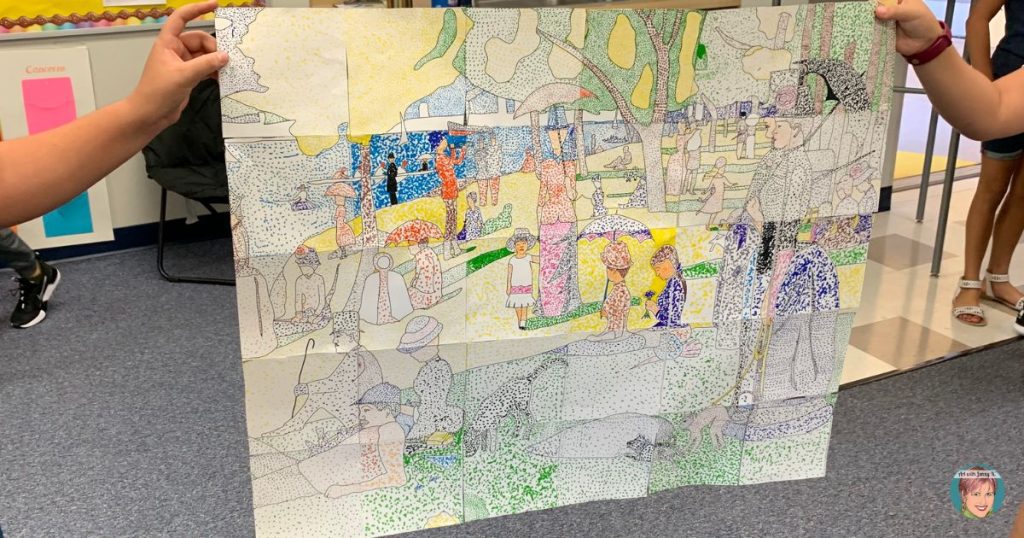
I then took up all the pieces and taped them together. To do this, I like to tape from the back so the tape doesn’t show on the front. If you use markers or colored pencils, you can also laminate the final poster. But be careful if you use crayons because they can melt in the laminator.
The children were proud to hang up the final result of their Dot Day art project!
Early finisher activity
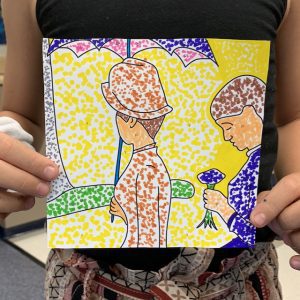
After each piece was complete, students got an individual coloring page of the final artwork. This made it easy to manage early finishers. I didn’t tell the children that they had to do dots on the individual page. But of course, they figured that out on their own!
I hope your students can make their marks with this Dot Day art project!
Thanks for supporting creativity in your classroom.
Jenny K.

