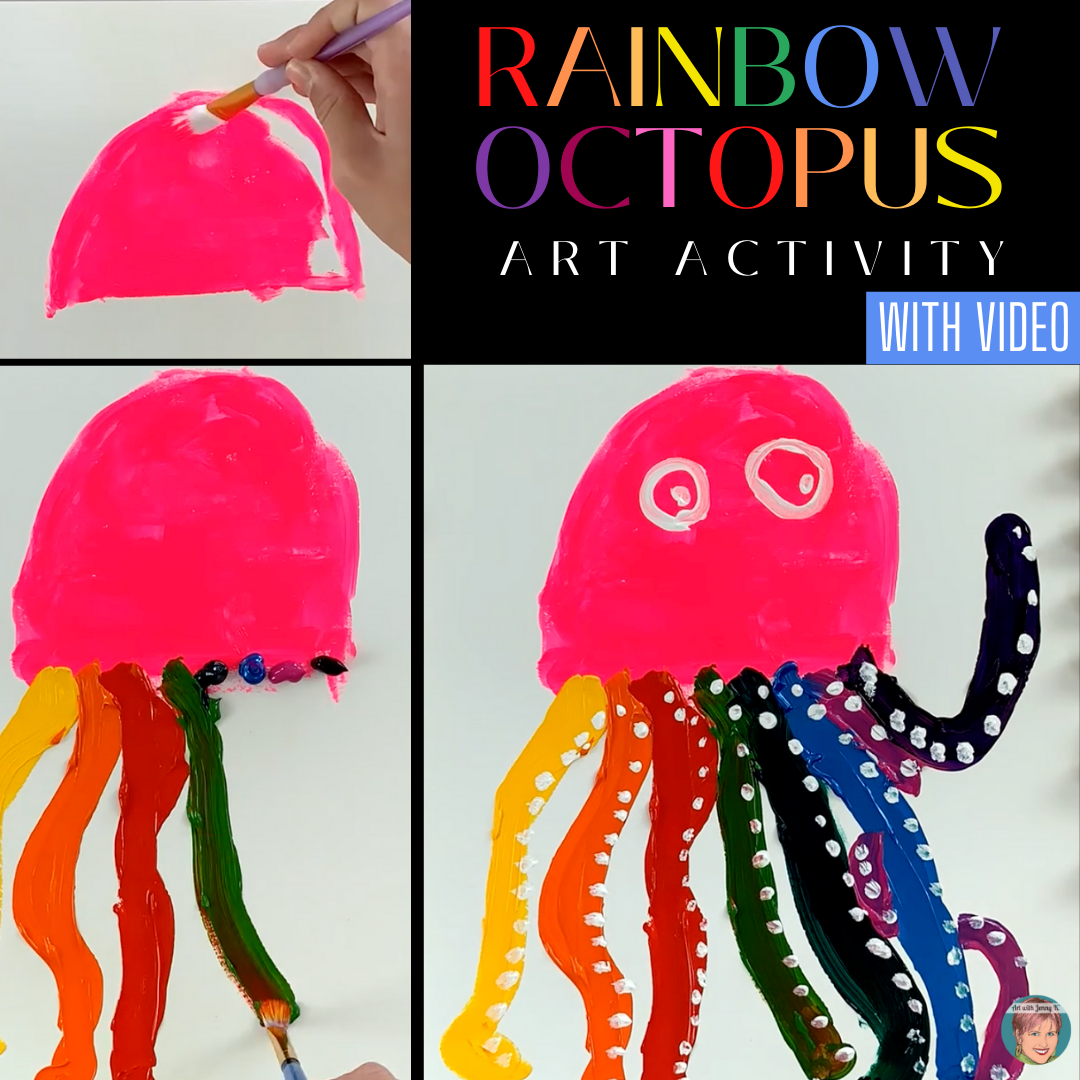
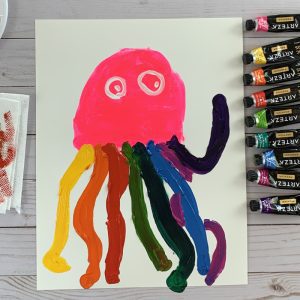
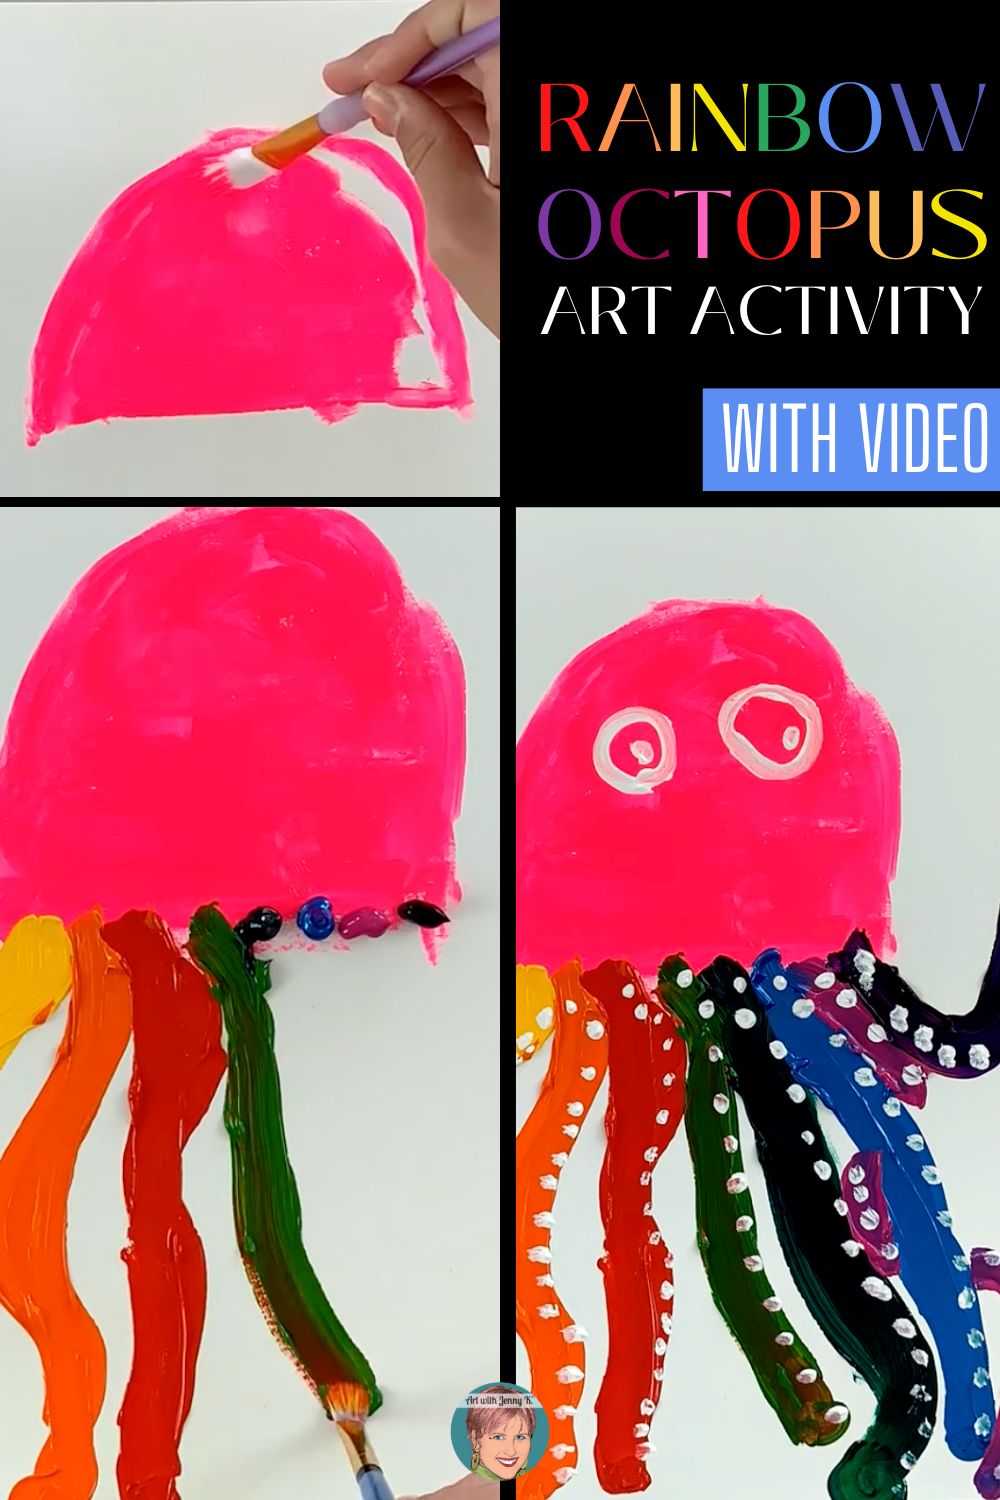
Today’s lesson is an easy octopus painting project for kids that features a rainbow octopus. My easy octopus painting project is simple, with a colorful wow at the end! The step-by-step instructions are all included in this post.
This is one of those “less is more” kinds of lessons. Sometimes it’s easy to complicate things. I am notorious for this. However, when I designed this lesson, I set out to create an activity that focused on the simple joy of moving paint around.
Kids love to paint, but oftentimes they get frustrated using advanced mediums like acrylic or tempera paint. This lesson is great because it makes painting simple and allows children to focus on the fun of moving paint and not stress too much about advanced painting techniques.
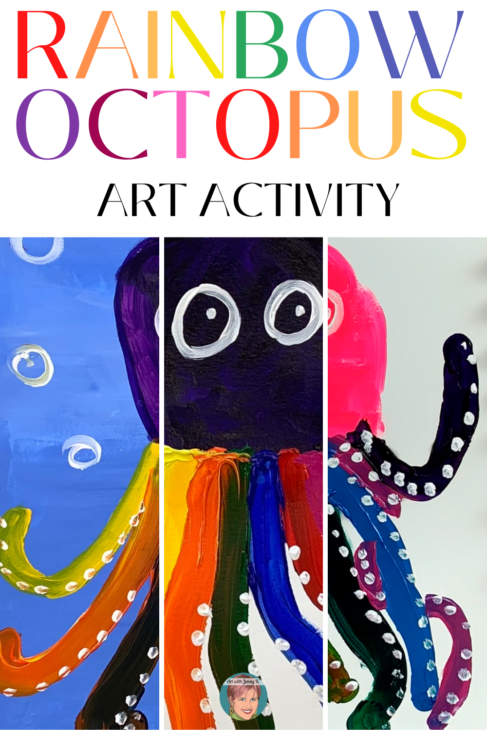
I have an entire blog post of simple painting lessons for kids. I’ve organized each lesson into one per month. This easy octopus painting project is featured in the month of June. You will find that post HERE if you want to see more ideas for easy ways to paint with children.
As I always do, I have broken this lesson into manageable steps with corresponding pictures. Feel free to follow along and read through this post on how to do this easy octopus painting project, or you can watch my teaching video below (or both ).
Rainbow Octopus Teaching Video:
If you’d like to see the teaching video corresponding to this lesson, you can watch it HERE.
Step-By-Step Instructions: Rainbow Octopus Painting
-
-
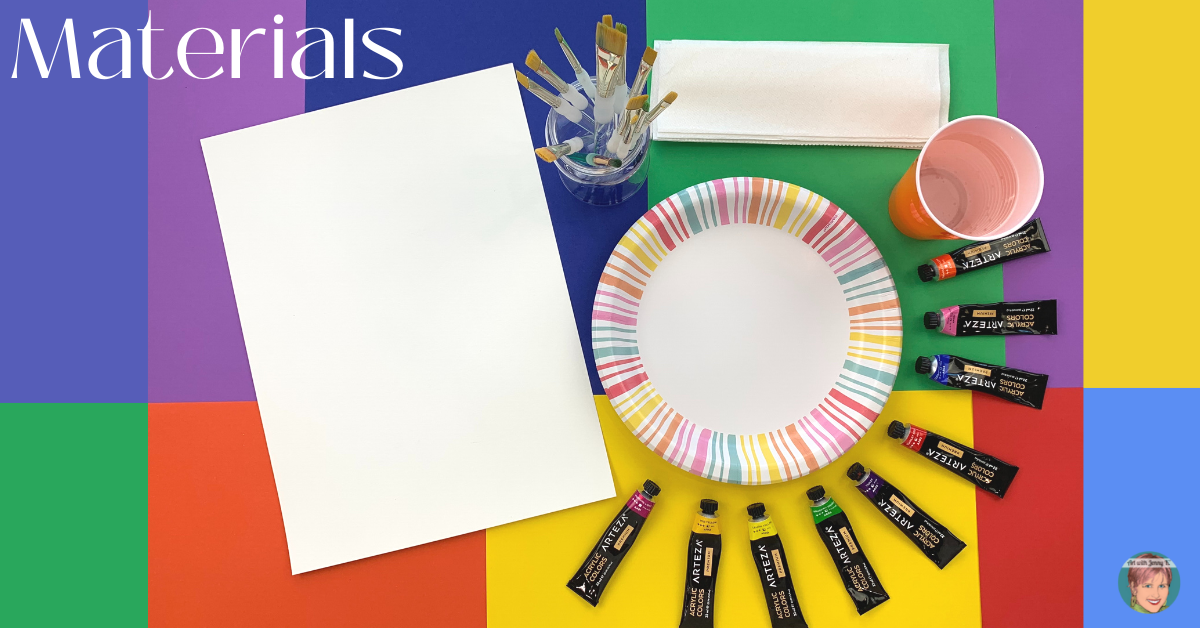
- Paper
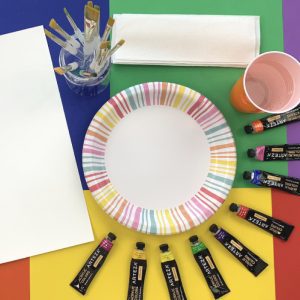
- Palette (a paper plate works well for this)
- Paint in 9 different colors (acrylic or tempera)
- White Paint
- Paint Brushes
- Cup of Water
- Paper Towel
-
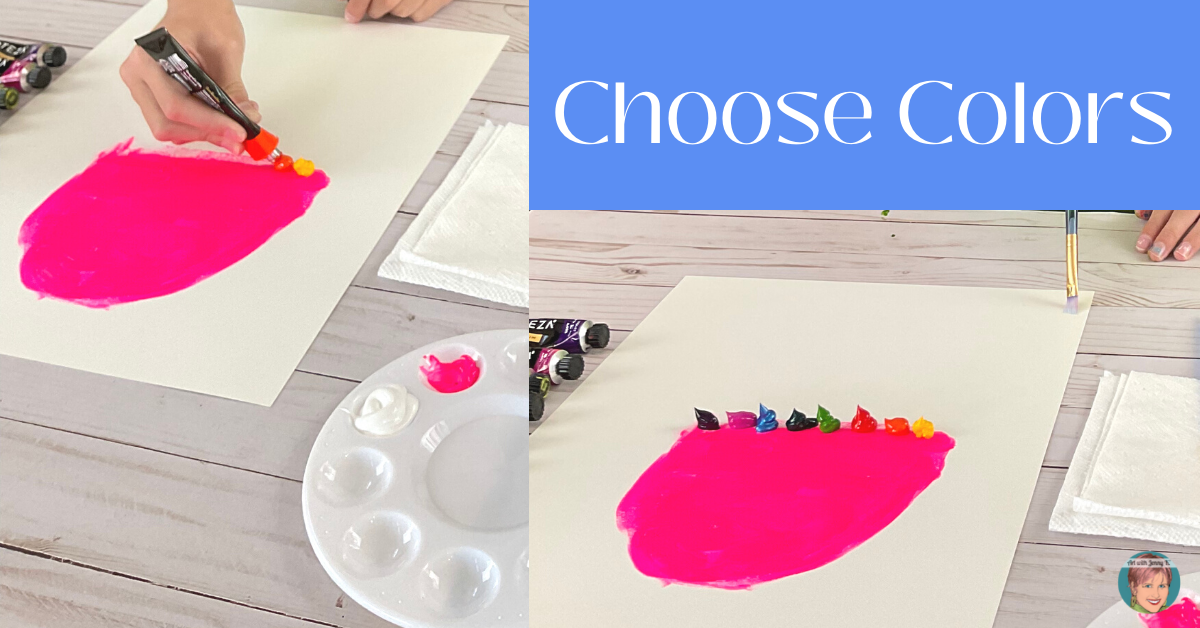
Step #1: Choose Colors
Prepare your palette of paints by selecting nine colors (eight tentacles + one color for the body). The three primary colors are red, yellow, and blue. When these colors are mixed in different ways, you get secondary colors (orange, green, and purple). You can use colors already mixed, or you can have fun mixing them to get the colors you want.
-
-
- Red + Yellow = Orange
- Red + Blue = Purple
- Yellow + Blue = Green
- Add white to any color to get a “tint” of that color .
-
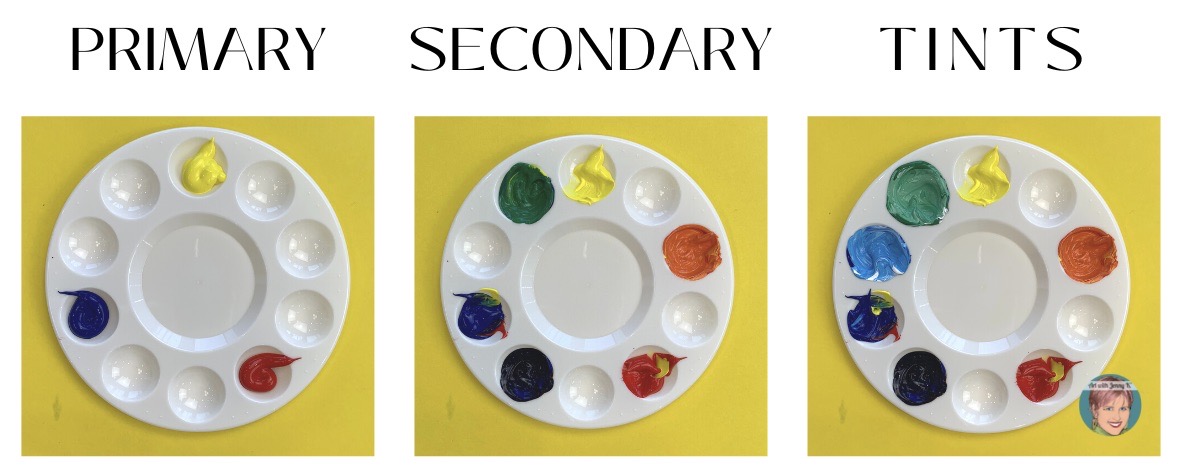
There is further information on mixing colors in the video. Please note that if you want your octopus painting to have a background, you should paint it and let it dry before moving on to the next steps.
Step #2: Paint the Body of the Octopus
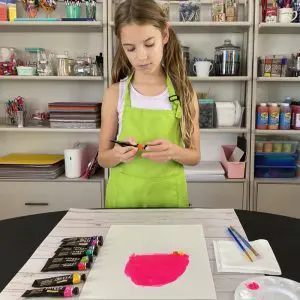
Paint the body/head of your octopus on your paper. You’ll want to make it pretty big, but leave room to add the tentacles under the body. To draw this shape, think of an upside-down “U” shape (see the video at minute mark 3:05 for this step).
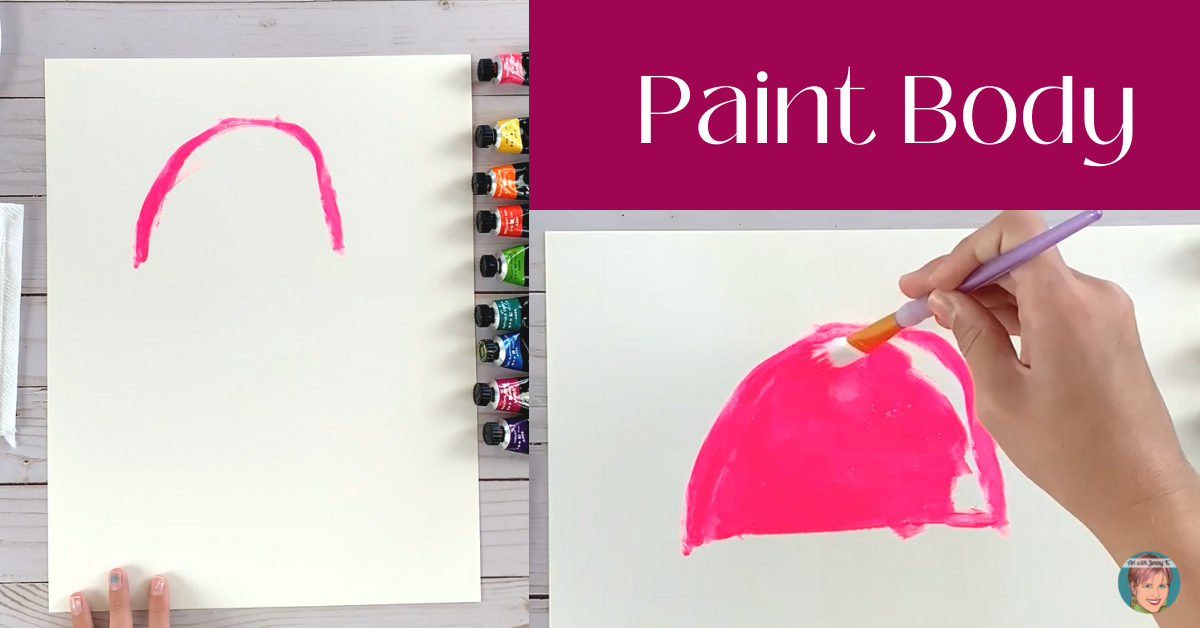
What color should you paint the body? You can paint it purple, pink, or any color imaginable. This is totally up to you to pre-select a color or allow your children/students to pick whatever color they want to use.
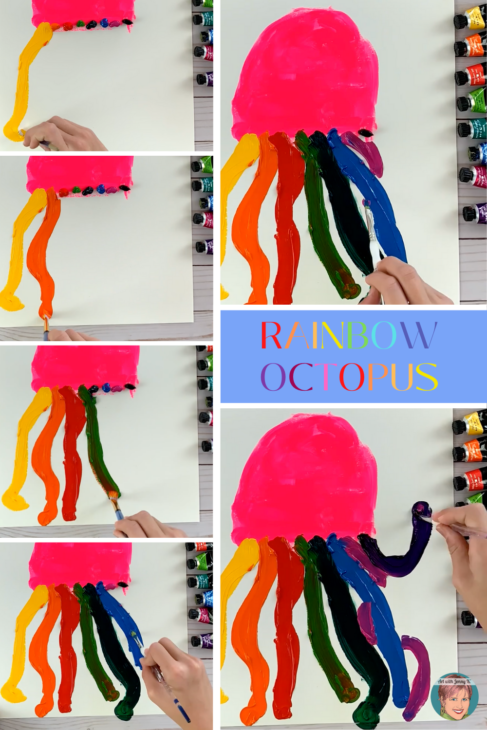
Step #3: Paint the Tentacles
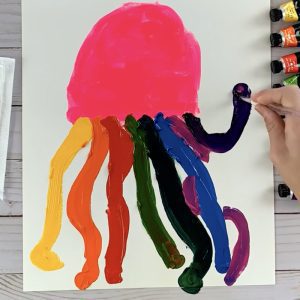
Line eight dollops of paint along the bottom of your octopus’ body. Then drag the first dollop of paint down the page in a squiggly line to create your first tentacle. Be sure to paint a rounded edge at the end of the tentacle. Have fun with this step—it’s what the project is all about!
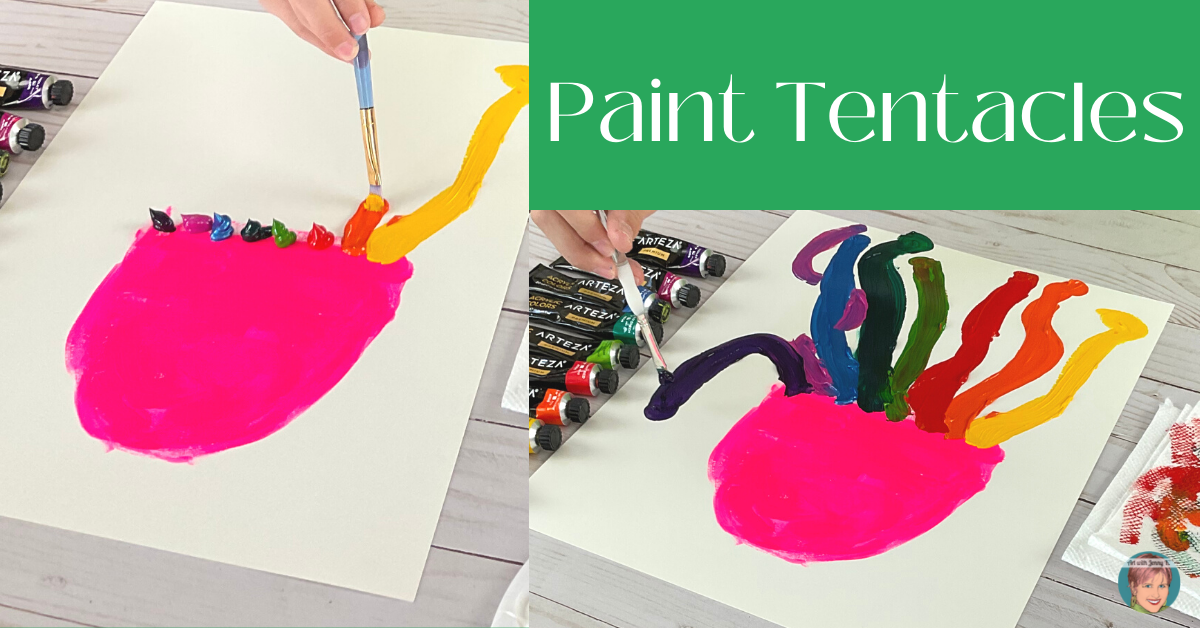
TIP: The water and paper towel is for cleaning off your brush when it gets too full of colors. You don’t have to clean your brush between every color, though. I like being able to play with how the paint colors mix a little when you leave some of the colors on the brush. For the best effect with this technique, start with your lighter colors and mix them into darker colors. This will also help get a rainbow effect for your octopus ROYGBIV.
Repeat for each of the other seven paint colors.
Step 4: Paint Details
Using white paint on a clean brush, paint the eyes onto your octopus’ body. This works best if you have given the body of your octopus a little time to dry. Usually, depending on how much paint you use for the body, this will be dry by the time you finish painting the tentacles.
Also, using white paint, you can paint a row of white dots on the side of each tentacle to represent the suckers. Again, you’ll want to ensure the paint is dry before you dab on the white.
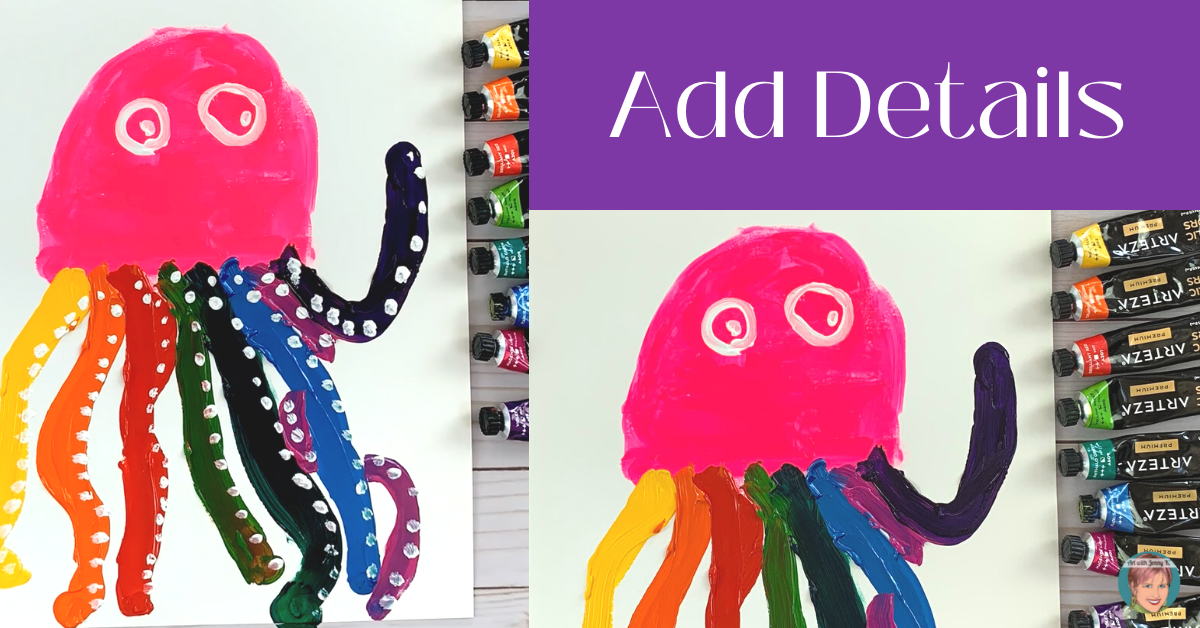
Finally, and totally optional, add some bubbles to make the octopus look like it is swimming in the water! If you painted your background, you could do this with white paint. If you didn’t paint the background, you can leave off the bubbles or add them in with a light blue color.
And as always, these are just suggestions—don’t hold back if you want to add to this easy octopus painting project with some of your ideas. My hope is always to inspire you and give you a place to start and see where it takes you!
Thank you for reading and making art with your students!
Jenny K.
Art with Jenny K. LLC is a participant in the Amazon Services LLC Associates Program, an affiliate advertising program designed to provide a means for sites to earn advertising fees by advertising and linking to amazon.com.

