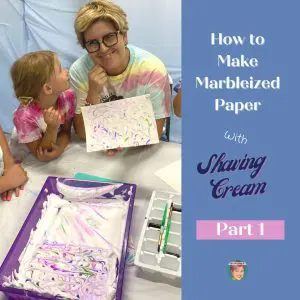
Children LOVE to paint—that’s no surprise! But when you give them unusual tools to use (like a toothbrush or a plastic fork), they are really engaged and ready to see what you have in store for them. After a stern warning not to brush their teeth with the brush after painting, you are set to go—Ha! I’m kidding!
This shamrock art project could certainly be done with green construction paper —but that would be missing half the fun!
So, be brave! Go for making your own textured paper with your students. You might find that you can use it for many art projects with your own children at home or your students at school.
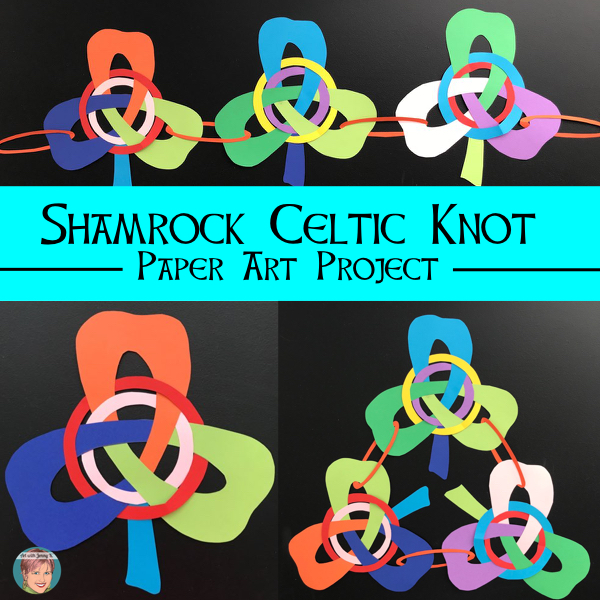
Shamrock Art Project

I am going to break this project into two parts. The first part is about making the textured paper, and the second is about making the shamrock art project itself. I’ll explain everything to you in this post.
I’ve also compiled these instructions into a free downloadable PDF that you can get HERE.
Part 1: Textured Paper
You will need
-
-
- Large piece of paper (I used large white butcher paper)
- Unusual painting tools such as toothbrushes, plastic forks, cups, sponges, etc.
- Paint, any color—but we used green and yellow for this project.
-
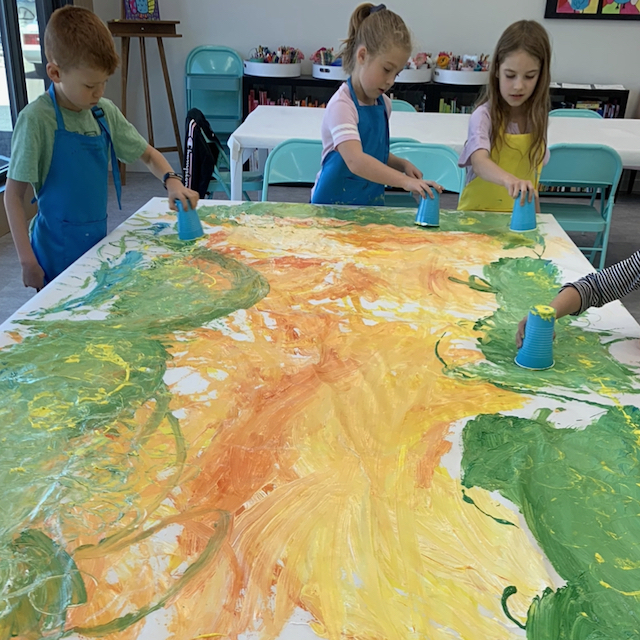
To make textured paper, you’ll want to put large pieces of paper out on a table. I use large white butcher paper. I completely cover my tables with paper so the children can paint large areas.
This way of painting is so good for kids. So often, they work in small movements all day at their desks. This art project lets the children work big! You will give your students “unusual” painting tools like old toothbrushes, plastic forks, cups, etc. However, I only give them one at a time (to minimize the mess).
Give each student an old toothbrush and then go around the room and squirt paint right onto the paper. For this shamrock art project, we are going to need greens and yellows.

Let’s talk about paint.
Ideally, you would use acrylic paint because it has a plastic binder and makes really nice paper when you are finished. However, you may not have it—and that’s okay—use what you have. Make sure if you use acrylic paint, you warn your students that it doesn’t come out of clothing. You can either give your students greens and yellows (one at a time), or you can give them yellow and blue and let them discover mixing and making green themselves. This is your choice based on the supplies you have and the age of the children you are doing this project with. As your students move the paint around the paper with these unusual tools, they will create beautiful textures on the paper.

TIP: When children paint, they have so much fun that sometimes, they don’t know when to stop, and they keep going. (It’s fun to do, so I can’t blame them). This is a teachable moment where you can teach them that, as artists, they need to know when to stop. I demonstrate in a small area that they can keep mixing and mixing and mixing—but then they will have a large smudge of color without various textures and colors. Please encourage them to see interesting areas of the paper and leave them that way!
Now, it’s time for a second tool and more paint! You will want to go around and collect the toothbrushes and give out another unusual tool, perhaps a plastic cup. Squirt more paint onto what they have just created and let them add to it. Encourage them to move the paint all over the paper and not work in just one small spot.

Repeat this process for as many usual tools as you have and as many colors as you’d like to have.

Let the paper dry overnight, come in the next morning, and cut it up into smaller, manageable sizes.

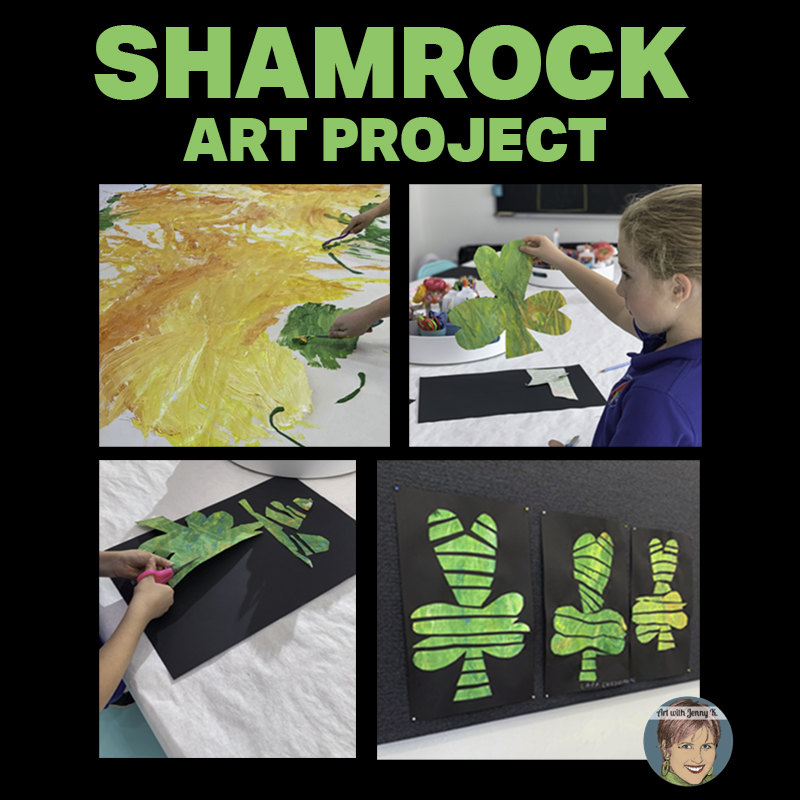
Part 2: Making the Shamrock
Now that you have beautifully textured paper, it’s time to start this fun art project with your children.
I recommend this for grades 2 and above. However, if you are working with your own children at home, you could better help preschool-age children, one on one, with this activity.
You Will Need
-
-
- black paper 12” x 18” (or any background color you want)
- pencil
- scissors
- glue
- textured paper (or green construction paper)
-
It’s important to pre-cut the textured paper so that they will fit on the 12” x 18” paper when the shamrocks are cut out.

Step #1: Draw the shamrock
Have your students draw a shamrock on the back of the textured paper.
Make sure they do it on the back to erase and redraw if they want or need to. They don’t need to worry much about erasing if they don’t like something. They can keep drawing over their sketch to get a shamrock they like big enough to fill the paper.

I teach children to draw shamrocks by telling them to draw 3 hearts and then add the bottom of a triangle shape at the bottom to bring it all together.
If your students are too young to draw the shamrock themselves, or you want or need to modify this step, make a template. I have done that as well, and it works really nicely. I simply draw a shamrock and make copies onto green paper for the students to use as templates.

Step #2: Cut out the shamrock
Once the children have a shamrock that they like, then have them cut it out.

The shamrock should be in one piece at this step.

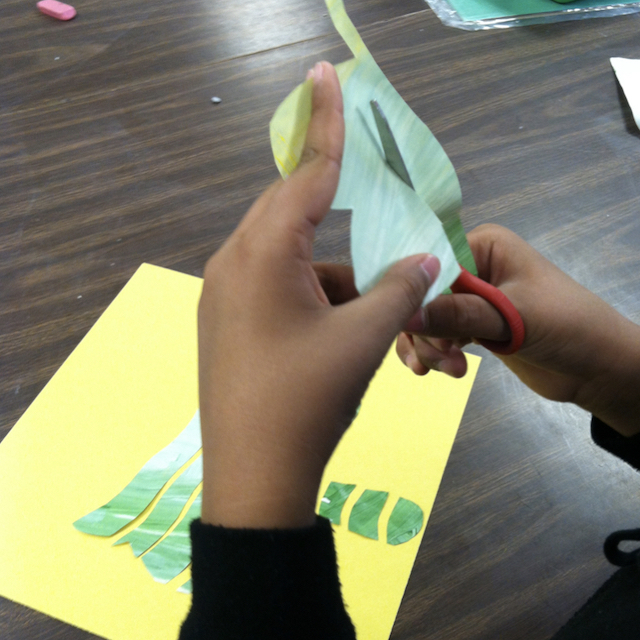
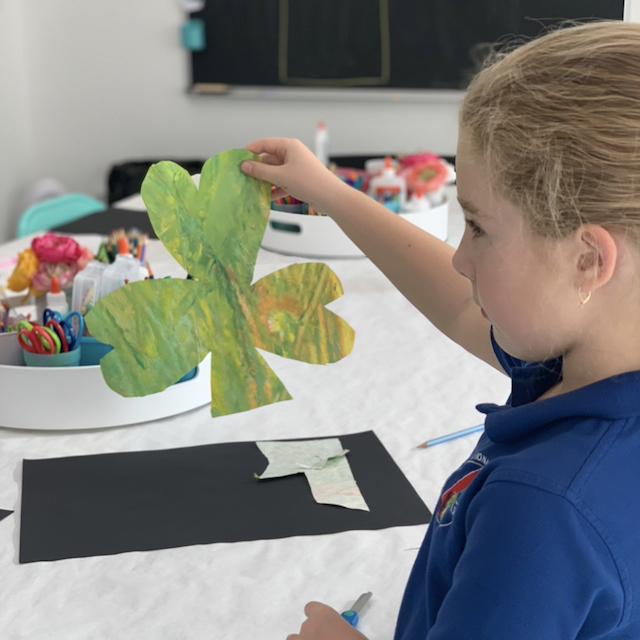
Step #3: Cut the shamrock into strips
Once the children have drawn and cut out their shamrock, they will cut it into “slices” or strips—horizontally.
TIP: It’s important that they don’t cut the pieces vertically, or the final shamrock—once spaced out—won’t fit on the paper. You can, of course, modify this and give the children larger paper if you’d like them to cut it vertically.

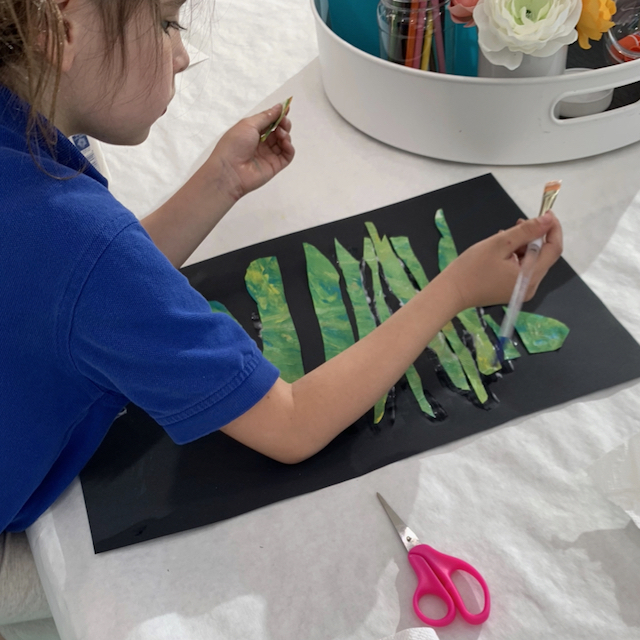
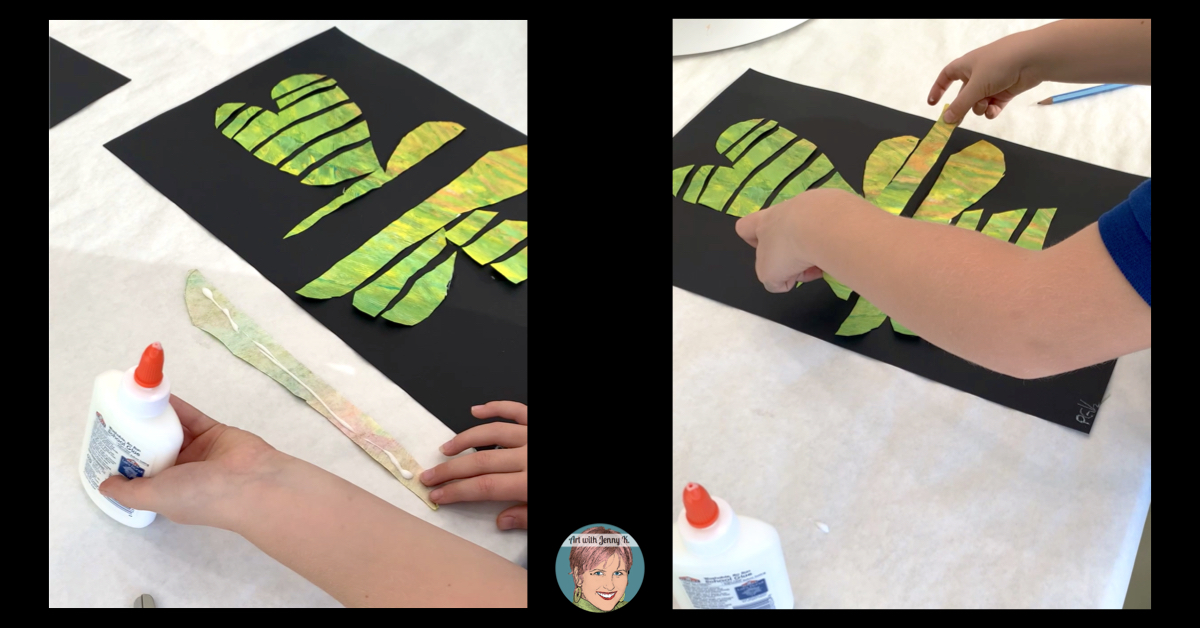
Step #4: Glue the strips down
After your children have cut the shamrock into strips, have them arrange the strips onto their background paper. Have your students leave a small space between each piece so that the background paper shows through. This is going to elongate the shamrock and give it an interesting look.
Once they are happy with their arrangement, have them glue each strip down onto the background paper.
TIP: The children mustn’t start gluing down the pieces until they have all been cut out and arranged on the background paper to ensure they all fit.
The children should think of this as a puzzle, and the pieces should fit right back together if they were placed next to each other.
TIP: Warning—sometimes, the children get the pieces turned around and upside down. Please encourage your students to go slow and check before they glue each piece down.
I like to use black as the background because it allows the emphasis to be on the shamrock. But if you’d like it to be another color, go for it!
Step #5: Glue touch-ups
Inevitably, the pieces won’t all get glued down perfectly the first time. Once all the pieces are glued down, have your students go through and touch up the spaces where the paper isn’t glued to the background paper. For this step, I give the children a paintbrush so they can smooth out any glue that has “oozed” out from under the strips.

Optional: You can slightly water down some glue and have children paint OVER the final shamrock (especially all along the edges of the pieces to help them lay down flat). You’ll want your student to think of this as painting a thin layer of glue all over the shamrock to help it lay flat.
Once your children have finished, they will certainly feel “lucky” to have a teacher (or parent) like you to help them make a fun shamrock art project!
You can download my free PDF version of this lesson plan HERE.

I love to spoil teachers and parents who join my email list by sending exclusive freebies, tips, and tricks, as well as occasional announcements of new blog posts, products, and sales. If you sign up today, I will send you a FREE set of my Celtic Knot drawing practice pages.

After you have signed up, you will also have access to my subscribers-only library of freebies. This library is ONLY available to my email list and is FULL of great things you can use with your students and/or children at home. Sign up below:
Thanks for reading,
Jenny K.