
Years ago, during a summer art camp, I created this hummingbird art project using watercolor and salt with my students. I’ll NEVER forget this project because we were working on the back porch during one of the last steps, and it started to rain. If you know anything about monsoon weather in Arizona, you know that when I say it began to rain, I mean the sky opened up and buckets of rain came pouring out. The kids had to quickly get inside while trying to protect their art from being ruined by the rain. It left quite a memorable experience for us all.
I didn’t realize how much my students loved this project until the end of the week when I asked them to write about their favorite project in their sketchbooks. Most of my students said this hummingbird art project with watercolor and salt was their favorite activity of the week. I was kind of shocked.
My camp was an all-day art camp. I calculated that we did enough art equal to having art for one hour a week for an entire school year. In other words—in one week, we did as much art as you might do in a year.
That said, we did a lot of projects. All of our afternoon lessons were Arizona-themed art projects. As my students were working that week, I realized I hadn’t planned enough activities and needed another project idea. I decided, somewhat last minute, to do this hummingbird art project. So I was surprised that it was their favorite—maybe the rain made it feel so special to them (rain is a big deal in Arizona).
Hummingbird Art Project Using Watercolor & Salt
Step-By-Step Instructions
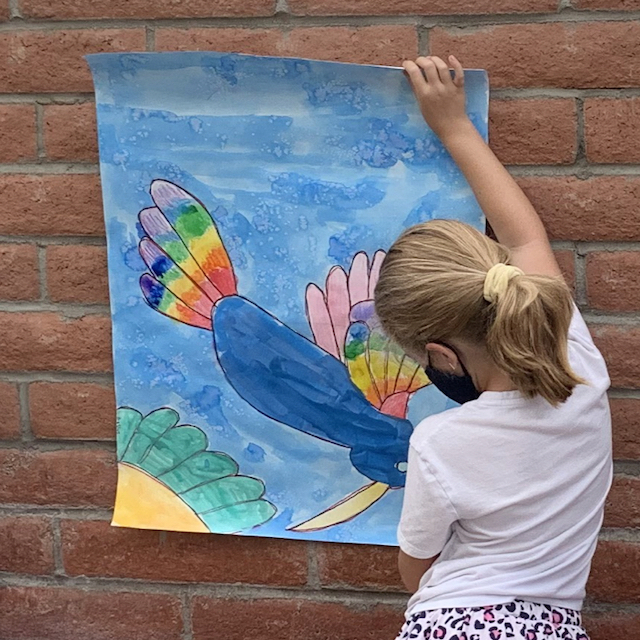
This project might seem straightforward, and really it kind of is. However, it has a few hidden surprises and things I’ve learned over the years (to save you some headaches). The first little surprise is that we didn’t make our hummingbird art project with watercolor and salt on regular-size paper, as you might expect. Instead, we made them HUGE! I gave each child a posterboard (yes, a full sheet) to make their art.
Keep in mind this project can easily be adapted to use with any bird. It doesn’t have to be a hummingbird. Although, I think the juxtaposition of a tiny bird on large paper contributed to the success of this lesson.
Materials:
-
-
- Large paper—we used poster board
- Pencil and eraser
- Permanent markers (optional)
- Watercolor paint (tray and liquid)
- Cup of water and watercolor paint brush
- Salt
-
Step #1: Draw
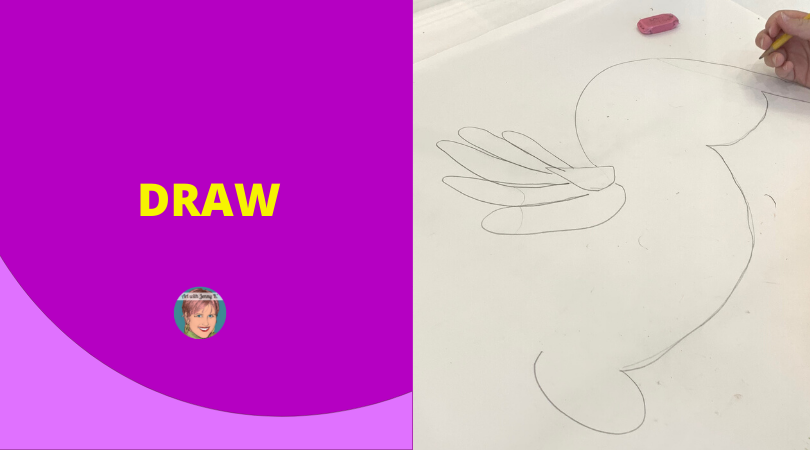
To start this lesson, you’ll want to have your students draw a hummingbird large enough to fill their papers. Drawing this large will not be easy for your students unless you have practiced it—an excellent skill to practice! Again, we did these very large (a full sheet of posterboard per child).
I recommend that you have your students practice drawing hummingbirds in their sketchbooks or on scratch pieces of paper. This will allow them to get familiar with the steps they need to draw. You can look for handouts online for how to draw a hummingbird, or you can print pictures of hummingbirds for your students to work from.
Once your students have practiced drawing enough to feel confident, they can start drawing large, filling the paper with their hummingbird drawings.
Remind them to draw lightly as a sketch, so they can erase if they need or want to.
Step #2: Outline
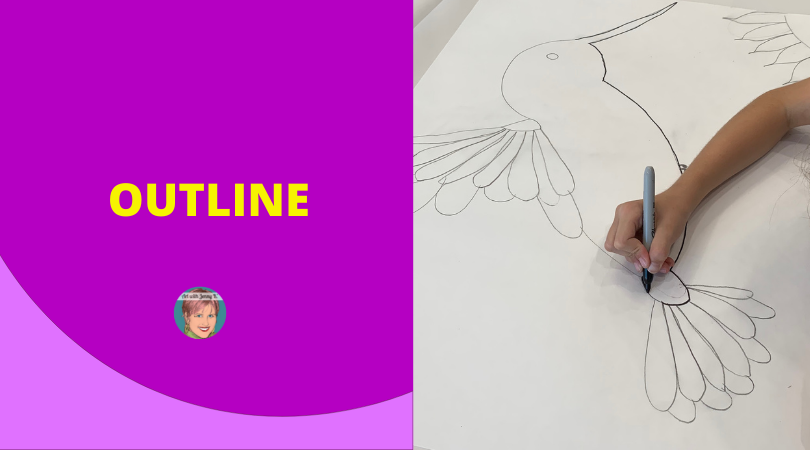
This next step could be optional. However, I do recommend it. Once your students have drawn their hummingbird, they can outline it with permanent markers. It is imperative that students use a permanent marker for this step. If they use a water-soluble marker, it will run when they start to paint using watercolor paints.
Step #3: Color
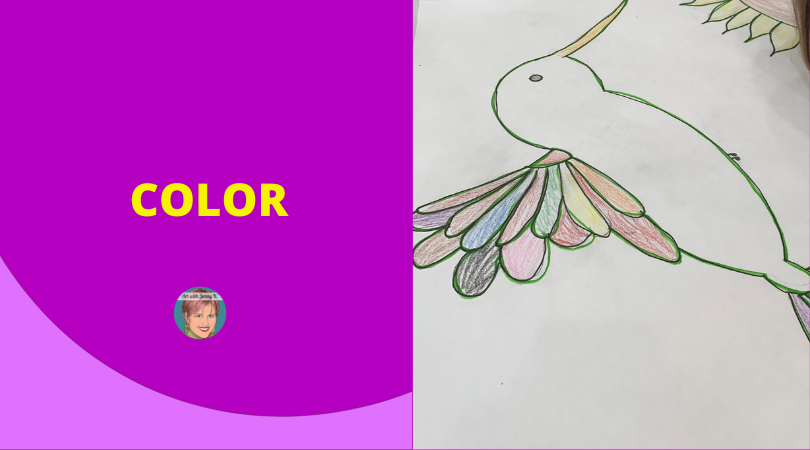
To get more variety in materials and to show students how easy and fun it is to mix mediums, I had my students add color to their hummingbird art project with crayons. I had my students only color parts of the drawing, small areas like the wing, beak, and flower. The watercolor paint in the next step will resist the wax in the crayons and creates a beautiful look.
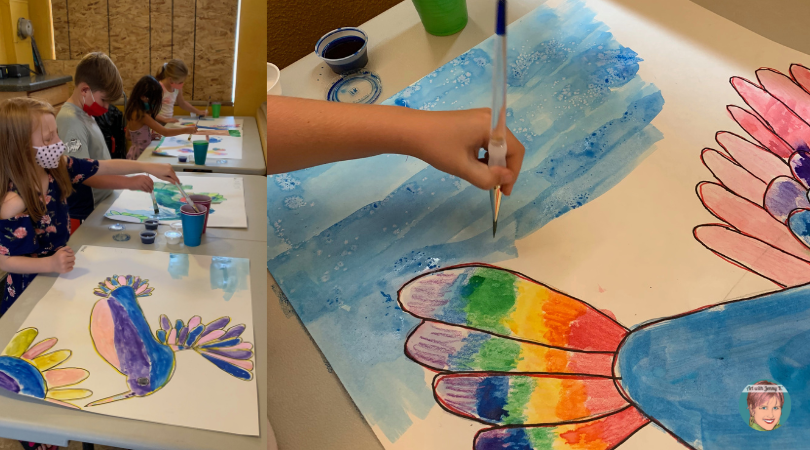
Step #4: Paint

After my students had colored their artwork with crayons, I gave them watercolor paint to start painting their hummingbird art project. I instructed them to color everything except the background. They could paint the bird, flowers, and anything else they had added to their artwork. We painted right over the crayon. We used watercolor paint in trays for this step. Saving the background for the next step.
Step#5: Add Salt
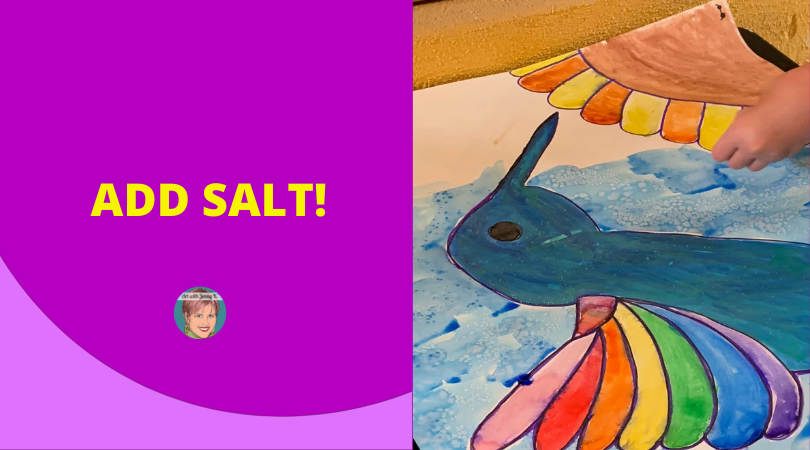
…and the moment you’ve all been waiting for—adding the salt! This was also a moment that my students were very excited about for sure.
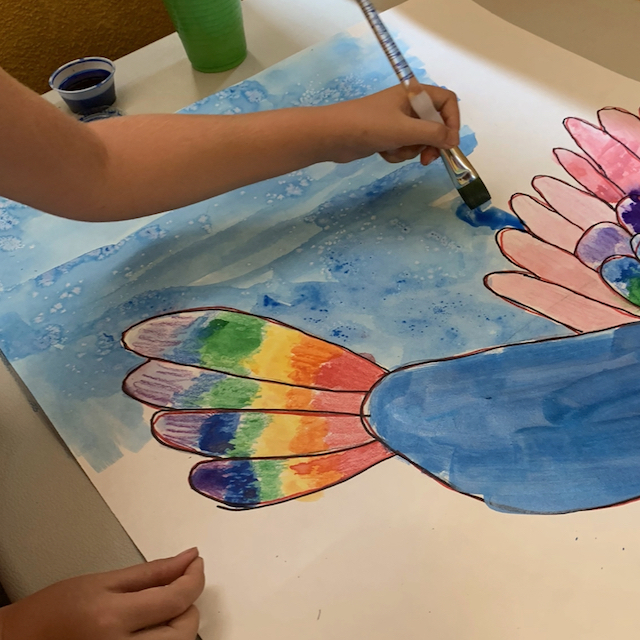
To succeed with the salt process, I had them paint the background and add the salt in one step—mainly because the size of the paper was so big.
Adding salt to the hummingbird art project creates small crystal designs. This happens because the salt absorbs the water and leaves a beautiful pattern/design on the final artwork (which you can see in the image below).

However, this step has a few things to keep in mind. First, the paint must be wet to absorb the water. This may seem like a silly thing to say, but if students paint the entire artwork and then try to add salt, it won’t work. It will only absorb in areas where there are small pools of water/paint. This is why I had my students paint the backgrounds and add the salt in one step.
To help paint the backgrounds, I put liquid watercolor in small cups and gave my students large brushes. This allowed them to cover the background quickly enough to add the salt before the paint started to dry.
It’s also important to remind your students that once the salt is added to a section of the artwork, you can’t go back in and paint that area. If students paint over an area where the salt has been applied, they won’t get the crystal look.
Finally, it’s important that your students don’t use too much salt in any one area of the painting. If they do, it will pile up, and the crystal design won’t be apparent.
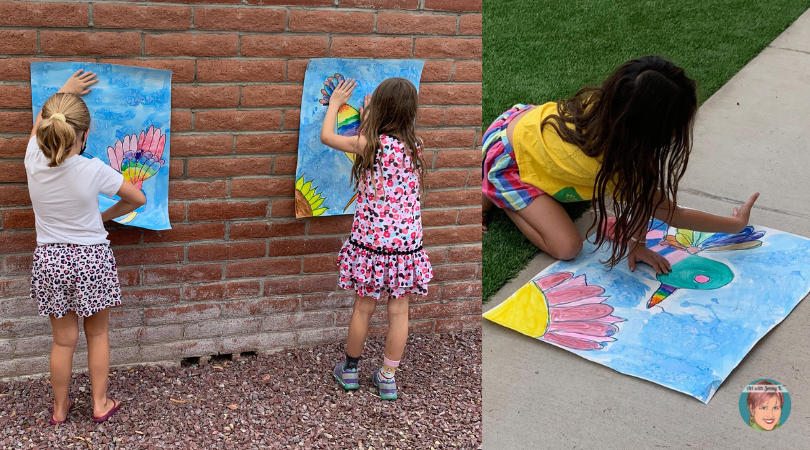
After we added the salt to our hummingbird art project, we let them dry overnight. The next day my students wiped off the salt. I chose to do this outside so there wasn’t a bunch of salt in my classroom.
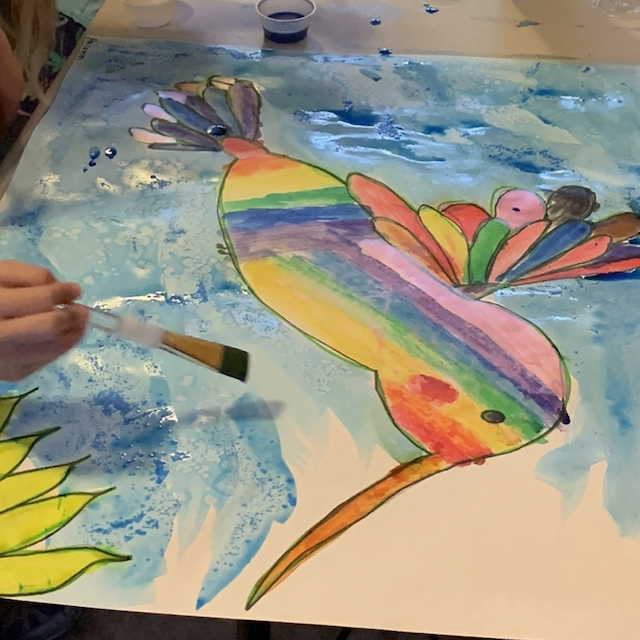
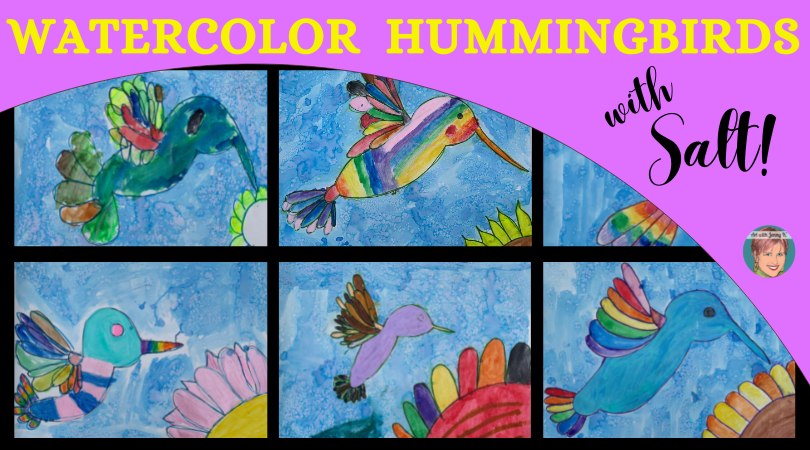
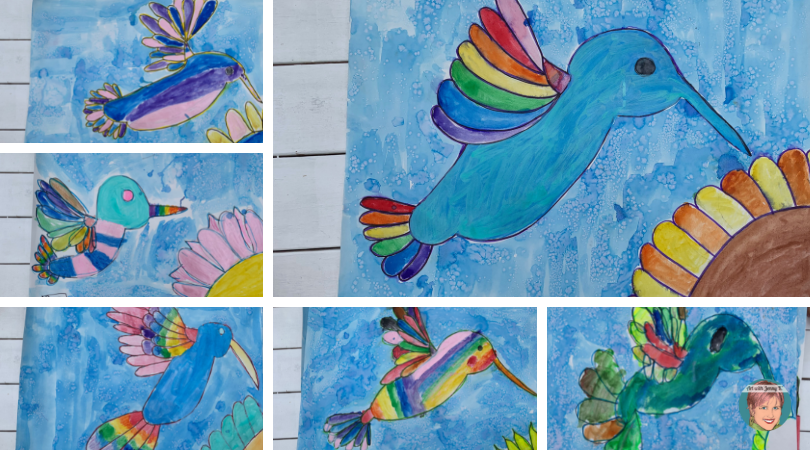
Here are a few of my students’ final hummingbird art project paintings using watercolor and salt!
Thank you for reading and making art with your students!
Jenny K.