Pumpkin Decoration – Pollock style! If you want a quick and easy idea for decorating pumpkins, I think you’ll love these Pollock Pumpkins. At least that is what I call them! This is a great time to teach your students (if you are a teacher) or your children (if you are doing this at home) about the artist Jackson Pollock.
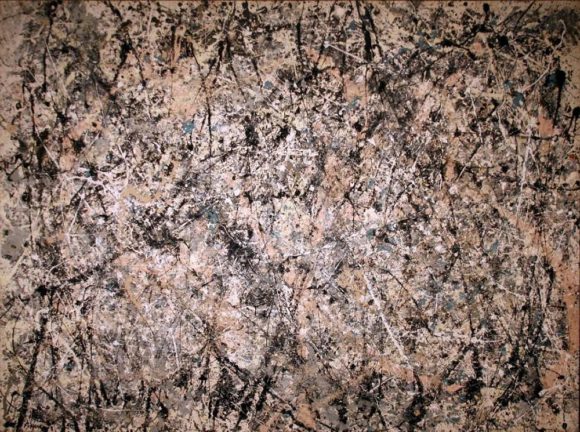
Pollock Pumpkin Decoration: Introducing Pollock
Kids are always fascinated to learn that someone could be so famous from splattering paint everywhere! This is a great time to talk to kids about why artists become famous. So often, children think you have to make super realistic drawings to be a “good” artist. It’s so refreshing when we can expose them to artists such as Jackson Pollock, and they can start to see that being an artist is about discovering and experimenting with ideas – much like a scientist. Not just about being able to draw.
I’d recommend showing your students some of Pollock’s artwork and letting kids discuss what they think about his art, why they think he was famous, and maybe even how they think he made the artwork!
Often, when children see artwork that looks like it was “easy” to make, they say, “I could do that.”

Once you have introduced your students to Pollock and discussed his work, you can explain that the kids will be decorating a pumpkin in the style of Pollock. Ask them how they think they might do that!
Your students will probably come up with great ideas – especially ones appropriate for their age (this is great for any age – as an adult, I like Pollock pumpkins). However, here is how I did it with my preschooler!
Pollock Pumpkin Decoration: Steps
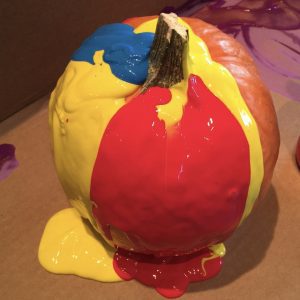
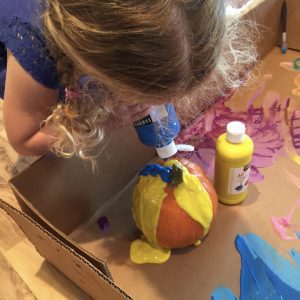
First of all, we made several because they are so much fun! I had a HUGE piece of cardboard that I put down on the floor, and then I put the pumpkins on top of it with bottles of paint all around. We played with the idea of layering the paint for the first pumpkin. I restricted the colors to primary for this one. First, my daughter squeezed on yellow paint, then blue, and finally red. I didn’t instruct her to do that, so watching her think about how she wanted to create it was fun.
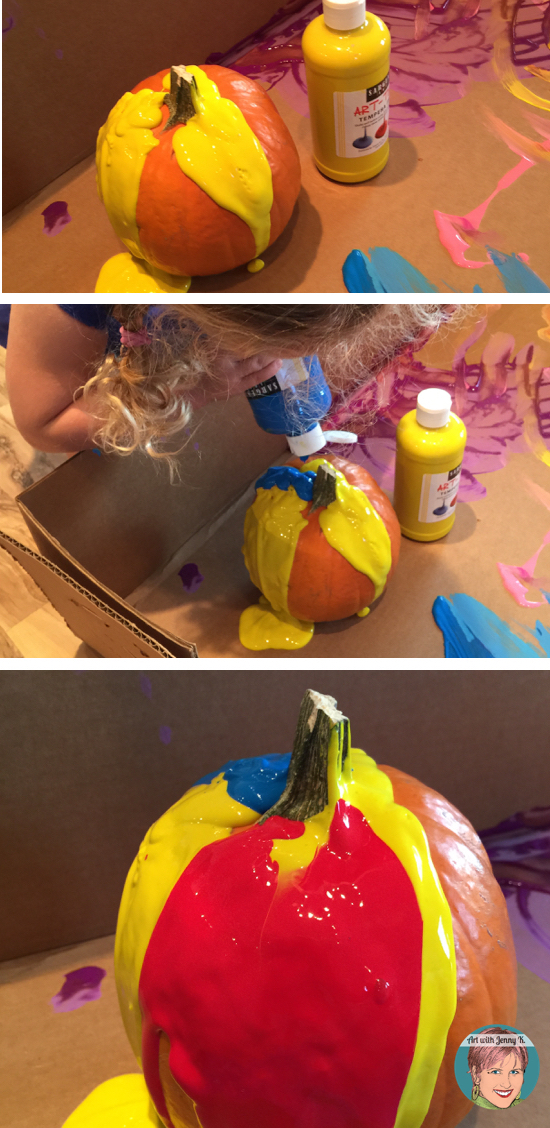
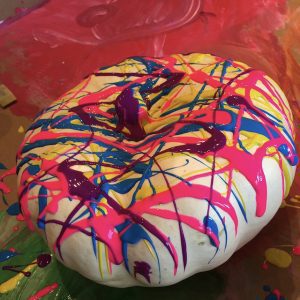
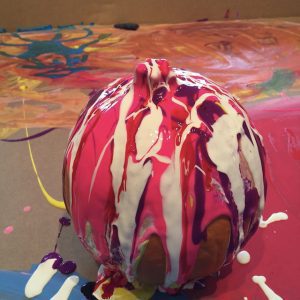
Then, I decided to let her pick some colors that appealed to her. She chose these:
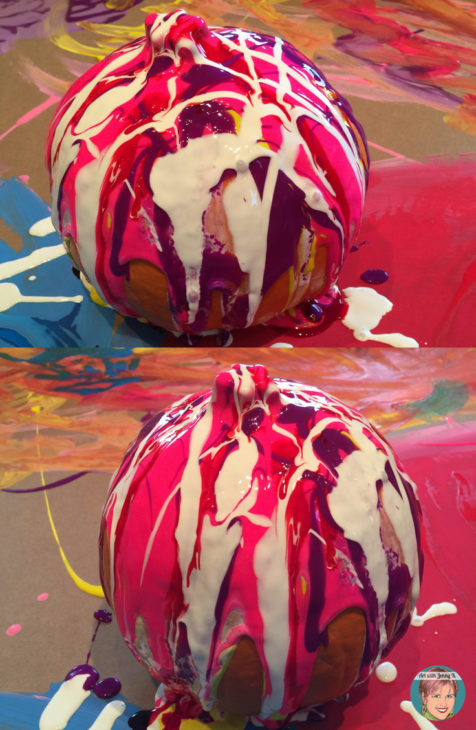
I love how the white mixed in with the pink, purple, and red. I especially love how she dripped all the paint right from the top of the stem and ran down the sides.
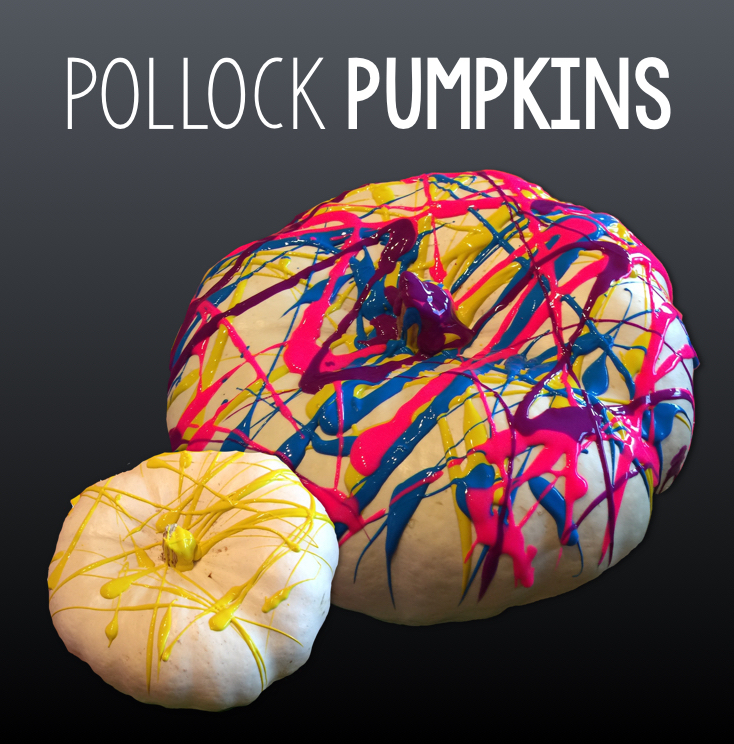
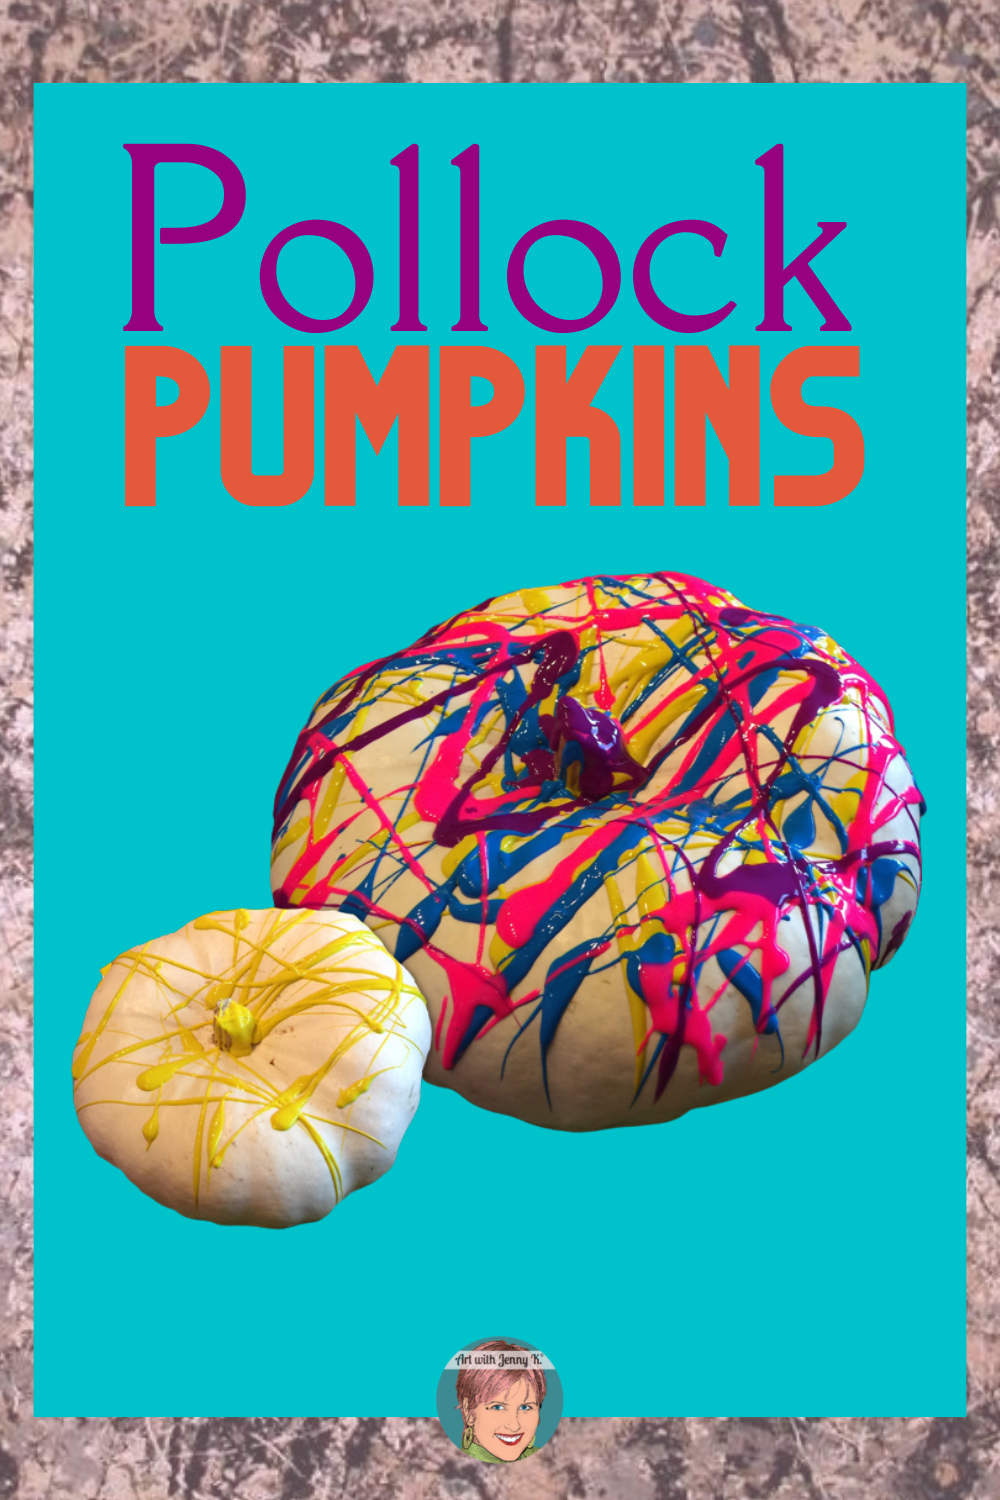
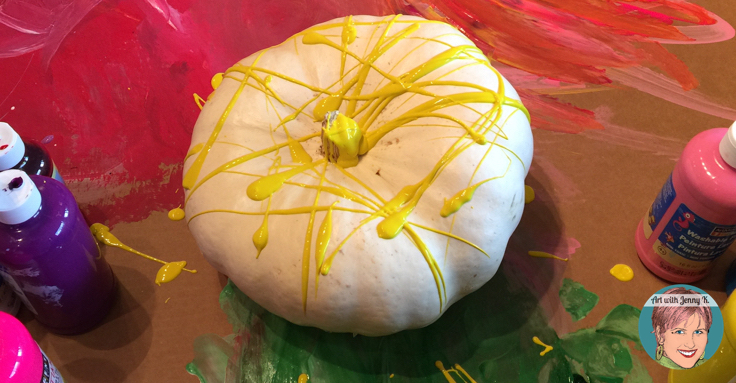
After playing with two traditional round, orange pumpkins, I brought out a small white pumpkin and a larger one. These were more “flat” than the traditional ones. This allowed us to “splatter” the paint a bit more. Pollock used a paintbrush and kind of “flung” the paint onto his working surface. I wasn’t brave enough to do that with a 4-year-old, so we did it just by squeezing the paint out of the bottles and splattering it that way. This would be a time when you could adjust your technique based on the age of your children/students. I could easily see a group of art students outside on a big tarp flinging paint all over a bunch of pumpkins – how fun would that be!?!
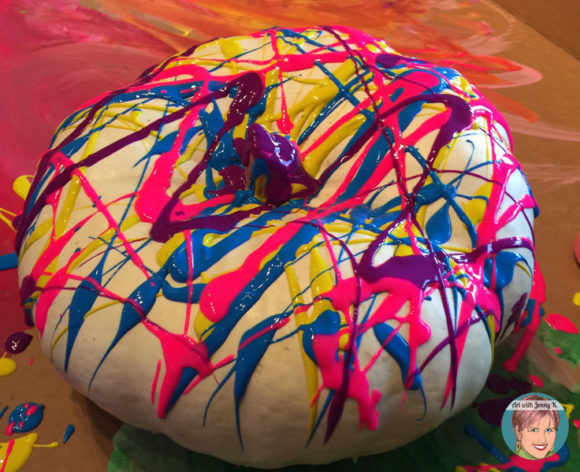
Interestingly, the two types of pumpkins were really different. With the more “flat” pumpkin, we had to flick the paint across the top of it because if we had just squeezed it all into the center, it would have just pooled up. But of course, that technique worked great on the traditional orange pumpkins, where it ran down the sides.
I hope this idea inspires you to make a version of it work for your pumpkin decoration needs. We had a ton of fun with it, and I know you will, too.
Thanks for reading!
Jenny K.

