


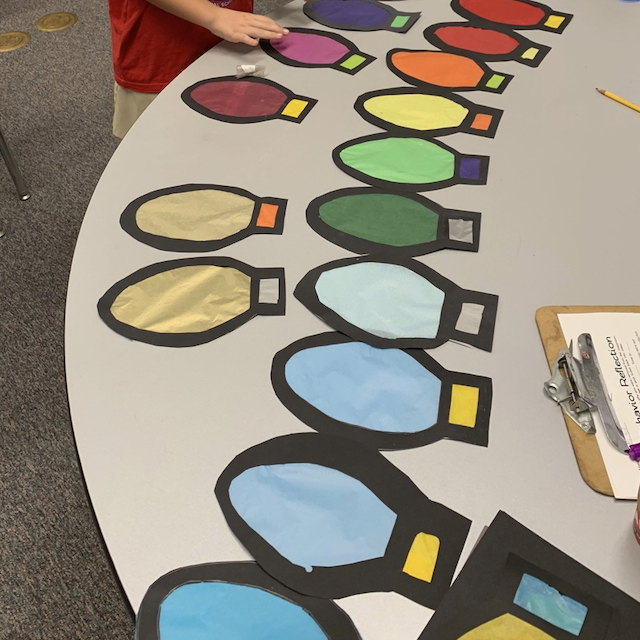
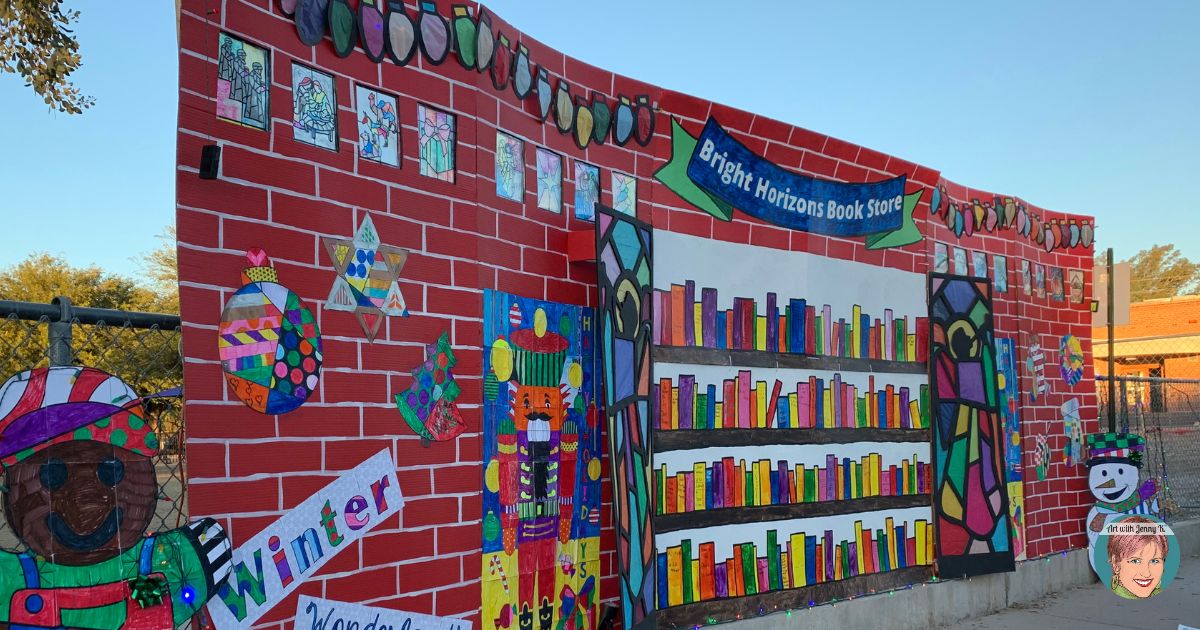
As I mentioned in the description, in the winter of 2021, I volunteered to help my daughter’s English teacher set up a fundraiser during the school’s Festival of Lights event. The final display of this evening was a “bookstore” where books were sold, and all profits were donated to an organization, Bright Horizons of Nanan, that was run by one of the teachers. Preschoolers worked on my table posters, first graders created the gingerbread collaboration poster, second graders created my snowman poster and nutcracker collaboration poster, third graders did the tissue paper lights (this post), and fourth graders created my stained glass coloring pages (using sharpies on transparencies). All the kids helped paint the books on the shelf.
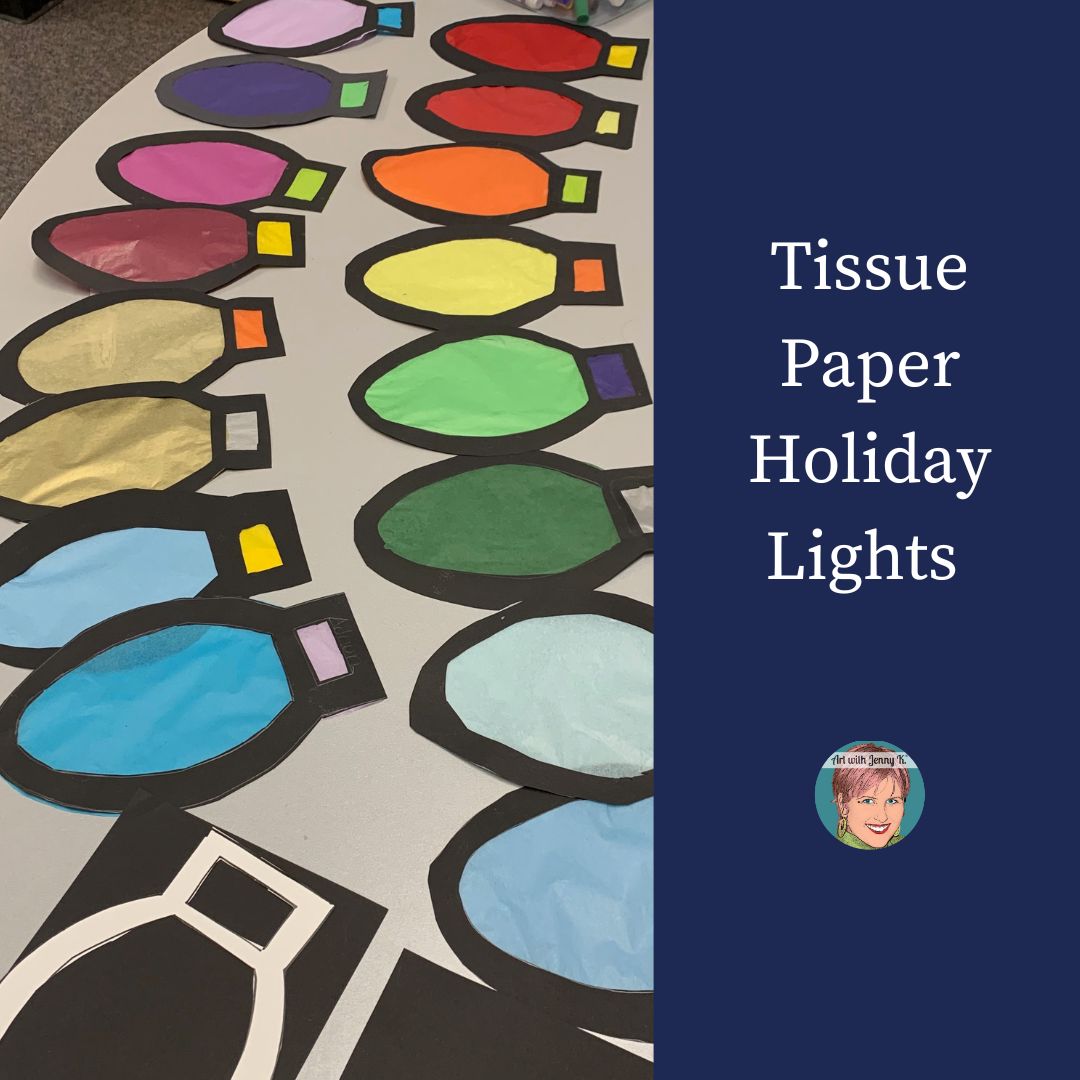
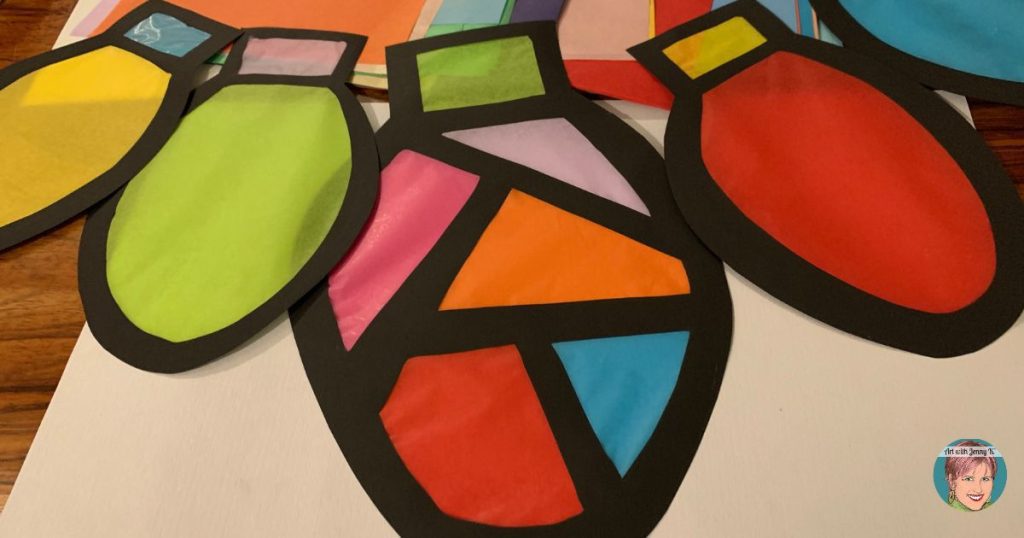
The steps for creating “stained glass” style tissue paper holiday lights are pretty simple – I’ll explain each step below and share some of the things we learned. Hopefully, these things will help you and your students to be successful as well.
An educator’s version of the timeless design question, “Form vs. Function?” is “Creativity vs. Practicality?” I always want to foster creativity, but I also have to be practical in my planning – especially since I usually work with large groups of children where issues like supplies, prep, and execution all have to be considered. It’s always my goal to maximize the experience (creativity) while making it actually “doable” (practicality). When I was designing this project, I tried a few designs. I settled on a simple one so we could get all the students to participate in a short amount of time.
However, if you are working with a small group or a group of older students, I highly recommend you turn up the dial to creativity since “practicality” will be easier to manage with older students or a small group. Accommodate in any way you need to fit the needs of your situation (students, supplies, and sanity:)).
To get started with this project, I made a template for the holiday light. I wanted each light to be large, so I made a template the children could use as a guide. You could, of course, have your students make their own template (or draw right on their black paper), or you could make a template to adjust to another size you might want for this project. I was aiming to make tissue paper holiday lights that filled a piece of paper that was 8.5″ x 11″
If you’d like to use my template, you can download it by clicking on the bottom below.
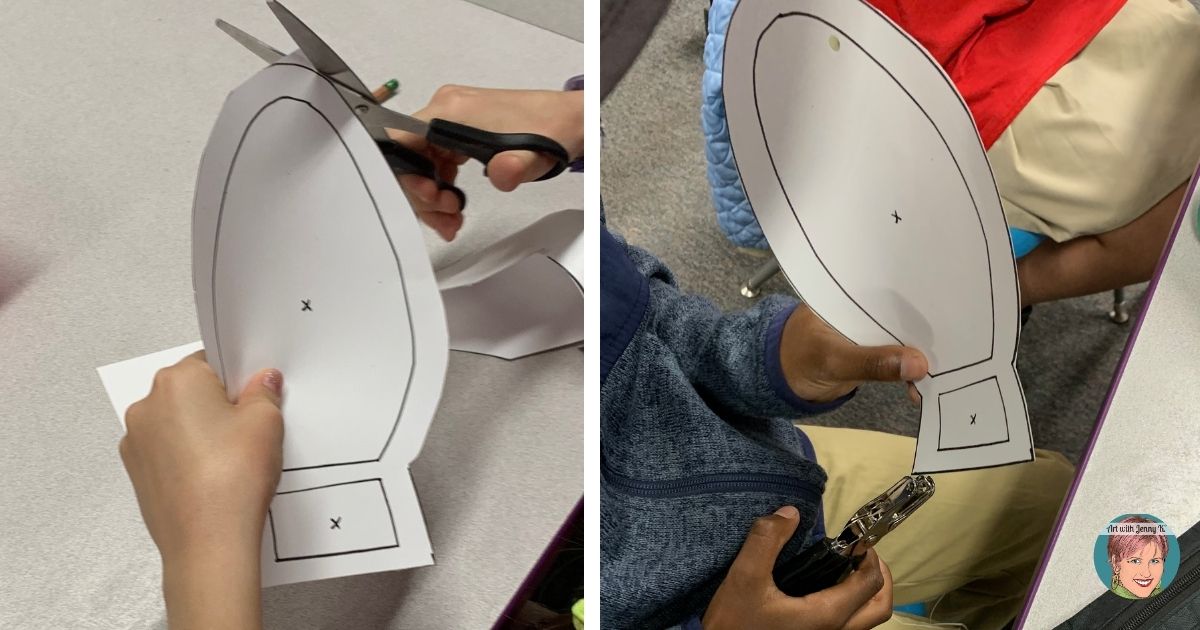
Once you have your template, you’ll want to make copies for your students to use. You can share them to save paper and keep them year to year. Students will need to cut out around the outside of the holiday light template and then remove the center where the “‘x” is (see tip).
The easiest way to have kids remove the center of the light template is to have them first punch a hole in each section where they see an “x.” Then, it will be easy for them to put their scissors in the hole and start to remove the center. Doing this little trick means the kids don’t have to fold and crease the paper (most important for step 3) or punch the scissors through the paper (potentially causing harm). Best of all, this means your students have independence, and you don’t have to help them all get the centers removed.
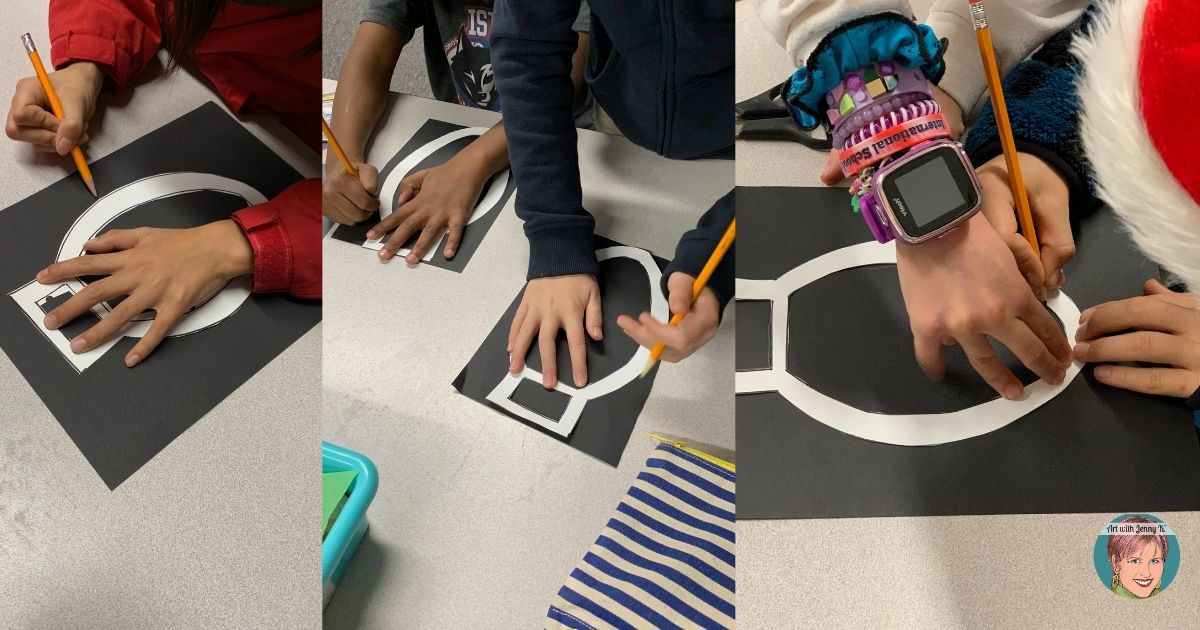
Once your students have the holiday light template cut out, they can trace around it (outside and inside) onto a piece of black construction paper. If you are working with younger children, you can have them help each other by having one student trace the shape, and the other help hold down the template. Another easy accommodation would be to have children roll up a small piece of masking tape to pin the template down to the black paper. If all else fails and the first template gets too messy (because the template shifted or moved), then kids can flip over the paper and try again!
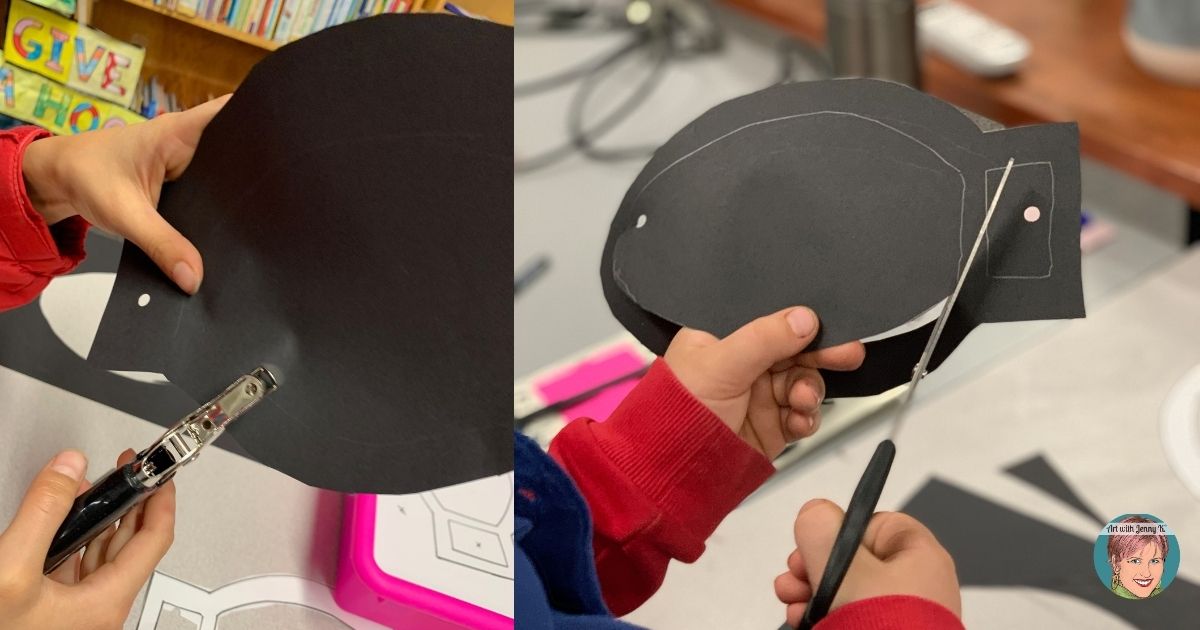
Once the holiday light template is traced onto the black construction paper, then you can have your students cut it out. Students should first cut out around the outside of the light. Then, they can remove the centers (two of them). This is where the hole punch trick really comes in handy because it’s nice not to crease the black paper, as it is the final paper used on the holiday lights tissue paper project.
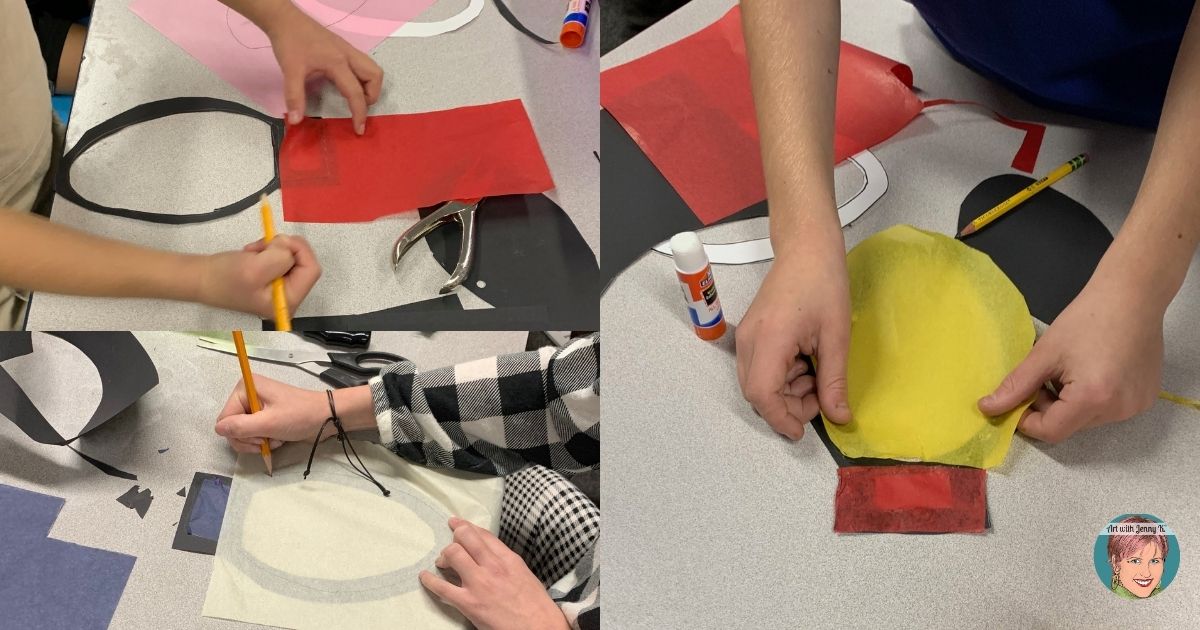
For this step, have your students select two colors of tissue paper that they want to use for their final tissue paper holiday lights “stained glass” project. To know what size to cut the tissue paper, have your students place their tissue paper on top of the black paper and trace their outline in the center of the black area. This way, the pieces will be the perfect size to glue in the next step!
Once the tissue paper pieces have been sized, then have students carefully cut out the shapes.
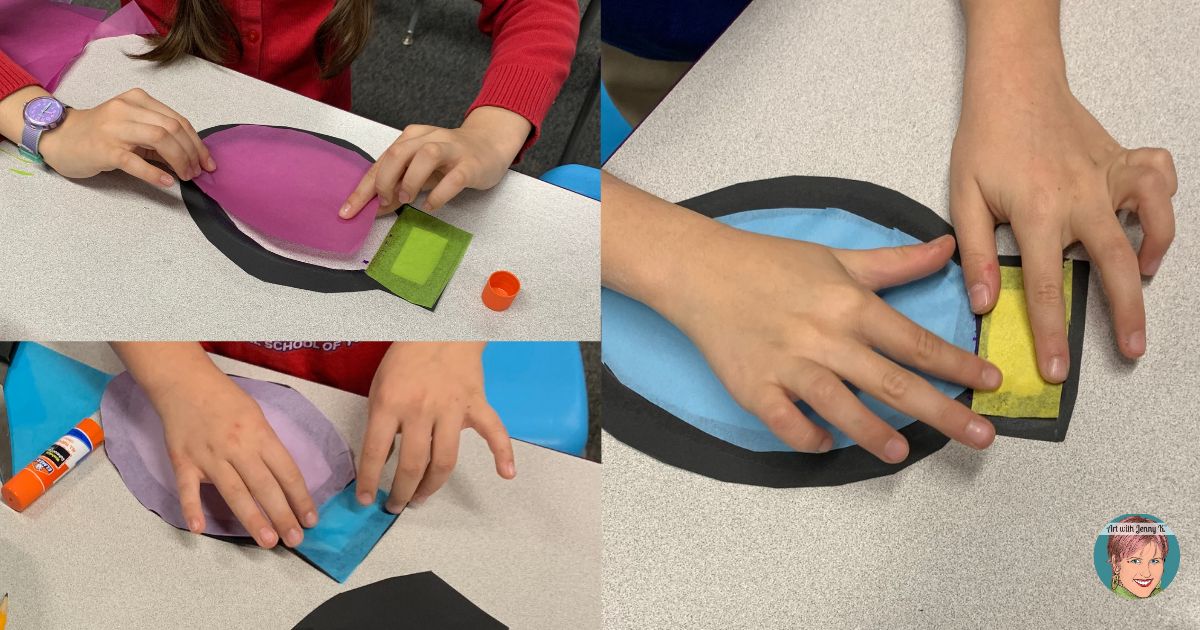
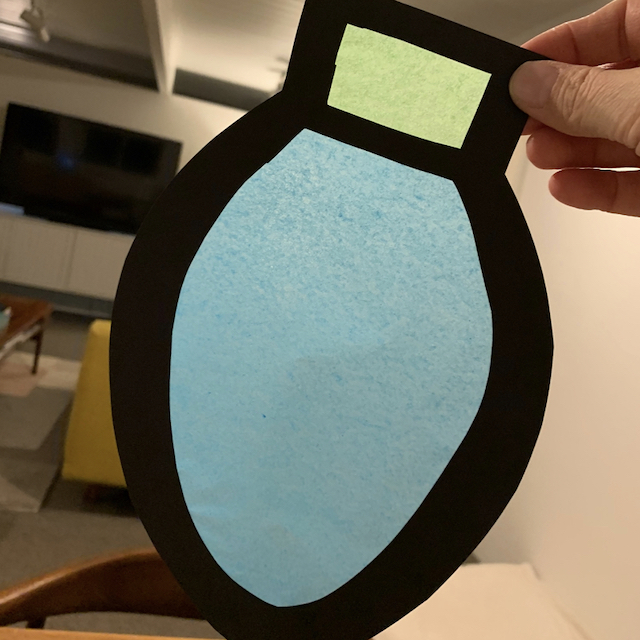
Once your students have sized their tissue paper and cut it out, they can glue it to the black construction paper. To do this, I highly recommend using glue sticks because you can keep the amount of glue down, and it won’t get all over the table. Students can run a thin line of glue on the black paper and then press the tissue paper into it. If you don’t have glue sticks, you can use bottled glue and a brush and just lightly brush it on.
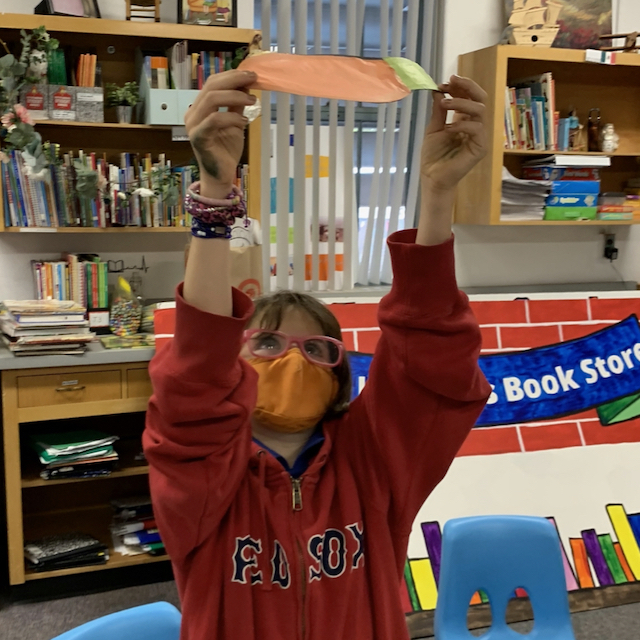
Some students might mess this up – that’s okay. Just have them remove the tissue paper and start again. Tissue paper is tricky to work with because it is so thin – but that’s also what makes it great for kids, as it strengthens their fine motor skills and fosters a bit of grit!
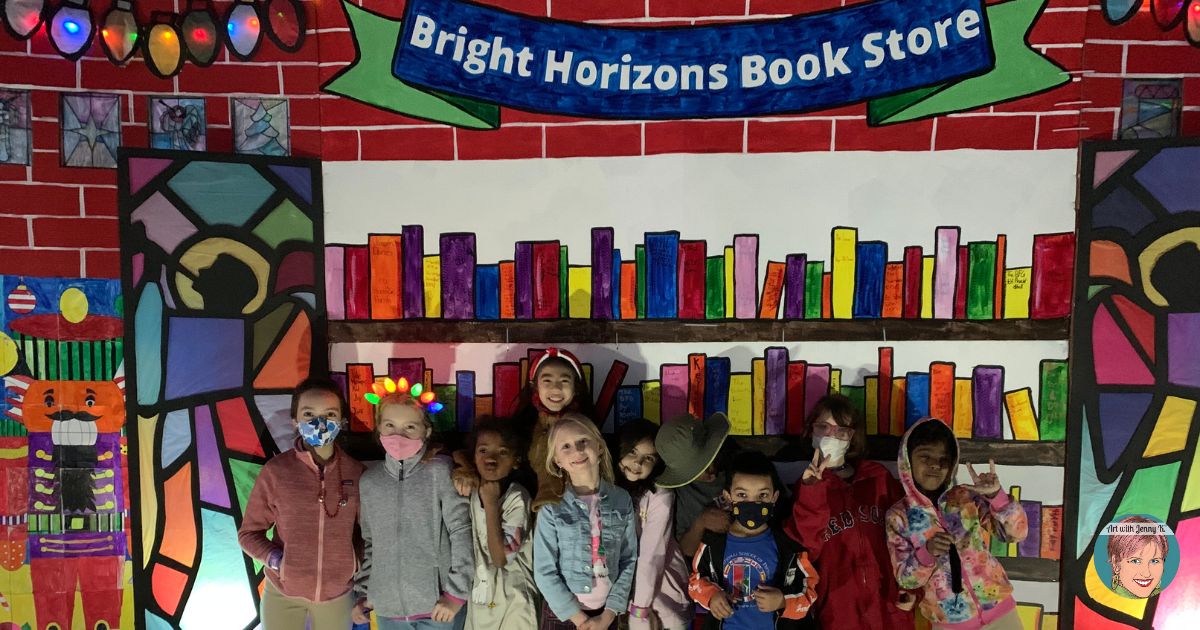
When our tissue paper holiday lights were complete, we used them to display on the final “bookstore” for our Holiday Festival of Lights fundraiser event. I ran real lights behind the tissue paper lights so they showed up nicely at night when it got dark. Of course, you can go the old-fashioned route and hang them up in a window — that works great, too. Wherever you hang them on display, be it an event like ours, your classroom windows, or a bulletin board, I’m sure others will enjoy looking at the bright tissue paper holiday lights “stained glass” style.


Purchase on Amazon!
Purchase on Amazon!

