
Pumpkin Project Supplies
-
-
- Construction paper in a variety of colors
- Pencils
- Scissors
- Glue
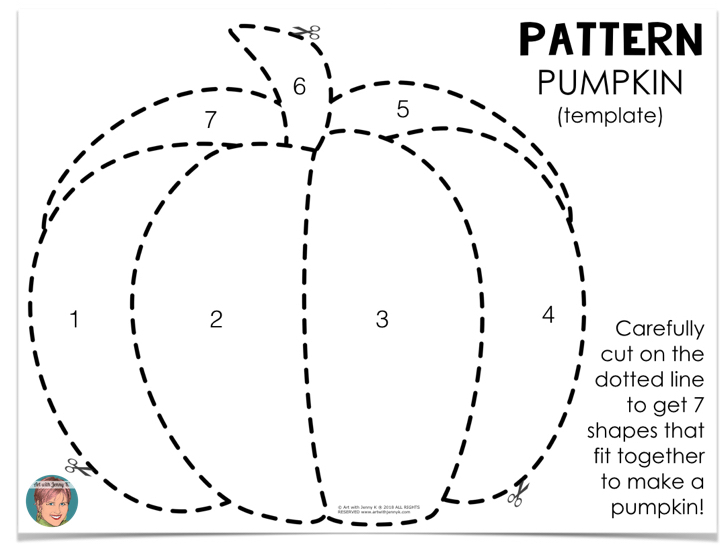
- FREE pumpkin project template I have created for you. You can download that free template HERE.
-
Pumpkin Project Steps
Step #1: Start by printing the template I provided on the next page. If you have the resources, I suggest making copies on card stock or thicker paper to make the template pieces hold up longer. This project will work fine with regular copy paper if you don’t have card stock.
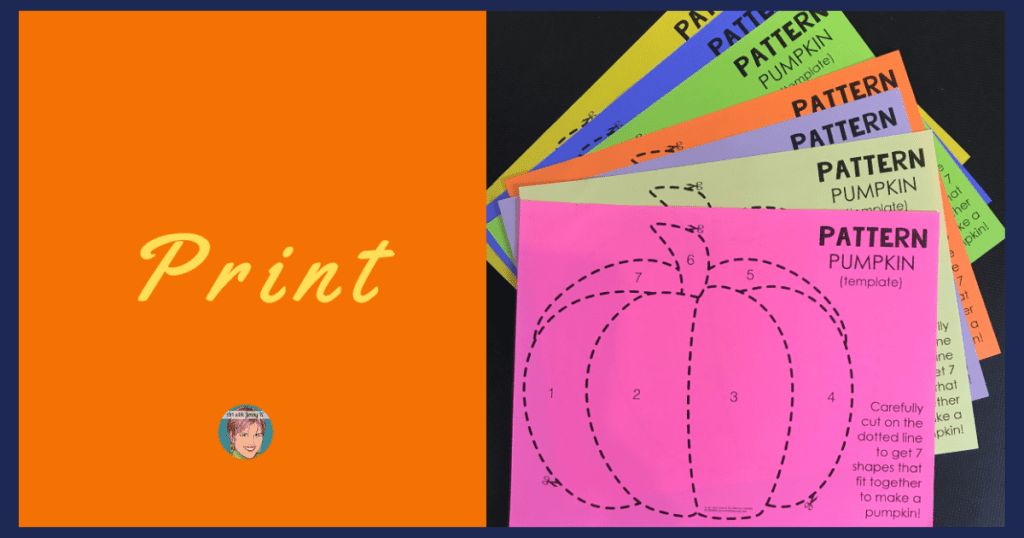
If you need a variation for younger students, you could print the template page on different colors of paper and then mix up the pieces for students. This would save your students the later step of cutting out the template and tracing it on construction paper.
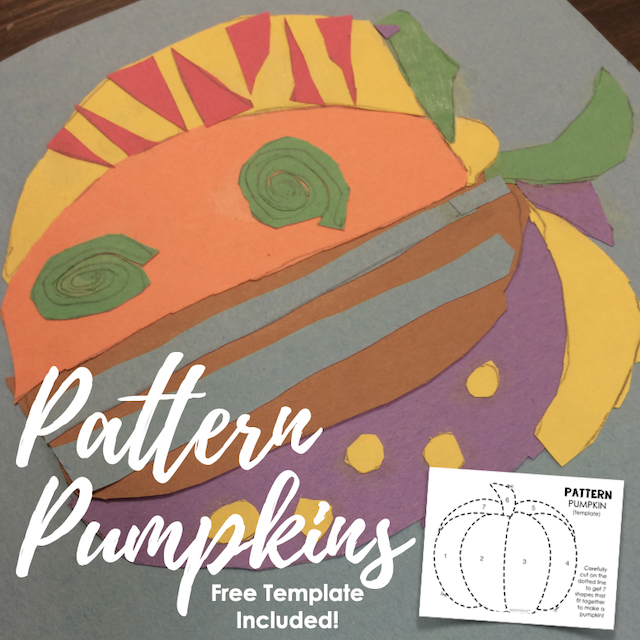
Step #2: After you have printed the template page and made the copies you need, have your students carefully cut on the dotted lines to get seven shapes that fit together to make the pumpkin.
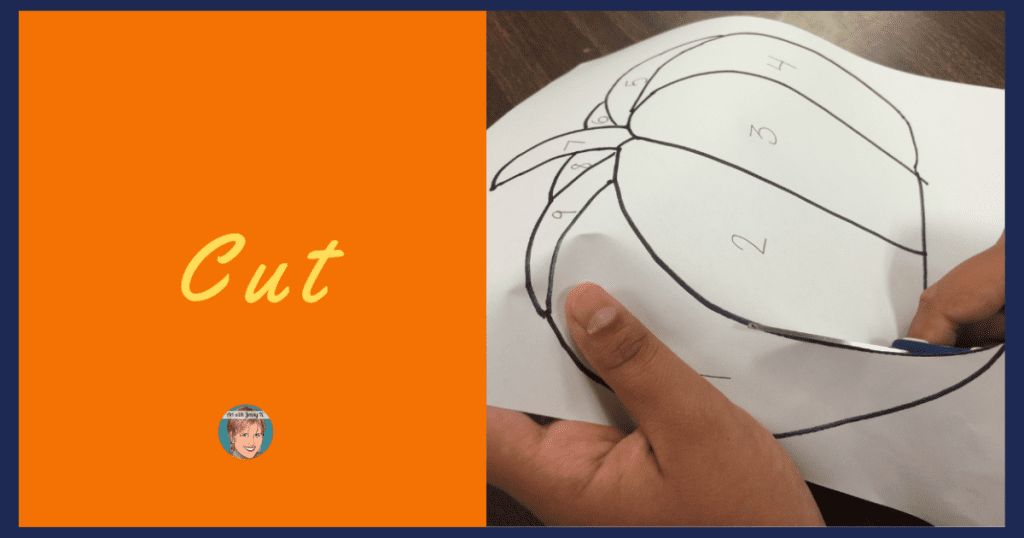
To save paper, you can have students work in groups and share template pieces. I added numbers to the template to save your students from having to number each piece. If you save the pumpkin pieces, you can pull them out next year and skip this step. I suggest storing the pumpkin pieces in envelopes and labeling them to use year after year.
Step #3: Once the template pieces are cut out, have your students trace the shapes onto different colors of construction paper. You can have them use random colors, or you can have them create a particular color scheme.
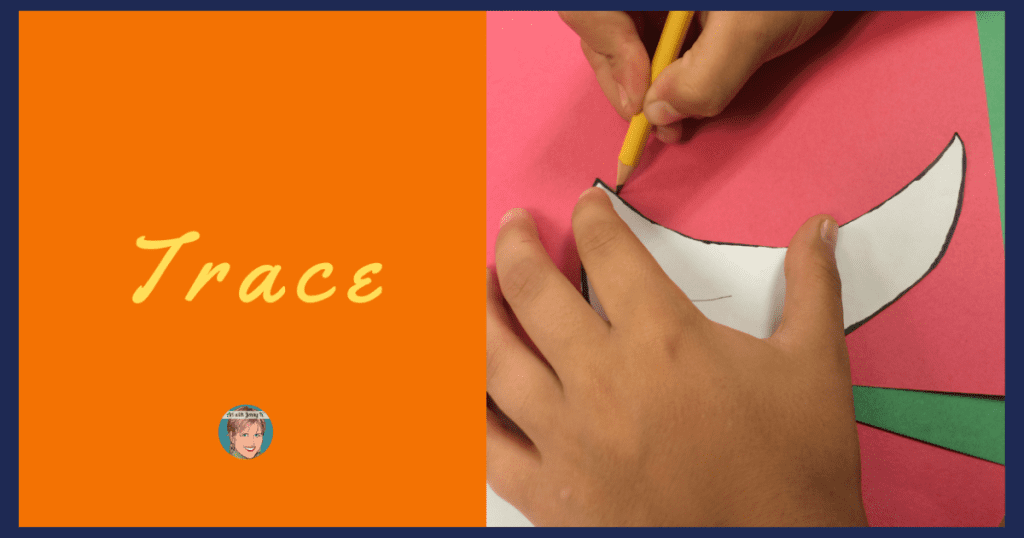
For example, students could use different shades of orange to create monochromatic pumpkins. Or you could give your students fall colors like orange, brown, and purple for their pumpkin colors. You can customize this project however you would like.
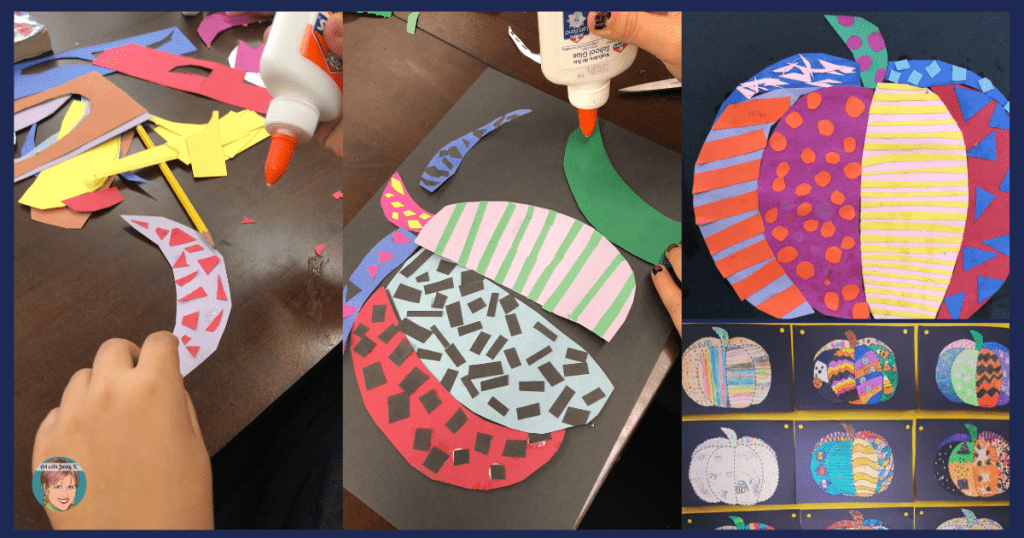
Step #4: Encourage your students to lay the pieces on their background color as they cut—but not glue them down until they have all the pieces cut out—to ensure they all fit before gluing. After the pumpkin pieces are traced and cut out of different colors of construction paper, your students will have something that looks like this:
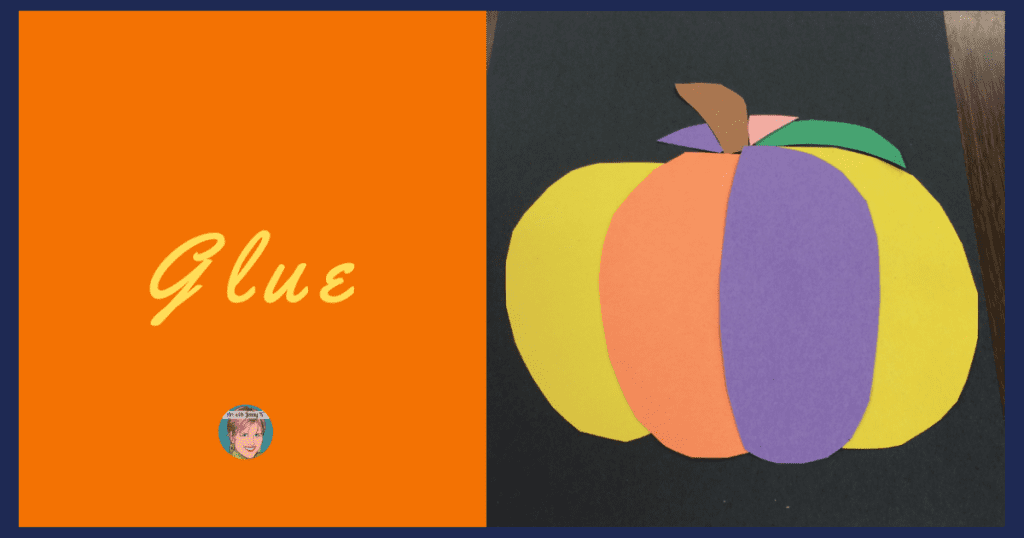
Younger students who are using the template printed onto colored paper will have something that looks similar but with the printed numbers showing.
Once all the shapes are cut out, and the pumpkin is put together with beautiful colors of paper, have students glue down the pieces where they want them on their background color.
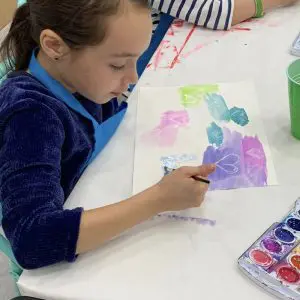
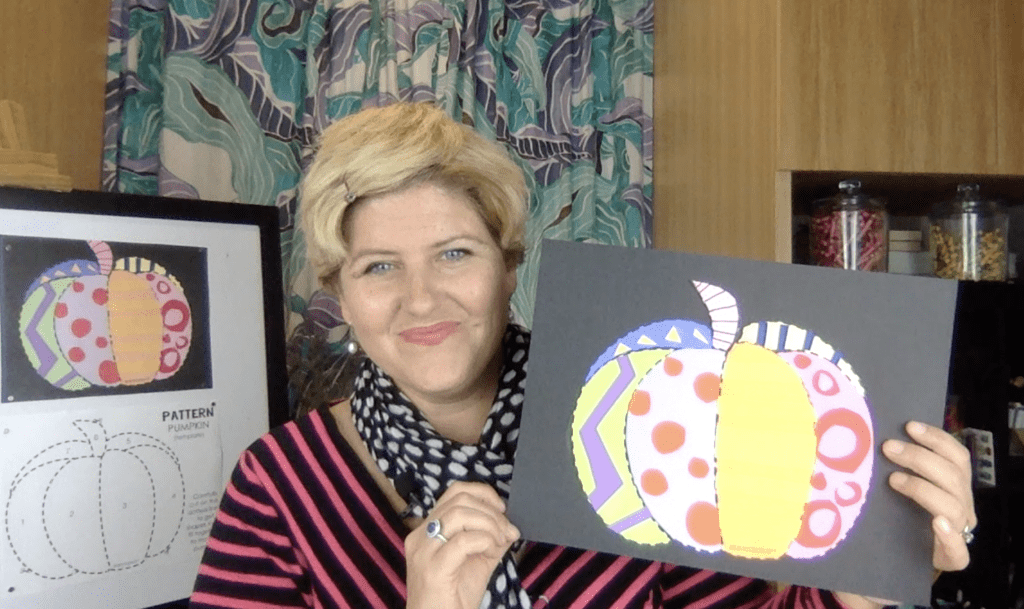
Step #5: Now that your students have created their colorful pumpkins, have them create patterns and designs for their pumpkins using pieces of paper (this encourages problem-solving and fine motor skills)—no cheating with markers or crayons!

Have students think through what designs and patterns they want on their pattern pumpkin project —let them do the problem-solving. In the image above, you can see this student trying to figure out how long the purple strip of paper needs to be to fit in the blue shape.
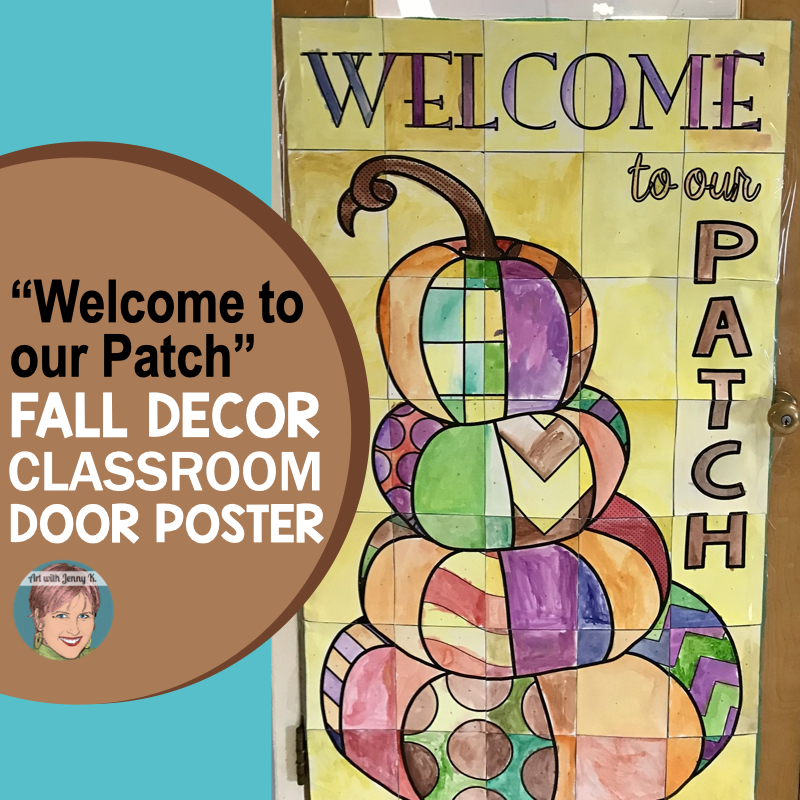
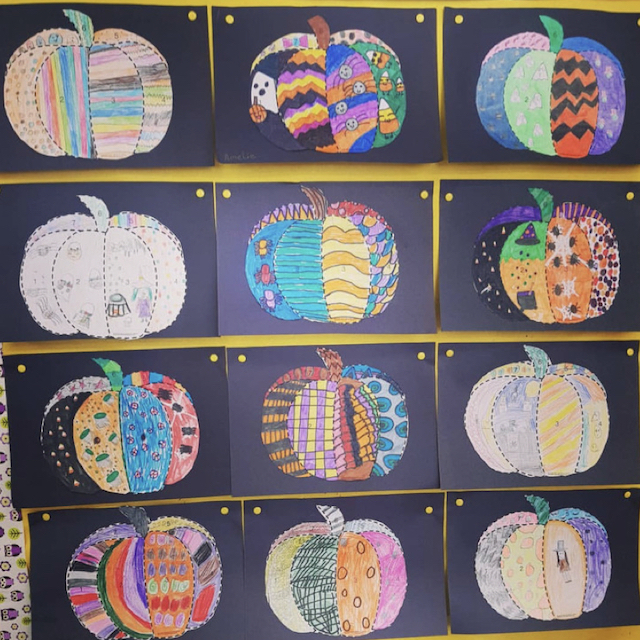
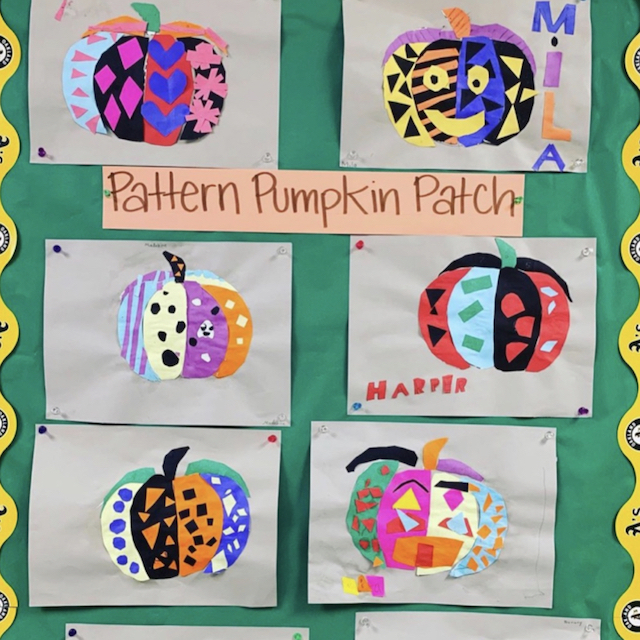
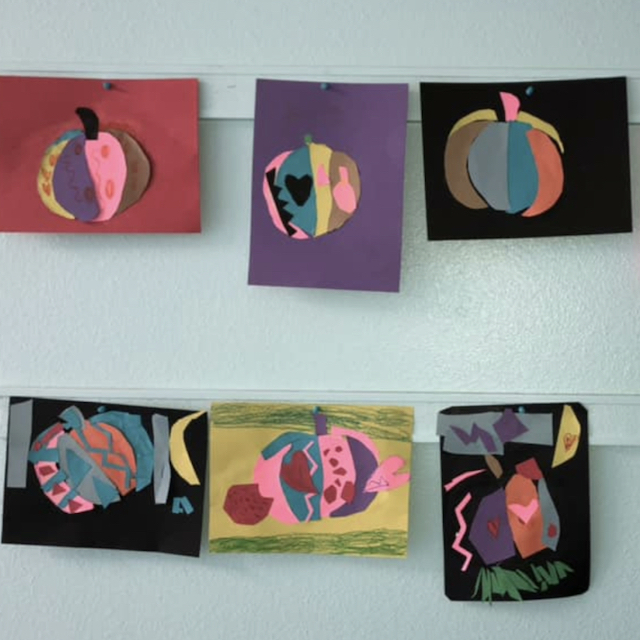
Step #6: Great job! After your pattern pumpkins are complete, hang them up and display them for others to enjoy. These pumpkins are a joy to spend time looking at—with all their details. Each one is as unique as each of your students! Your students will enjoy walking from one image to the next and looking at all the details on these pumpkins!
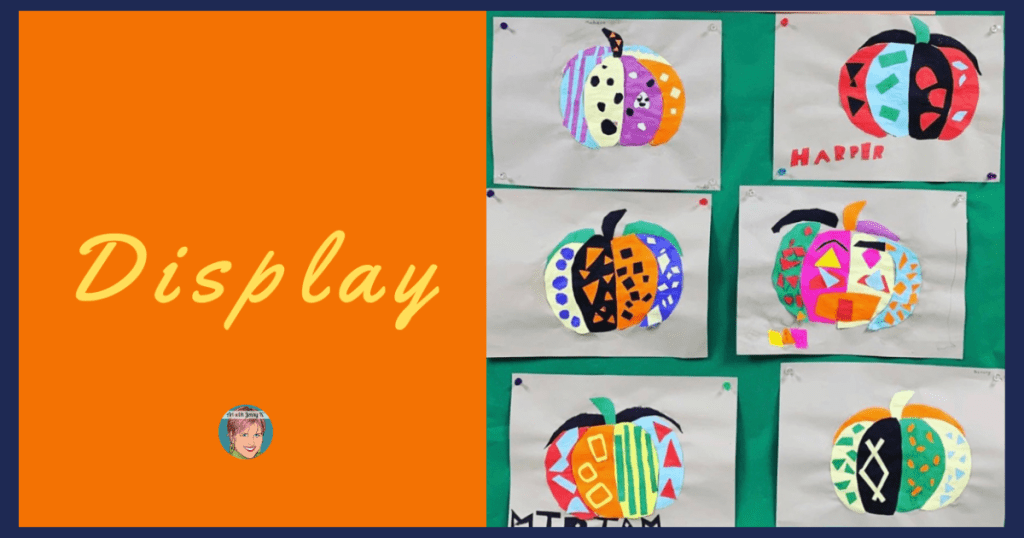
Action Shots
Here are some more action shots from Fourth and Fritcher and the pumpkins she made with her 4th graders! Their final pattern pumpkin project was marvelous. You can see all their pumpkins below!
Download the Free PDF Lesson Plan HERE.
Email Sign-up
I hope you have enjoyed this pattern pumpkin project with the free pumpkin template I included. If you’d like another FREE pumpkin resource for your students, you can join my email list, and I’ll send you one of my interactive coloring pages for FREE. Teachers love my interactive coloring pages because they aren’t just ordinary coloring pages. My coloring pages allow your students to be their own unique selves – no two pages will look the same. This freebie includes a “Pop Art” handout, instructions, examples, and the stacked pumpkin interactive coloring page!

I love to spoil my email list subscribers by sending exclusive freebies, tips and tricks, as well as special sales announcements – not to mention that after you join, you’ll get invited to my Subscribers-only Library of freebies like this free pumpkin page! Sign up below.
As always, thank you for making art with your students!
Jenny K.