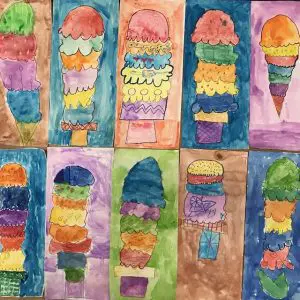
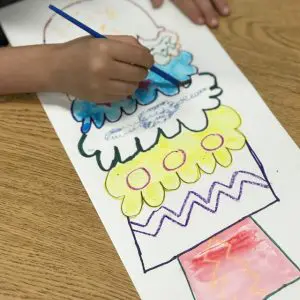
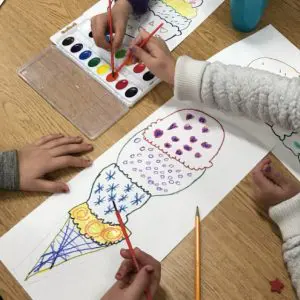
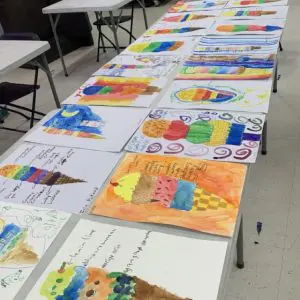
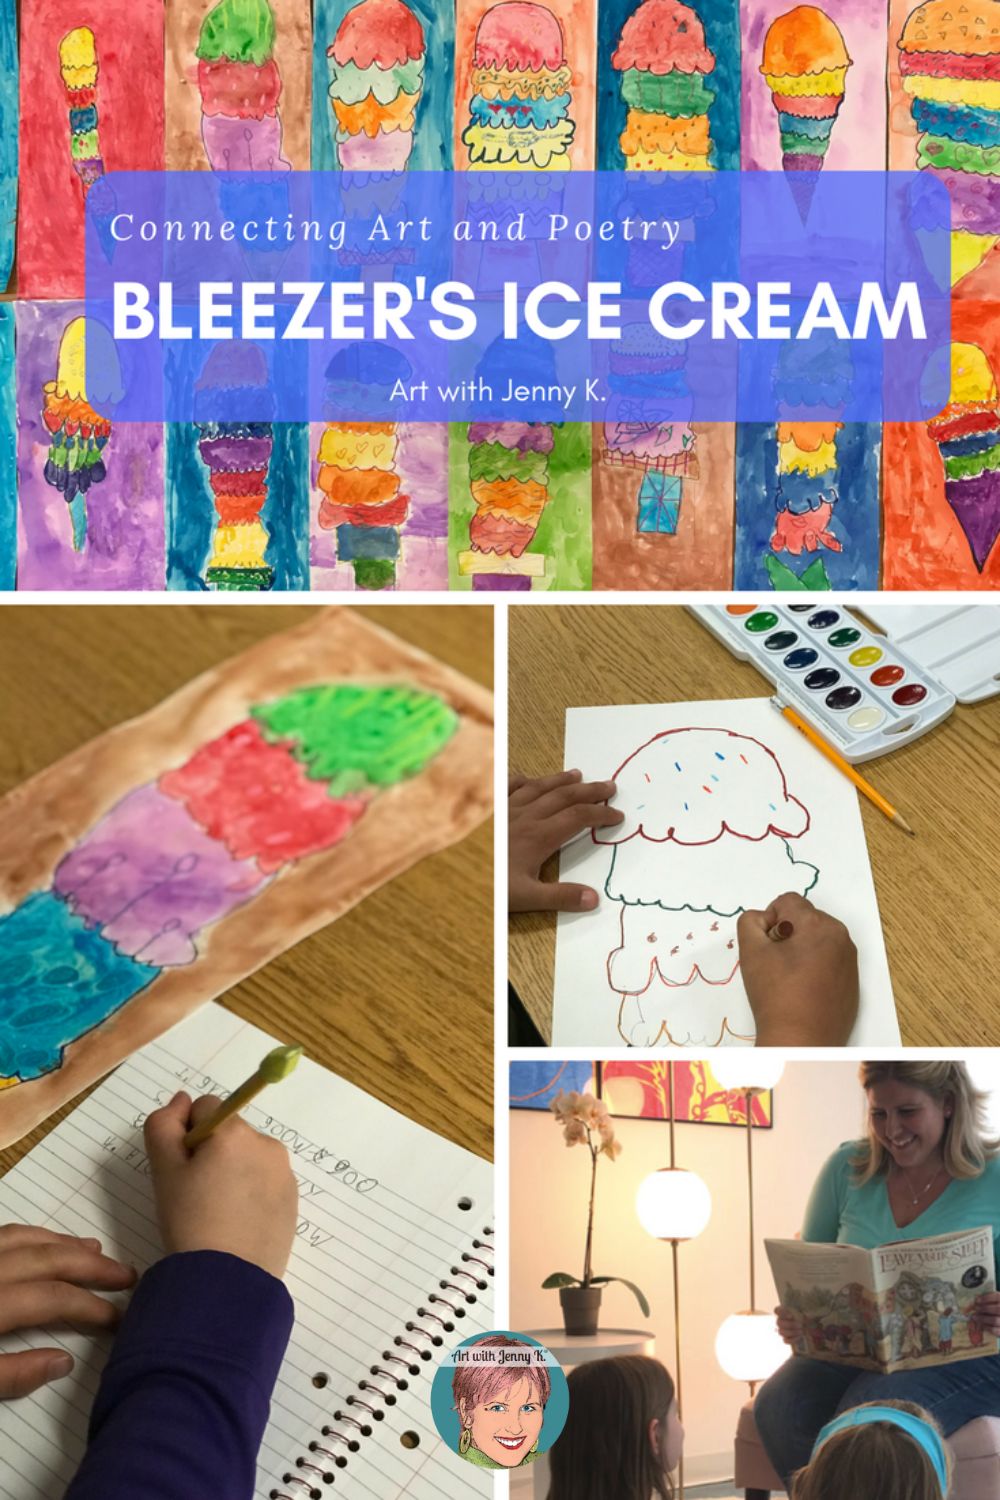
Overall, this project is made up of these steps:
-
-
- First, read the poem to your students (or have your students read portions of it)
- Then, give a brief overview/demonstration of the art project
- Next, outline the art project (students create the ice cream cones)
- Lastly, make a connection to the poetry (teach students about alliteration)
-
I’ll take you through the steps below. But first, you may enjoy watching this VIDEO I created about this project in my Teachers Pay Teachers store (it’s free)! This lesson is also available on TPT as a Free Downloadable PDF.
The version of “Bleezer’s Ice Cream” that I read was contained in a collection of children’s poetry that has been assembled by Natalie Merchant (who is one of my all-time favorite singers) and lavishly illustrated by Barbara McClintock.
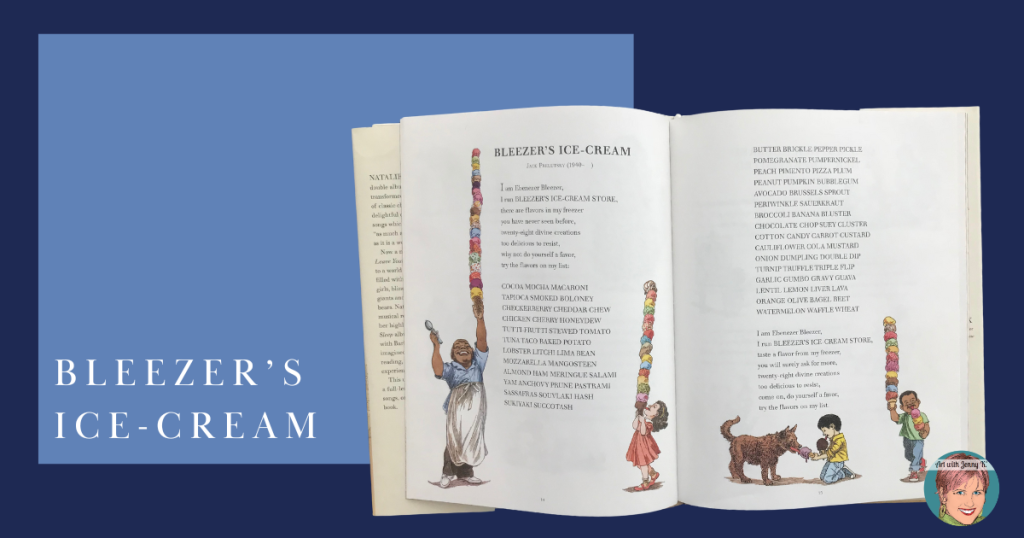
The poetry collection is titled Leave Your Sleep (and also contains a CD of Natalie’s similarly-named double album on which she has set these poems to music—a must-have, in my opinion!).
The poem itself is also available from several sites around the web, including the website HERE for the Academy of American Poets.
Supplies
The supplies for this project are readily available from craft stores, craft sections of big box stores like Target or Walmart, or online at Amazon (I’ve included affiliate links to them in the list below. Please see my disclosure HERE). The messiest part is the use of watercolors, but they clean up easily…so don’t be too afraid to break them out! You probably already have many of these supplies…
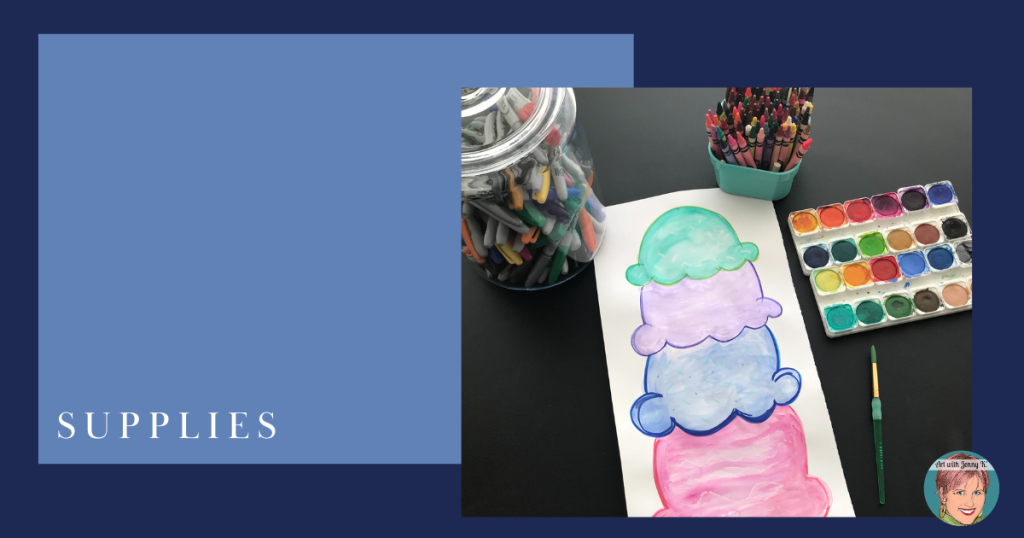
In addition to a copy of the poem (or Natalie’s book), the art supplies that you’ll need for this project are:
Read the Poem
To start this project, I recommend reading the poem to your students first. Or, depending on the age of the students you work with, you could have them take turns reading the different kinds of ice cream flavors. I’m sure you’ll get a lot of happy laughs while reading as students work through the fun names. This is a good time to introduce (or review) alliterations (when two or more adjacent words have the same beginning sound). Lines such as “PEACH PIMENTO PIZZA PLUM” are a great example for your students.
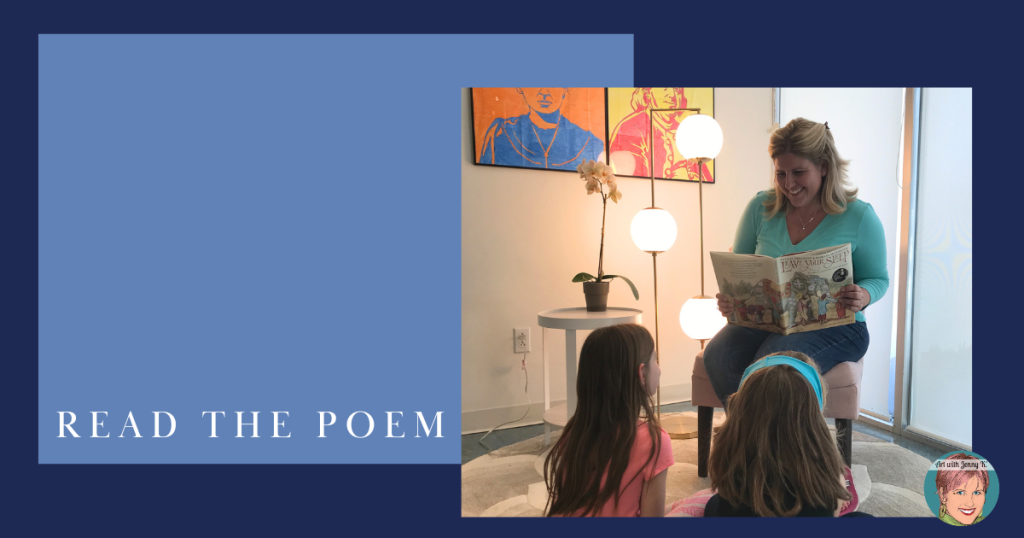
As I was reading the poem, the kids were laughing – so I decided to have them do a “thumbs up” or “thumbs down” for each ice cream flavor they thought they’d like (or not like) to try! It was enjoyable and kept them focused and concentrated on the names of each flavor.
Demonstrate
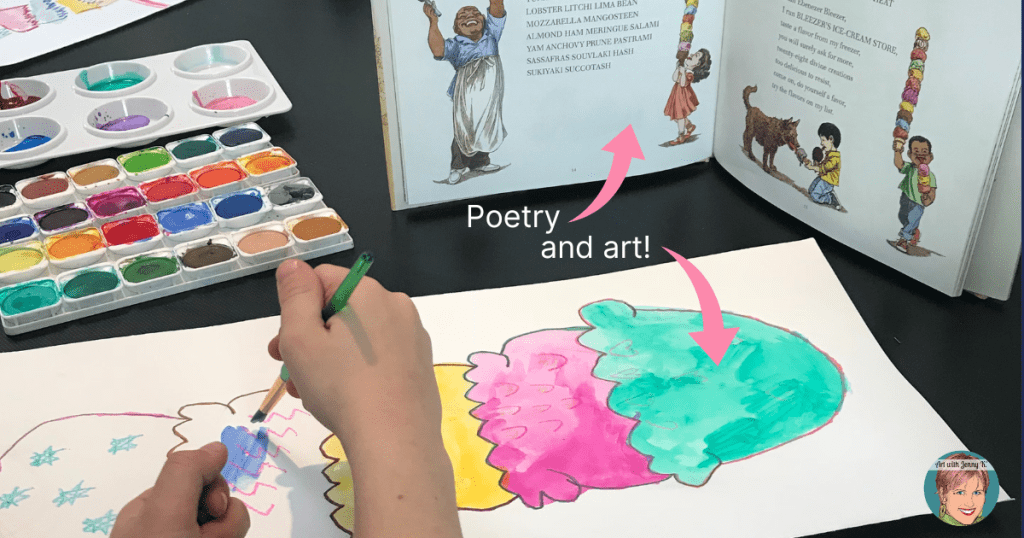
After reading the poem, to give the kids a taste (ahem!) of what’s to come, I gave a brief demonstration of the art project—painting ice cream cones with many, many scoops of different flavors of ice cream! I do this by drawing a quick sketch on the board of what I’d like them to work towards.
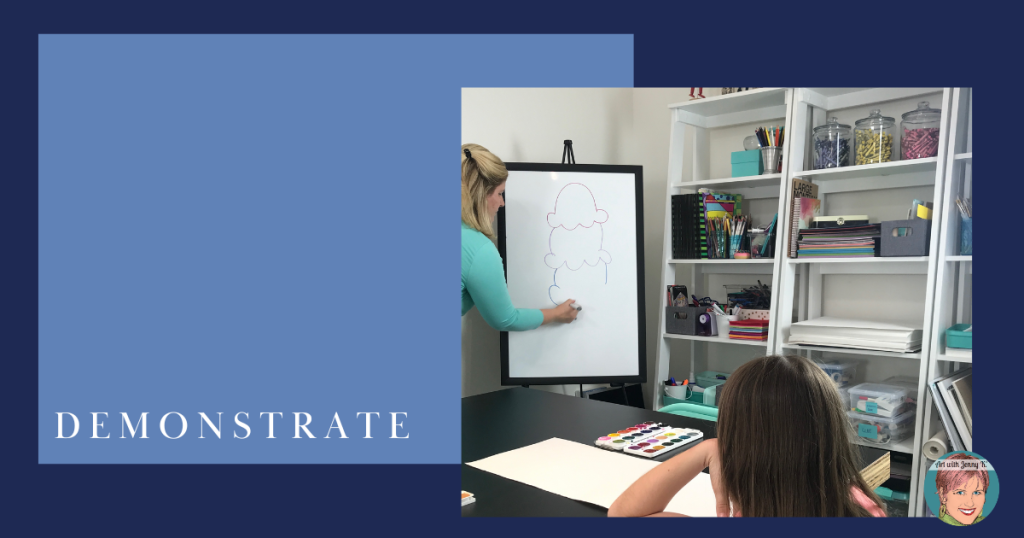
Then I outline the steps:
-
-
- Draw the cone and the scoops with a pencil (editing as they go);
- Trace over their final drawing with a marker;
- With a crayon, add textures, patterns, designs, etc. to the cone and especially the ice cream scoops as they imagine their own flavors;
- Paint the ice cream scoops with watercolors. Note: if you don’t have or don’t want to introduce watercolor paints to this project, have the kids color in their picture to their satisfaction in step 3.
-
Steps
Step 1
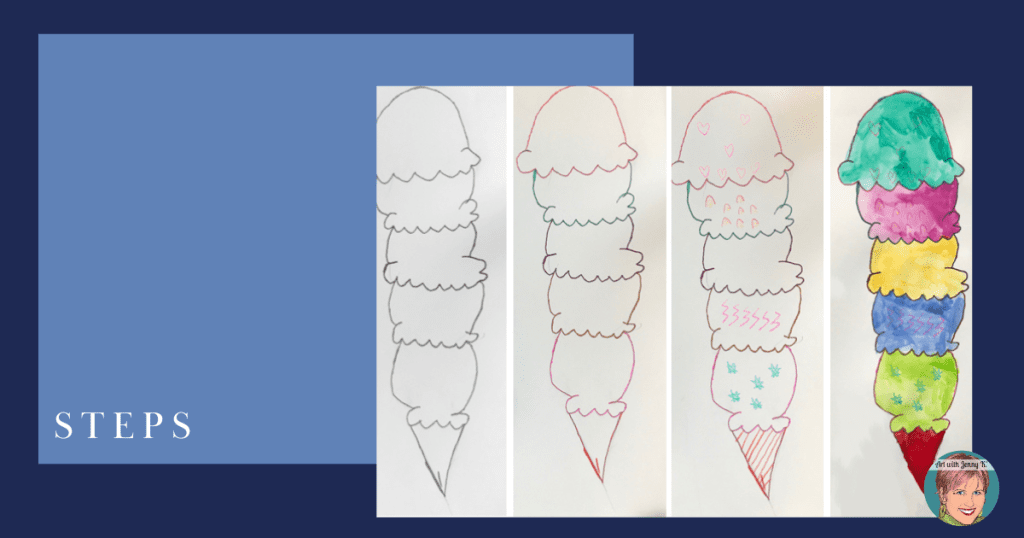
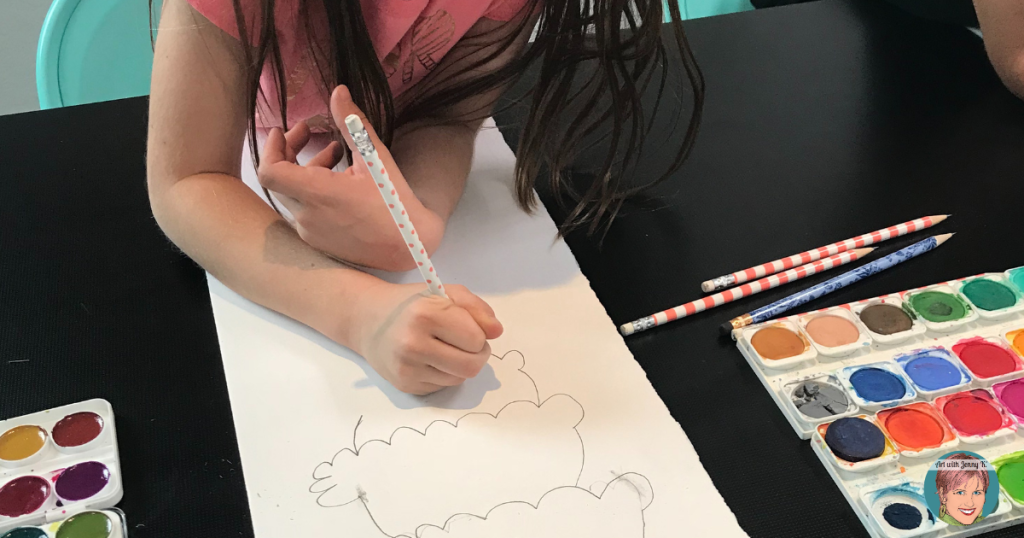
Have the kids draw a BIG ice cream scoop at the very top of their page. I gave students narrow rectangular paper (cut any size you want and have it on hand). Make sure to remind them that they need to leave room for the cone at the bottom. I drew a triangle and a rectangular cone on the board to decide which they’d like to use. Encourage them to try to use the entirety of the page. Use pencil during this step so that the kids can easily edit as they go. Sometimes they need a little guidance during this step, so sketching an example on the board all together is a nice way to do this step.
Step 2
When they’re happy with their pencil drawing, have your kids trace over the pencil with a permanent (non-water soluble) marker to make the lines bold. They can do this either with a black marker or with different colors for each of their ice cream scoops, as we did. If you love Sharpie markers as much as I do, you’ll enjoy watching students do this step—I sure did!
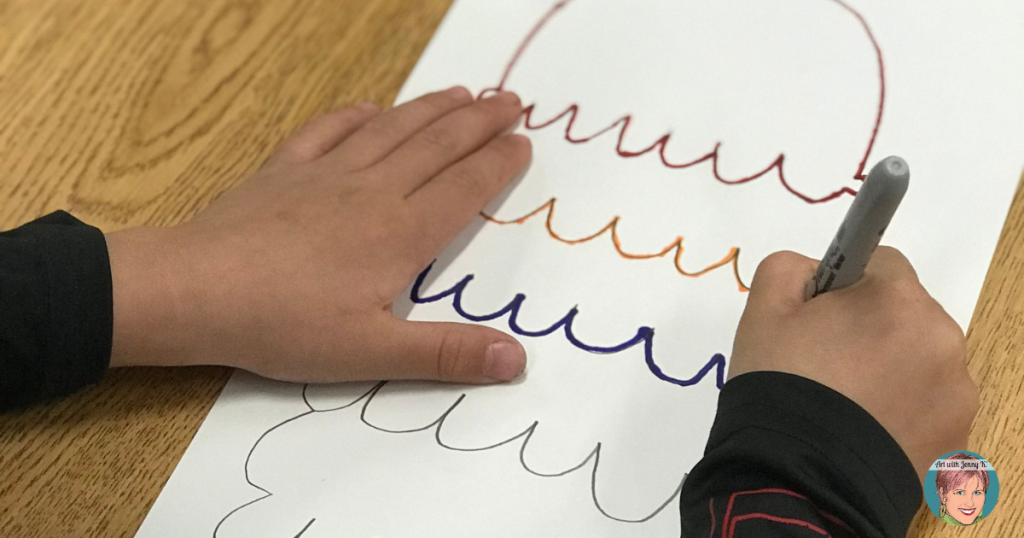
If you aren’t going to paint with watercolors, you don’t have to use a permanent marker. However, if you are using watercolor paint and you DON’T use permanent markers when the kids add their paint, the marker will smear and make a mess. You could always use crayons for this step if you don’t have enough permanent markers for the class.
Step 3
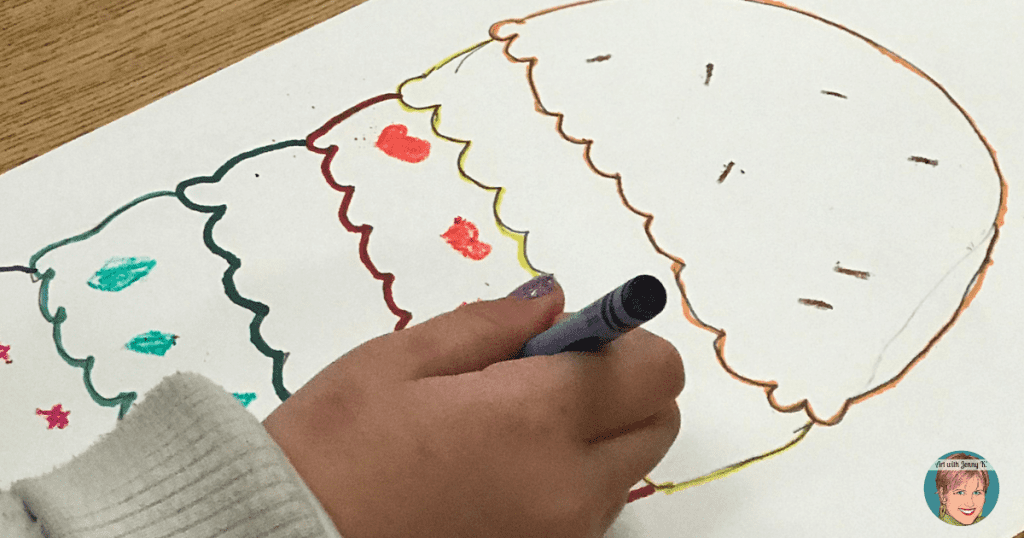
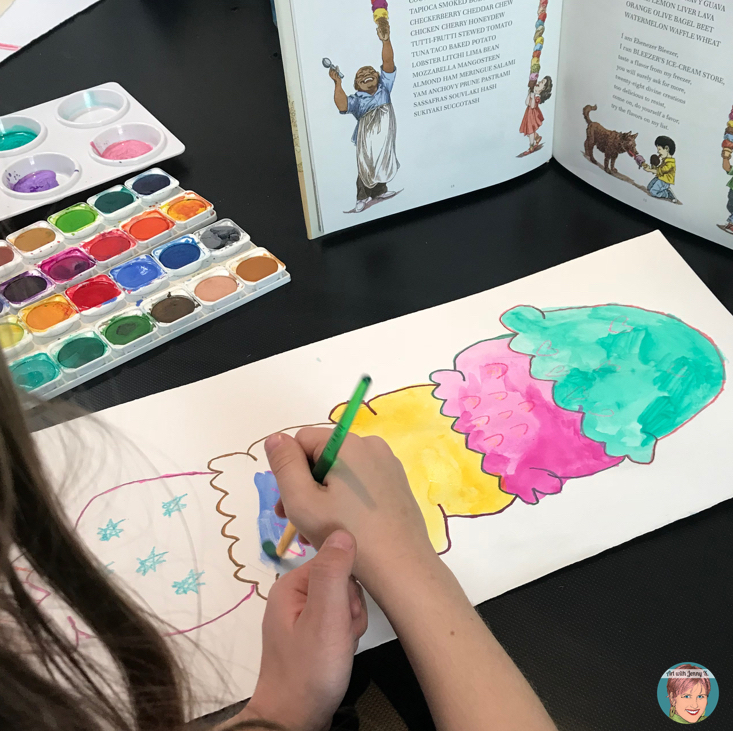
This step is optional, but I like to add another layer of texture and interest for students. Use crayons to add patterns, designs, and/or textures to the scoops of ice cream. Have the kids go easy here—the idea is not to color in the entire scoops of ice cream, but only to add in the little bits of color (like the chocolate chips, pieces of pistachios, sprinkles, etc.). Since the crayons are wax, they will resist the watercolor paints (in the next step). Their colors will be retained even after the scoops are painted over with the watercolor paints. This results in a very complex-looking ice cream flavor!
Step 4
Use watercolor paints to color in the ice cream cone and scoops of ice cream. Watercolors are great here because the natural variations in their shading make for good-looking ice cream!
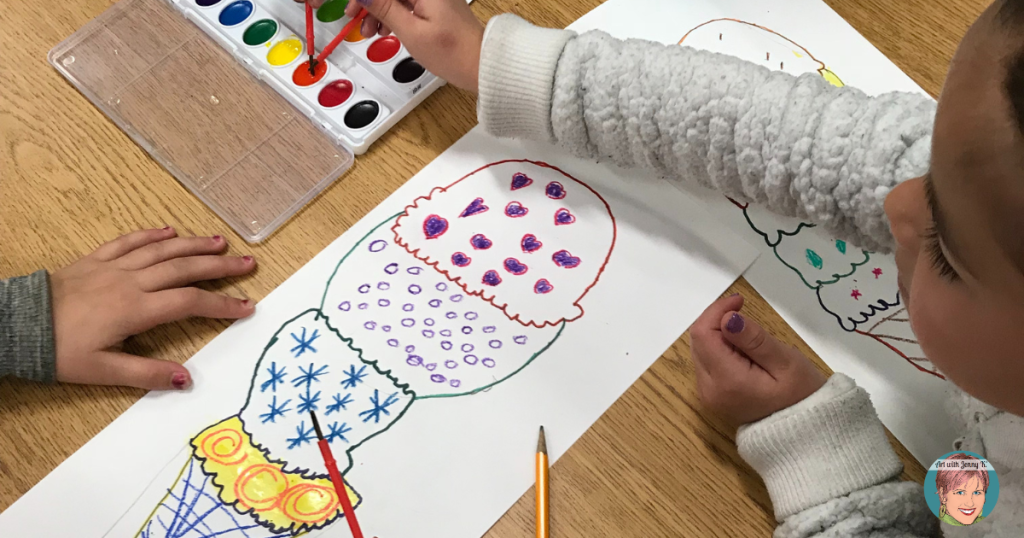
Note: If you don’t want to break out the paints, you could have the kids color in their ice cream scoop using the crayons in Step 3.
Connection to Poetry
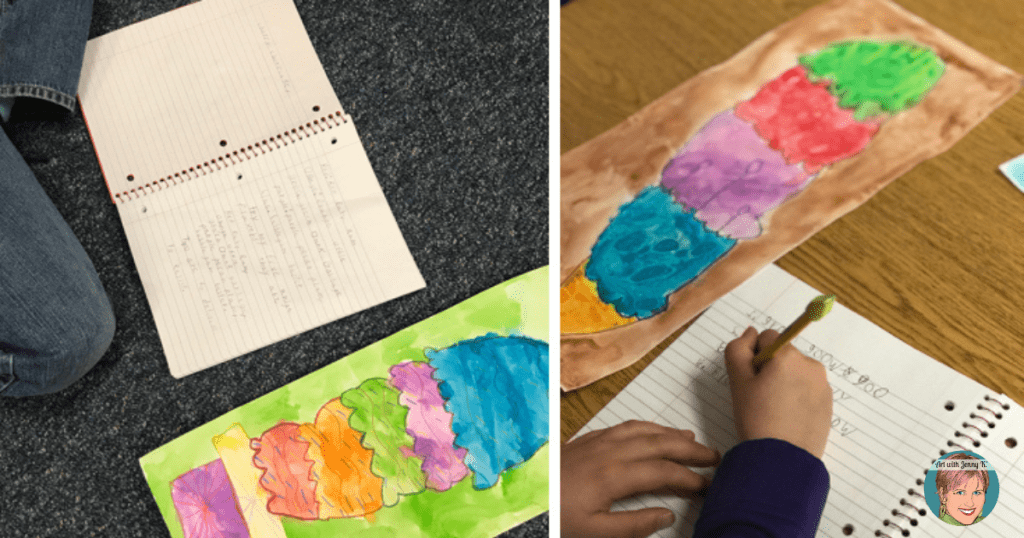
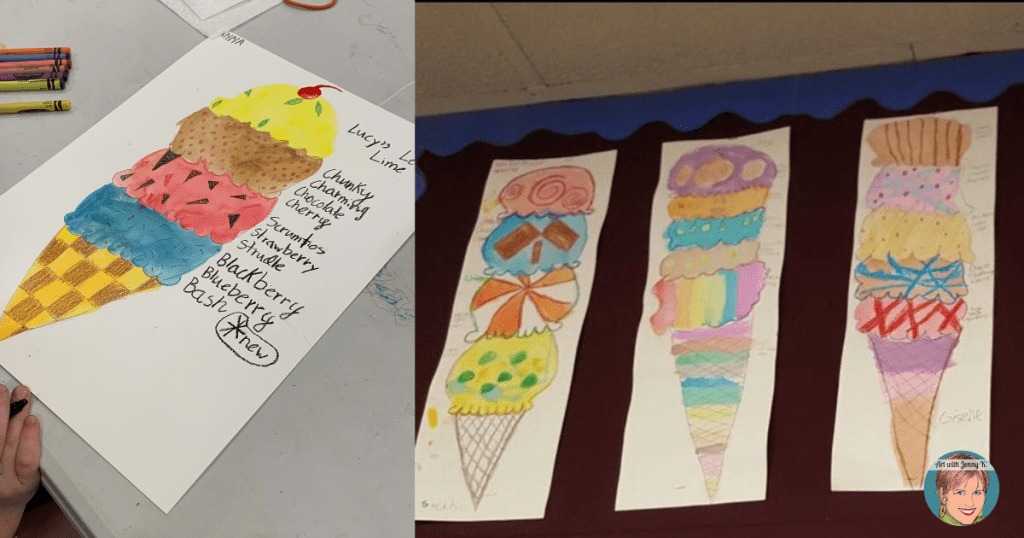
The final step is to connect the artwork back to the poem. We talk while the students are using watercolors to paint their scoops of ice cream. I ask them to think back on the poem and the crazy ice cream flavors that are in it. I encourage them to think of their own crazy ice cream flavors and then paint their scoops a color they think would correspond to their invented flavor. Also, if your kids are of sufficient age, you can ask them to label each of the scoops with the name of the flavor that they came up with. This makes for a great collection of fun flavors.
This would be a great time to reinforce alliterations (when two or more adjacent words have the same beginning sound) with your students.
Finally, you could have your class collectively write a poem patterned along the lines of “Bleezer’s Ice Cream,” but about their own classroom ice cream shop and all the interesting flavors, it contains! Maybe something like:
We are the kids of Mrs. Knappenberger
We have an ice cream shop with interesting flavors
Some are sweet and some are sour
But we are sure all you’d like to devour
Now we are done playing games
Here are some of their namesPINK PAJAMA RAM-A-LAMA
STRAWBERRY, PICKLE, RED BANANA
SPICY HOT TABASCO PIE
KETCHUP CHEESEY CURLY FRIES
RASBERRY FLAVORED CHICKEN LIPS
MAYONAISE WITH POTATO CHIPS
…
Okay, okay, so maybe I’m not much of a poet (we will leave that up to Jack Prelutsky and your students), but hopefully, you get the idea! 😉
Here are a few 2nd graders from a different class working on naming their scoops of ice cream!
Check out these beautiful examples of this project created by some very creative 3rd-grade students. Their teacher said, “They loved getting to name the flavors and sharing their names – they kept asking if I would eat their favor!”
Well, I know I sure would – some of those ice cream flavors look delicious!
I am sure that you and your kids will have as much fun with this project as we did. When you are done, I’d love to see some of the amazing ice cream creations your class comes up with. You can tag me with @artwithjennyk or #artwithjennyk on almost all social media platforms.
Thanks for making art with your kids!
Jenny K.

