I set out the other day to teach my art kids various holiday-themed lessons. Then, one of my 5th graders asked if she could draw Olaf. Now, I haven’t seen Frozen yet (don’t kill me), but I’d be hard-pressed NOT to know who Olaf is, especially working with kids all day.
Being the good teacher, I am (or, perhaps just easily persuaded) I said yes. This was then met with, “Well, can you put a picture of him on the board so we can see him?” “Sure I can,” was my response.
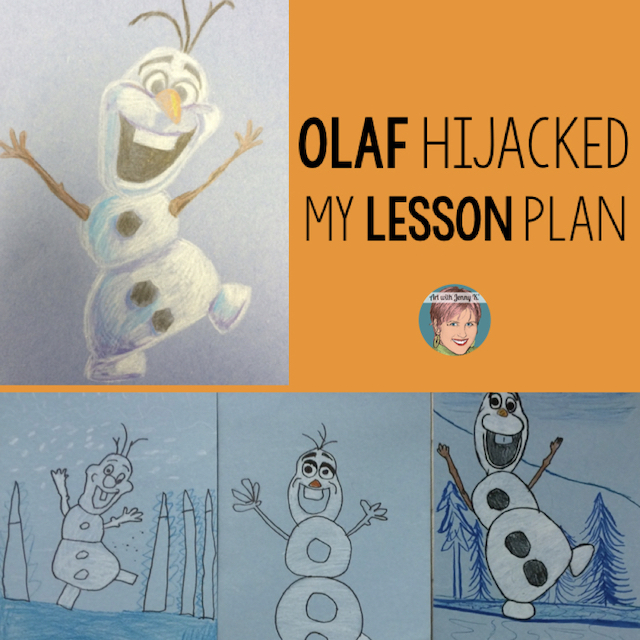
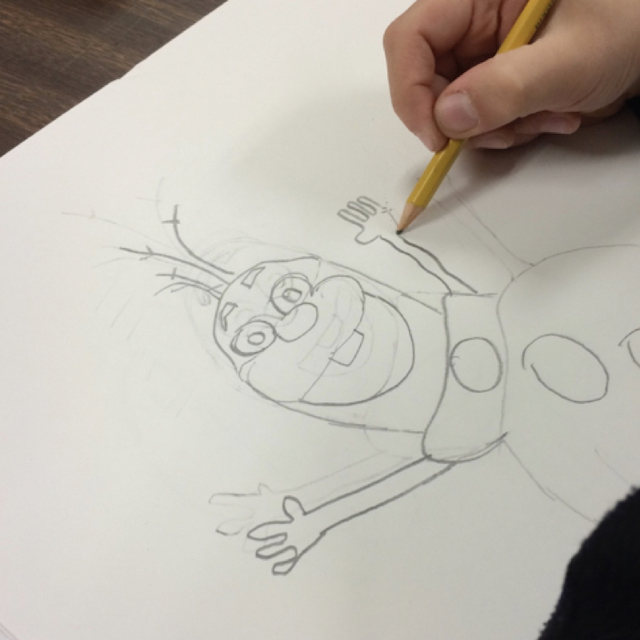
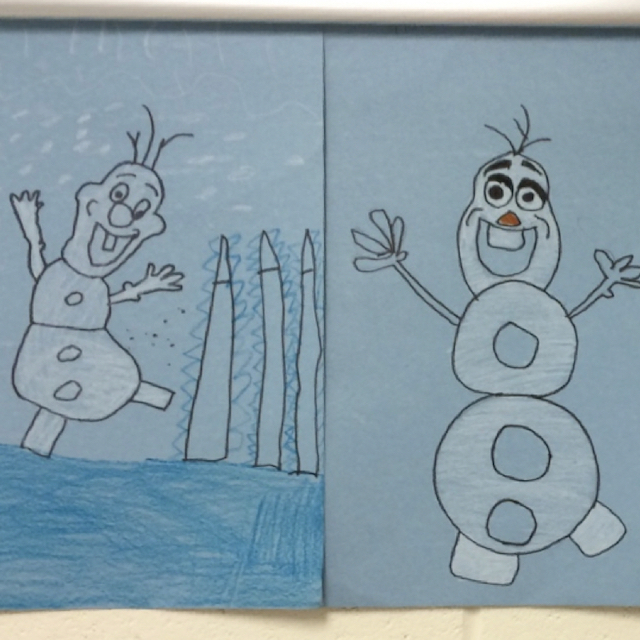
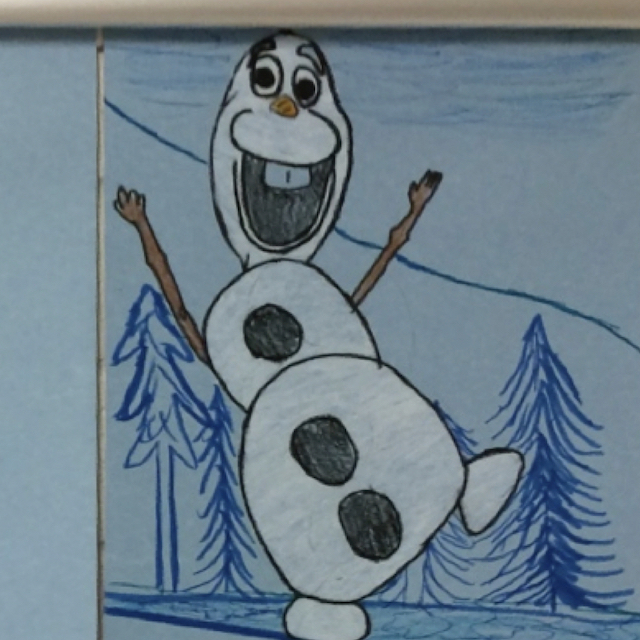
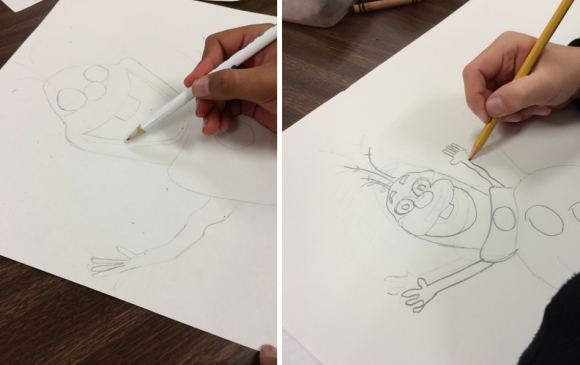
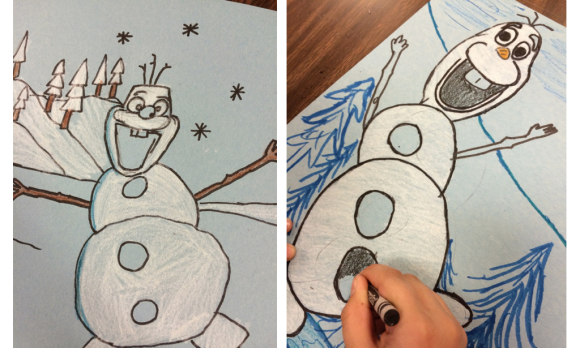
I “googled” Olaf, found a good image of him, projected it onto the whiteboard, and let the kids draw. The first class that hijacked my lessons (5th graders) drew him on white paper, looking at the image on the board with little-to-no “instructions” from me.
However, for the next group of kids (4th grade), I was more prepared. When they entered the class, the large Olaf was still on my board, and the kids all started screaming (really, they did) with excitement that we were doing something with Olaf.
Just for fun, I asked them if they would “like” to do an Olaf drawing. You know the response! Being a bit more prepared, I gave the kids light blue paper and some white crayons (I keep my white crayons and pencils separate from all the rest).
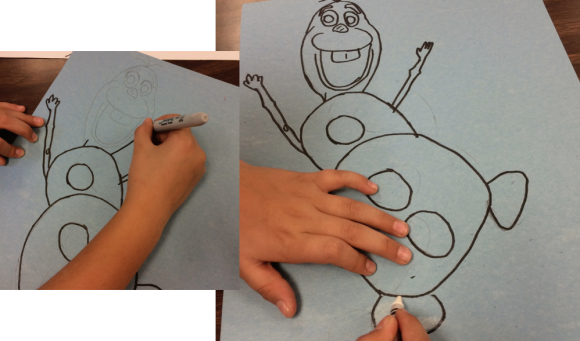
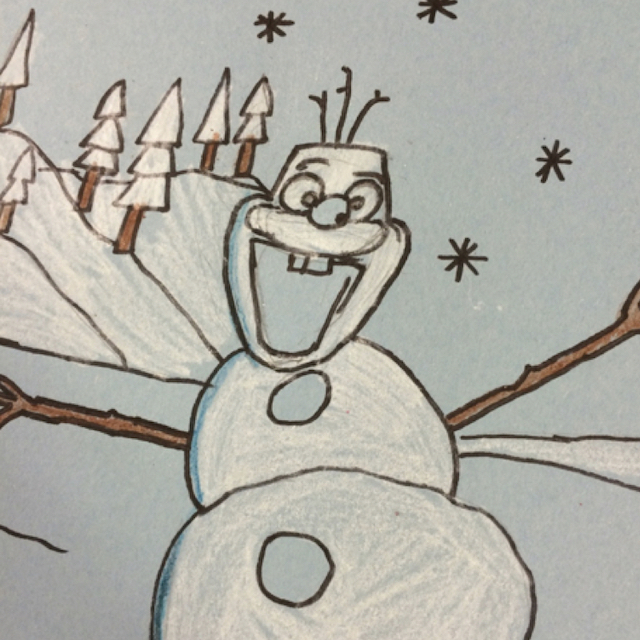
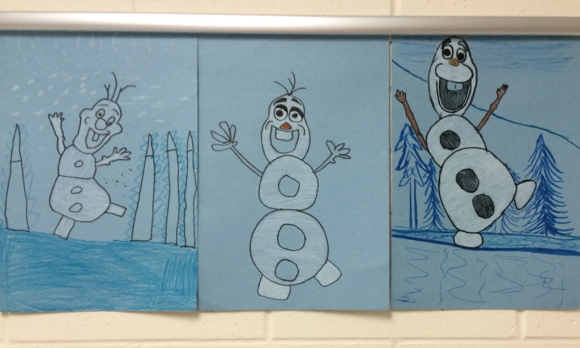
I talked to the kids about the shadows on the body of Olaf and how he’s not just white. We talked about how the kids could use some blue and purple as reflections to help make him look more 3D. Kids drew him with pencil, outlined him with black Sharpie markers, and then colored him in with white crayons. Using other colors and designs, they added the background. Most kids still need another week to work, but here are some of my early finishers:
I was actually able to display a few of them that day. I imagine a few of these kids will want to work more on their backgrounds this week..but for the time being, the pictures hanging in the hallway are really creating a buzz of excitement about coming to art.
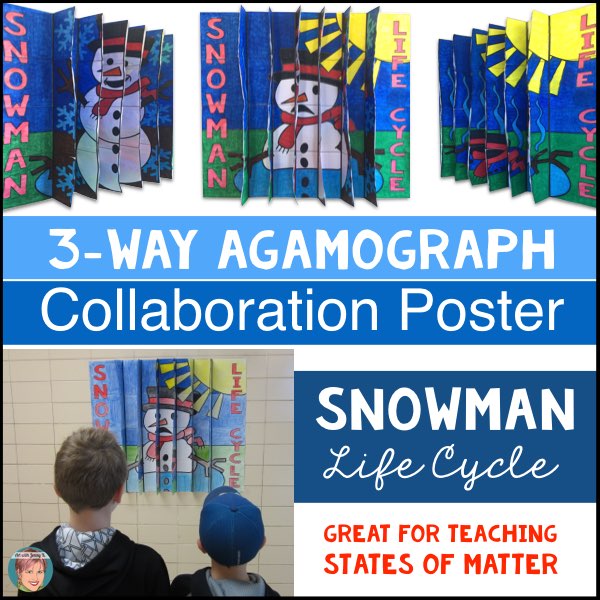
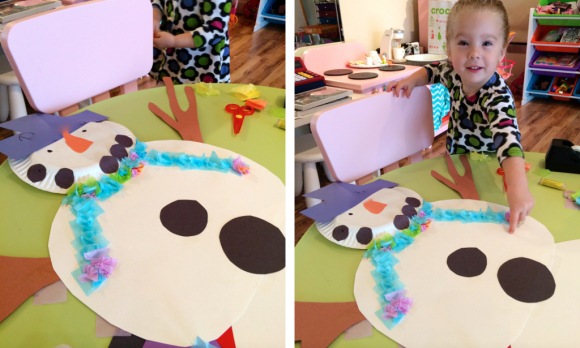
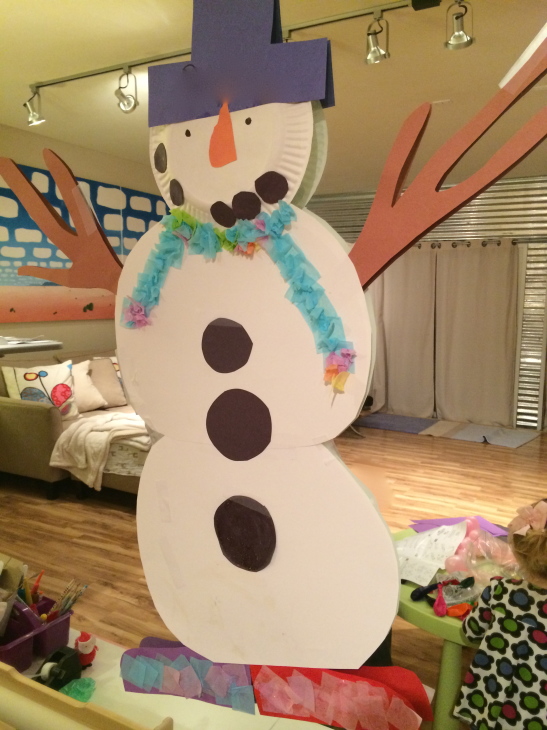
While we are talking about snowmen… My daughter came home from daycare the other day and had made a snowman face from a white paper plate. Of course, having an art teacher for a mom, I felt like Presley just had to do something fun with this face. So I cut out some large white circles and made a body. We cut out buttons and then glued on a scarf.
Now, I’d be lying if I said my daughter (2 1/2 ) did all of that. She did not. She was mostly interested in putting tape all over the snowman. She did enjoy the gluing and putting the sparkly glue on his feet at the end. However, I on the other hand had a great time!
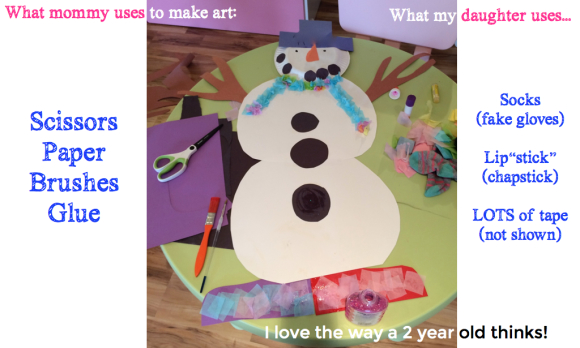
I love everything about how a 2-year-old thinks…for example, see this image for a list of what I thought would be important for our art lesson and what she thought would be important (of course I love her thoughts)!
When the snowman was apparently finished (I was happy to keep working but she decided we were “done”), we hung him up (yes, with LOTS of tape) on the mirror in the playroom. Just in case you are wondering why the playroom has a GIGANTIC mirror in it, it’s because it used to be my private dance studio (speaking of having things hijacked!).
Well, Olaf certainly wasn’t on the agenda for my lessons this month, but it just goes to show why it’s so important to be flexible and to listen to your students. They had so much fun and truly embraced their artwork. Plus, it inspired me to do some snowman activities with my daughter. So, for all that, I’m glad Olaf came and hijacked things for a day or so!
Thanks for reading and for making art with your kids!
Jenny K.