Art With Jenny K.

Holiday

How to Draw a Monstera Plant in a Bullet Planter

How to draw a monstera plant

Category

Tags

Description

In the post, I’ll walk you through the steps of drawing an iconic mid-century plant step-by-step. I have a student who LOVES monstera plants. I was with her a few months ago for a mentorship program and I asked her if she wanted to help me create a step-by-step lesson on how to draw a monstera plant.

Of course, she said yes! Making this lesson was a lot of fun, and we hope your students will love doing it as much as we did!

This project is part of a collection!

Supplies

  • Paper
  • Pencil
  • Eraser
  • Black marker
  • Colored pencils, crayons, & markers in green, blue, and a background color

Instructions

I love the visual interest of using a variety of mediums like colored pencils, crayons, and markers together. If you only want to use one medium to complete this project, it will still look gorgeous in the end. If you don’t have any colors, shading your monstera in with pencil will still give a great result. Use what you have on hand and do what works best for you and your children.

  1. Draw the Basic Design

    The basic shape of a monstera leaf is a heart shape with a curved tip. Using a pencil, start by drawing a bunch of heart shapes of varying sizes arranged in a circle on the page. The tops of the hearts should all face the inside of the design (radial design).

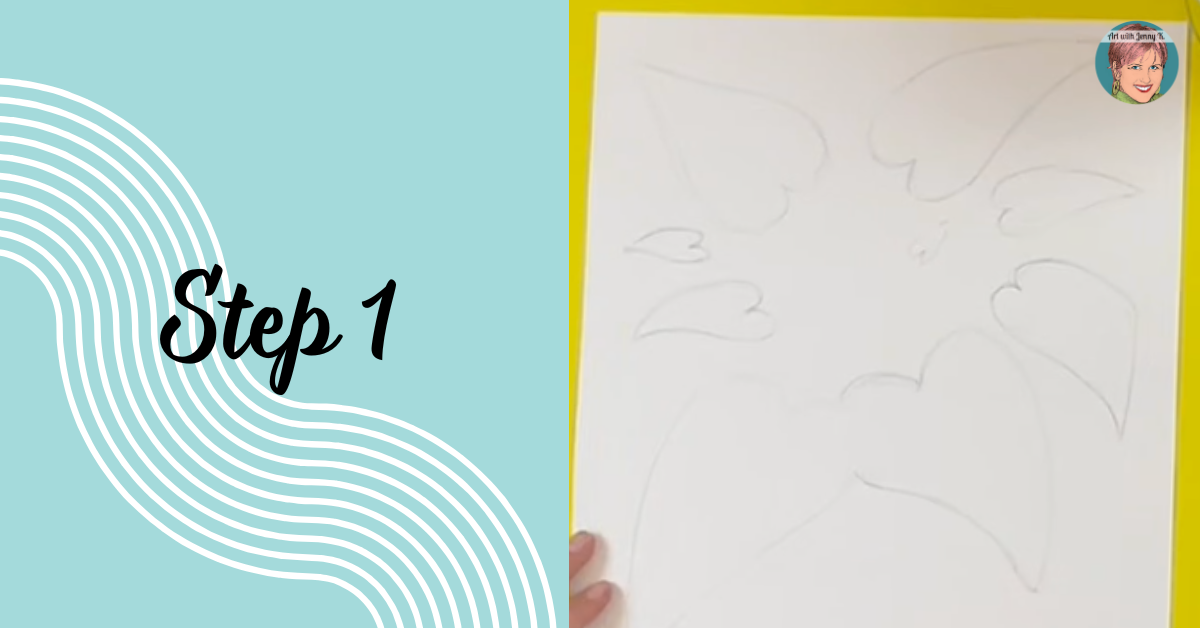
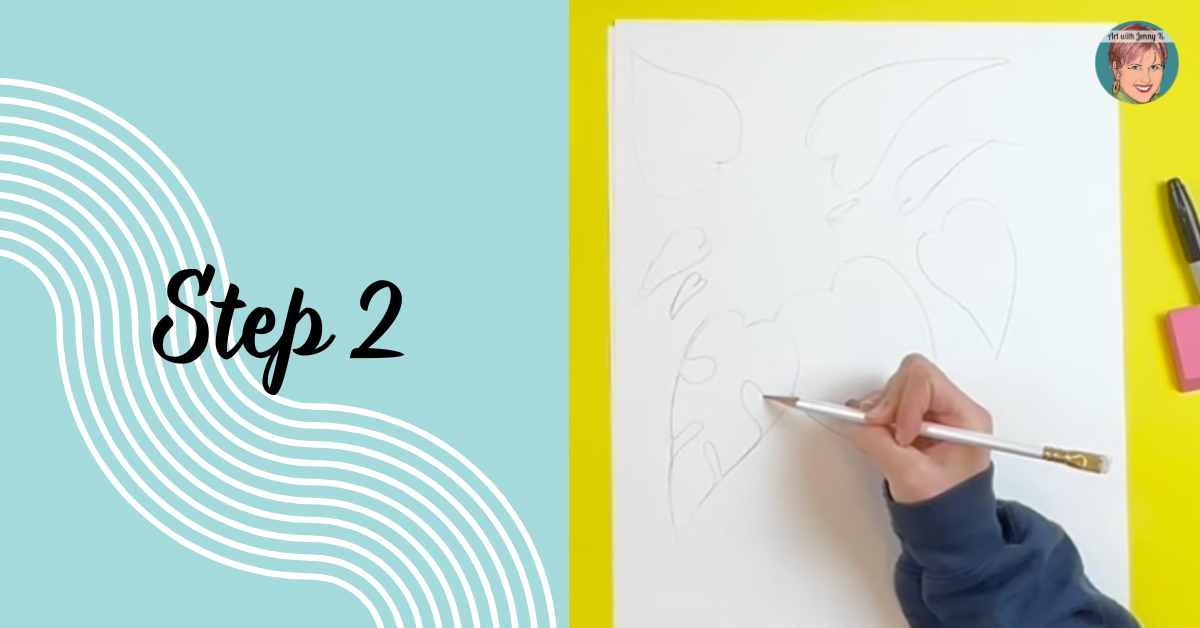
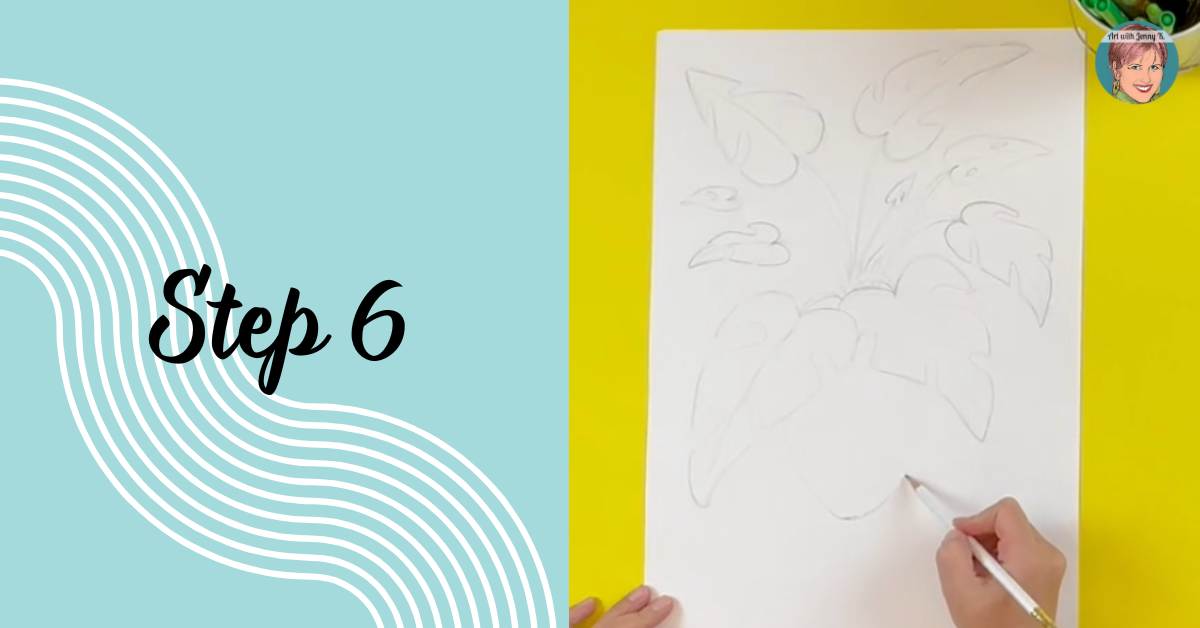
    Some children might find it helpful to be reminded that it’s okay to turn their paper around as they work instead of trying to draw upside-down hearts. It also helps to press lightly with the pencil during this step since some parts of these lines will be erased later.

  2. Draw the Leaf Cutouts

    Next, add to your monstera leaves the missing pieces that give them the “cut-out” look. Do this by tracing over the lines that you’ve already made but adding arched shapes that cut into the leaf as you go. You can also add little circles to the inside of some of the leaves for that iconic monstera plant look.

  3. Erase the Cutouts

    Now it’s time to erase all of the parts of the line that you drew around when drawing the cutouts on the leaf. I like to do all this erasing in one step. This way, it’s easier to clean up all the little eraser bits when I’m done (into a trash can, preferably).

  4. Add the Stems

    Before you start drawing, decide on a center point for all of the stems to come together. Then draw each of your stems, starting from the leaf and ending at that center point. Stems are thinner near the leaf and get a little wider as they go down. Some of the stems will probably cross over each other. That’s okay, but you may want to erase any overlapping lines at the end of this step.

  5. Add the Veins in the Leaves

    Next, draw the veins in the leaves. Start with your pencil at the top of the leaf where the stem begins and then draw a line in a sweeping motion towards the tip of the leaf. Be sure to curve the line to follow the curve of the leaf.

  6. Draw the Bullet Planter

    Take a look at the blank space on the page below the monstera leaves and find about the halfway point. At that halfway point, draw a small “u” shape. This is the bottom of the bullet planter. Then extend lines widening up and out from the “u” to create the rest of the planter.

  7. Draw the Legs of the Planter

    To draw the legs of the bullet planter, draw two curved lines that start at the bottom of the planter and end at the bottom of the page. Then reflect those lines up onto the base of the planter that you drew in the last step. Remember to curve your shape to follow the curve of the planter.

  8. Outline Your Drawing

    This step is optional, but I recommend it. Using a black marker, outline your pencil drawing to make your lines stand out bold.

  9. Color Your Final Artwork

    We used a variety of shades of green to color our monstera leaves. Then we used a variety of blues to color the bullet planter. In the video, we used purple and pink as background colors, but you can use whatever colors you like. Be creative and have fun!

Thanks!

If you decide to post photos online of your students’ artwork, please be sure to tag @artwithjennyk on your favorite social media accounts so I can see what your students created!

Thanks for reading,

Jenny K.


Pin It!

Share & Save!

Out of the box ideas to your inbox!

Sign up today to receive Art with Jenny K’s eBook, The Benefits of Directed Drawing for Kids, and gain access to the AWJK Subscriber Library of freebies!

More Tested & Approved Projects

Integrate art into your classroom!

Sign up for my newsletter and get out of the box ideas to your inbox!

Fill out and submit this form for a chance to be featured on ArtWithJennyK.com!

Grade
Grade
Category
Category