Many artists have used the common shapes of numbers to create art. Artists like Jasper Johns and Robert Indiana are two very famous artists you might recognize. Most likely, you know Robert Indiana for this piece of work:
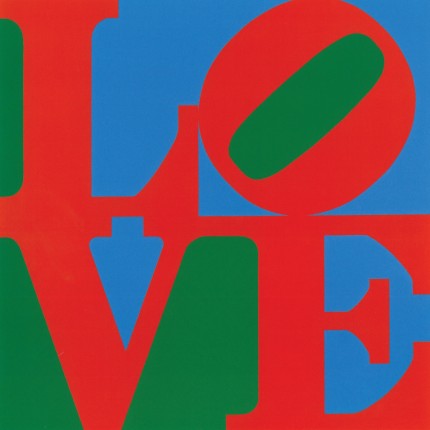
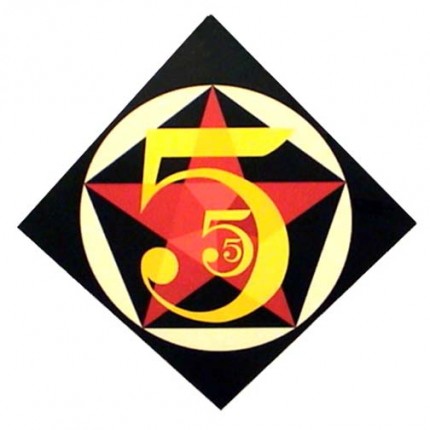
This “LOVE” image has become extremely popular recently and can be seen on just about everything (I have a post on how to make your own with your kids HERE). This is the image you most commonly recognize. Robert Indiana was also very famous for making art using numbers, like this piece.
Jasper Johns was an artist who loved to work with wax and used a technique called encaustic painting. Here, you can see an example of how he made art with numbers. Using numbers to make art is so fun that even these two very famous artists liked to do it!

First, start by reviewing numbers 0-9 with your students. Have them take turns coming up to the board to write their numbers. If you are starting the school year, this is an easy way to assess who already knows their numbers (or who THINKS they do!).
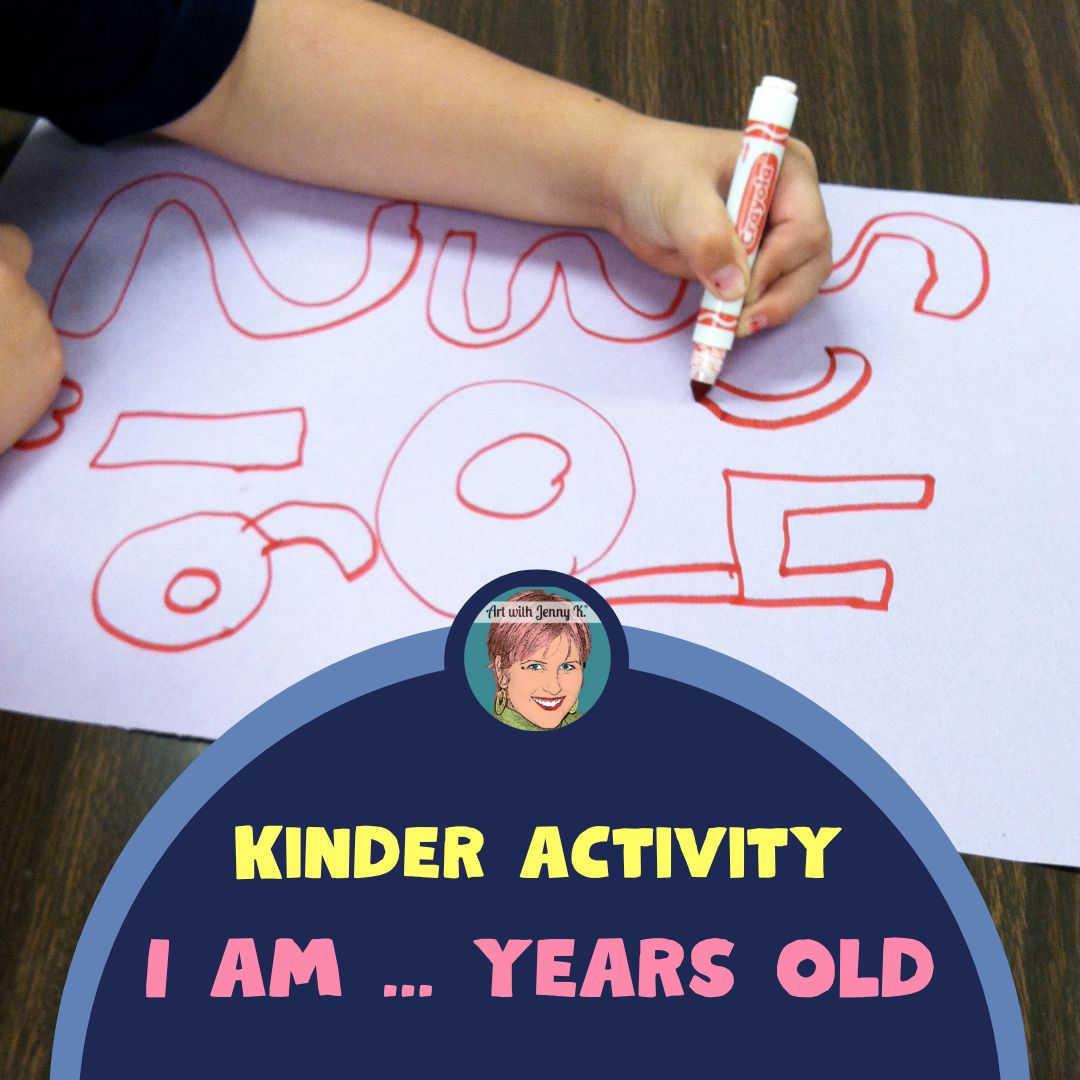
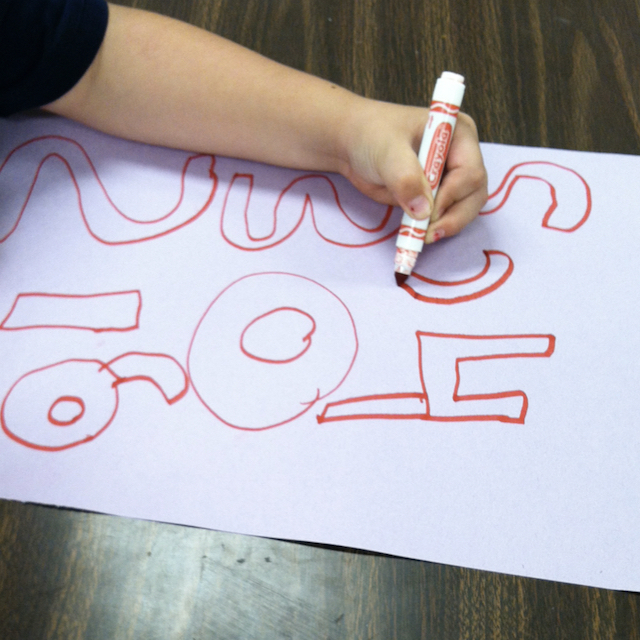
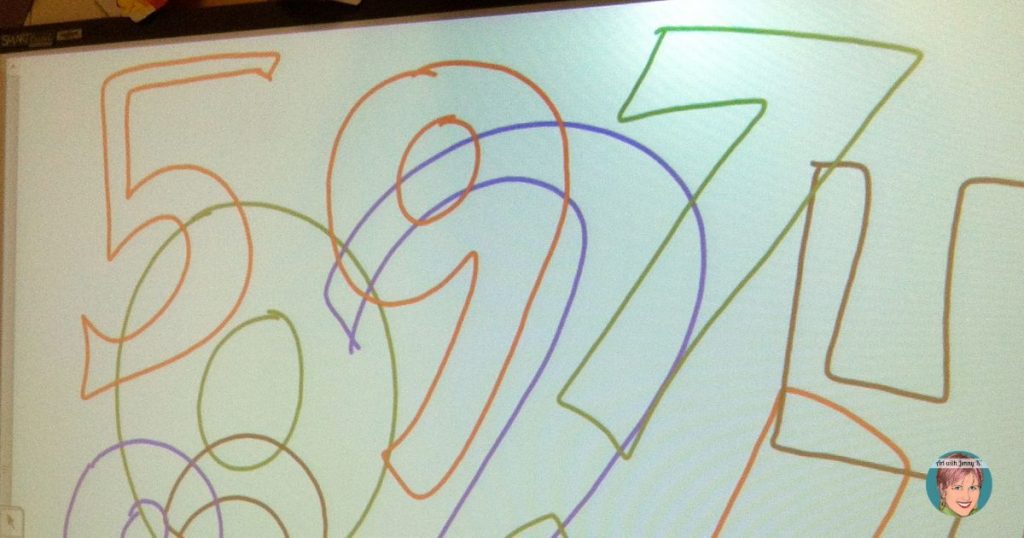
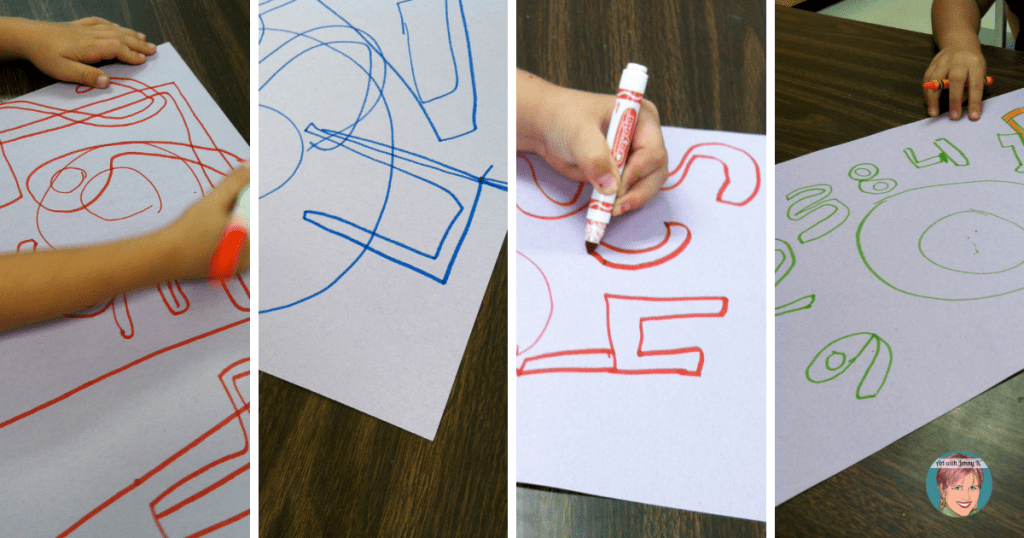
Then, using large paper (I like to use 12″ x 18″) and a marker (so they don’t get caught up in erasing with a pencil), have students write their numbers on their paper. I like to do one number at a time. First, I draw the number, and then they draw the number. We repeat this process for all 10 numbers. This way, any kid who doesn’t know their numbers will copy the “shape” of what you draw. My SmartBoard looks like this when I am done.
What do you notice?
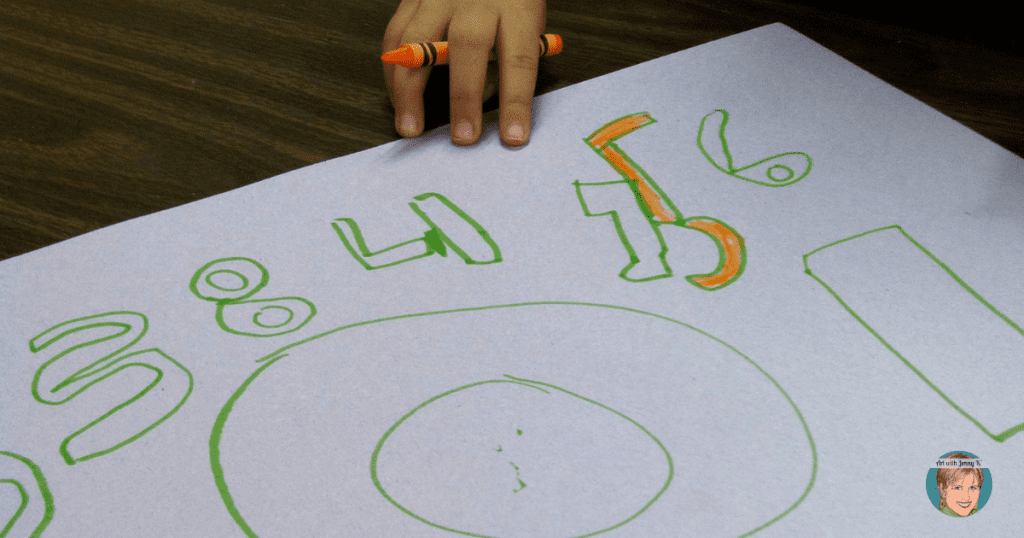
First off, you might notice that I drew my numbers overlapped. You might also notice that I drew my numbers as “shapes” that can be colored in. I talk about all of these things to my students. What a great way to see if they will draw on top of other numbers and “overlap” each number. This is tricky for little kids and is great practice.
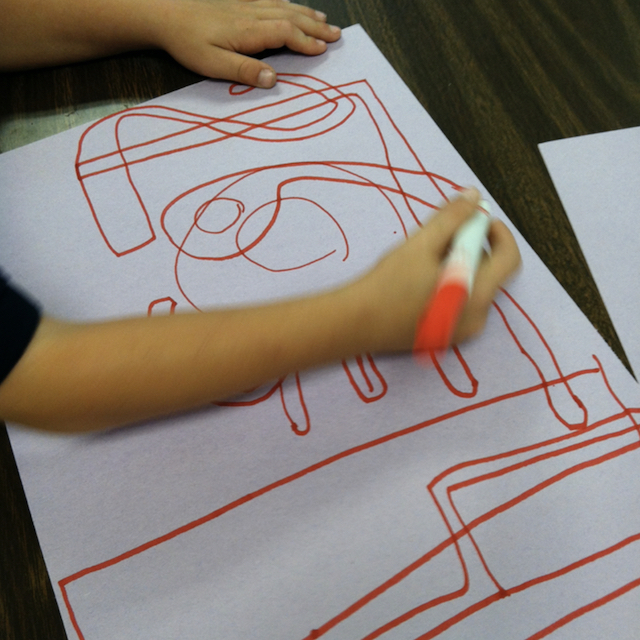
Here are some pictures of kids working on their numbers…
There are so many variations of how you could do this lesson. You could give kids different colors for each number. You could give them all different colored paper. You could read them books about counting, colors, etc. I am sure you are already an expert on all of those things, so I trust you’ll take this idea and run with it.
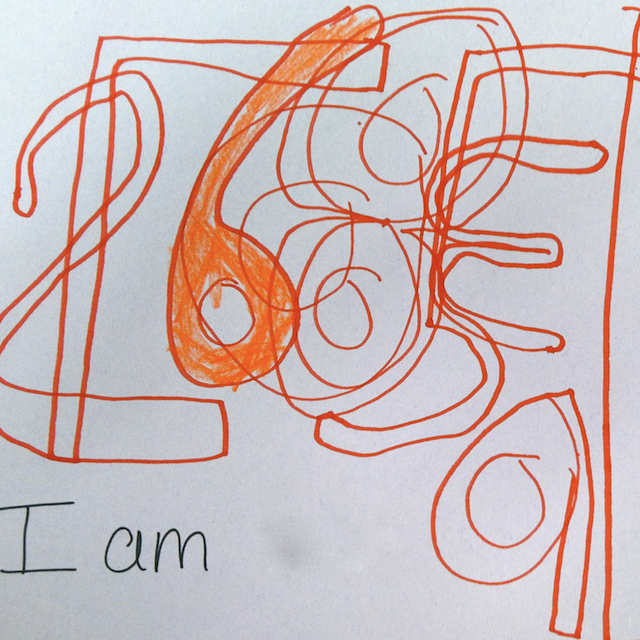
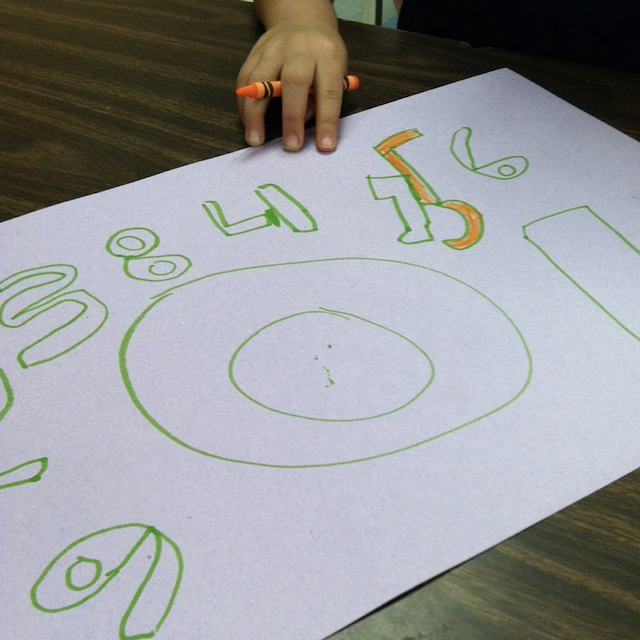
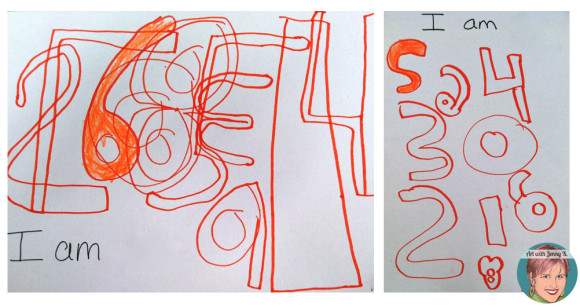
For the last part of this lesson, and one that makes it look a bit like modern art, have the students color in the number that matches their age. This is a number they ALWAYS know! If you are working with kindergarteners, they’ll be coloring in the 5 or the 6. This is a fun way to connect to something the kids know all about, their age!
Depending on your students, you could also talk to them about negative space (the shapes behind and between the numbers) or the little shapes made when the numbers overlap. All of these things could be colored. I go around and write “I am” on the paper when they are finished (at this time of the year, I also write their name, so I know who the artwork belongs to).
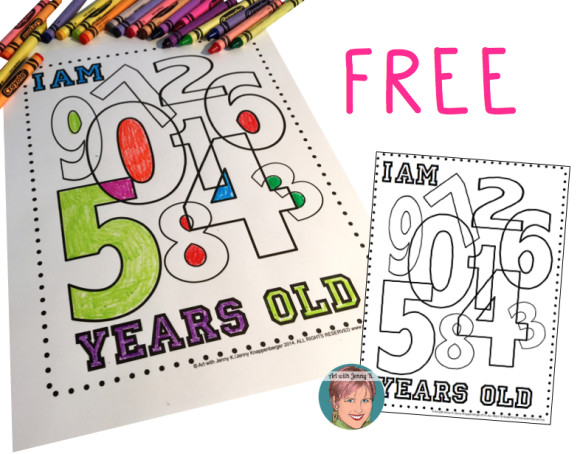
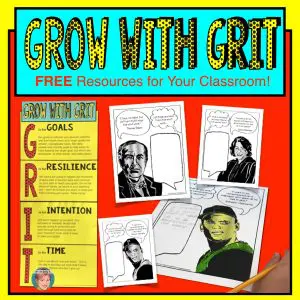
I always have something ready for little kids to do when they finish before others. I designed this handout to use for such moments. It could be used for all kinds of things.
Get your free copy HERE or by clicking on the image above.
Have students find their age in the mix of numbers and then color it in. Use this before the art lesson as an introduction or after, depending on the needs of your group. It would serve as a great example or introduction to the project, a review of the lesson the next day, or simply as a fun activity anytime for early finishers, etc. You get the point. Use it for whatever fits your needs!
Thanks for integrating art into your curriculum. It’s so important!
Jenny K.