Art With Jenny K.

Holiday

Drawing with Scissors

Drawing with scissors

Category

Description

Drawing with Scissors (and embracing the process!). Normally, when someone says they’re going to be drawing, the expectation is to use a pencil. However, there are no pencils allowed in this “drawing” activity! Instead, these drawings will be created by cutting, arranging, and gluing colored pieces of paper. This out-of-the-pencil-case drawing lesson takes inspiration from Henri Matisse’s artworks called cut-outs. It’s an excellent way for students to experiment with shapes and see the art tools they usually use in new ways.

This project has extra credit! Check it out!

Supplies

  • Colorful paper
  • Large piece of paper for final project
  • Scissors
  • Glue

Let's do this!

Today’s drawing lesson is a little bit different. Instead of drawing with a pencil, your children/students will be drawing with scissors. This means they will not be taking a pencil and first drawing their shapes on paper and then cutting them out. Instead, your students are going to practice cutting something out with only scissors. Be sure to tell them it is okay if what they create doesn’t look like anything.

This is an opportunity for them to play with different colors of paper, different shapes, and different layering. No matter where it leads them or what they discover, the learning process will be great for your students!

Henri Matisse Cut-outs

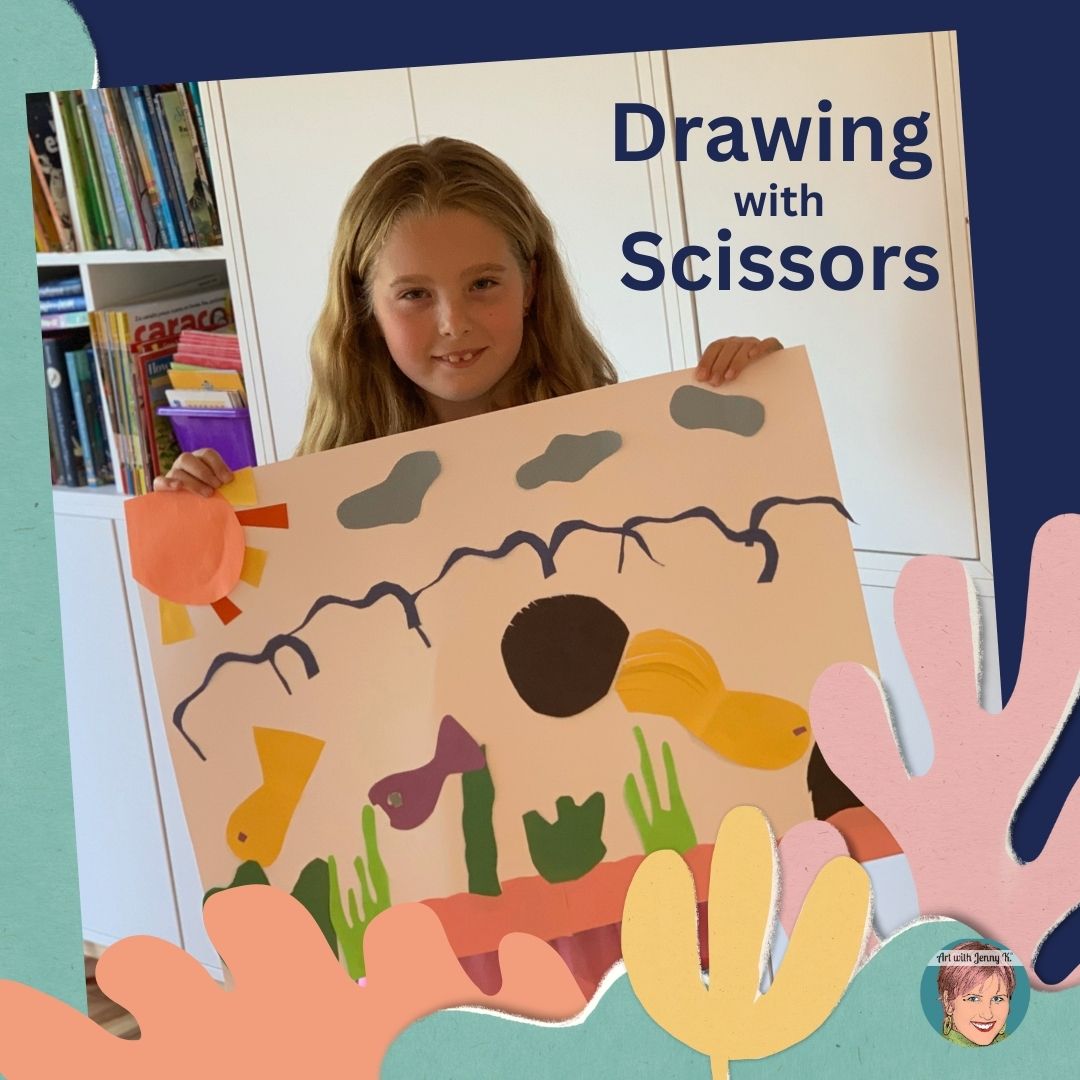
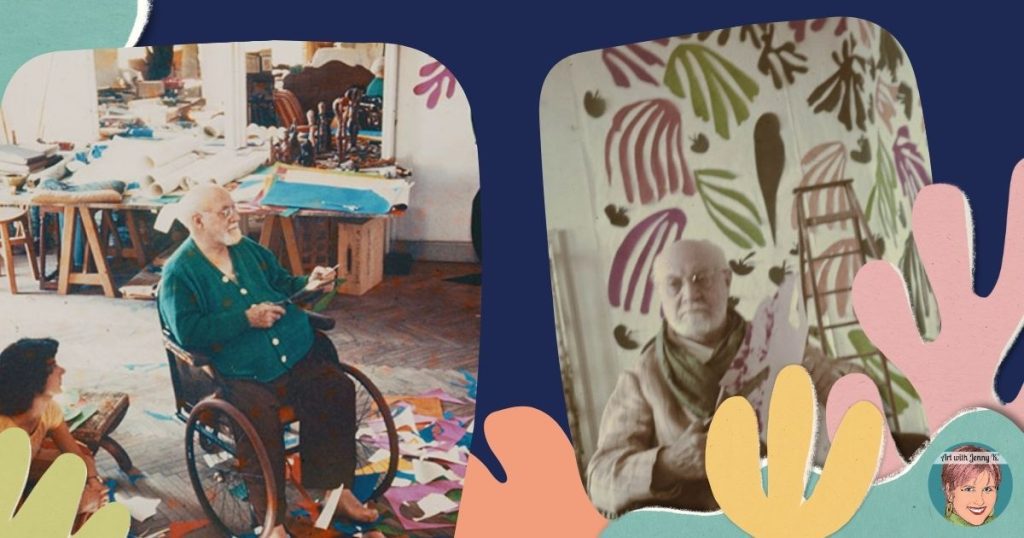
The inspiration for this project is from an artist named Henri Matisse, who was famous for his artworks called cut-outs. He would simply use scissors and cut out the paper to create beautiful shapes. A lot of times, these shapes were what we call organic shapes. That means that the edges weren’t straight and geometric like a square or rectangle, but instead had curved lines that resembled things in nature like plants. He called this technique “drawing with scissors.”

Henri Matisse - Drawing with Scissors

Instructions

Here are the steps for drawing with scissors, just like Matisse! I also show the steps in a teaching video linked above.

To demonstrate this project, I use artwork that my daughter created of an ocean scene. Please remind your children that their artwork does not need to look like ours (or anything in particular). Instead, encourage them to develop their own designs for their unique picture and use the examples as inspiration to get started.

This project is about experimenting to see what you can come up with using only scissors. 

  1. Step one is about cutting, planning, and enjoying the process.

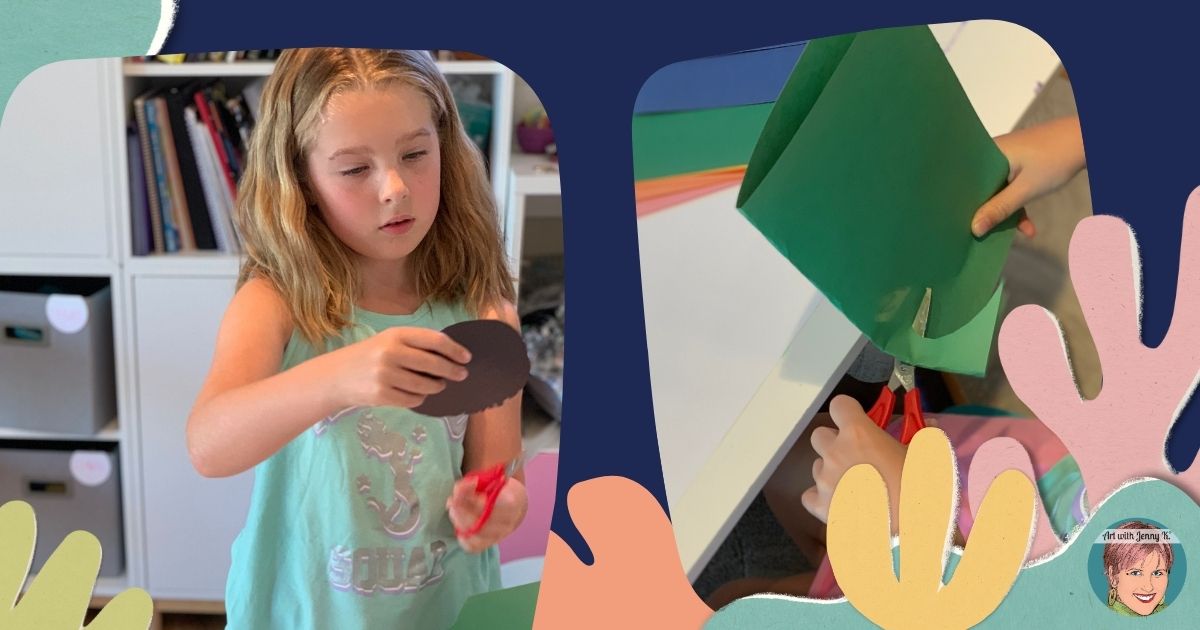
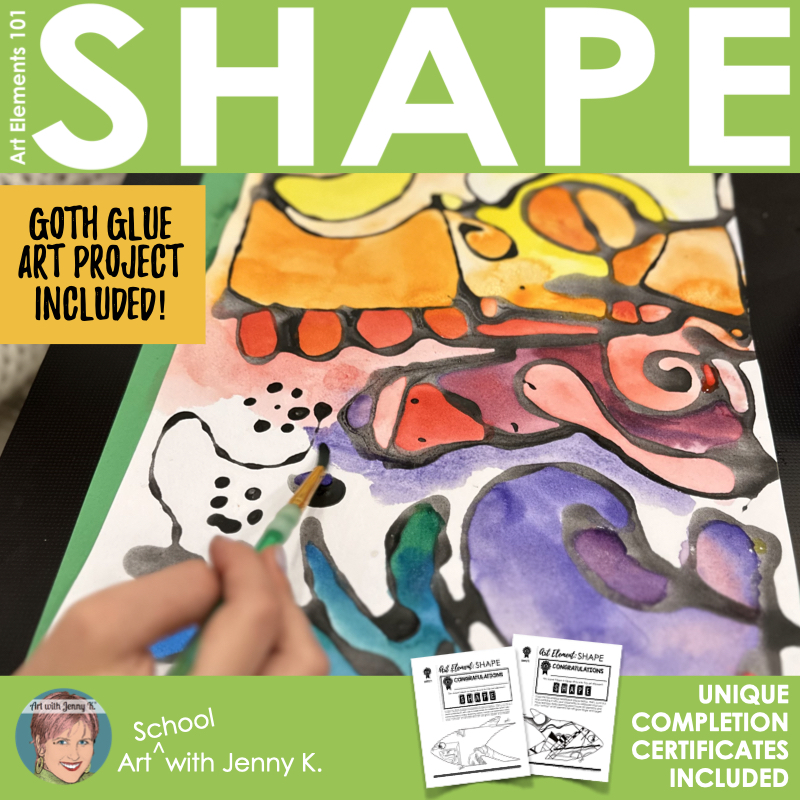
    To begin, instruct your students to take their scissors, pick up their paper, and start cutting to see what comes out. It’s as simple as that to start. Some might already have an idea of what they want their picture to look like, so they have a way to get started. In the example, my daughter is cutting out a shape to go into her water scene. Some students might not start out knowing what they want their picture to be. That’s totally fine. Let them start by simply cutting paper to see what comes up. I’m sure they will be inspired by the designs that they’ve cut.

    Encourage children to have fun with the paper, pick lots of colors, cut out their shapes, and adjust as they go. Each child will develop their own methods and processes as they go. For instance, my daughter came up with a technique of folding the paper in half so she could cut it once and get double the design. It’s just like her to come up with an effective system like that. If I had told her how to do that, she couldn’t have “discovered” it on her own.  Children will amaze you if you give them the chance and believe in them!

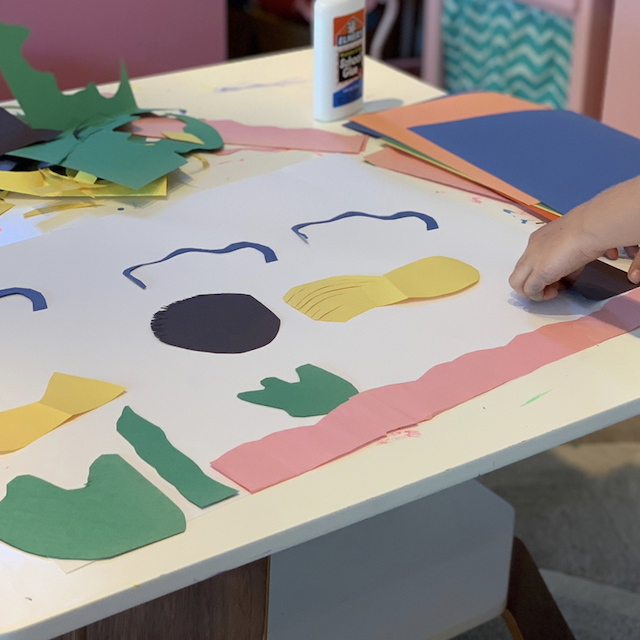
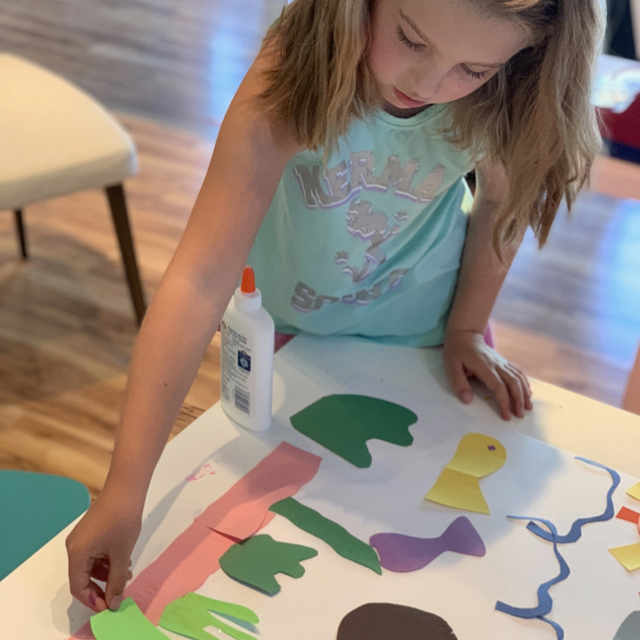
    Step one is about cutting, planning, and enjoying the process. Be sure to remind students not to glue until they are certain they have everything planned out. The final design is going to change a lot as they play with the materials and come up with new ideas along the way. Allow them to spend time cutting, coming up with fun shapes, and laying them out on the bigger piece of paper that they have.

    TIP
    Enjoy the Process

    Sometimes, art becomes about what is produced. However, it is important to remind our students to “enjoy the process.” I like to have conversations with my students about how it is fun to make art – without the pressure of the final result. You don’t usually need to talk to young students about this. However, it becomes increasingly important as they get older and they start retreating inside “the box” more and more, and the pressures of the world increase.

  2. Step two is about gluing matisse-inspired shapes to a piece of paper.

    Once your students have a final design that they like, they can glue their shapes to a larger piece of paper. Their artwork can represent something, or it could simply be shapes they’ve cut out and arranged in a way they like. Both are great options!

    Depending on the age of your students, most children will need to be reminded only to use a little bit of glue so that it doesn’t spread out and run all over the rest of the paper (or you could try this with gluesticks). To glue, students should individually go through all the pieces of paper that they’ve arranged and glue them down. This is a nice activity for younger students to solve problems of layering the pieces in the order they want them working from the back to the front.

    When they’ve finished gluing, their Matisse-inspired cut-out will be finished!

Final Thoughts!

I hope you have as much fun with this project as we did.  Sometimes, it’s good to challenge us to do something a little bit different. Doing things a little out of the ordinary, like drawing without a pencil, is an excellent reminder that there are many ways to look at things and different ways to do things.

If you want to learn more about Henri Matisse and how he made his cut-outs, take a look at this explanation from the MoMA.

If you’d like more ideas for teaching your students about the art element of shape, you might enjoy this collection of my other projects and ideas related to shape.


Pin It!

Extra Credit!

Art element shape

If you’d like to explore more about the art element of shape my Art Elements 101 Course unit 2 (shape) is perfect to keep the learning going! You will find that this unit is divided into six sections;

  • For Educators: Objective, learn, and look are designed to help educators introduce and teach the art element SHAPE.
  • For Students: Practice, apply, and complete are designed for students and for printing.

INCLUDED

  • Teacher reference pages
  • 13-minute YouTube teaching video
  • Art element handouts for students
  • Culminating art project: Goth Glue Shapes (handouts and instructions included)
  • “Deep Dive” Into Art Elements unique tessellation completion certificates

Purchase Extra Credit Add-on

$9.99
Submit Your Extra Credit for a Chance to Be Featured!

Share & Save!

Out of the box ideas to your inbox!

Sign up today to receive Art with Jenny K’s eBook, The Benefits of Directed Drawing for Kids, and gain access to the AWJK Subscriber Library of freebies!

More Tested & Approved Projects

Integrate art into your classroom!

Sign up for my newsletter and get out of the box ideas to your inbox!

Fill out and submit this form for a chance to be featured on ArtWithJennyK.com!

Grade
Grade
Category
Category