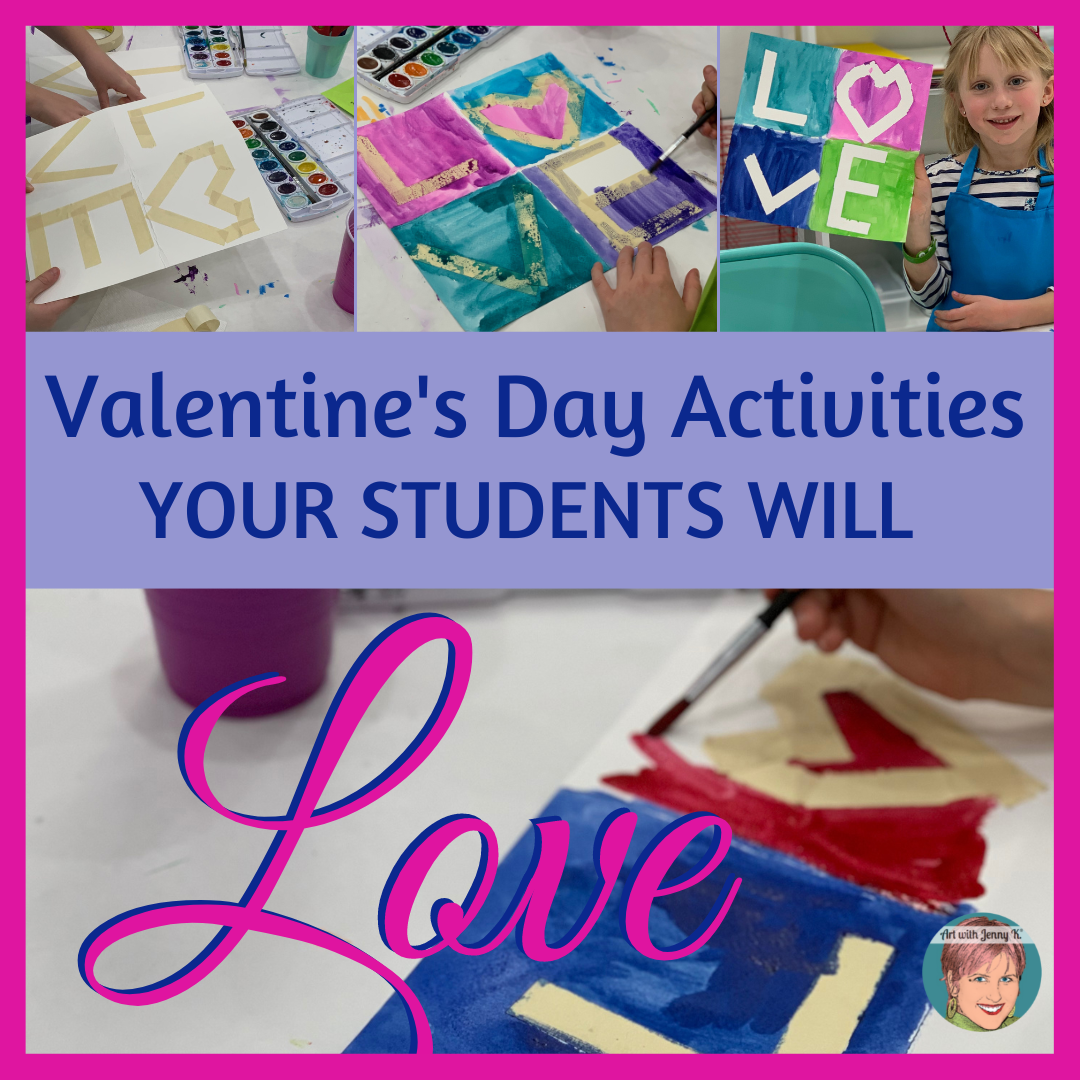
Is it too cheesy to say your students will LOVE the Valentine’s Day activities I have for you in this post? Yes, yes, it is! But it’s for Valentine’s Day, I’m sure you can forgive me for being cheesy!
Valentine’s Day, as you well know, is a time we can talk to our students about symbolism. It’s pretty easy to illustrate that a heart means love. If the heart has a crack running down the middle, it can symbolize a broken heart. In a world full of emojis, kids are better than ever at understanding how symbolism works. Valentine’s Day is a great time to talk about symbolism because it’s pretty easy to illustrate and then lead into more complex symbolism.
When I create my Pop Art interactive and pattern-filled coloring pages, I think a lot about symbols representing holidays or themes. It might start as simple as a heart (which was one of my first coloring pages, in fact), but it can also be more complex like Robert Indiana’s iconic L-O-V-E stacked letters with the O slightly tipped to the right. Maybe the symbolism is obvious. Maybe it isn’t?
Today, I’ll be sharing a lesson with you on creating simple LOVE paintings with your students and a few other easy Valentine’s Day activities centered around symbolism.
Would you LOVE to get started?
Yeah…but what does it mean?
As humans, we have a deep need to understand. We want to know WHY things are the way they appear to be. When it comes to art, we have yet to define it. What is art? It’s this tiny word with what seems to be endless meaning.
If you sit in an art history class, go to an art museum, or watch any shows about artists, there will always be discussions about why an artist made the choices they made. What did they mean by such and such? What was the artist trying to say when they did “x”? Sometimes the artists explain themselves, and sometimes they don’t.
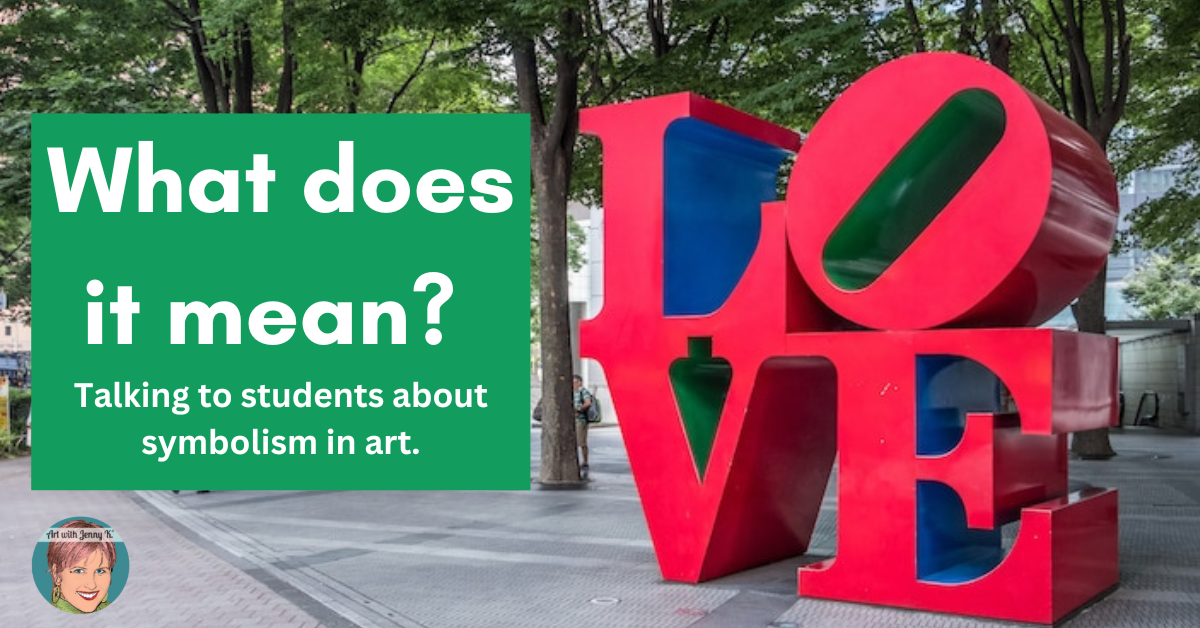
The four-letter stacked image of LOVE is iconic. It entered the public domain not long ago, and that’s why you’ve probably seen it increase in popularity and frequency. Now it shows up on t-shirts, posters —you name it. I was once teaching this lesson, and a student of mine showed up a few days later wearing a LOVE shirt. She was anxious and excited to show me! Kids see this popular image and likely don’t know the origin was Robert Indiana. After this lesson, they will.
To start this lesson, show your students an example of Robert Indiana’s LOVE sculpture and explain that you’ll be diving into what the image could mean and then making artwork inspired by Robert’s Iconic design.

-
-
- Ask your students what the symbolism of it could be.
- Why do they think the artist tipped the “O” slightly off-center?
- Does there need to be a meaning behind the artwork?
- What do they think (if anything) is symbolic of making art out of letters only?
- You might even ask your students if it matters what the meaning is or if it has a meaning.
- As the viewer of an artwork, can the meaning change for the person experiencing the art vs. what the artist creating the artwork intended to say?
-
Materials
-
-
- 12″ x 12″ Square paper (thicker paper works best with watercolors and thin paper is more likely to be torn by the tape)
- Watercolor paint
- Paintbrushes
- Masking tape or painter’s tape
- Robert Indiana Examples
-
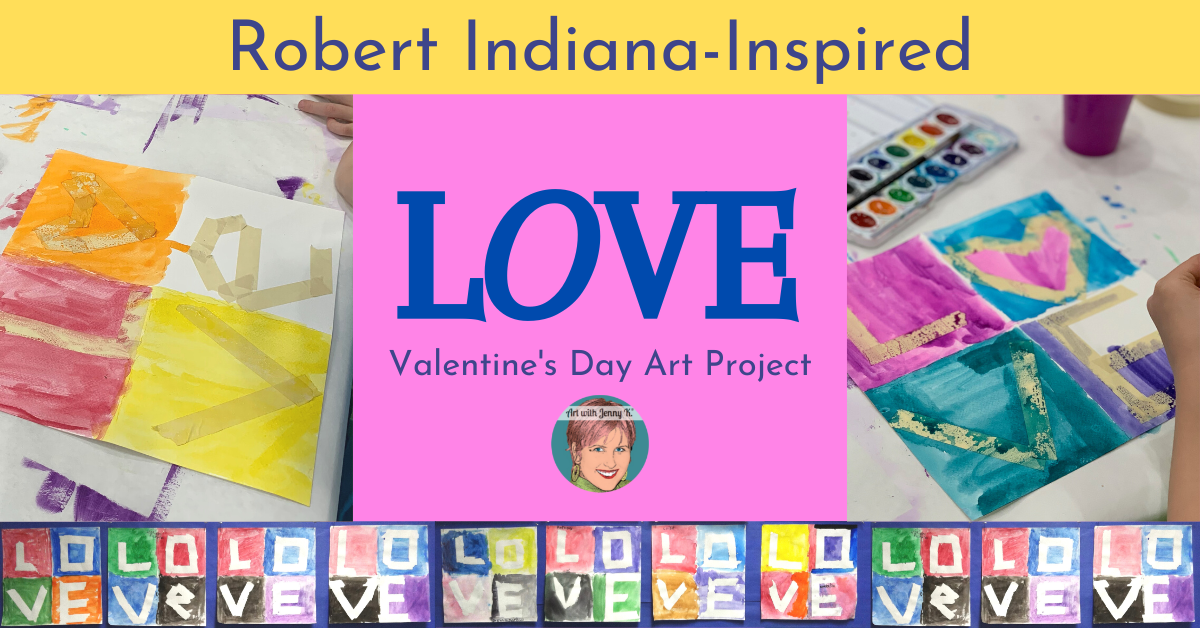
LOVE Painting Instructions
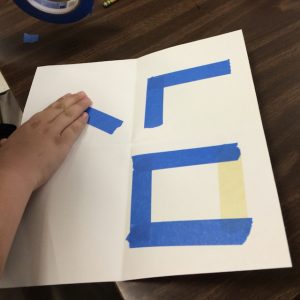
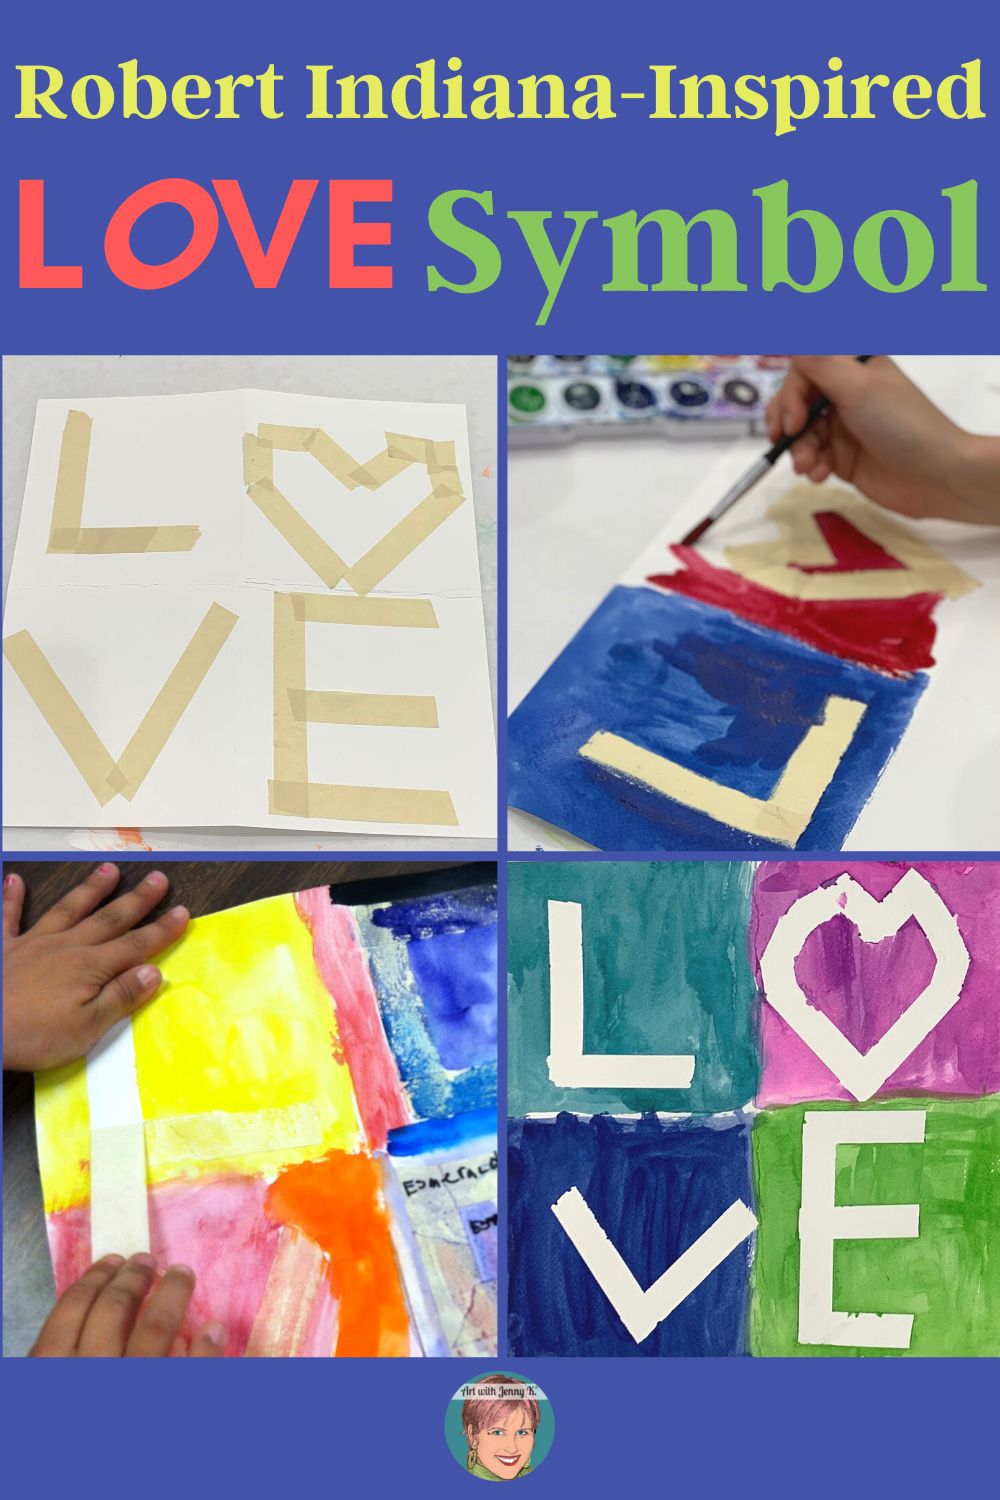
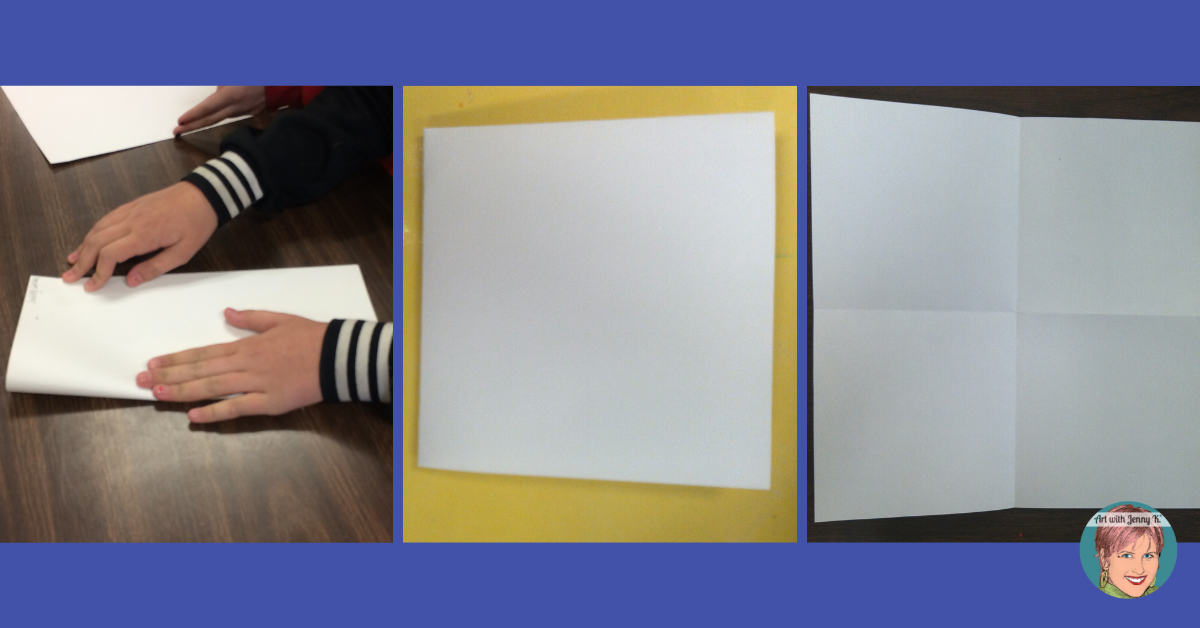
First, fold your square paper in half. Then, fold your paper in half the other way. Now, unfold your paper to reveal four sections defined by light creases.
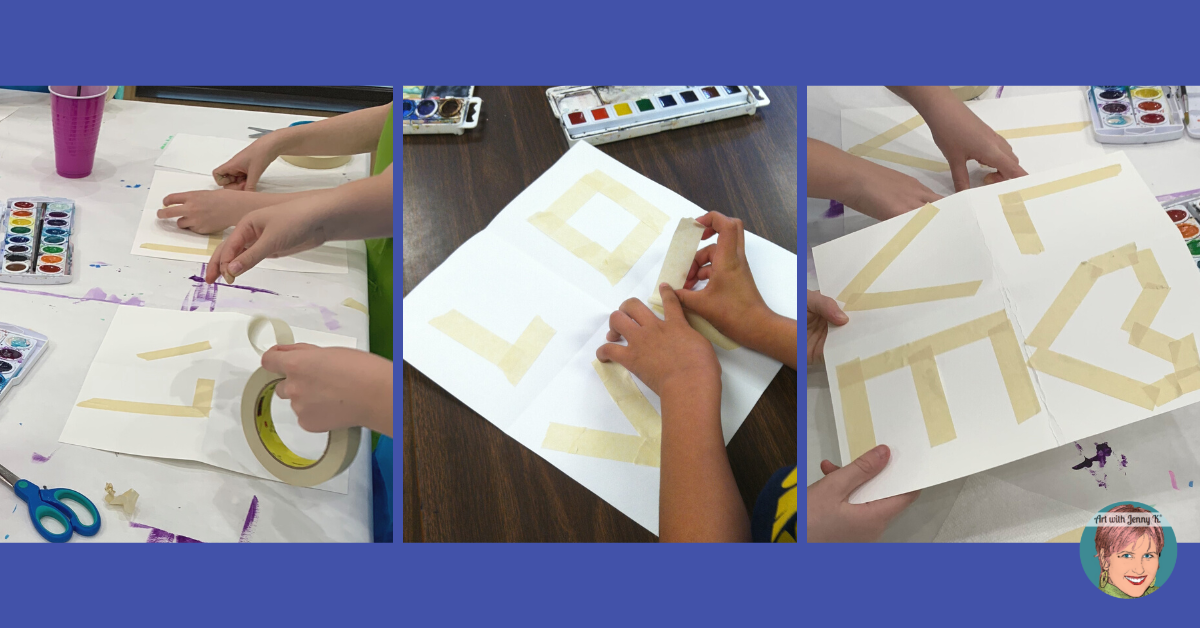
Next, use tape to mask off the letters L, O, V, & E in their correct sections on the paper. For Valentine’s Day, I like to do the O in the shape of a heart. I’ve also done this project on St. Patrick’s Day by replacing the O with a shamrock. You can see my video lesson for St. Patrick’s Day HERE.
This is something you could ask your students to choose. Do they want to do the “O,” a heart, or some other symbol for Valentine’s Day? You can even have your students write AMOR if you teach Spanish. There are a lot of options of ways you could modify this idea.
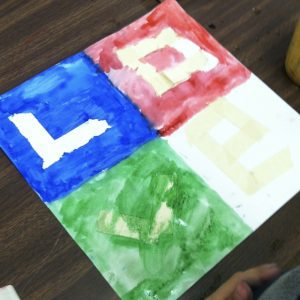
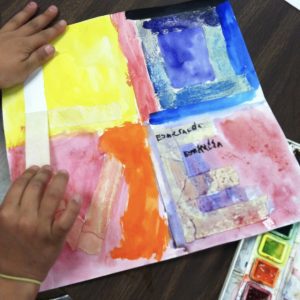
After your students have created their letters with the tape, they can start getting ready to paint. Have your students paint each section of your paper (great time to talk about quadrants) in a different color so the four sections will be visible at the end. Instruct your students to paint right over the tape.
This is a fun and surprisingly challenging lesson for kids to do. I am always amazed by how tricky the taping is. It’s good for them—let them fuss with it and work those fine motor skill muscles.
Allow time for students to play with this step and explore the materials.
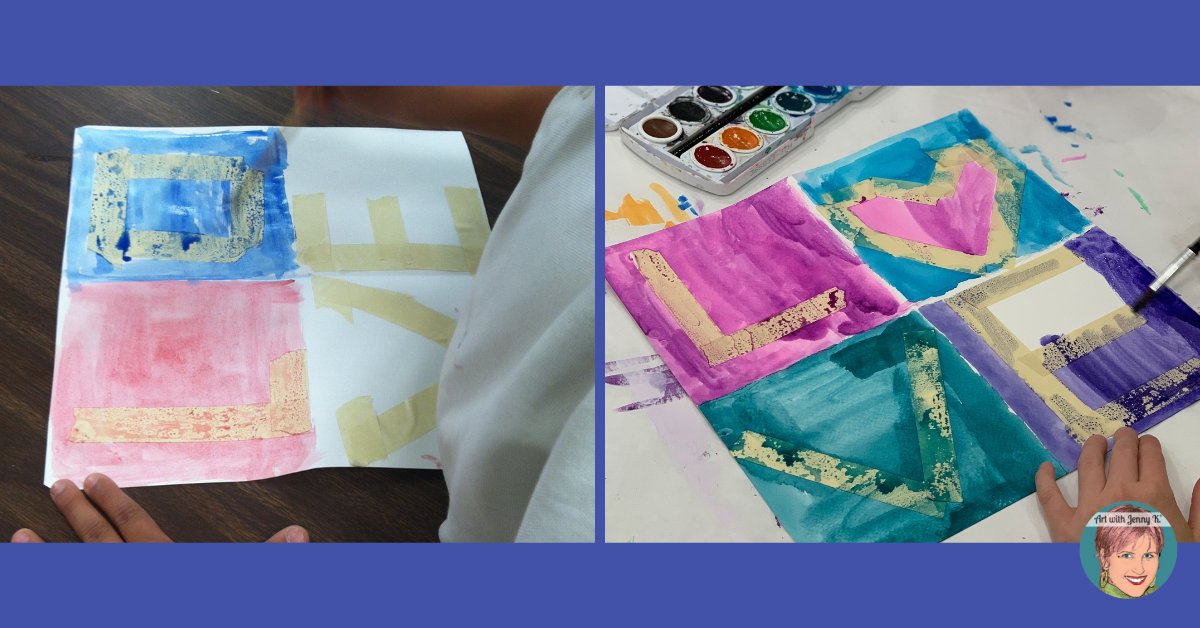
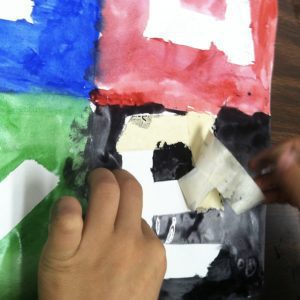
Once the paint has dried, your students can remove the tape (this is such a fun step—almost more fun than painting —almost).
Variations on the theme!
St. Patrick’s Day: You may also like to do this activity for St. Patrick’s Day – replace the O with a shamrock. You can see my video lesson for the St. Patrick’s Day version of the Love Symbol artwork HERE.
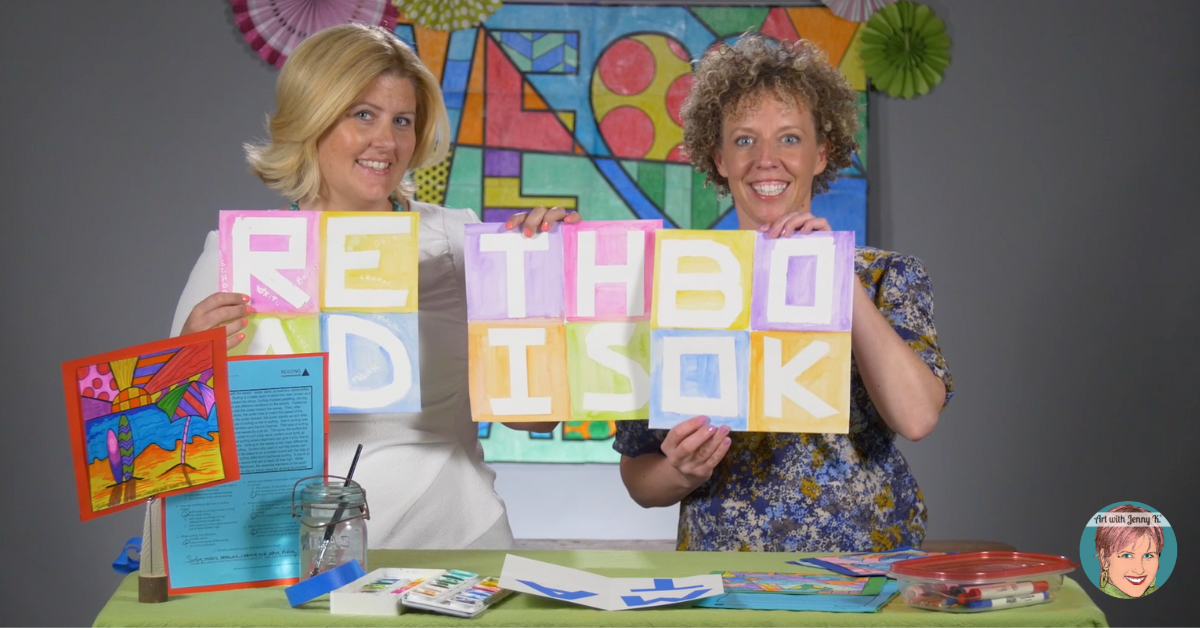
Ordinary to Extraordinary: Use this idea to write out other four-letter words like STEM, BOOK, and MATH. Mary Beth from Brain Waves Instruction and I created a video that shows you all about this process and fun, creative ways you can use this idea in other ways. You can watch the free video on TPT HERE or on YouTube HERE.
More Valentine’s Day Activities
I have many blog posts with Valentine’s Day activities (listed near the bottom of this post), and I have a lot of Valentine’s Day resources on TPT. You can see all that I have HERE.
However, since we are talking about symbolism, I wanted to showcase my Pop Art interactive and pattern-filled coloring pages and tell you a little bit more about them. Teachers and students love them for many reasons…
-
-
- They can be used to teach symbolism.
- They can also be used as writing prompts.
- They’re great for morning work, brain breaks, sub plans, stations/centers, and art lessons all on their own!
- They encourage creative thinking and problem-solving skills.
- Coloring is a calming activity and a great activity for your classroom.
- My pages can be used seasonally for times such as Valentine’s Day, St. Patrick’s Day, Halloween, Winter, and so much more.
-
Thank you for reading and making art with your students (and letting me help!)
Jenny K.

