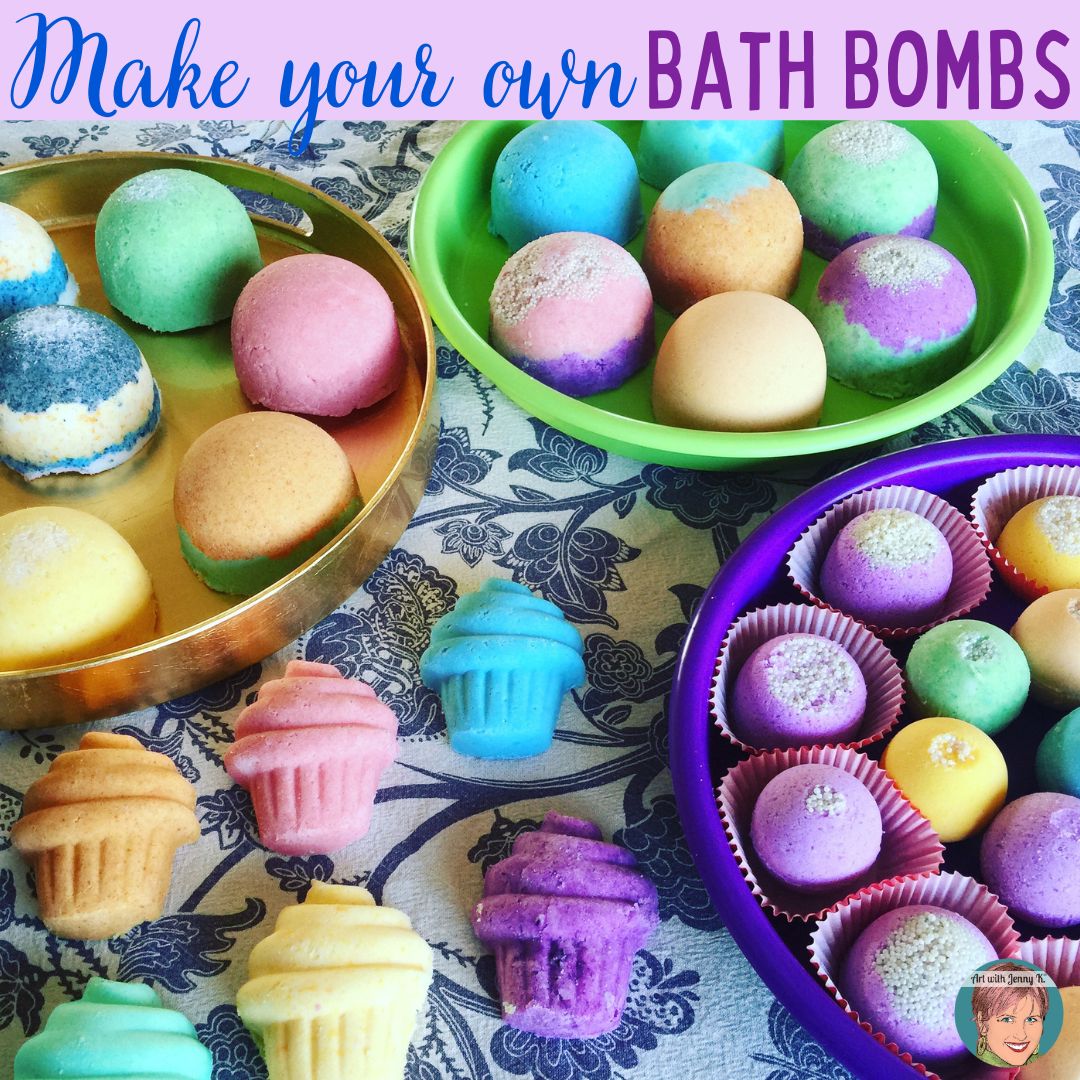
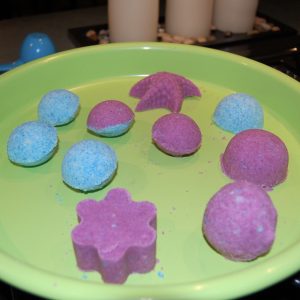
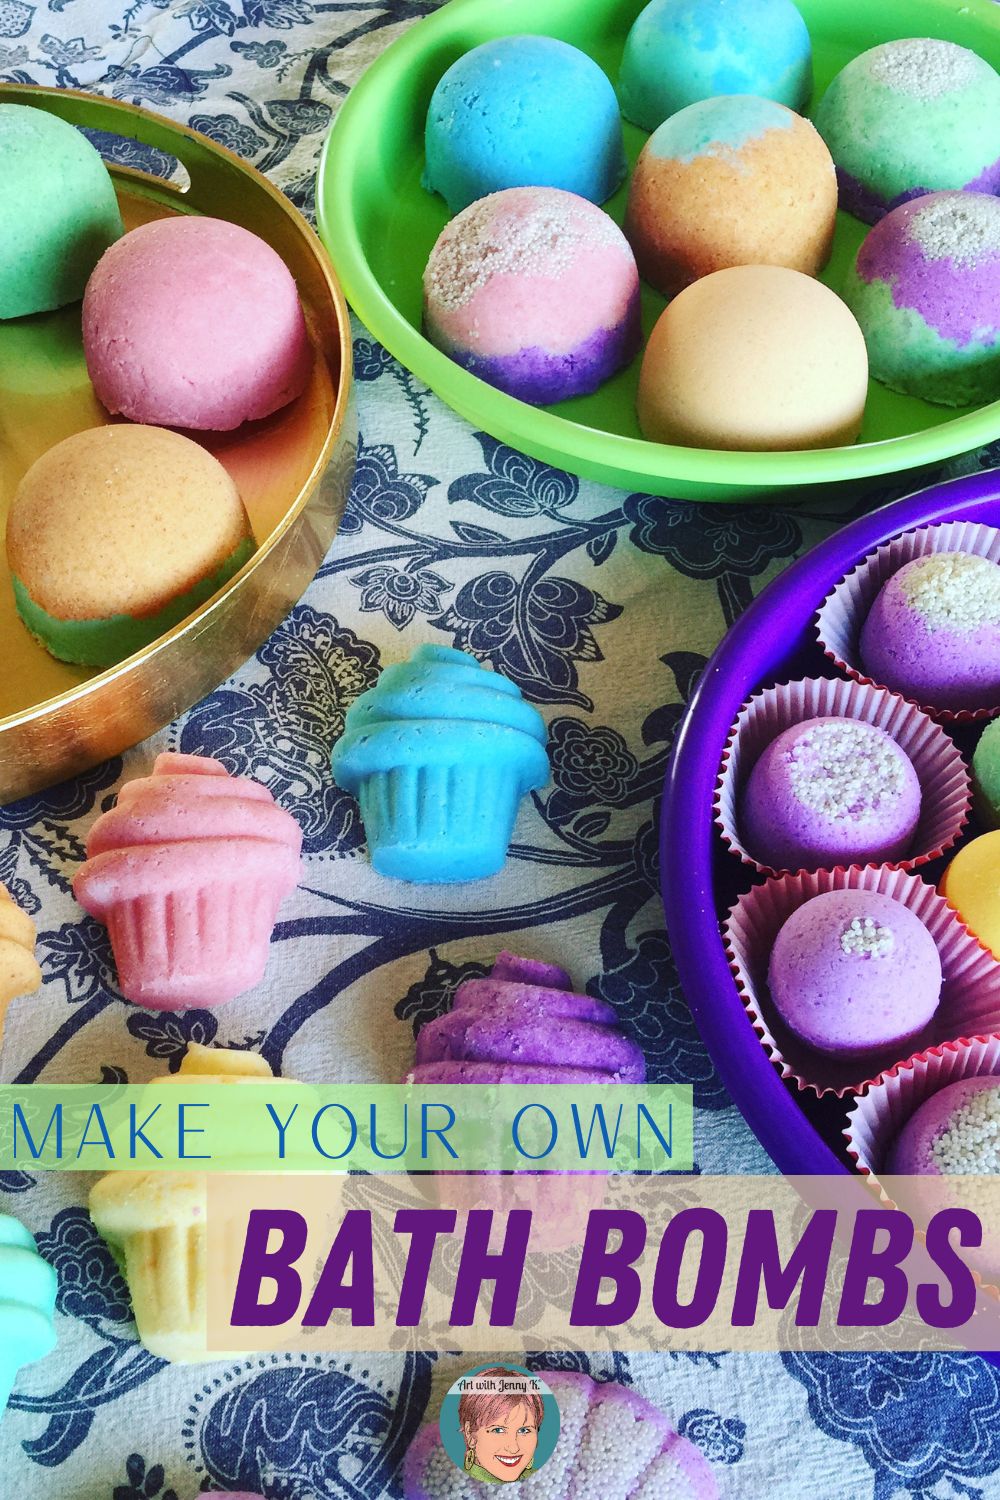
My daughter is 3, and a few months ago, she decided that taking a bath would be optional in our household (for her, at least). Her father and I disagreed, and the nightly bath struggle began. One day, while at the mall, she saw some bath bombs at LUSH and decided she wanted to try some. She LOVED them, and so did we. Finally, she would willingly take a bath – in fact, she wanted to take several baths daily. However, at almost $6 a pop (for the large ones), there was no way we would maintain that kind of entertainment just to have a bath.
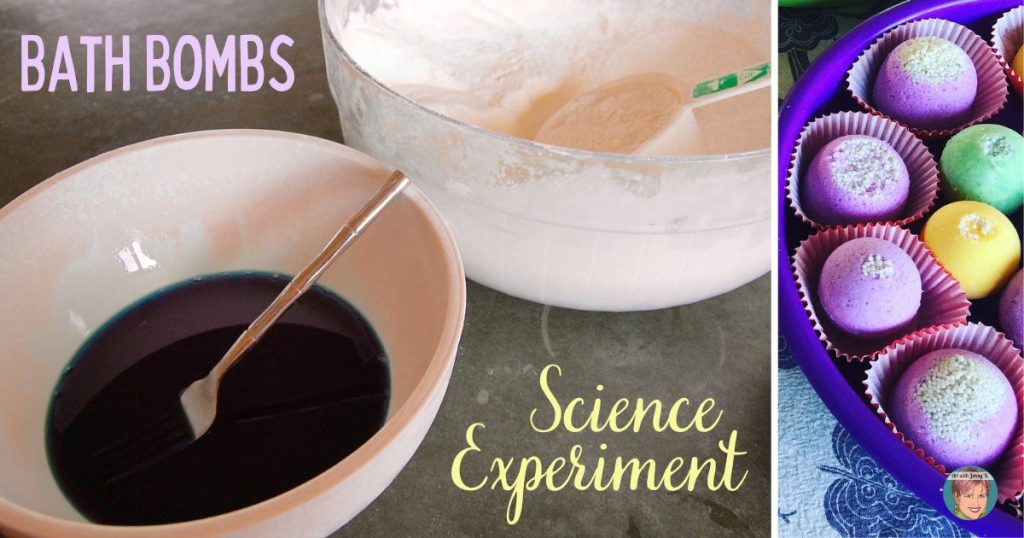
So, we decided to try to make our own bath bombs. In the process, we discovered what a great opportunity it was to teach our daughter about experimenting, hypothesizing, and connecting to science (and saving money). “Hypothesis” is a big word for a 3-year-old, but I figured if she could learn “supercalifragilisticexpialidocious” or “John Jacob Jingleheimer Schmidt,” she could learn hypothesis – and she did. My husband is a scientist, so this was one artsy-craftsy thing he got roped into doing that he could relate to and enjoy (for at least the first 2 out of 5-6 batches).
Recipe
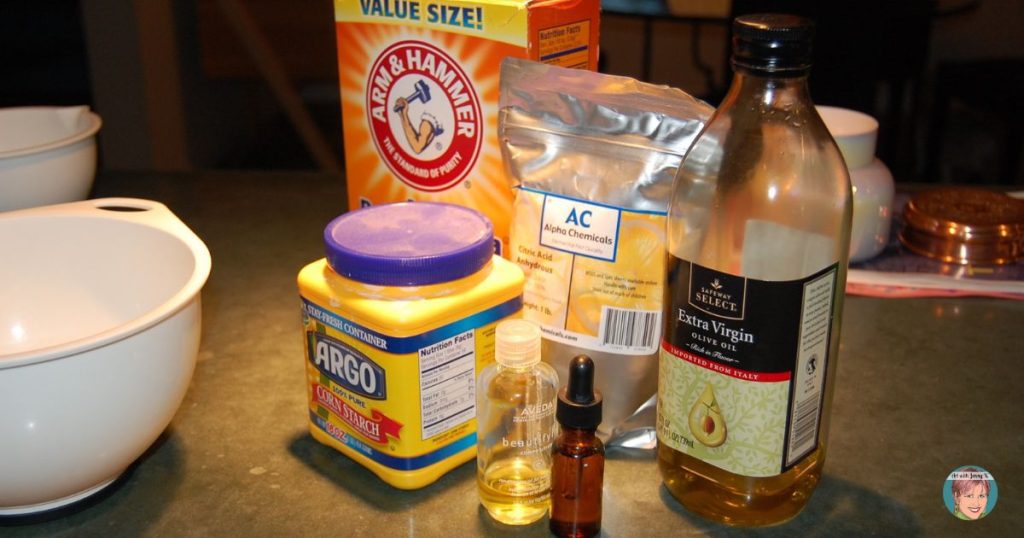
There are tons of recipes online, so we read about them and then sort of did our own thing. Since we were taking the experimentation road, we didn’t care too much if something went wrong (because there is value in that). We were having fun just trying things to “see what would happen if….” Our daughter loved the freedom of that as well. Some of the best things we learn are from our mistakes. I will break down the basic recipe we used and tell you some of the things we tried. (Please note that links below are amazon affiliate links- see disclosure HERE).
Supplies
-
-
- Citric acid
- Baking soda
- Corn starch
- Color (food coloring or liquid watercolor paint)
- Oil (olive, vegetable, coconut & baby oil – or any of your choice)
- Essential oils (for fragrance)
- You’ll need regular cooking supplies like measuring cups, bowls, forks, etc.
- Optional: We used Epson salts and bath pearls and experimented with bubble bath (see how that experiment went below).
- We used measuring cups to get the shape of most of our bombs and also a meatball maker for the round ones. To get the kid shapes, we used kinetic sand toy molds.
-
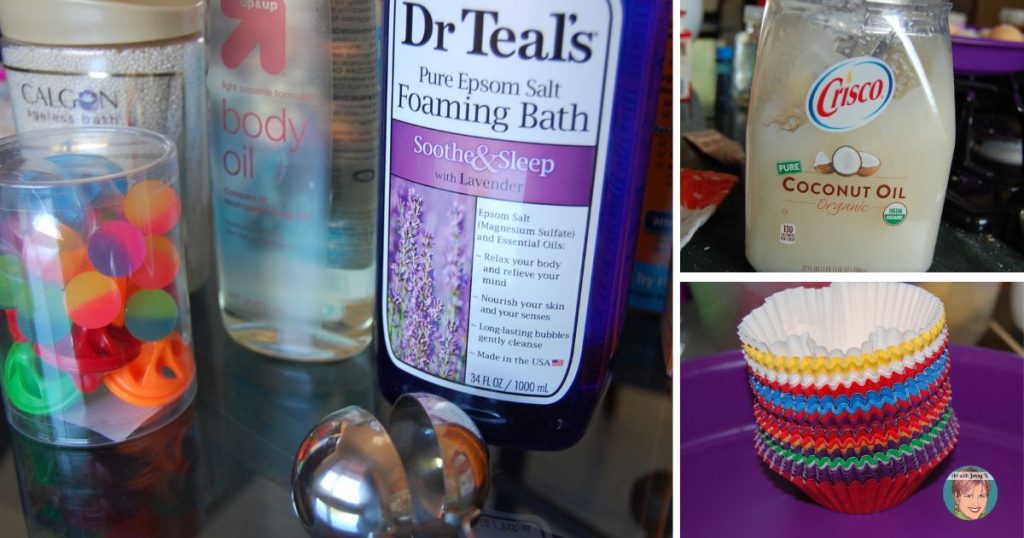
Optional: We hid small toys like spinning tops and balls in the larger bath bombs and used cupcake liners to dry our finished bath bombs in.
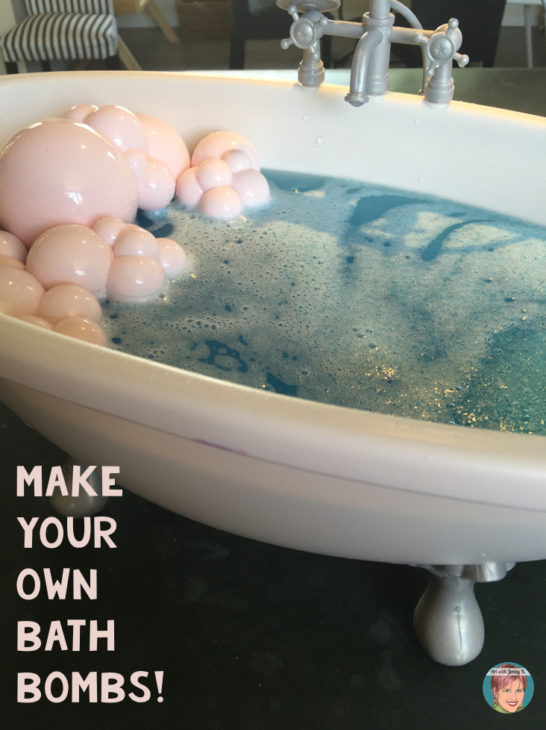
How to make your own Bath Bombs!
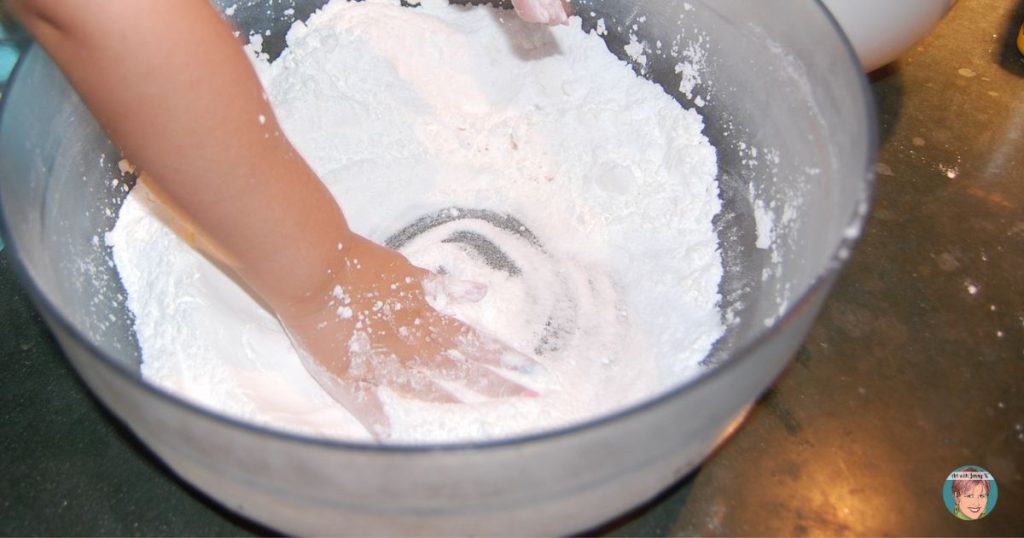
Mix Dry Ingredients: We made big batches of the dry mixture by multiplying the basic recipe and keeping it in a large bowl to scoop out of. This is the basic mixture:
-
-
- 1 cup citric acid
- 1 cup baking soda
- 1/2 cup cornstarch
-
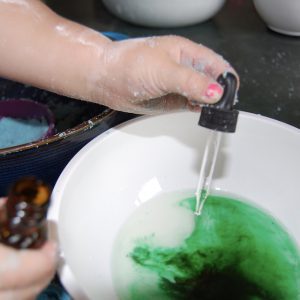
Mix the wet ingredients: Mix 1/2 cup oil + drops of color + drops of essential oil in a separate bowl.
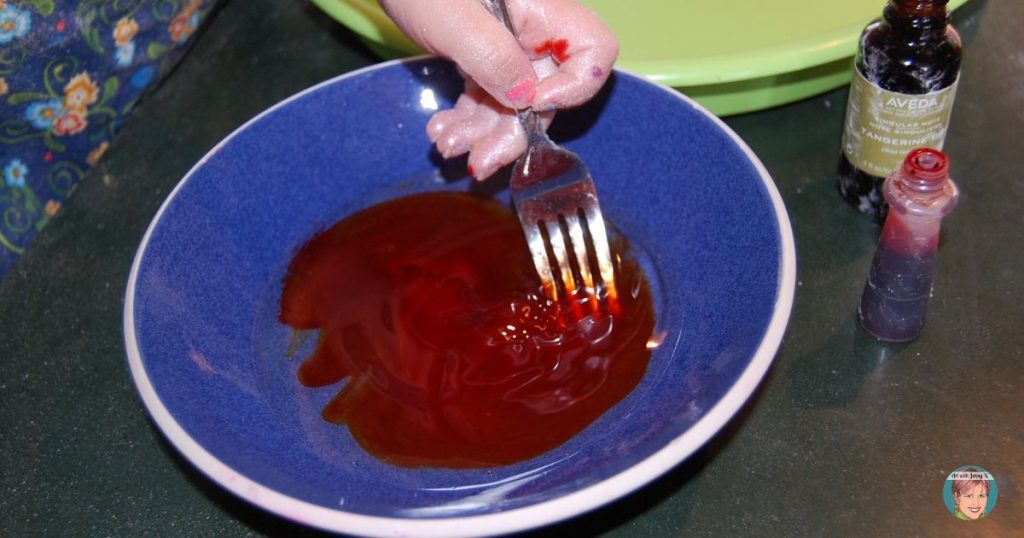
The type of oil, colors, and essential oils are all your choice. This is where there is a lot of room for experimentation and learning – the combinations are endless. For the oils, we used vegetable, olive, baby, and coconut. The colors we added using food coloring and liquid watercolor paint. For the essential oils, we used peppermint, tangerine, and Beautify (from Aveda). Repeat this process for every color and fragrance you want to make.
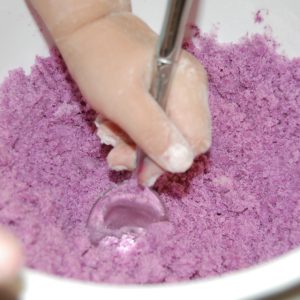
Add the wet mixture to 2 cups of the dry mixture and stir it together. If the mixture feels too dry and won’t stick together, add some more oil – a little at a time. If it’s too wet, add some more of your dry mixture. With a little experience, you’ll get a good feel for the right consistency. Your mixture should stick together pretty well by squeezing it in your fist but break apart when you pinch it.
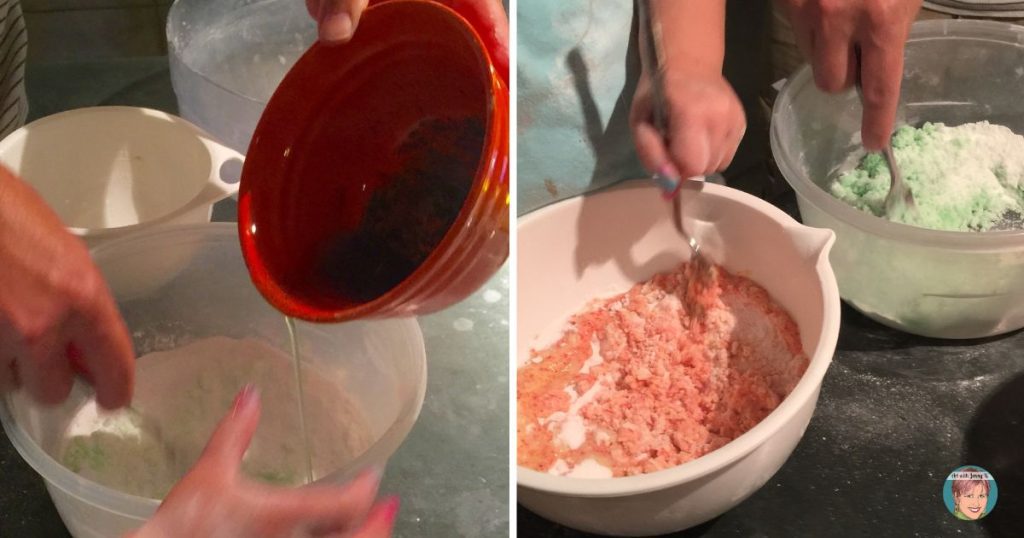
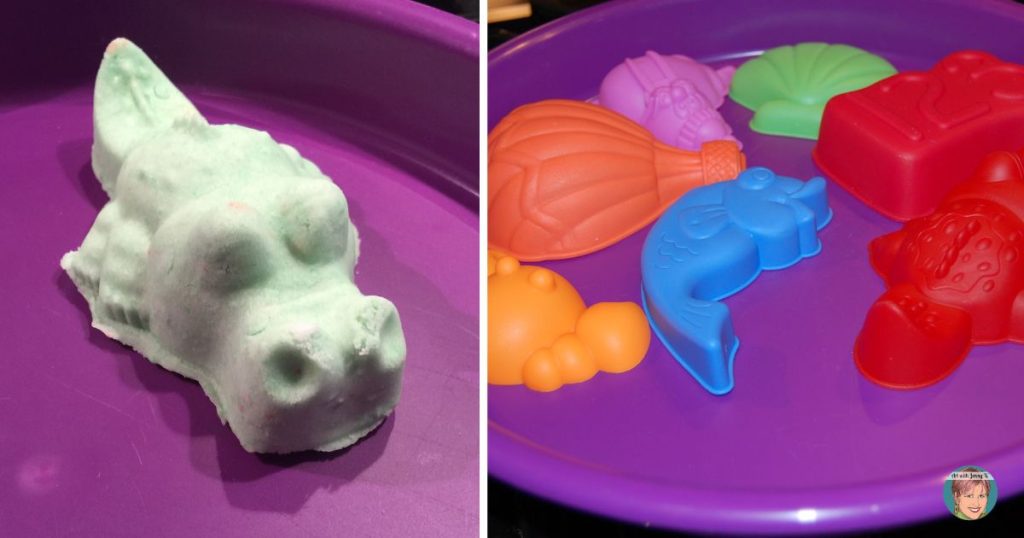
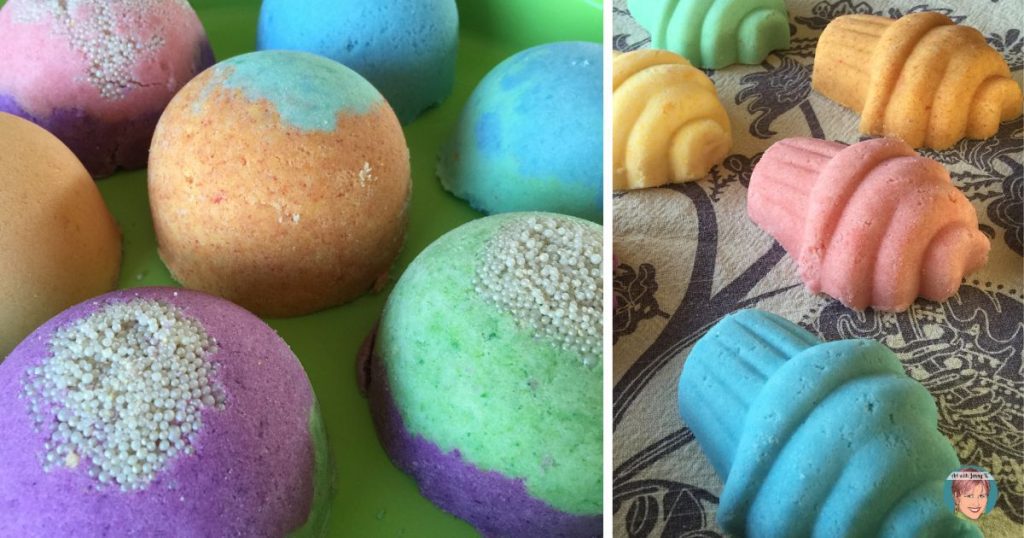
Put the mixed-up bath bomb mixture in the molds. Once you have the mixture, you want then add it to the molds you are using. Something as simple as a measuring cup as a mold works great. We also used sand toys from our kinetic sand for the kid shapes like starfish, alligators, and cupcakes.
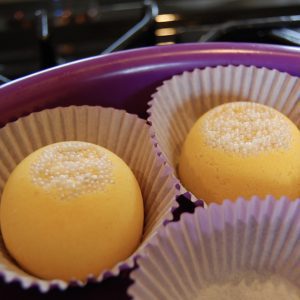
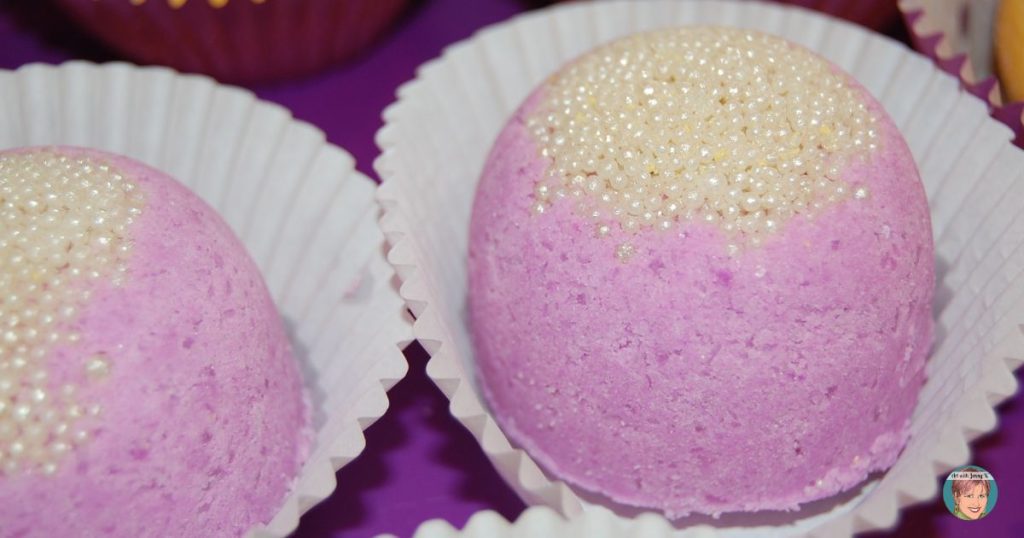
We experimented by adding layers, putting bath pearls at the bottom of the cup (which will later be the top), putting Epson salts in the molds, and hiding toys inside the larger balls. Here is an example of the bath pearls…
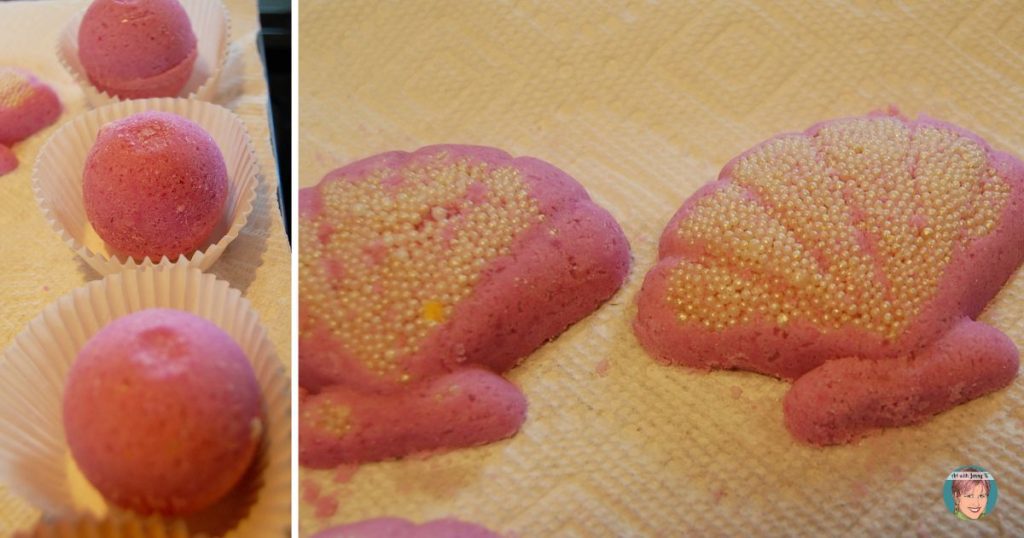
Pack everything together as hard as you possibly can. Once you have packed everything in really tightly, tap on the mold. It should pop out into the palm of your hand. Then lay out your bath bomb to dry either in a cupcake liner or on a paper towel. The oils will stain the paper as they dry.
Things you might want to know before you start.
Oil: You can use any oil that you want. We experimented with vegetable oil, olive oil, baby oil, and coconut oil. Try to keep it light. Some of the heavier cooking oils get, well, a bit oily in the tub when the bombs dissolve. I found that coconut oil was the nicest but let your kids play and see what they think. We learned – the fun way – to use oils instead of bubble bath to bind all of the ingredients together. We experimented to see if we could substitute the baby oil with bubble bath so our bombs would fizz AND bubble in the tub. This is what happened…
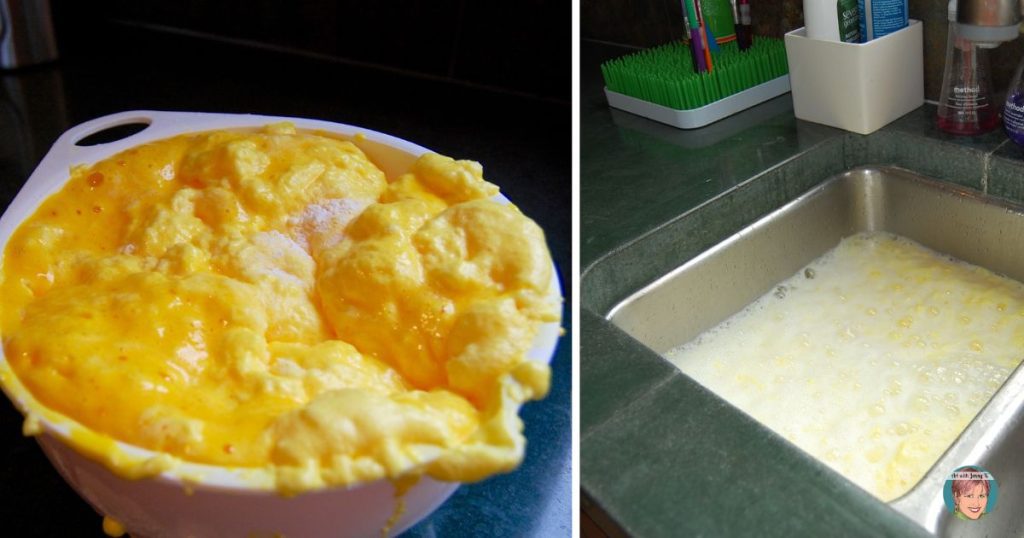
In a memorable way, our daughter learned that you couldn’t add the liquid soap into the mix, or it starts the fun fizzy part a little sooner than you want it to! Maybe something like a dry foaming bath powder would work, but we couldn’t find any.
Color: We used regular food coloring and talked about making new colors from the basic primary colors. We didn’t experience any staining in the bathtub but of course, be mindful of this before adding colors to your mixture. I had my daughter mix yellow+red to get orange, red+blue to get purple, and yellow+blue to get green. We also used some liquid watercolor paints that had glitter in them – that bathwater was shiny and beautiful. We experimented with making new colors by mixing the colors in the oil and by mixing the colors in the dry mix (and then adding oil separately).
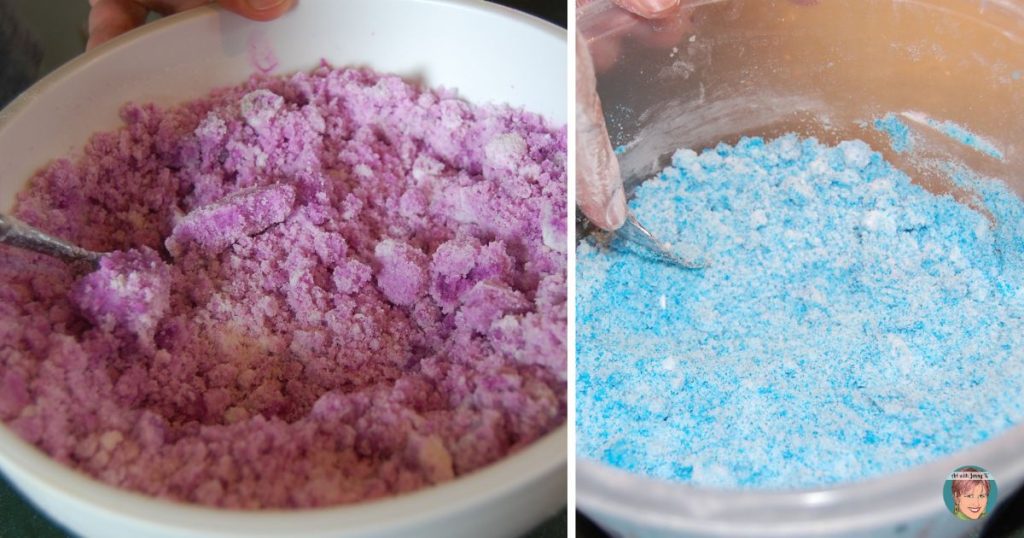
The image on the left is red and blue food coloring mixed in the oil before adding it to the dry mix. The image on the right is red and blue food coloring mixed directly into the dry mix and then the oil added in separately. As you can see, it made a difference – the colors never truly combined when we mixed them right into the dry mixture.
Fragrance: Use any essential oils you want. We used peppermint, tangerine, and Beautify from Aveda but you could order a fragrance of your choice or use things you already have.
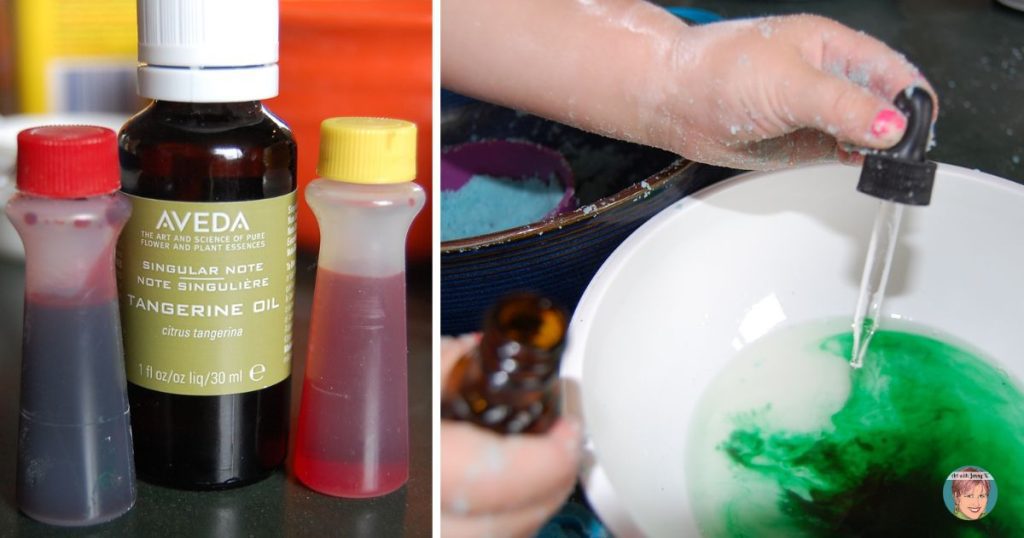
Again, experiment with things like – what happens if we add the vanilla extract from our spice cabinet for the smell? Depending on the age of the kids, you could really go nuts with experimenting with smells. Realize that if you use oils with a fragrance, they will compete with your essential oil fragrances. This is also a great time to introduce eyedroppers and how to use them – both great for a science connection and the fine motor skills of a child – they are tricky if you are learning how to use them as a kid!
Epson Salt: We used an Epson salt that had a nice lavender fragrance. So for that batch, we didn’t add any essential oils. We also noticed that it started to get dry partially through the mixture, and we needed to add more oil. We hypothesize that the salts were absorbing some of the moisture and drying it up – when we added a little more oil, it was fine.
While we were making these, I kept thinking, I wish my daughter were older because this would make a great science experiment to write up for a school project. What happens when you combine different oils, fragrances, and colors to make your own bath bombs? The charts the kids could make of their observations, the pictures, and the finished products would make this a great science experiment for school. Use the image below to PIN this idea for the next time you need a good science experiment.
I’d be lying if I said making your own bath bombs didn’t make a big mess and use tons of dishes – but hey, science can be messy! It all cleans up just fine in the end, and it’s worth the mess.
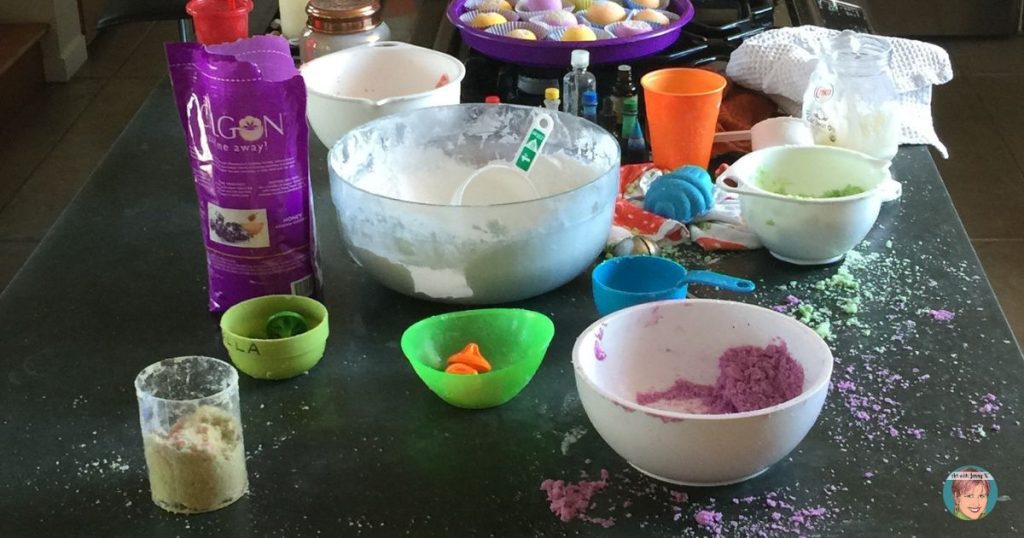
After the bombs are dry (overnight, probably), you can use them in the next bath your kids take or treat yourself to a nice relaxing bath. I’ll be saving some of the beautiful ones we made for gifts when my daughter has birthday parties to attend and at Christmas for grandparents and aunts. Luckily they are easy to make, so when we run out, we’ll make more! As a rough estimate, I would say that our homemade bath bombs came in at about 1/4 to 1/3 the price of store-bought ones. Still not super cheap, but at least we’re getting three baths now for the price of one!
I would love to see your students’ work if you decide to create any of my projects with them. Feel free to tag me (@artwithjennyk or #artwithjennyk) on social media so I can see what they make! You’ll find me on Twitter, Facebook, and Instagram!
Thank you for reading and for all you do!
Jenny K.

