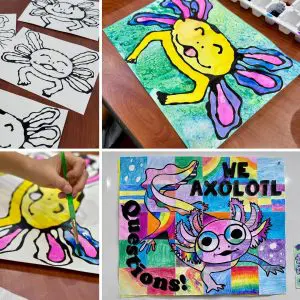


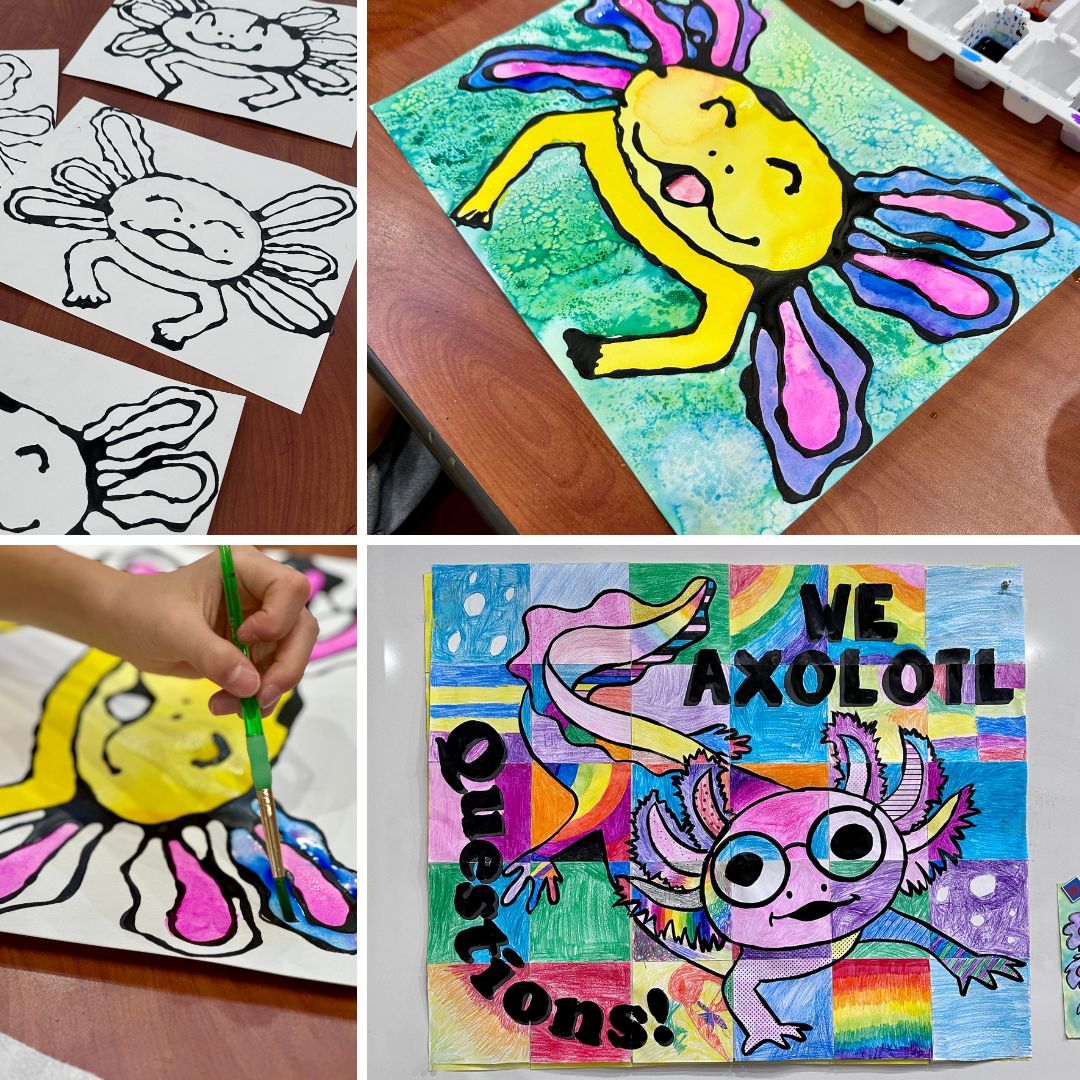
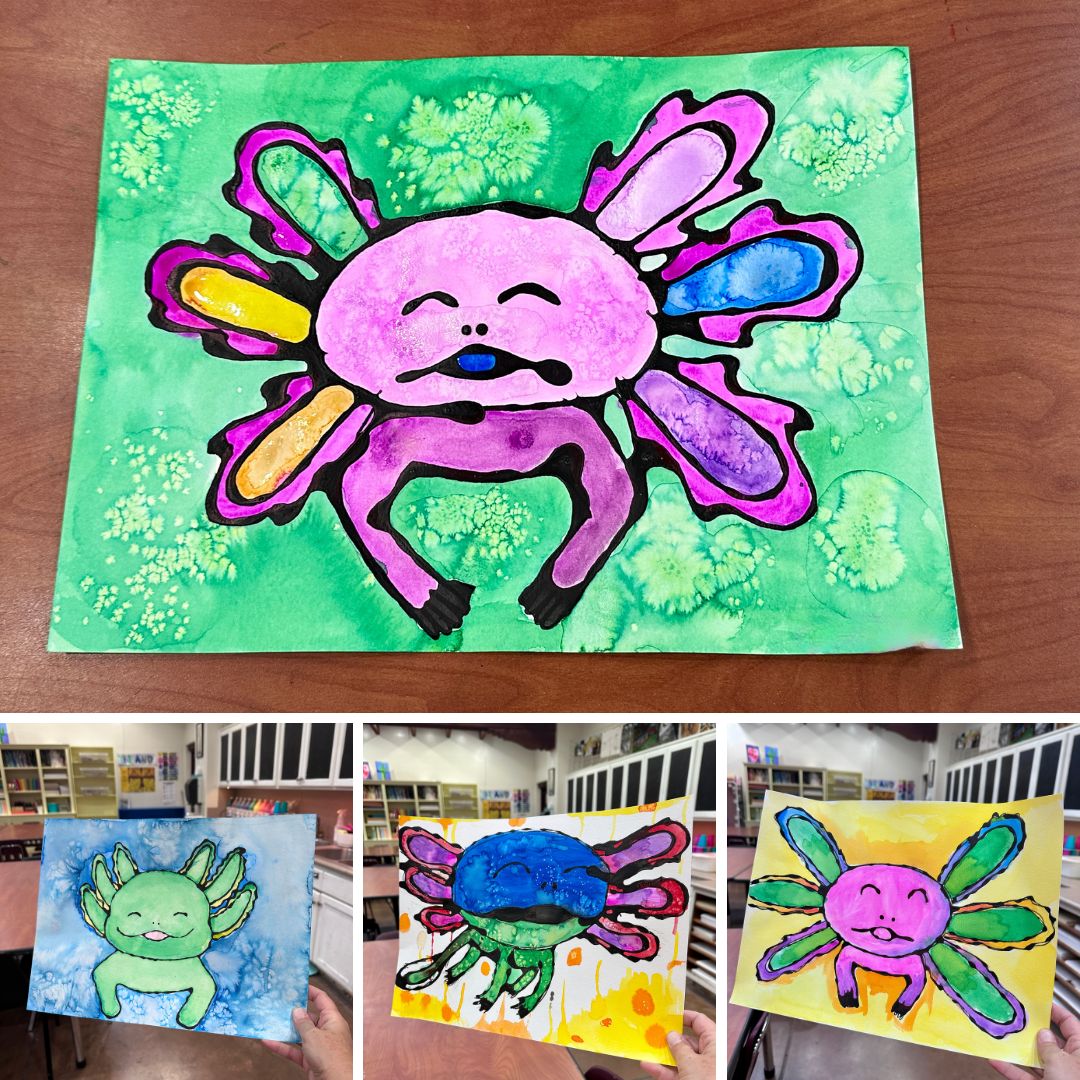
I will share the steps I took to do this axolotl art project with the kids in my middle school. Of course, every need is different, so please modify this lesson to fit your needs—this is just how it worked for us. Here are some examples of our final axolotl paintings.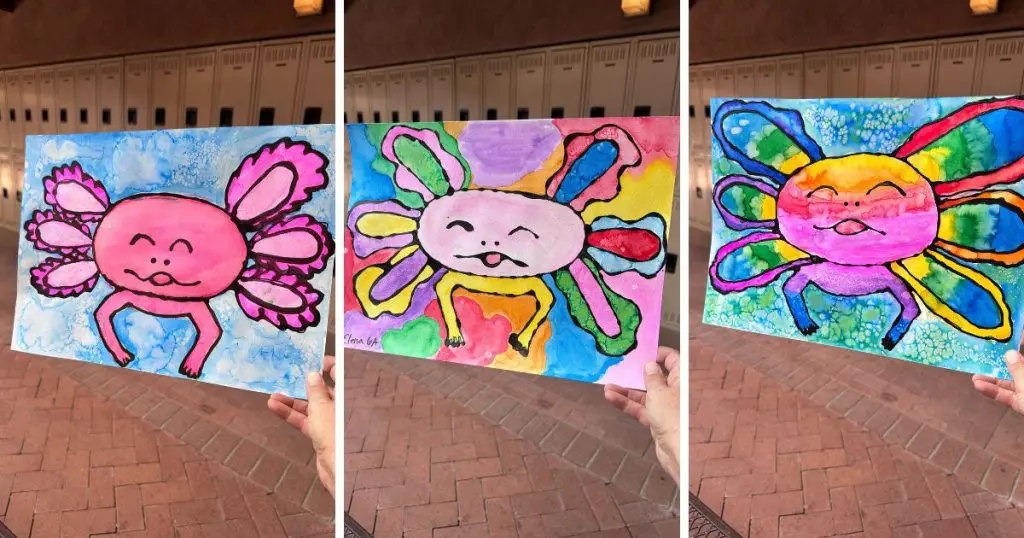
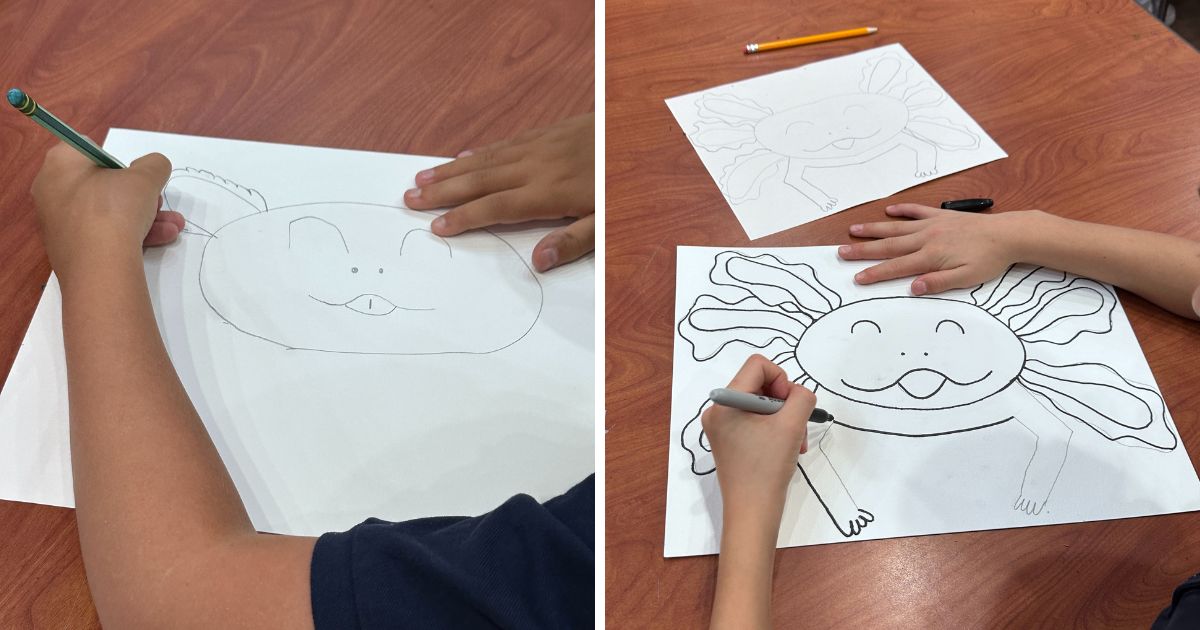
Before drawing your axolotl onto “fancy” watercolor paper, you should practice first. To do this, I had my students take a scrap piece of paper approximately 9″ x 11″ and fold it in half (hamburger). Then, we practiced drawing an axolotl on each of the smaller halves of the paper. I guided my students through the steps for these two first practice drawings.
Then, I had them open the paper and practice drawing slightly larger (independently). It can be hard to draw big, so I like to practice this skill. After drawing larger, they were ready to go onto the big, final paper.
Of course, you can design the axolotl or let students design and draw their own. However, I developed a design I thought would succeed with the glue step. If you aren’t using glue, students can do more small details and create their own drawings. However, I knew it would be hard to trace in glue if students drew things too small.
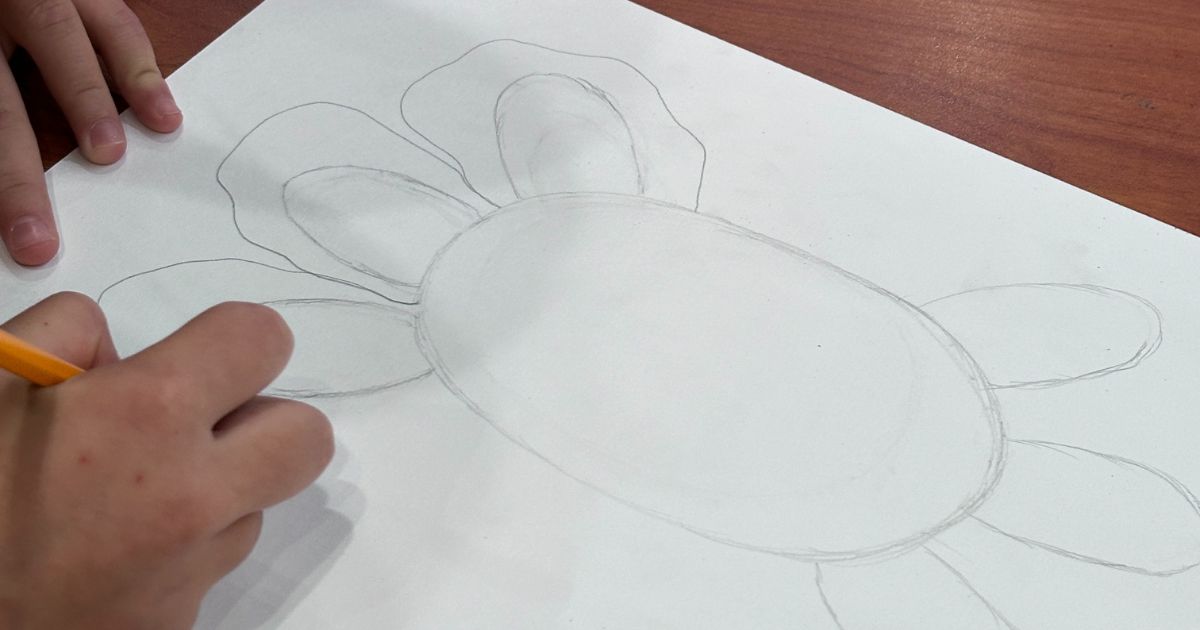
The way I had my students draw an axolotl is as follows:
Once my students felt comfortable drawing their axolotl (having practiced it three times), they were given the final watercolor paper. I demonstrated how artists “sketch” with light lines. This is important because kids often like to erase, and so if they press too hard, they can’t easily erase on watercolor paper without leaving an impression.
For some of my students who finished early (and had the time), I had them trace their axolotl with Sharpies to practice drawing it again.
It’s okay to skip the outlining part and have students draw in pencil — either way is fine.
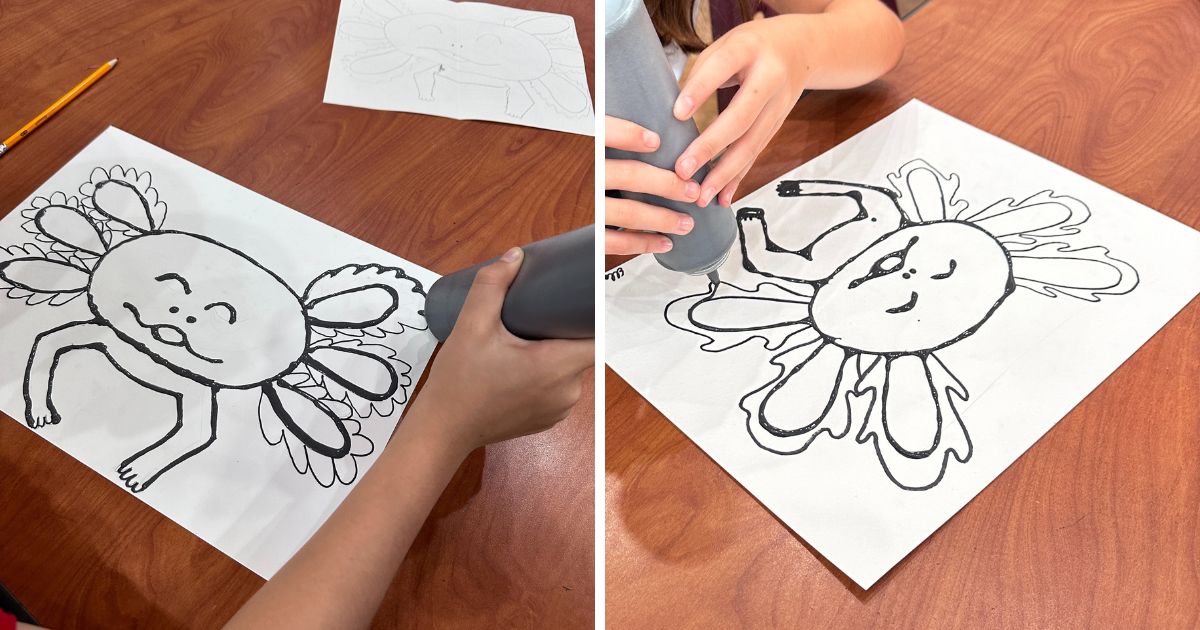
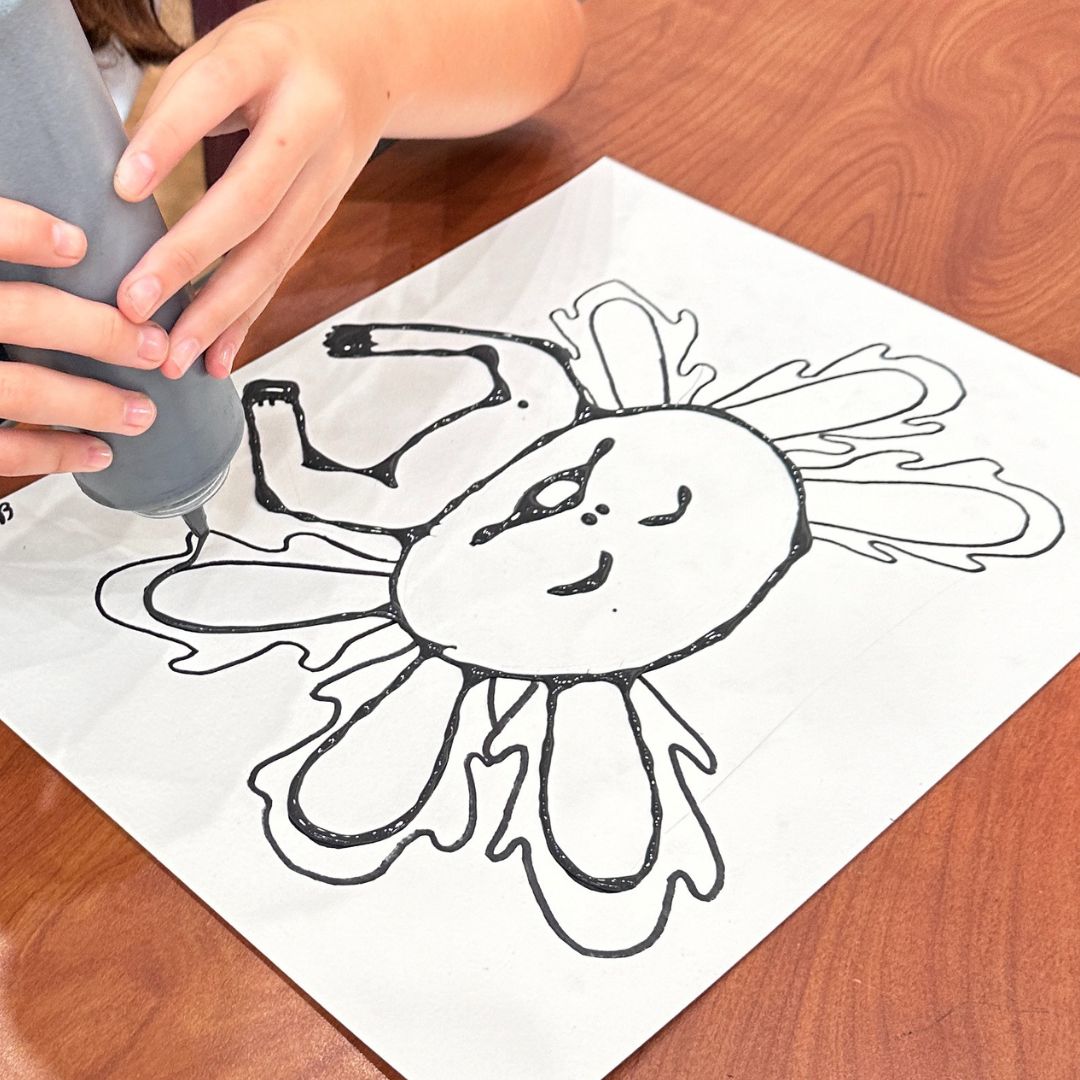
This project has so many fun parts. For this step, students outlined their axolotl drawings with black glue. Students were nervous, but I encouraged them to go for it – and they did.
What is black glue? Black glue (sometimes called “Goth Glue”) is simply regular white glue with black acrylic paint added to it. I have a blog post with more details about how to make and use black glue HERE.
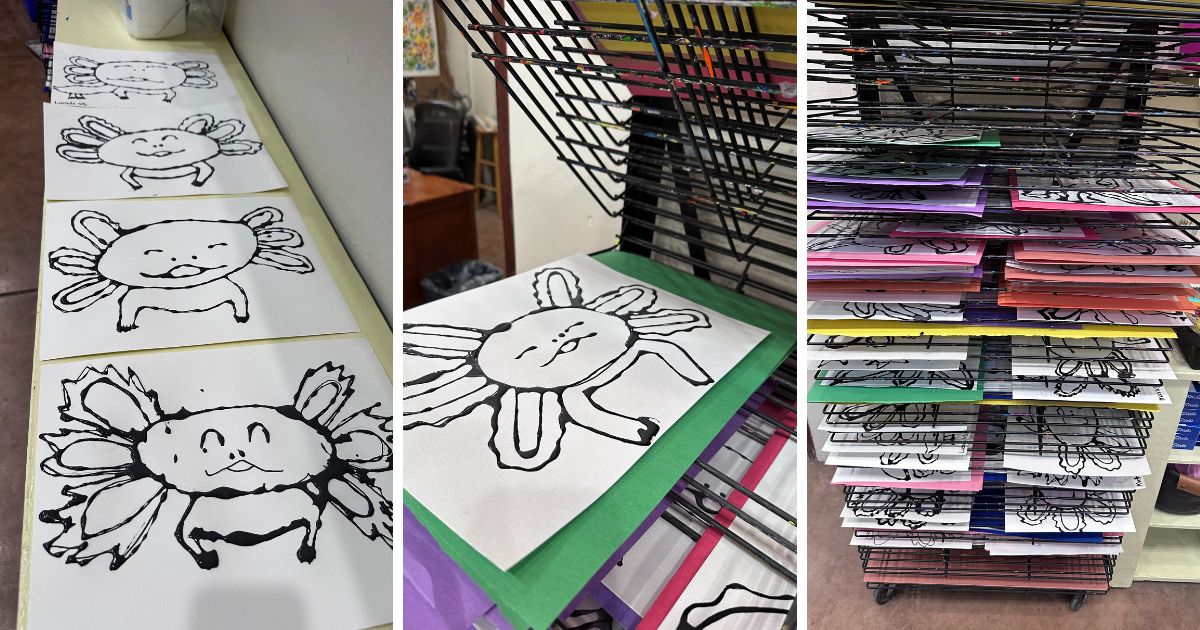
These will need to dry at least overnight.
Warning (because I learned this the hard way): glue is a liquid, so it will self-level (and run downhill). If there are large puddles of glue, they can start to drip if they are on an angle. If your drying rack is angled, you’ll want to let the paintings dry on a flat surface instead. Sadly, I ruined some carpet years ago, not realizing some paintings had dripped down the back of my drying rack.
Some students work closer to the edge, and their glue spills off a little bit. For those artworks, I put construction paper under them to catch any glue so it doesn’t drip onto another student’s work.
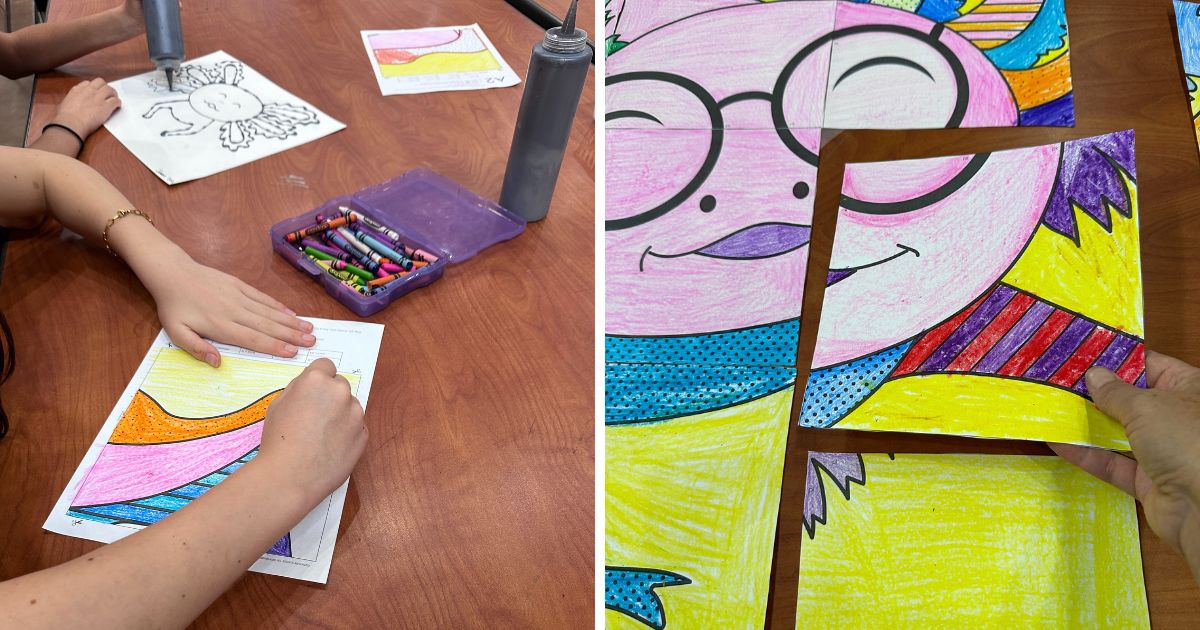
I didn’t have a full class set of black glue bottles, so I had one table work at a time. While the rest of the class was waiting, they started working on a page from my Axolotl collaboration poster. Then, when students were finished tracing with the black glue, they could also work on the pages of the poster.
I find it very helpful to have an independent project students can do while others in the class are doing a messier project. This also works well for moving through stations or centers.
My axolotl collaboration poster has two versions: with and without assigned colors. My 7th graders did the poster with the colors assigned (left), and my sixth graders did the version without the colors assigned (right). I like them both, for different reasons.

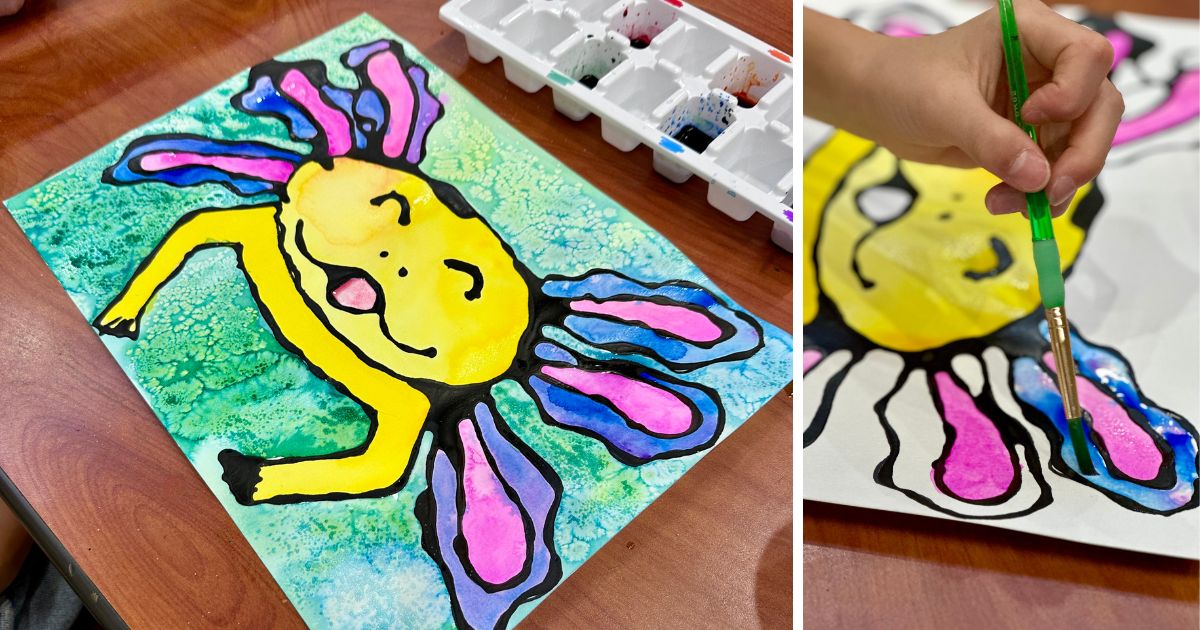
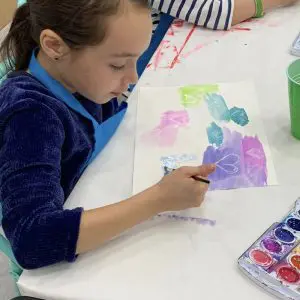
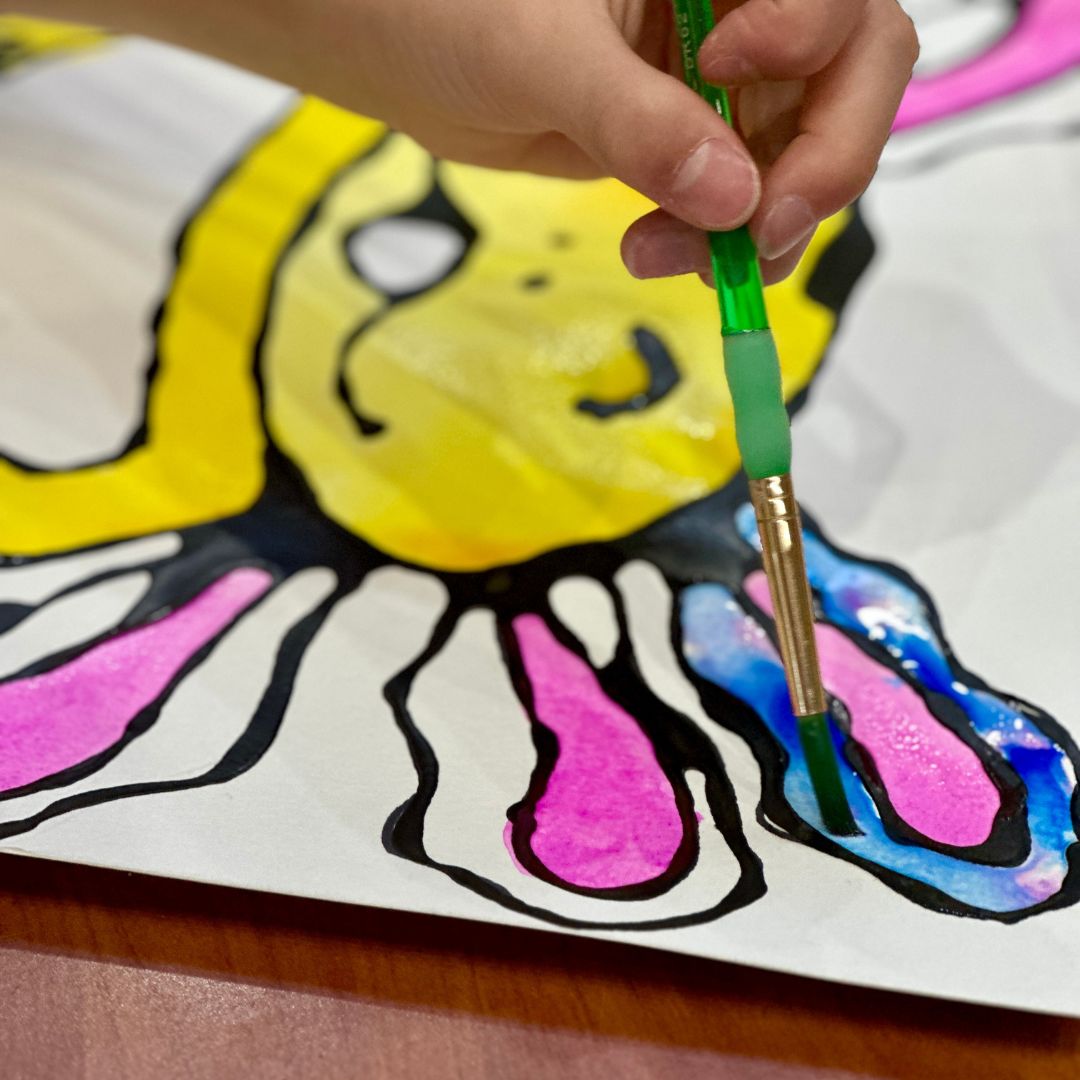
Once dry, students can paint their axolotl art project. I gave my students liquid watercolors and demonstrated how to paint their axolotls. The black glue creates little “wells” where the paint can pool up — kids love this because the watercolor paints don’t run too much into one another. When students are new to using watercolors, it can be hard to use the material to achieve their desired outcome — without much experience, the paints can run into each other and frustrate students. Having the black glue “rim” helps with that and creates great student success!
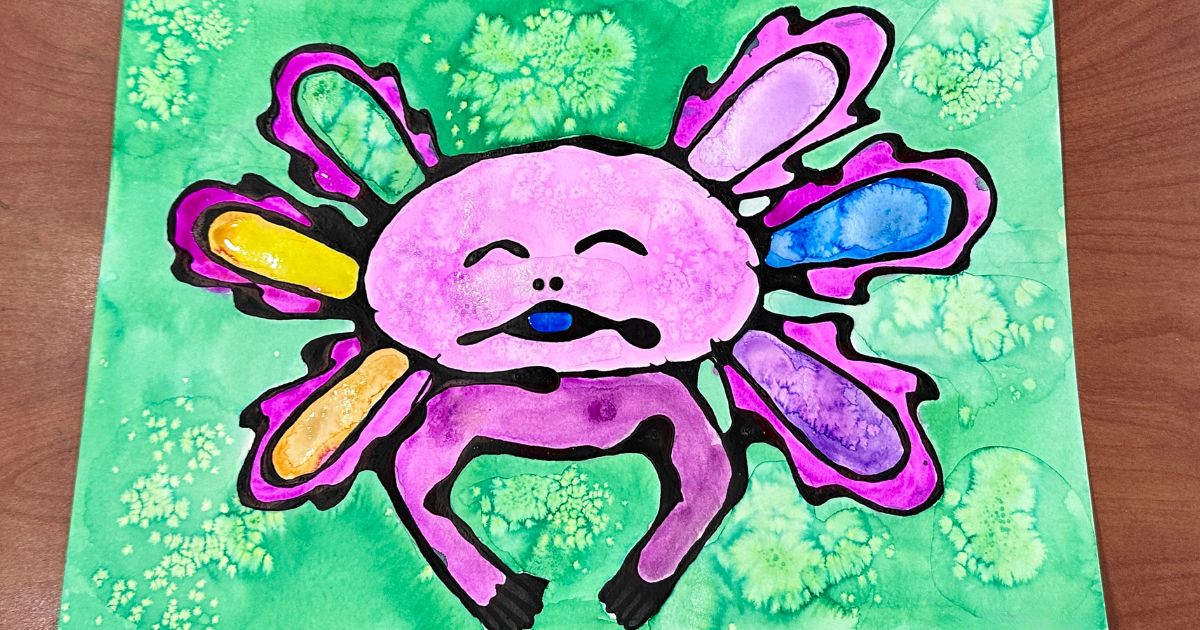
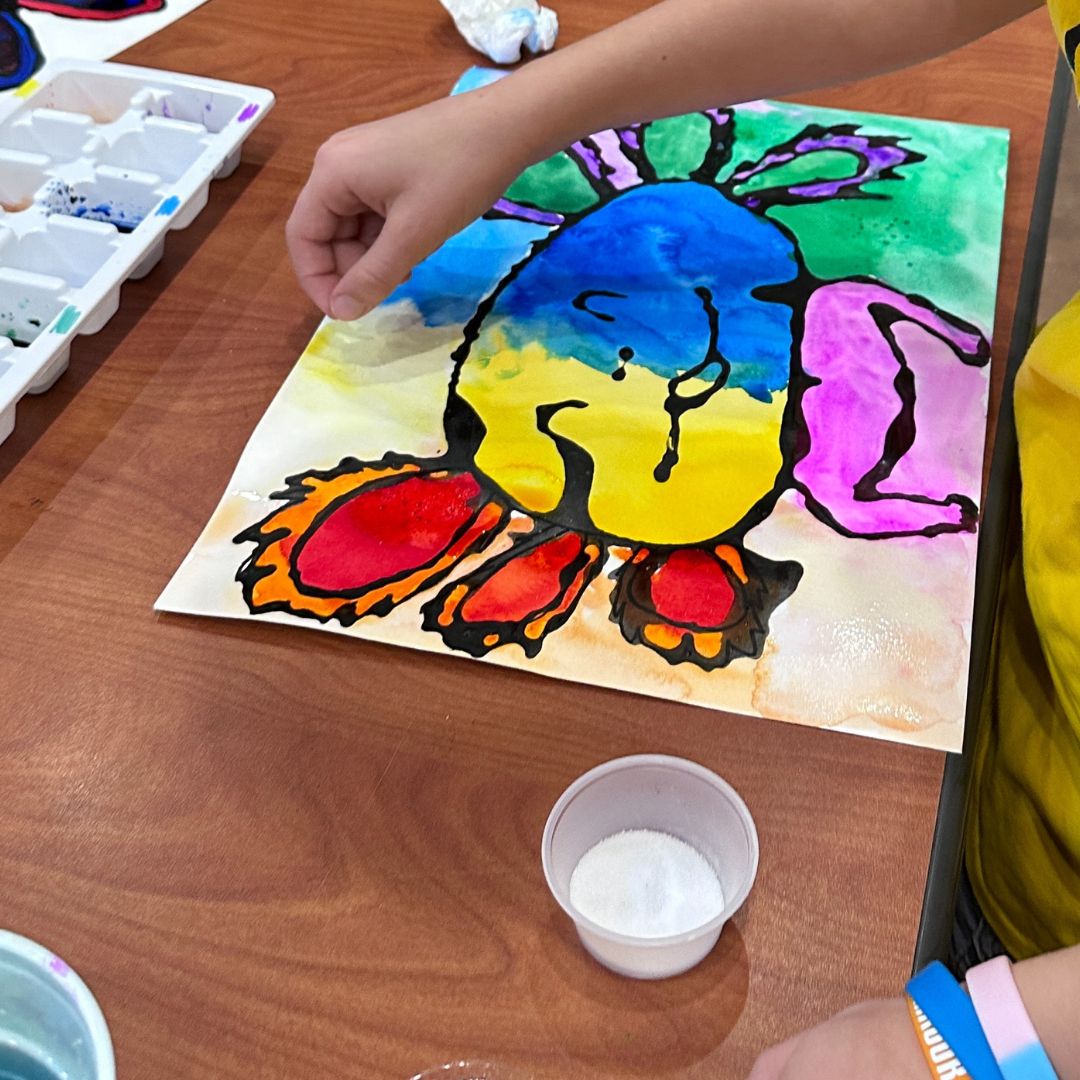
For this step, I have more details on adding salt to a watercolor painting HERE and HERE. The highlights are:
The paint must be wet to absorb the water. This may seem silly to say, but if students paint the entire artwork and then try to add salt, it won’t work. It will only absorb in areas with small pools of water/paint.
It’s also important to remind your students that once the salt is added to a section of the artwork, you can’t go back in and paint that area. If students paint over an area where the salt has been applied, they won’t get the crystal look.
Finally, your students mustn’t use too much salt in any one area of the painting. It will pile up if they do, and the crystal design won’t be apparent.
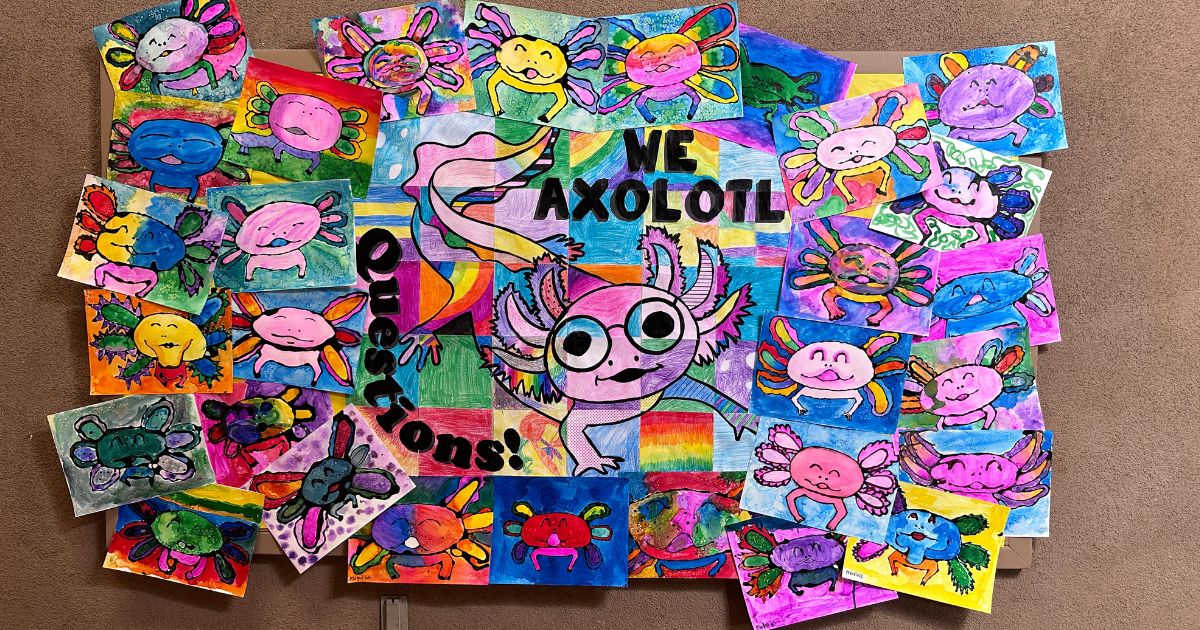
I love to display my students’ final artwork anytime that I can. I especially loved displaying the final axolotl collaboration poster and the final axolotl paintings together. I love observing the kids, parents, and other faculty and staff as they stop to look at the final artwork!


Purchase on Amazon!
Purchase on Amazon!