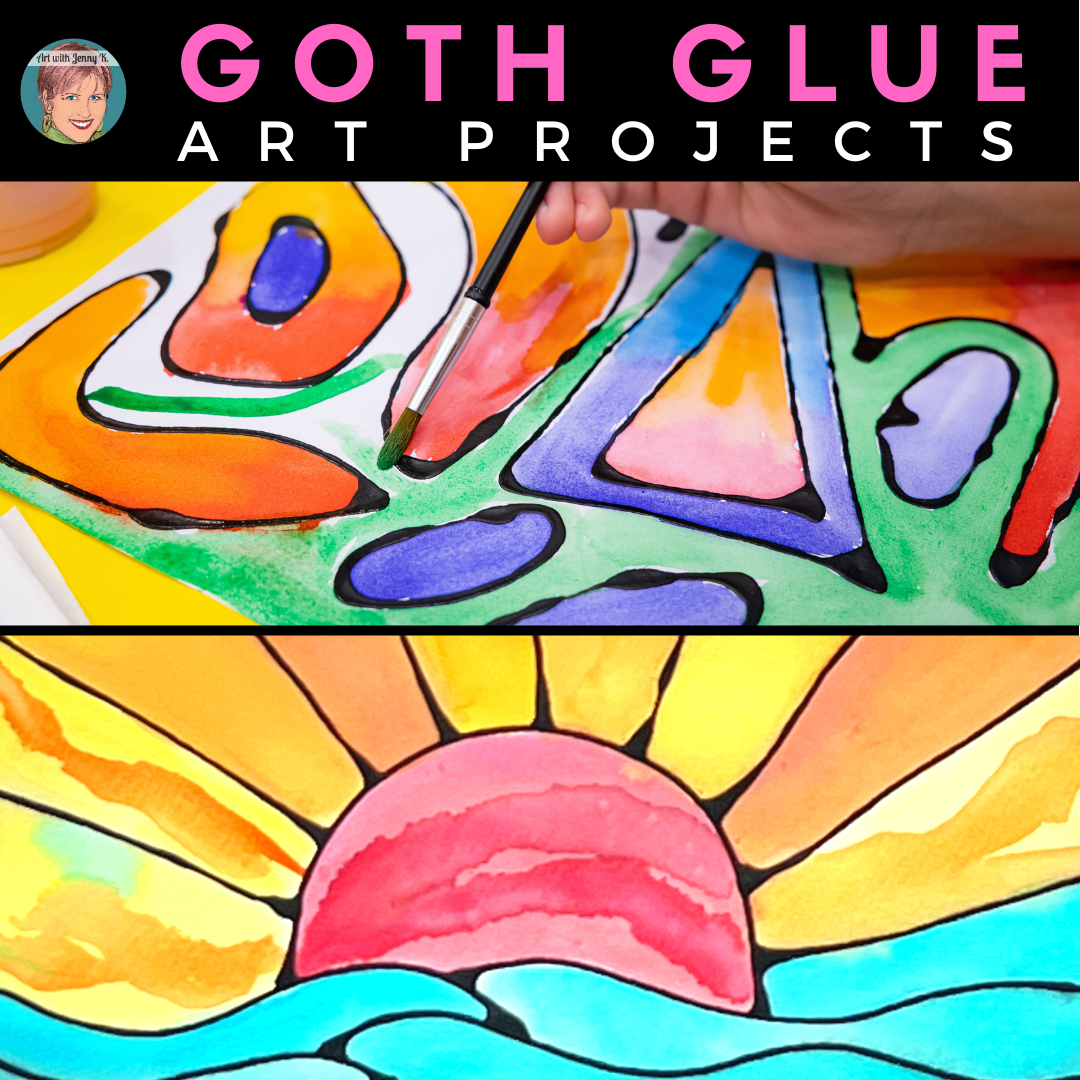
Today, we are talking about goth glue art projects. Or how to draw and make art with black glue, aka “Goth Glue.” For years I have used this technique with my students to mimic the effects of Batik. This project really can be great for all ages, and it’s easy to do! I’ve asked my friend Aimee who did this project with seniors in a memory care group to be my guest today, so she and I are going to explain this project to you.
This project has extra credit! Check it out!
Aimee, from Aimee Creamer Designs, is an artist, and she creates amazing acrylic pour paintings on canvas (among other things) today, she is my guest author for this post.
It’s funny how something you’ve done for years gets a cute trendy name, and suddenly, it explodes in popularity. That is what happened with the “Goth Glue” craze.
“Goth Glue” is simply adding black acrylic paint to glue. Adding the paint turns the glue black.
I have to be honest; I actually didn’t know about it until Aimee asked if I had ever made “goth glue.” After she explained what it was and asked me if I had ever done this with my students, I said, “Well, yes, I do that project, but I’ve never called it that.”
For years I have used this technique to mimic the effects of Batik. You can see a post about that HERE in one of my Arizona art lessons, where I use black glue for a state flag project (you can see it done with the Arizona flag, but you could do it with any flag design).
Aimee works with a local art program called The Power of Art & recently worked with seniors in a memory care group for individuals in the beginning stages of having Alzheimer’s. She decided to do this project with them, which turned out amazing. I also tried it with my students, which also turned out amazing. This project really can be great for all ages, and it’s easy to do. I’ve asked Aimee to be my guest today, so she and I are going to explain this project to you.
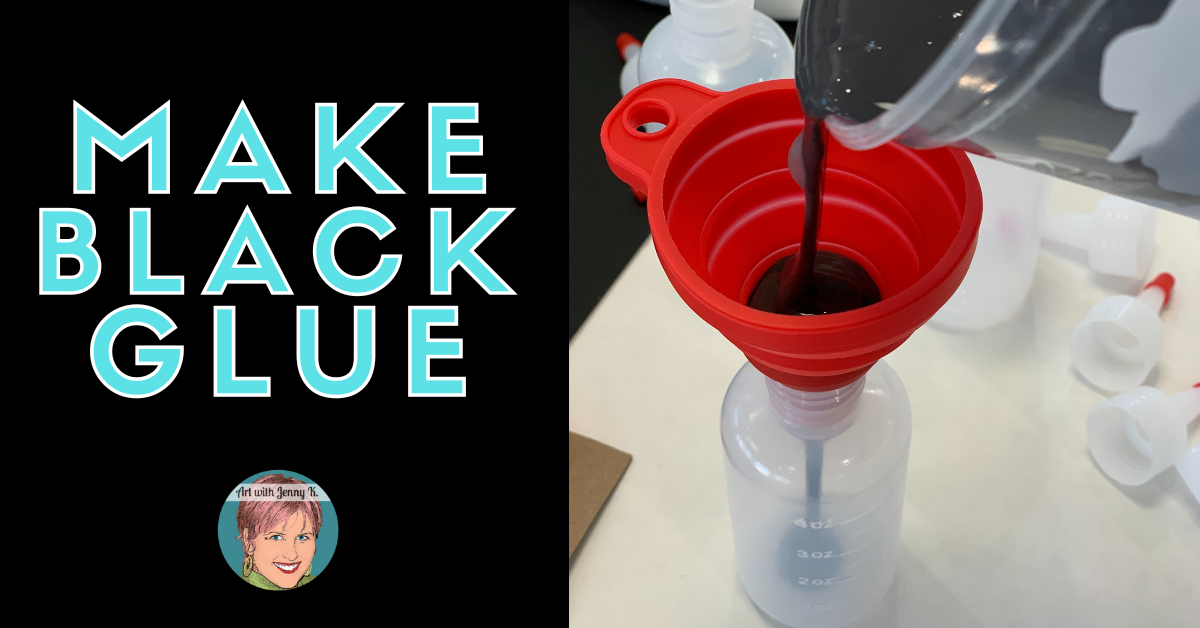
To make black glue, you will want to pour glue into a container. I used an old cup. Then, squeeze some black acrylic paint into the cup. Stir the paint and mix it into the glue. Finally, you can pour the mixed glue and acrylic mixture into bottles.
You can pour it into the smaller, child-friendly Elmer’s glue bottles or buy small bottles to pour it into. I have done both. Either is fine. I HIGHLY recommend using a funnel! You will hate life if you don’t have one.
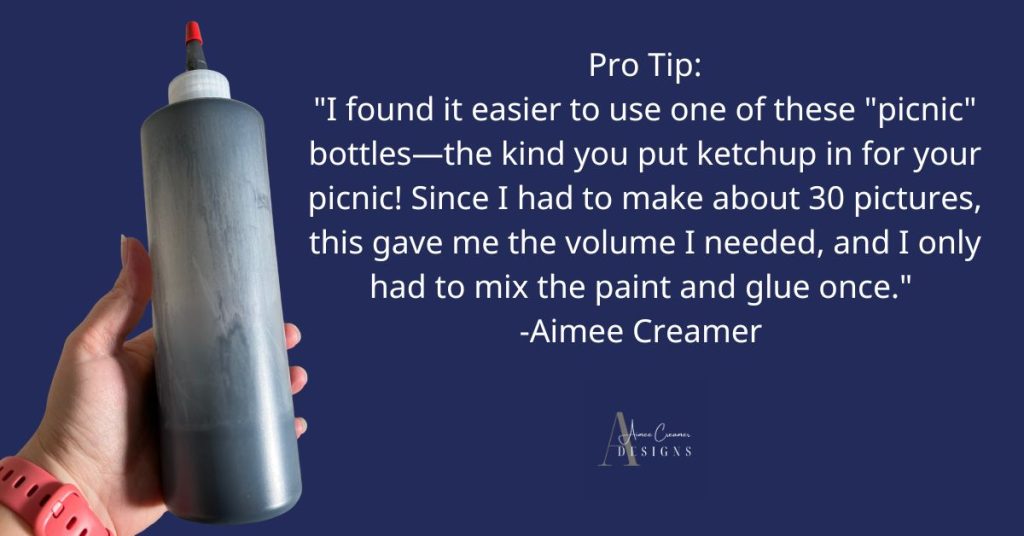
Aimee used a large bottle (brilliant). Here’s what she had to say, “I found it easier to use one of these “picnic” bottles—the kind you put ketchup in for your picnic! Since I had to make about 30 pictures, this gave me the volume I needed, and I only had to mix the paint and glue once.” I’ll be using this pro tip myself the next time I do this project.
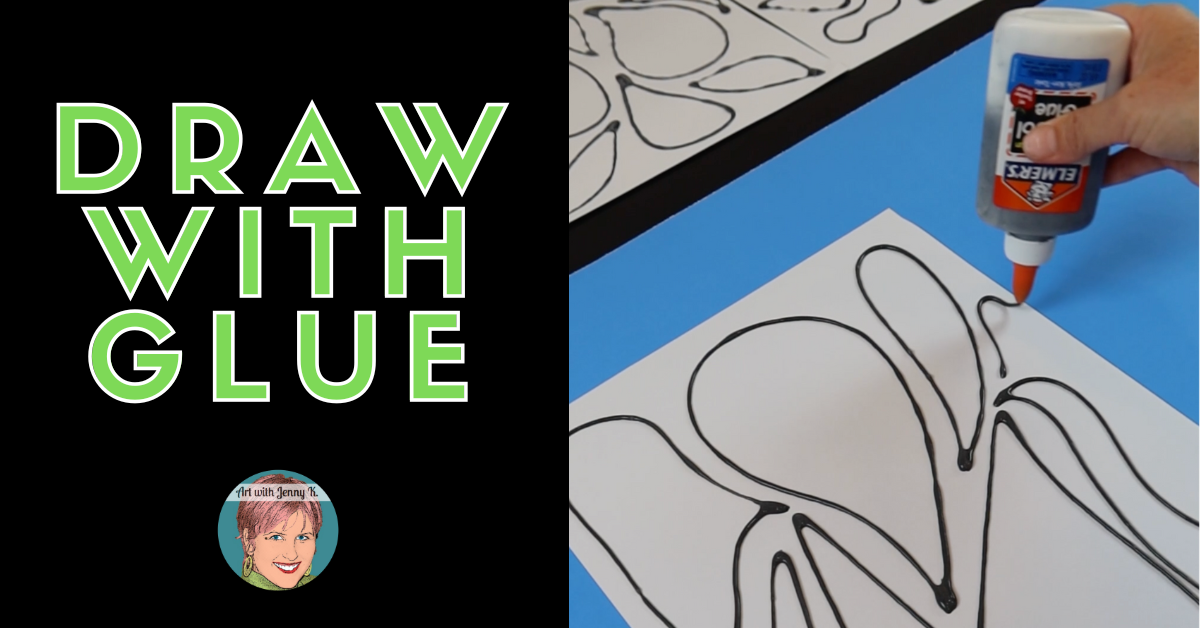
Then, using the glue, you will “draw” on paper. You can do a pre-drawing with a pencil beforehand if you want to, or you can just draw directly on paper with glue. What you draw is up to you. Aimee did this amazing sunset over the ocean scene. I chose to do a nonobjective design inspired by flowers. I was just going for organic shapes that my students could paint. You could do this with ANY theme.
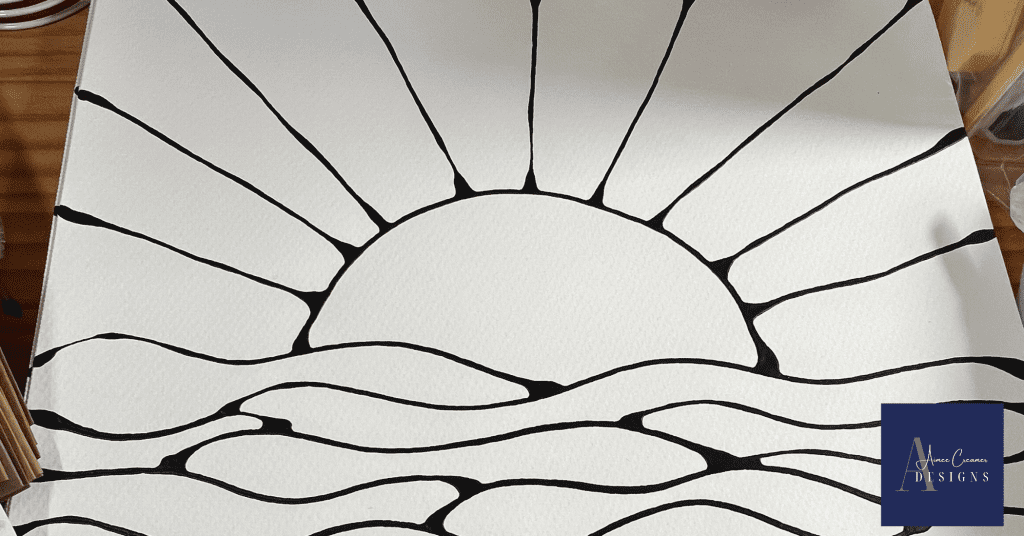
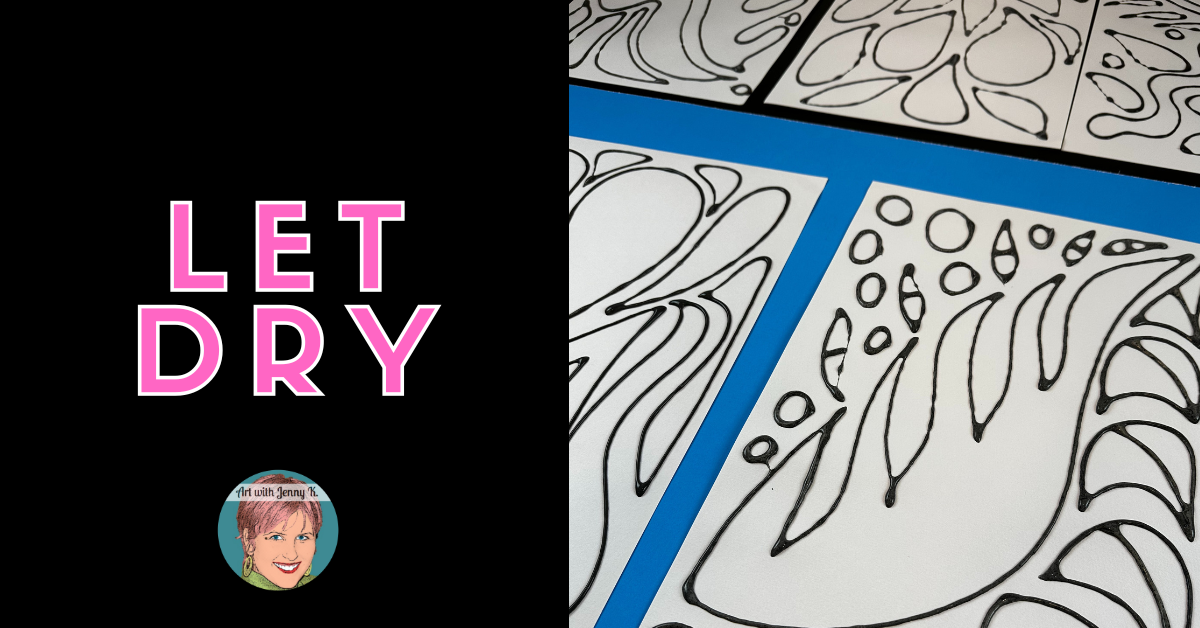
Once the drawings are complete, then you’ll let them dry overnight. If you are working with a group of children, they can do the black glue one day and then return the next day for the other part. However, if you need this project to be dry at the start of the lesson (like Aimee did for her volunteer position), you can do the drawing with black glue yourself.
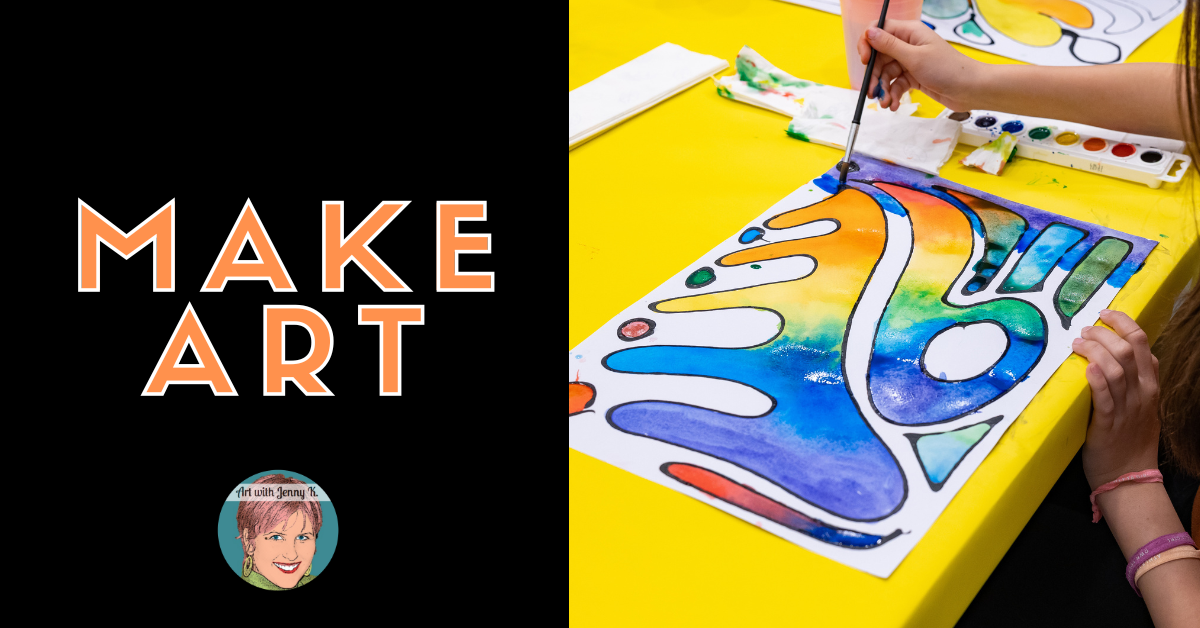
Once the glue is dry, then you can paint. You’ll want to use watercolor paints. The thickness of the glue creates a little border so the paint doesn’t run into the other areas. This confines it and gives it the neat look we all like so much.
You can choose different tools to paint with depending on the abilities of your group. For the memory care group, Aimee used sponge brushes. They were easier for the participants to use. If you are using small-sized paper, you’ll want to use a smaller bristle brush.
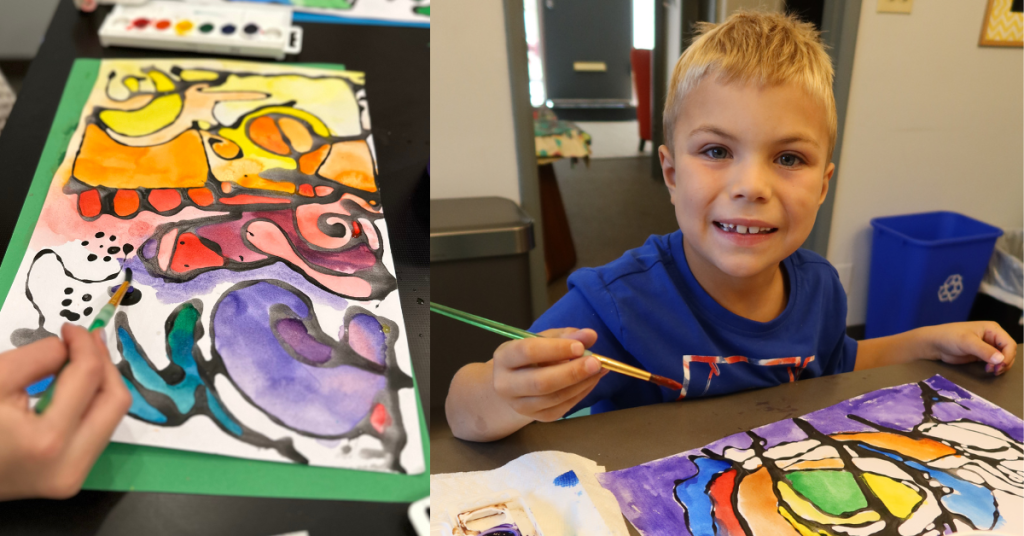
Since Aimee was my guest for this project, I wanted to end with her words!
“My goal was to create a project that was easy to follow and understand but would still produce great results. I wanted the participants to really love their painting! I will also be using a similar project to work with individuals with intellectual and developmental delays. The ages and abilities vary, but each person will be able to create a unique project to take home with them.”
Thanks for reading!
Jenny K. & Aimee Creamer
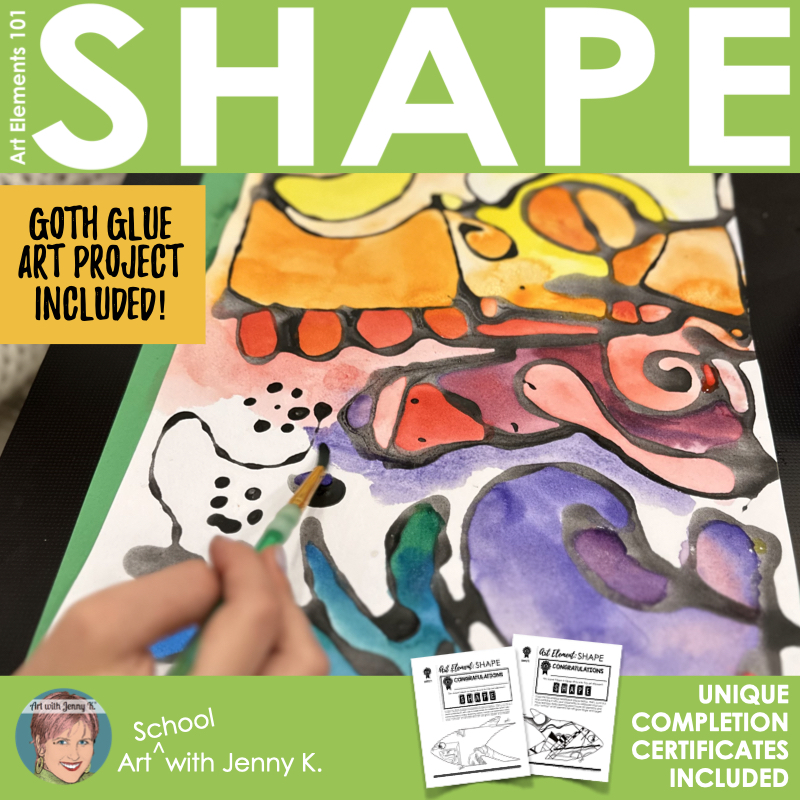
Art Elements 101: Shape Unit
Art belongs in all classrooms! When you use it as a tool for art integration, you will not only have your students’ full attention, but you will also be supporting them developmentally and creatively. My Art Elements 101 Course makes infusing art into ANY classroom easy for teachers and fun for kids!
The objective of this unit is for students to learn about the art element of SHAPE. Students will learn about this art element through direct instruction, looking at examples, and practicing the concepts. Finally, students will apply their knowledge with an art lesson focusing on the art element. Once students are finished, they will understand the art element, SHAPE, and how it is used in art.
You will find that this unit is divided into six sections: Objective, learn, and look are designed to help educators introduce and teach the art element SHAPE. Practice, apply, and complete are designed for students and for printing.
Sign up today to receive Art with Jenny K’s eBook, The Benefits of Directed Drawing for Kids, and gain access to the AWJK Subscriber Library of freebies!

Art-infused activities
for every classroom!
Integrate art into your classroom!
Sign up for my newsletter and get out of the box ideas to your inbox!