
A tutorial written for kids by kids!
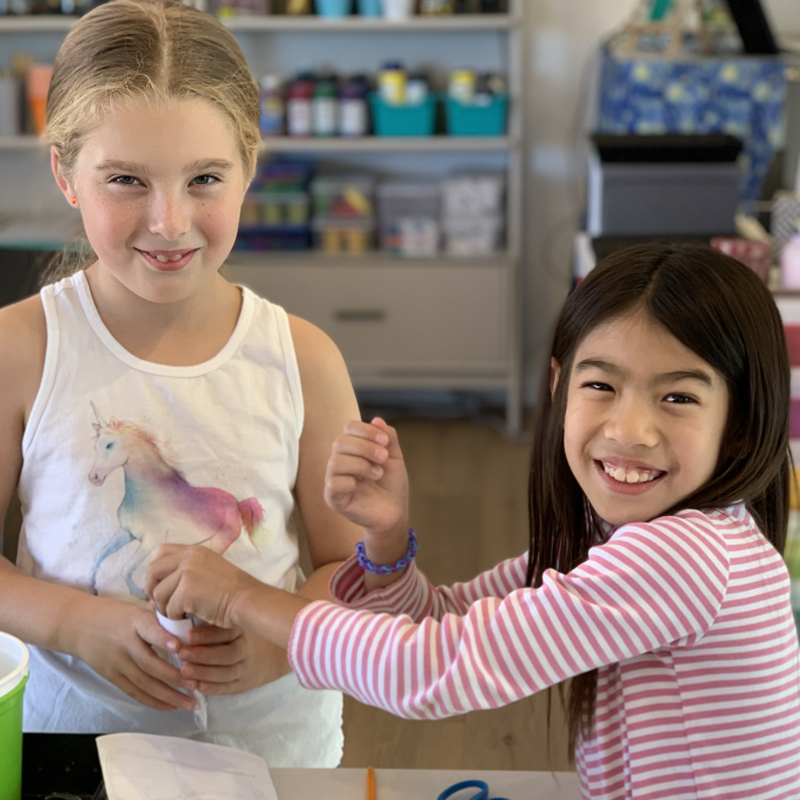
Today, these girls are going to explain (in their own words) how to make a paper squishy. As a summer project, I tasked them with writing their first blog post.

They have done the work to create the images in this post, write the content and help me put it all together. This post is about the girls, so I’ll leave them to do the rest. I hope you enjoy their tutorial on how to make a paper squishy!
The girls and I have also compiled this tutorial into a free downloadable PDF. If you prefer to read it that way, you can get it HERE.
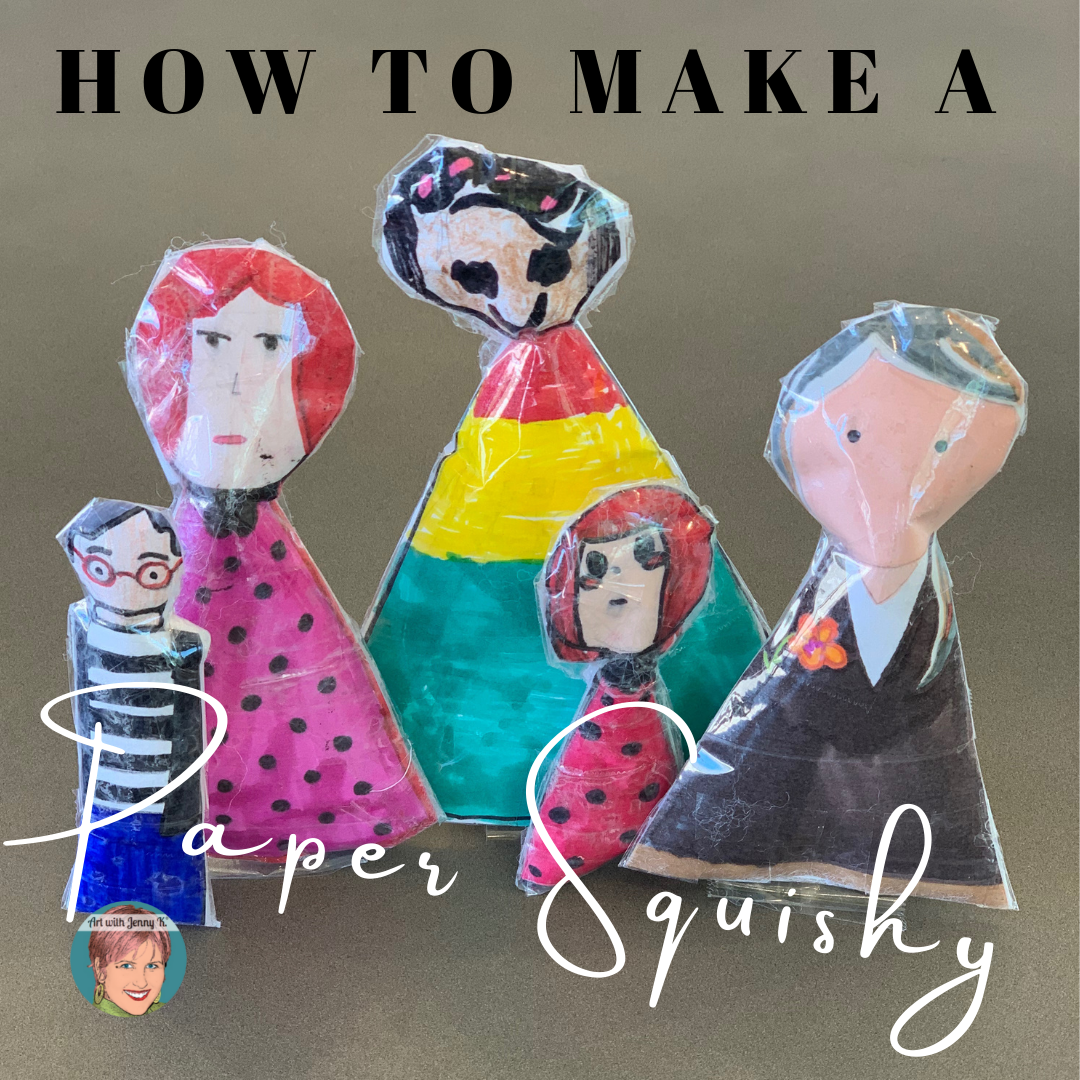
How to Make a Paper Squishy
A Guest post from Presley K. and Grace G.
We hope you enjoy this blog post and that you are inspired to make your own paper squishies of unique designs. These small squishies are 3D and a fun way to brighten a room or make a space feel creative. Many kids who are not interested in art would also love this project because they are creating something that they can hold and is tactile, not only a 2D piece of paper. These squishies can be decorations or fun toys. Making squishies is super fun and easy and a great way to keep kids entertained when they are bored. We loved this project because the squishies are very fun and artsy and such a creative project.
We love making squishies. Below, we’ll show you how to make them, along with a little help from our friends!

How to Make Paper Squishies Step-by-Step

Materials:
- White paper
- Pencil
- Markers, crayons, or colored pencils
- Regular tape
- Packing tape (if possible)
- Stuffing
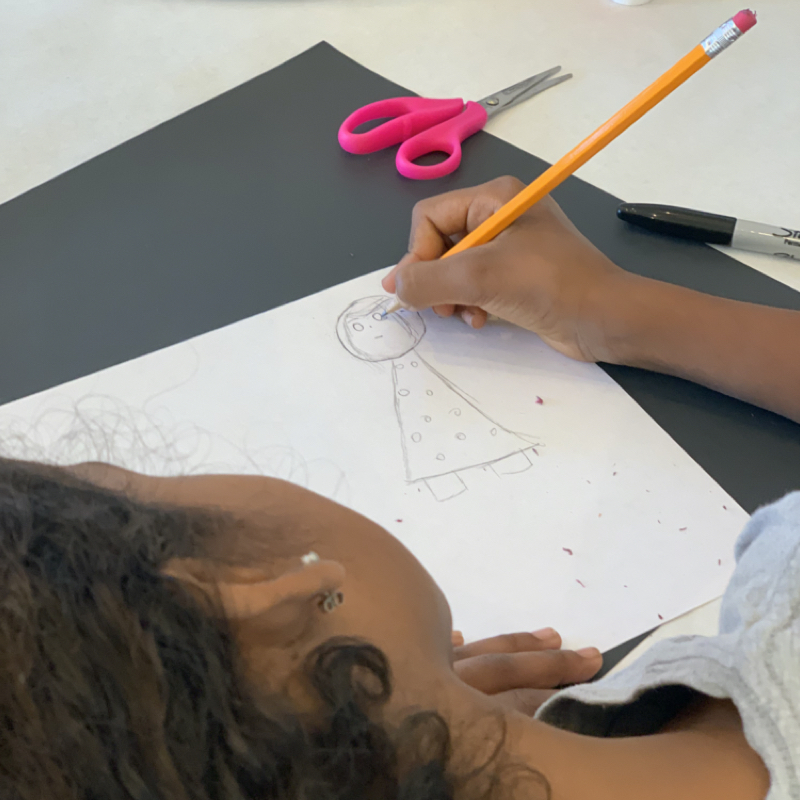
Step #1:
Draw a figure on half of your paper. Draw it big enough to cut out later.

Step #2:
Add details to your drawing.

Step #3:
Color in your figure and then outline the details with a sharpie.

Step #4:
Fold the paper in half so you have two sides to cut the squishy.

Step #5:
Cut out the figure so you have two identical shapes for the front and back of your squishy.

Step #6:
Tape three sides of your squishy with clear tape, but leave one side open so you can stuff your squishy.

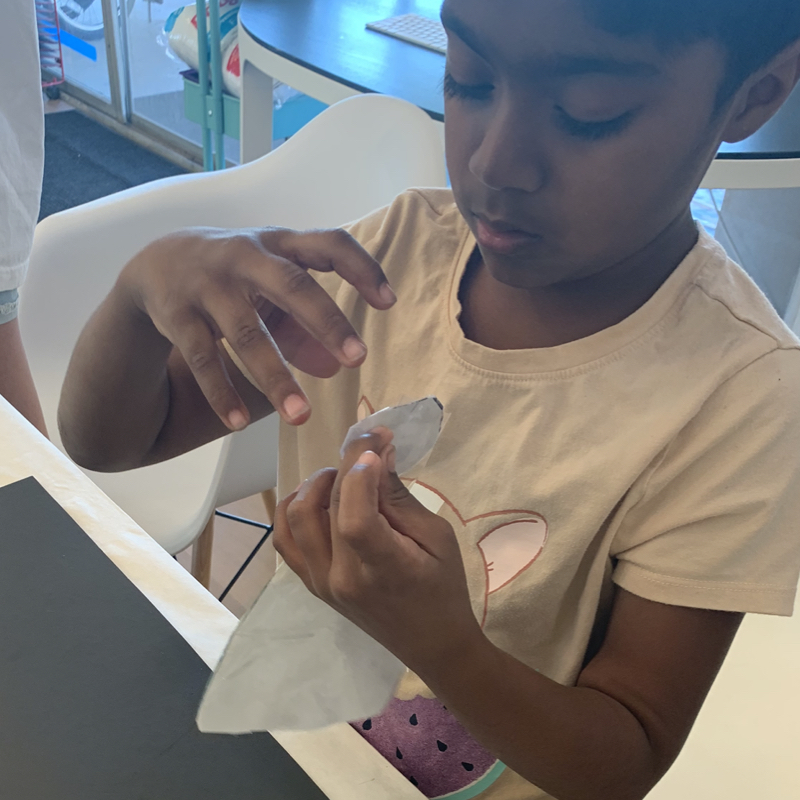
Step #7:
Stuff your squishy with white craft stuffing.

*Tip: If you don’t have white craft stuffing you can also use other things like shredded paper, plastic grocery bags, etc.
Step #8:
Tape the side of your squishy that is open so that all sides are closed.

Step #9:
Finally, tape over the rest of your squishy. If you can, use packing tape for this step because it is clear. If you can’t regular tape is okay.


When we first made squishies, we liked them so much that we made many more squishies with different designs. The first time we made squishies we tried to replicate Christmas ornaments in the shape of artists. From there, we made many other shapes and designs of squishies such as animals, food, and symbols like letters, hearts, or flags. We really liked making these adorable squishies and creating this blog post! Thank you for reading!

Wow, great job girls! I hope you enjoyed reading what my daughter and her friend came up with for how to make your own paper squishes. I loved supporting them and being able to debut their first blog post.
If you’d like to download the FREE PDF version of this tutorial, you can do so by clicking HERE.
If you decide to do this project, please tag me so I can show the girls what you made inspired by their work. You’ll find me on social media (@artwithjennyk or #artwithjennyk) I’m on Twitter, Facebook, and Instagram.
Thanks for reading,
Jenny K.