
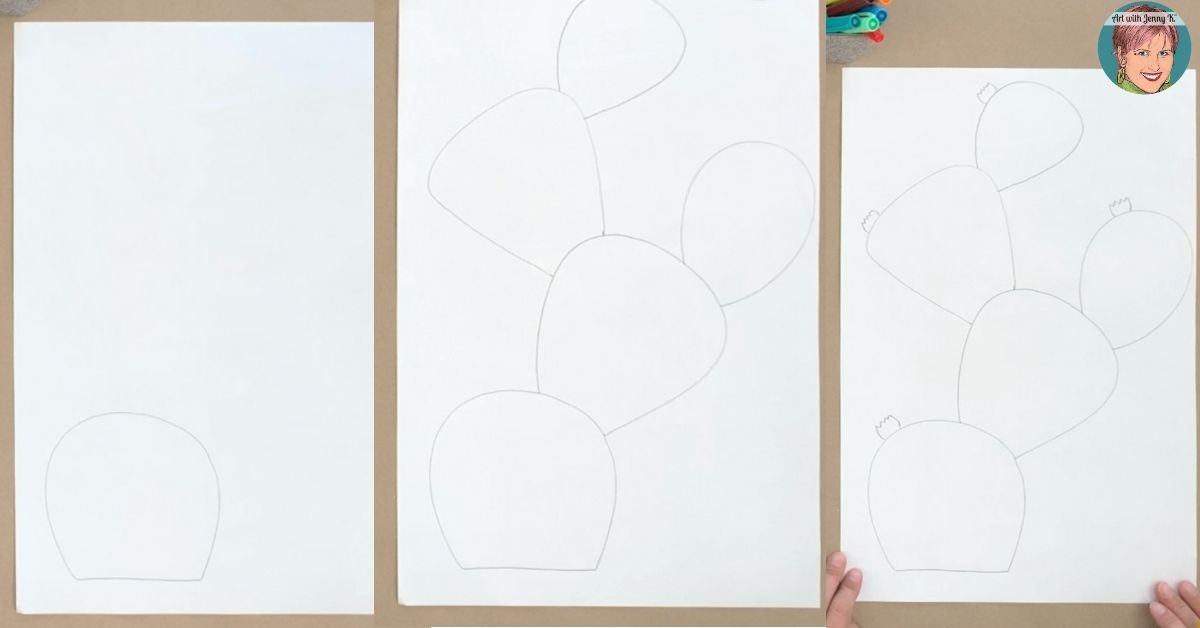
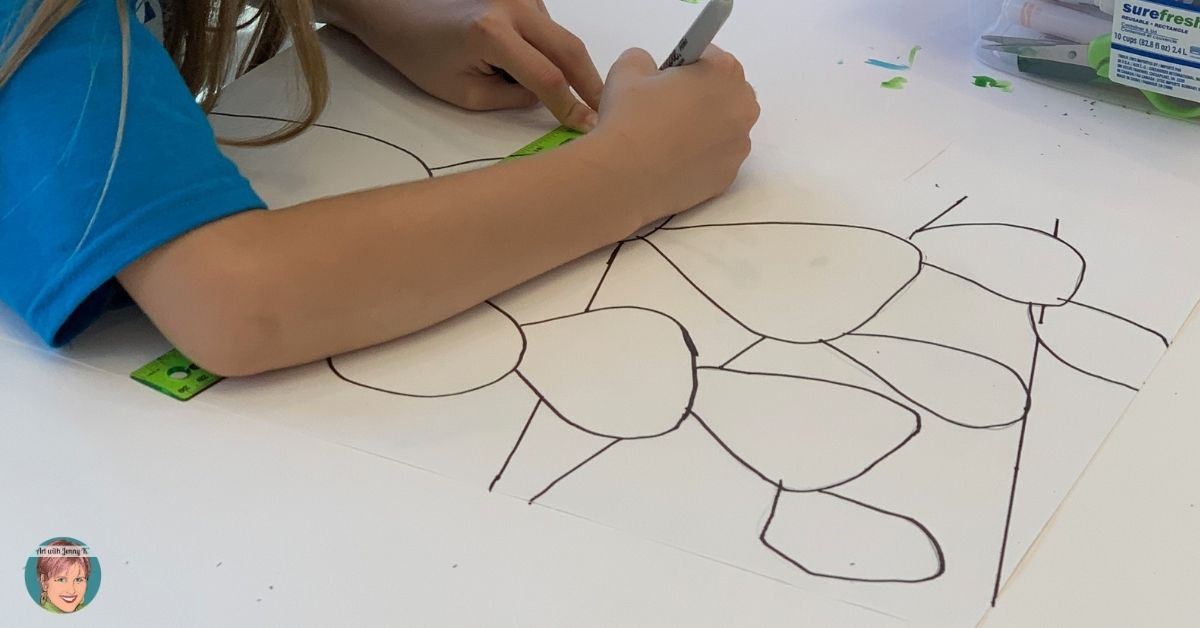
To get started on this project, you’ll want to draw your first prickly pear cactus “pad.” To do this, take your pencil, and near the bottom of the page, draw a short line connected with an arch shape. This will be your first prickly pear pad.
Then, draw more prickly pear pads stacked on top of each other. I find it easiest to mark the start and endpoints of my arch shapes on my cactus before I start to draw them (you can see this better demonstrated in the video above). Fill your page with prickly pear pads.
Once you have drawn your cactus the way you want it then you can add flowers to the tops of your prickly pear pads. To do this simply start with a little “parenthesis” shape and connect them on top with a zigzagged line.
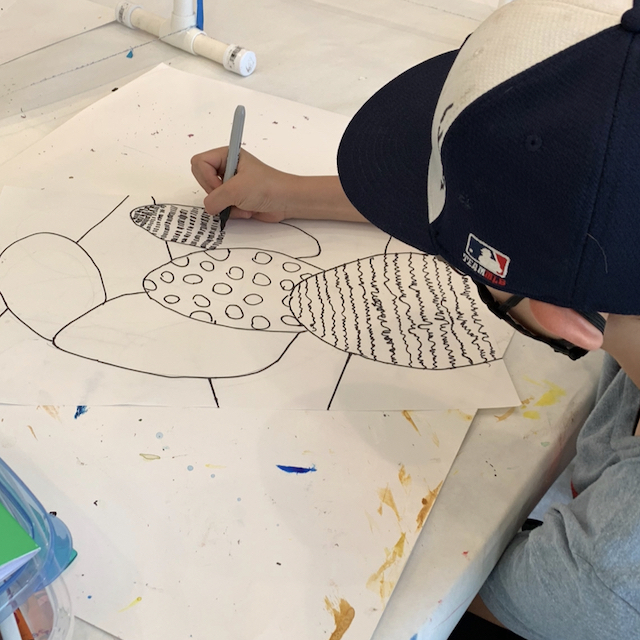
Now that the cactus is drawn, you can outline it with a black Sharpie or another dark-colored marker. Doing this step will help your cactus pads stand out once you start adding color, patterns, and doodles.
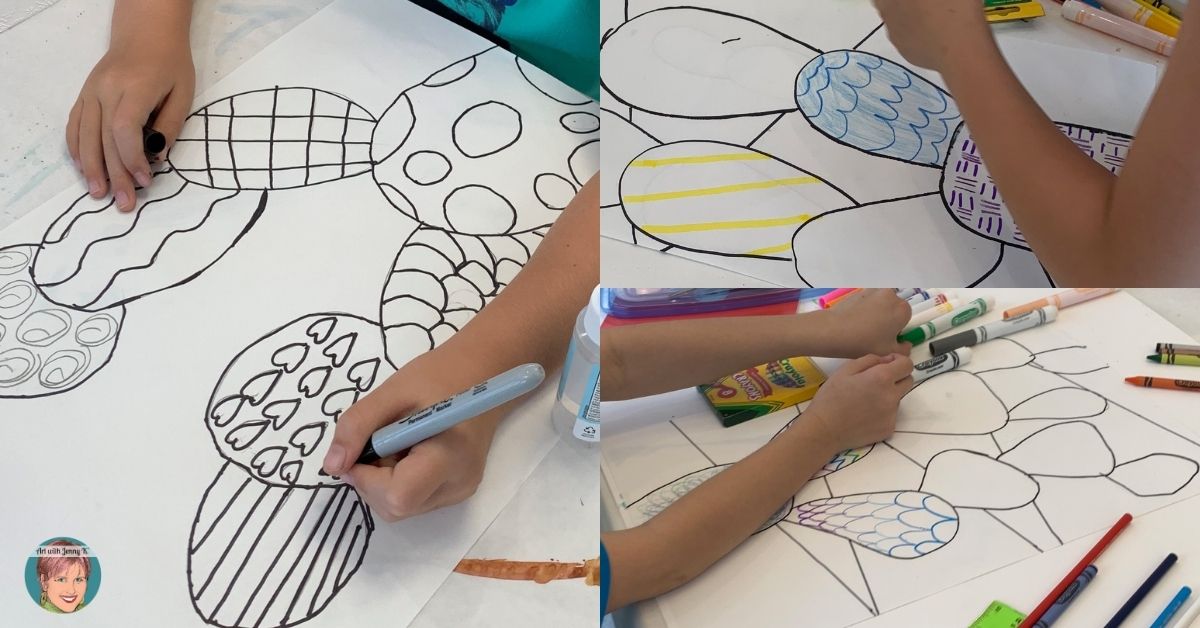
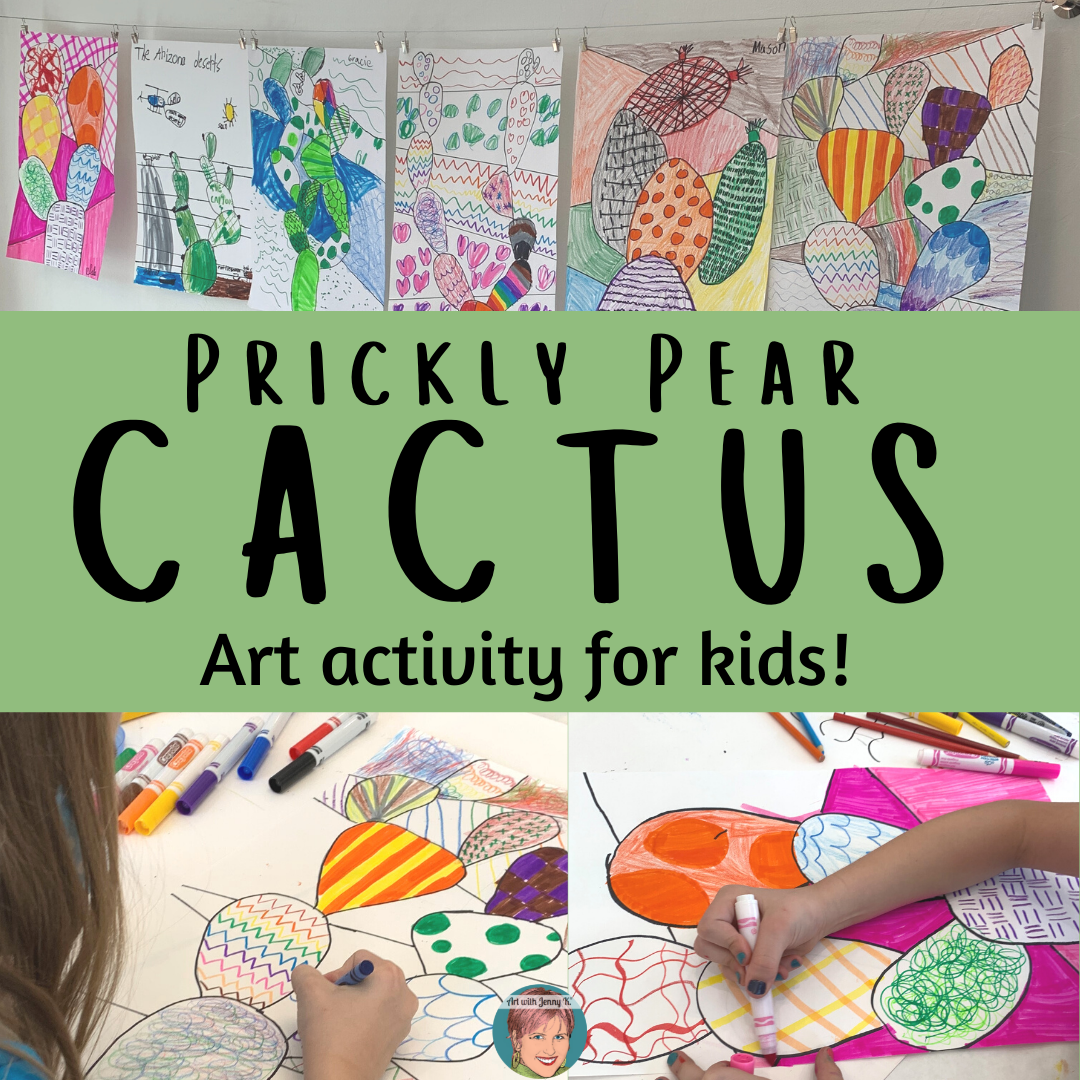
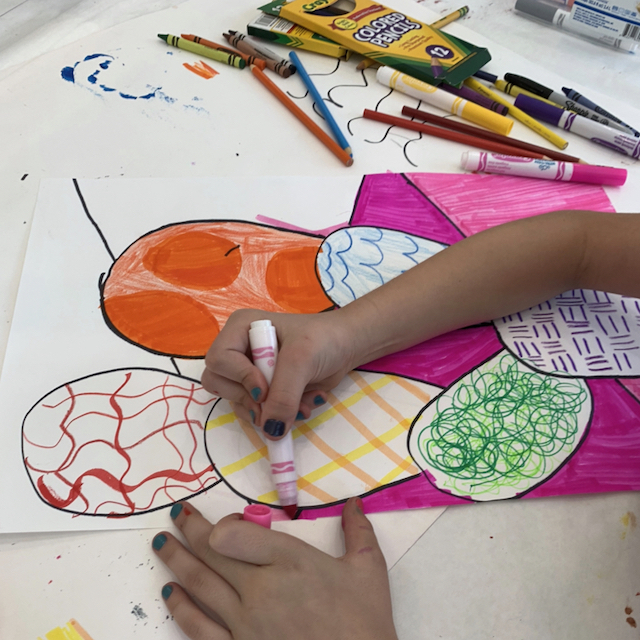
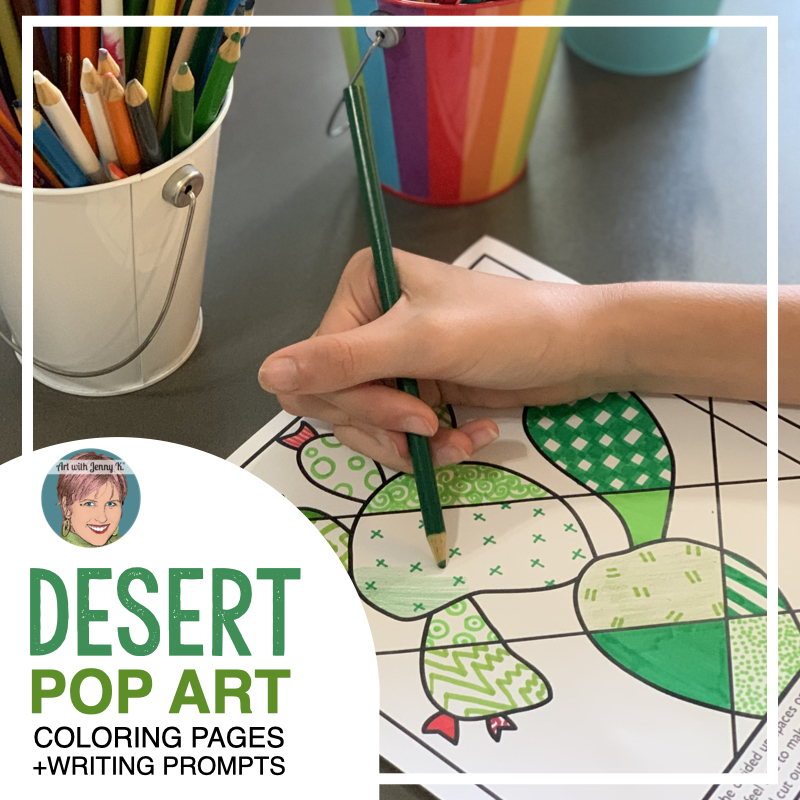
This is the fun part! Start to decorate doodle on your cactus by filling in each prickly pear “pad” with your pens or markers. You can doodle, draw designs and patterns, or experiment with some ink drawing techniques. This is your time to be as imaginative as you can be.
Some ink drawing techniques to try…
Stippling: Stippling is when you use dots of ink to color your drawing. Placing the dots close together will create darker-colored areas while placing dots further apart will make lighter-colored areas.
Cross-hatching: Cross-hatching is when you use lines crossed over each other in different directions to color your drawing. Just like with stippling, you can place lines closer together or further apart to create darker and lighter colors.
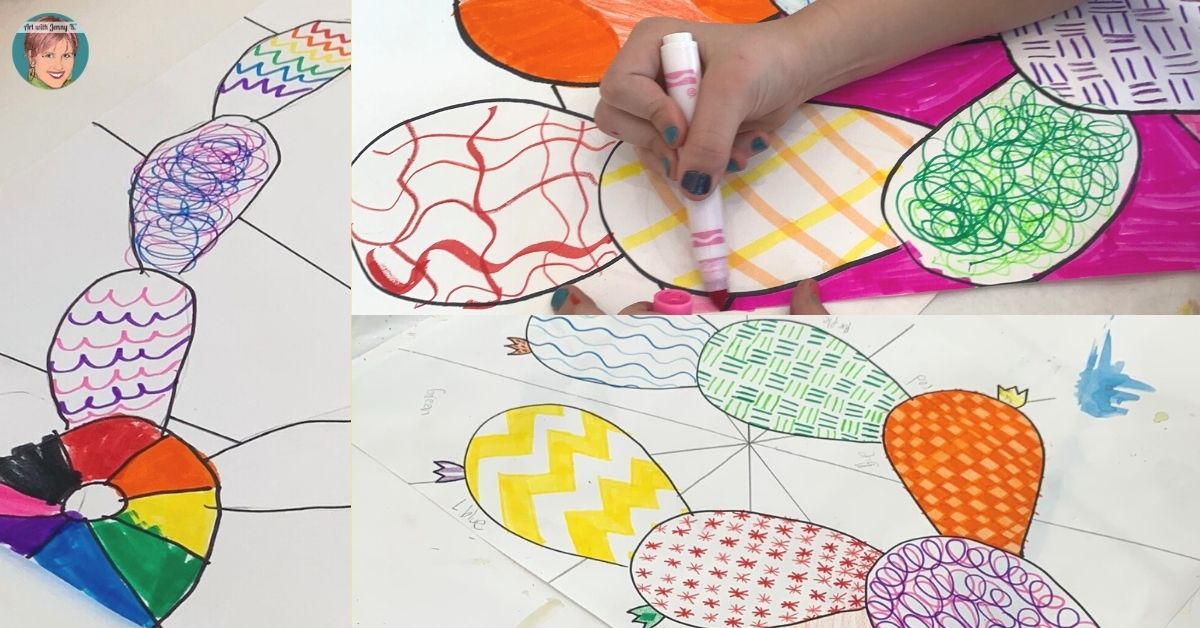
Finish your doodle cactus by adding color, both around your doodles and in the background. Try to mix up your supplies and use markers, pencils, crayons, or anything you have laying around. Don’t over think this – it’s supposed to be fun!
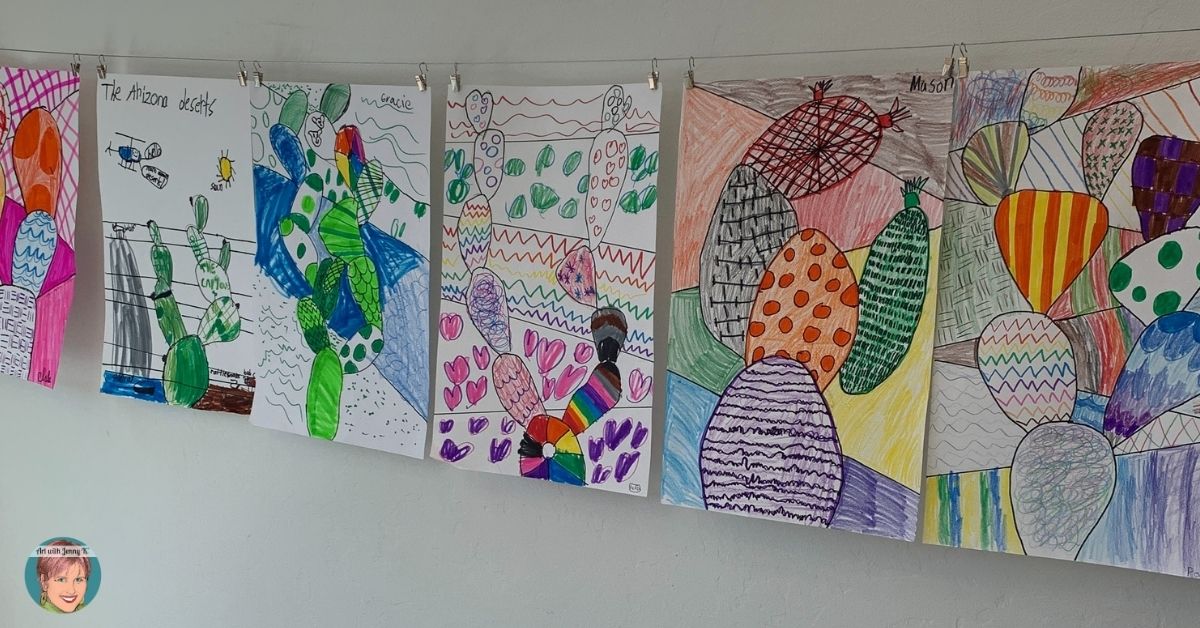
Once your doodle cactus is colored, you can hang it up and enjoy looking at it. These look great when all displayed together, showing how unique each one is!


Purchase on Amazon!
Purchase on Amazon!