Hoping to share our love of Frida with others, I’ve been working on a couple of Frida-inspired classroom resources that not only feature her but her art as well, including a fun, new escape room type of activity in which students have to work through a series of challenges to solve the case of a stolen Frida Kahlo masterpiece and piece it all together to create a copy of Frida’s artwork that they can hang in their room. But, I felt to a certain extent that I was missing out a bit on all the fun–you know, “all work…”! So I decided to do something about that and revel a bit in my own Frida art challenge!
Frida Kahlo Mural: Steps
1. Decide what image we wanted
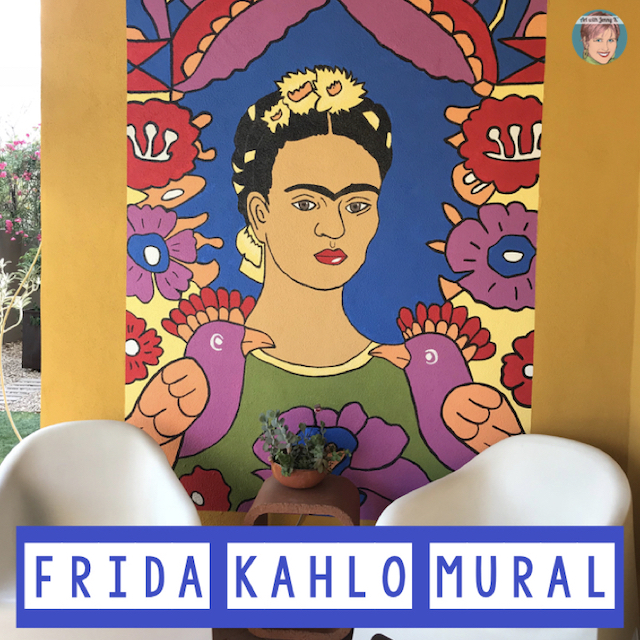
I had just finished creating a version of Frida’s iconic painting, “The Frame,” which was Frida’s first work to be acquired by an “internationally acclaimed” museum (in this case, it was The Louve–good first start!). In doing so, I fell in love with it. All its fun, tropical colors, so I naturally thought it would make a great mural (funny note: the original artwork is only 11 in. by 8 in., or about the size of a piece of paper–making it one of Frida’s smallest pieces!).
2. Prepare the site & gather supplies (use outdoor paint)
First, we taped off a portion of the wall that was the correct dimensions for enlarging my original image. And then, we painted our taped-off rectangle with a white primer. We did this to ensure that the paint we were going to use for the mural would retain its true color. I was a little worried that the existing yellow on the wall might result in duller colors in the final painting. In doing so, we also (mostly) only had to use one coat of paint for the colors.
Also, since we were painting the mural on an outside wall (even though it was under a porch roof), we were strongly advised by the good folks at the local paint store that we should use exterior paint, which we did (we chose a flat finish). The only downside was that the smallest container of exterior paint that we could get colors mixed into was a quart! Needless to say, we have PLENTY of paint leftover–we used 8 different colors! So, maybe more mural painting is in our future!!

3. Project image and trace
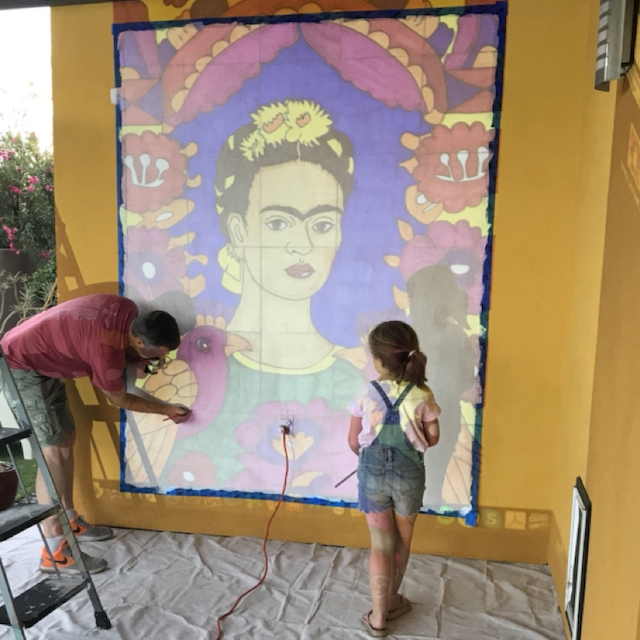
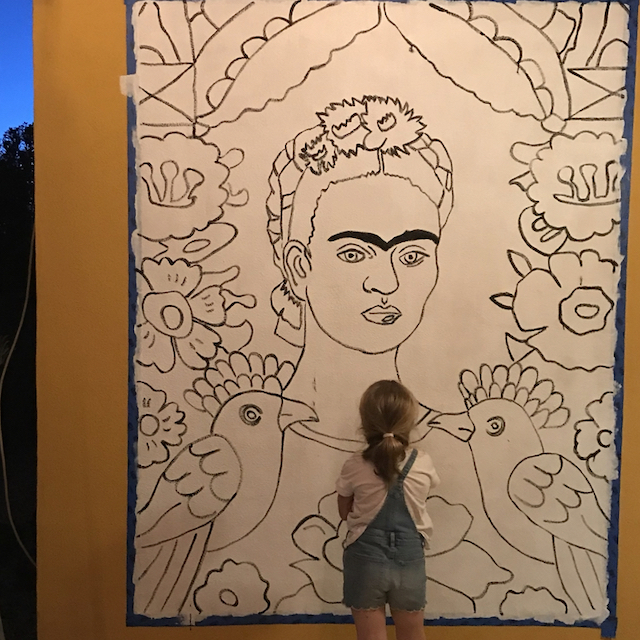
I set up my projector and projected my version of Frida’s “The Frame” (which is available here, in my Teacher Pay Teacher store) onto the white wall. I did this during the early evening so that it was dark enough outside to see the large projection but still light enough for me to work. After I got the projection the right size (by moving the projector around), we all set out to trace the image onto the wall. We used black paint to do this.
When we turned the project off, we had something like this…

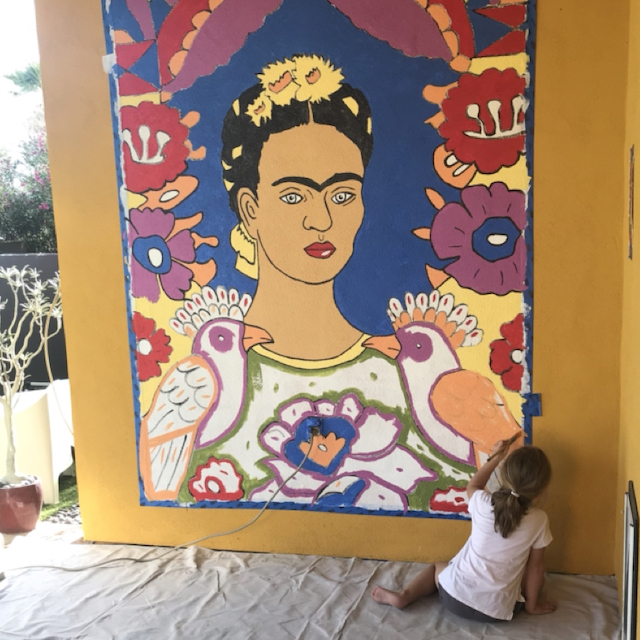
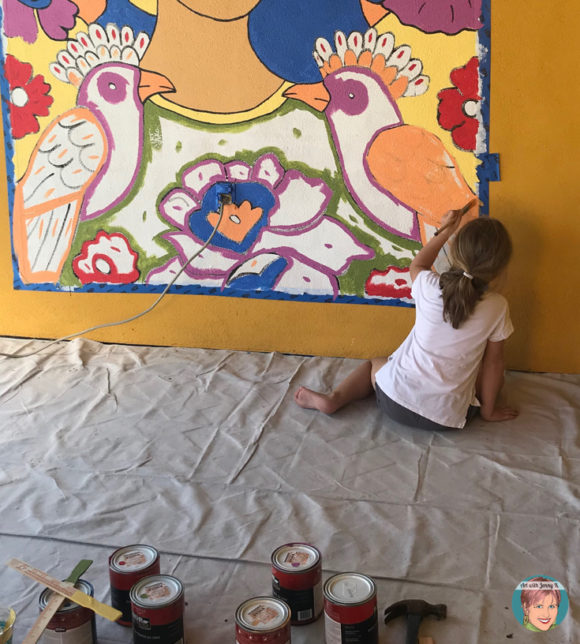
4. Paint!
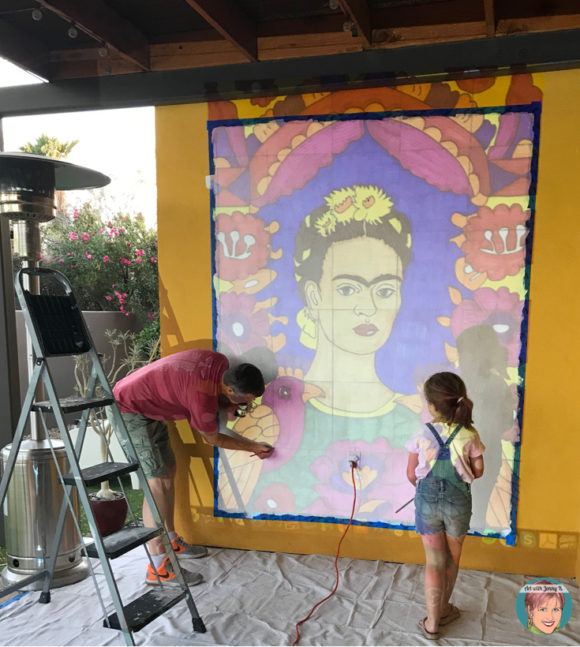
Then we got down to it. Everyone grabbed a brush. My daughter painted the bottom parts, I worked in the middle, and my husband worked above us on a ladder. We didn’t rush through anything, so it took us a couple of days (sometimes work and school get in the way of art!). Probably all told, it took us 5-6 hours to paint it.
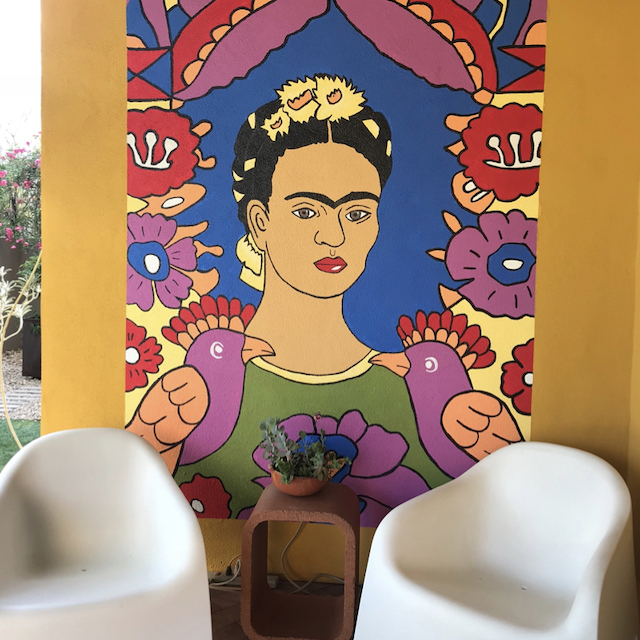
When all the colors were on, I went over all the back lines again to make the whole thing crisp and clean.
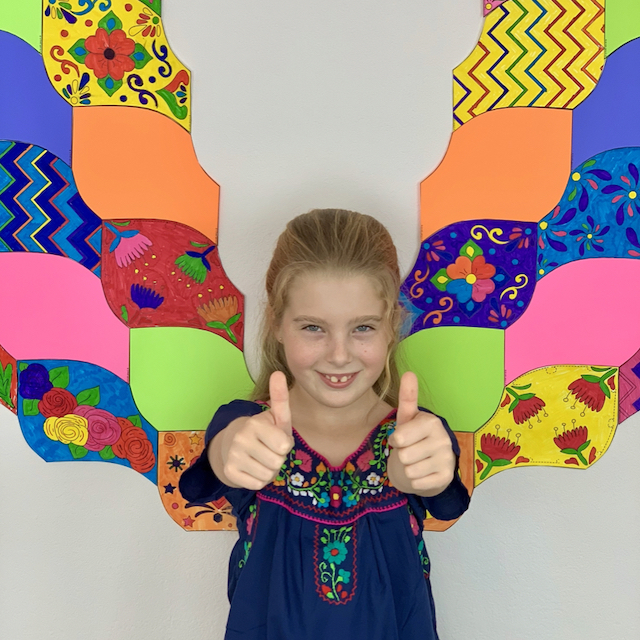
…to reveal our final mural! And we couldn’t be happier! Now, whenever anyone comes over to the house, this is the first place they go.
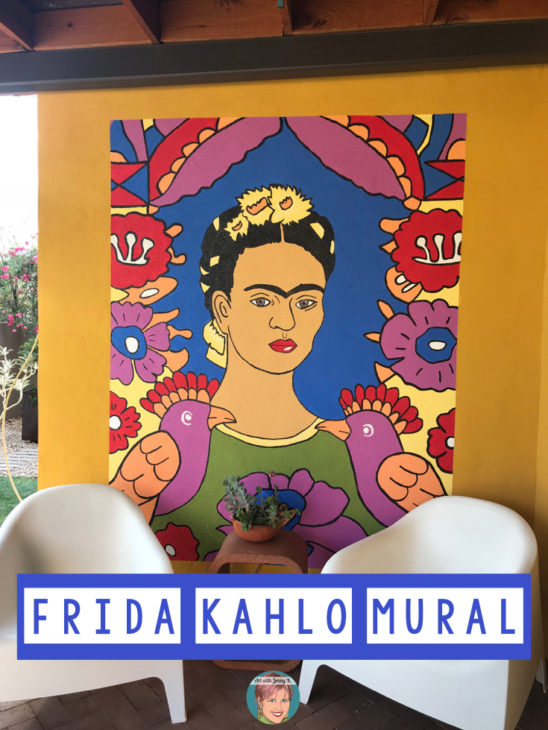
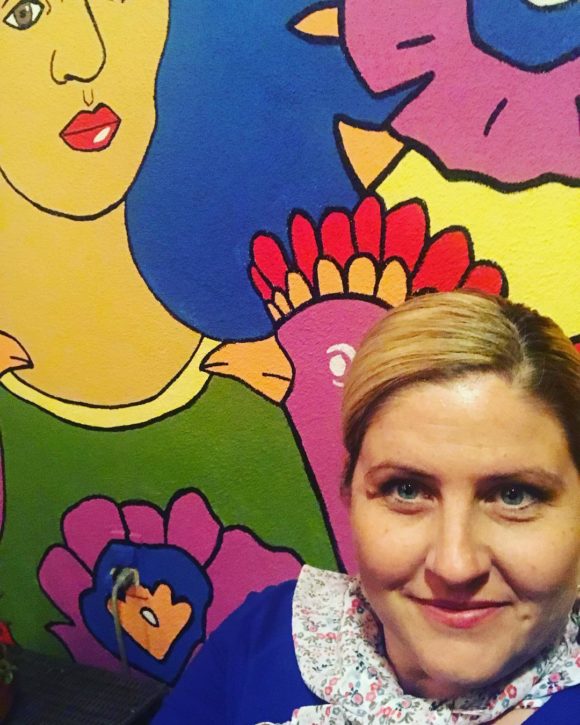
The back porch has now become our favorite place in the house to hang out, enjoy a snack and a cold drink, and, of course, pose for selfies with Frida!
Thanks for reading and making art!
Jenny