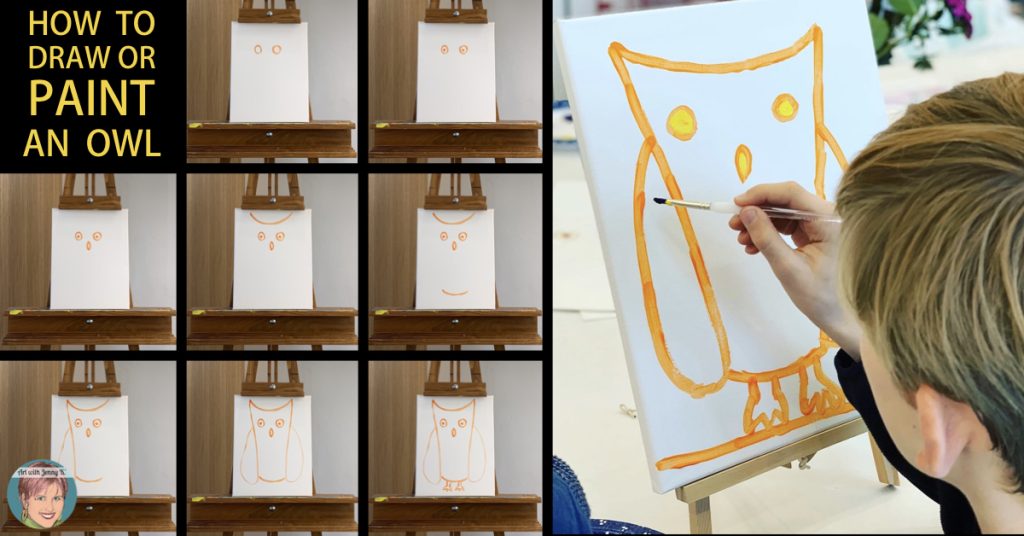
How to Draw an Owl
Today’s topic — how to draw an owl (or paint one)! Children love to draw. Sometimes you can give a child a blank piece of paper and say, “Draw ____” and they can draw whatever you have set before them. But usually, without being taught how to observe shapes and how to draw, most children will struggle to draw what you have given them.
Since children associate being able, or not being able, to draw with their overall ability in art, this can hurt them if they feel that they “can’t draw.” This is, of course, a shame because drawing is only one small part of art. This is a large topic that I’ll leave for another day—but I think we can all agree that children love to draw.
Children especially love directed drawing or step-by-step drawing. This helps them have success in creating something that they recognize. Directed drawing also helps children learn to sequence and break a task apart into smaller pieces—all skills that are useful to them.
Today, we’ll be talking about how to draw an owl. This fun, super easy, step-by-step, how-to-draw-an-owl tutorial is great to use in your art-infused classroom and art room or at home with your own children.
Let’s start with how to draw an owl. Then we can discuss options for what to do with the drawing when it is complete. Here we go…
Materials
-
-
- Paper or canvas
- Pencils, markers, or paint
-
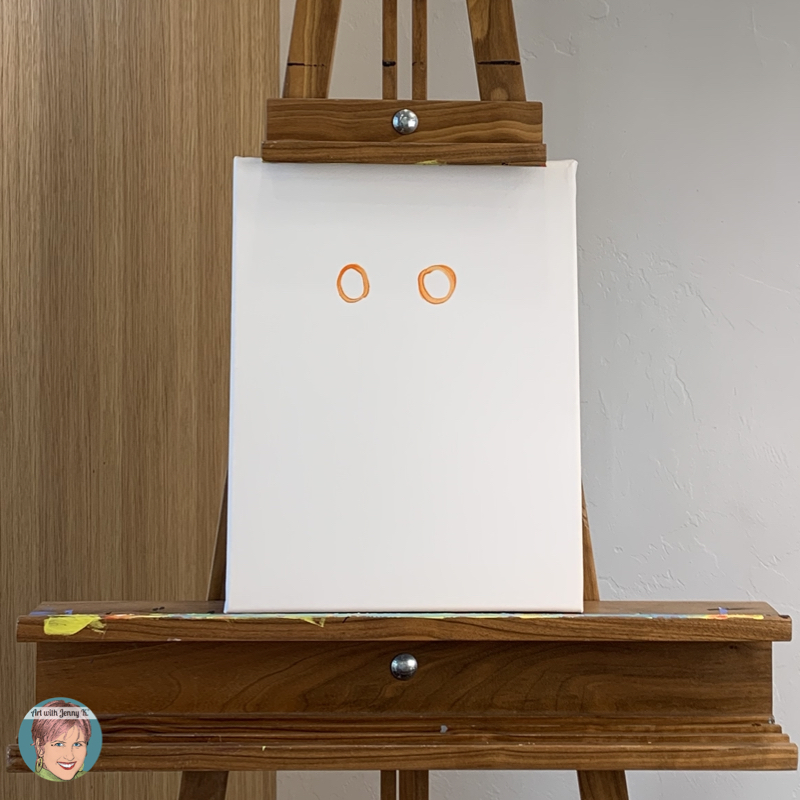
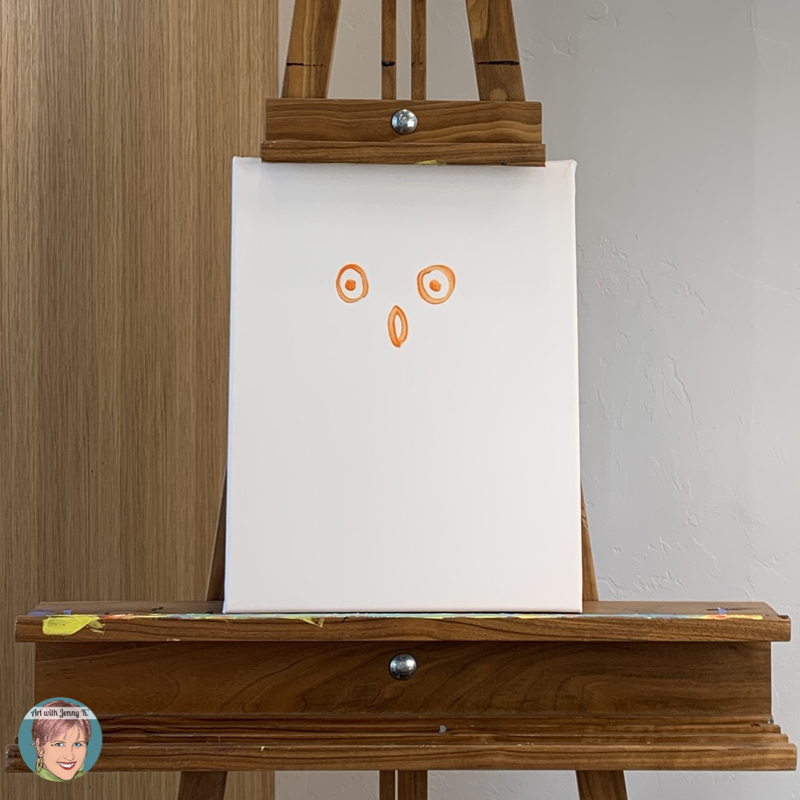
Step 1
To get started, draw two small circles for the eyes.
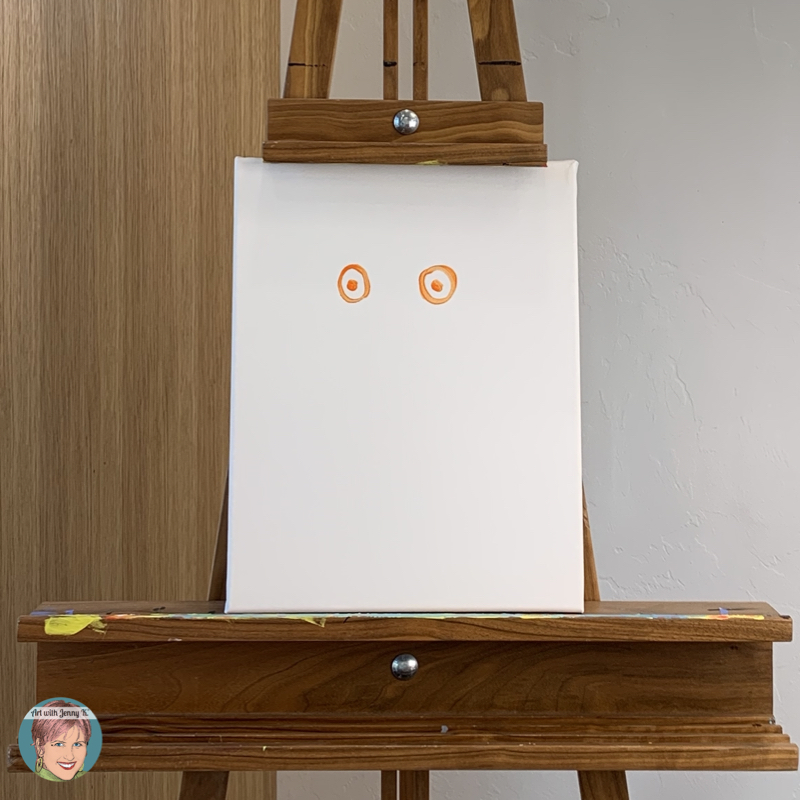
Step 2
Draw two little dots inside the circle of the eyes. One dot in each circle.
Step 3
Draw the beak. It is a diamond shape.
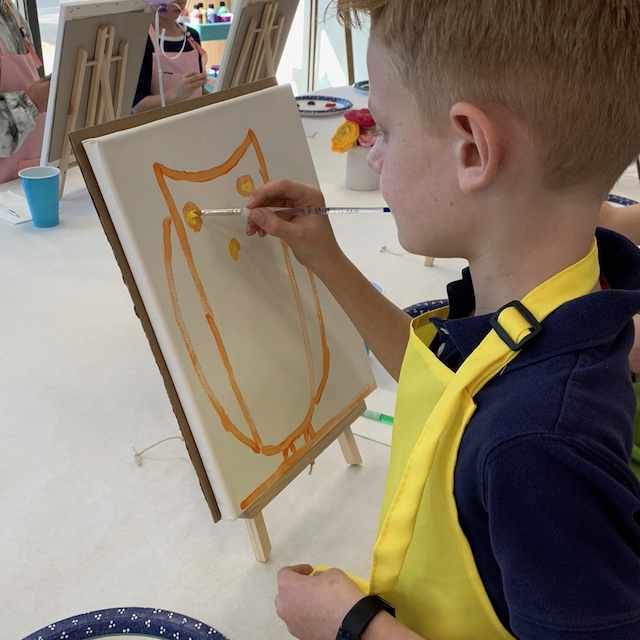
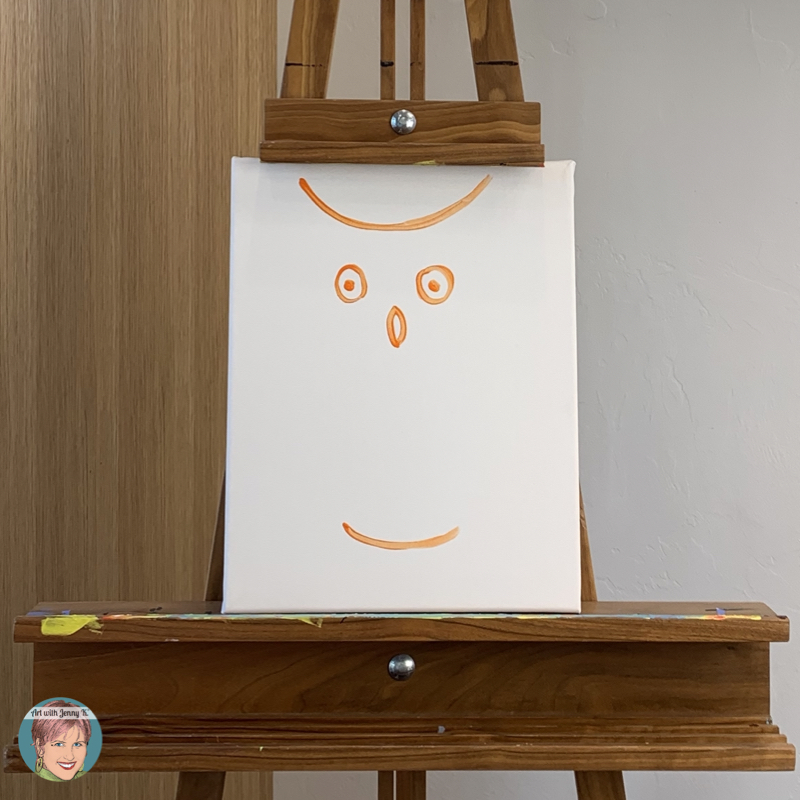
Step 4
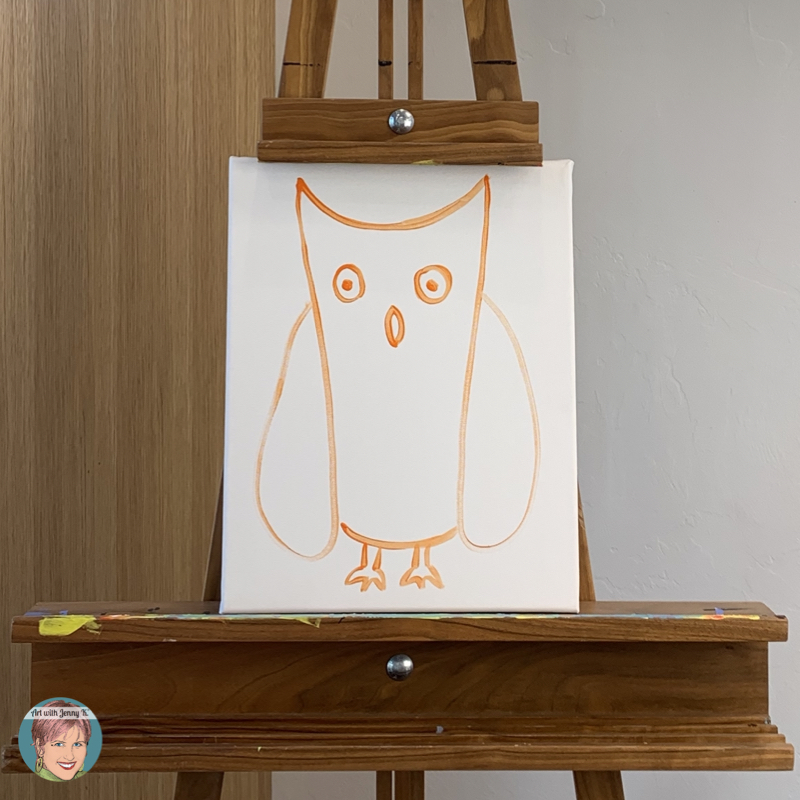
Draw a “U” at the top of the canvas. Stretch the “U” out to look like this…

Step 5
Draw a second “U” at the bottom of the canvas—this time not as wide as the first one. Make sure to leave some room at the bottom for the feet of the owl.
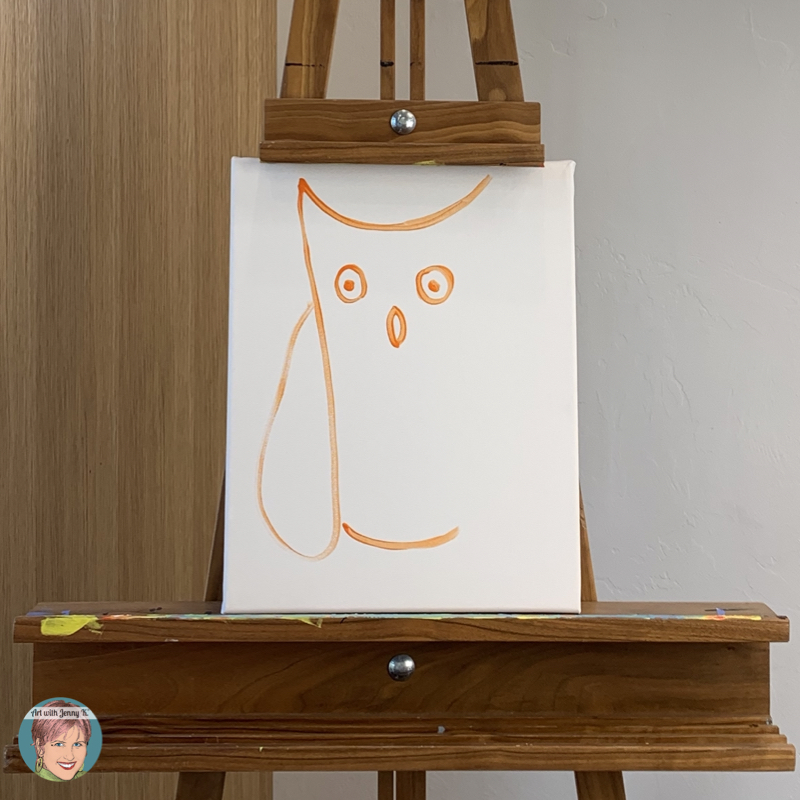
Step 6
This next part is a fun shape—but it is tricky. You will draw the left wing by starting at the top “U” shape and making a line all the way down to the bottom “U” and then bringing it around to create a wing—stopping at the eye. If this part is too tricky, break it down into two steps. The first is drawing a line from the top “U” shape and connecting it to the bottom “U” shape. Then bring the wing shape around to the eye.
Step 7
Repeat the last step to create the right wing. Do the same thing where you start at the top “U” and then make a line down to the bottom “U” and then bring it around to make a wing—stopping at the eye.
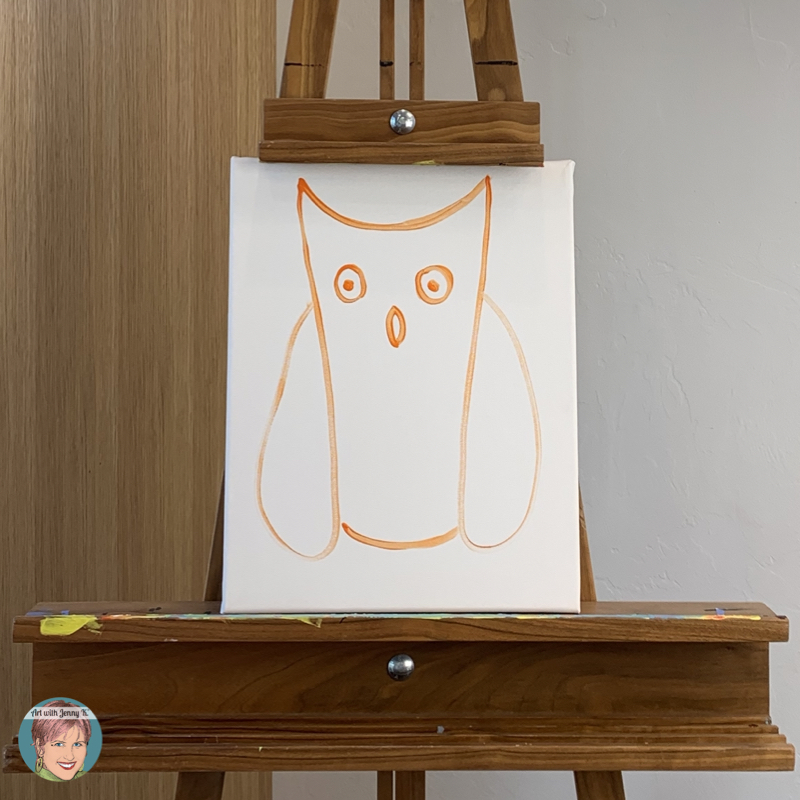
Step 8
Draw two little feet.
Step 9 (optional)
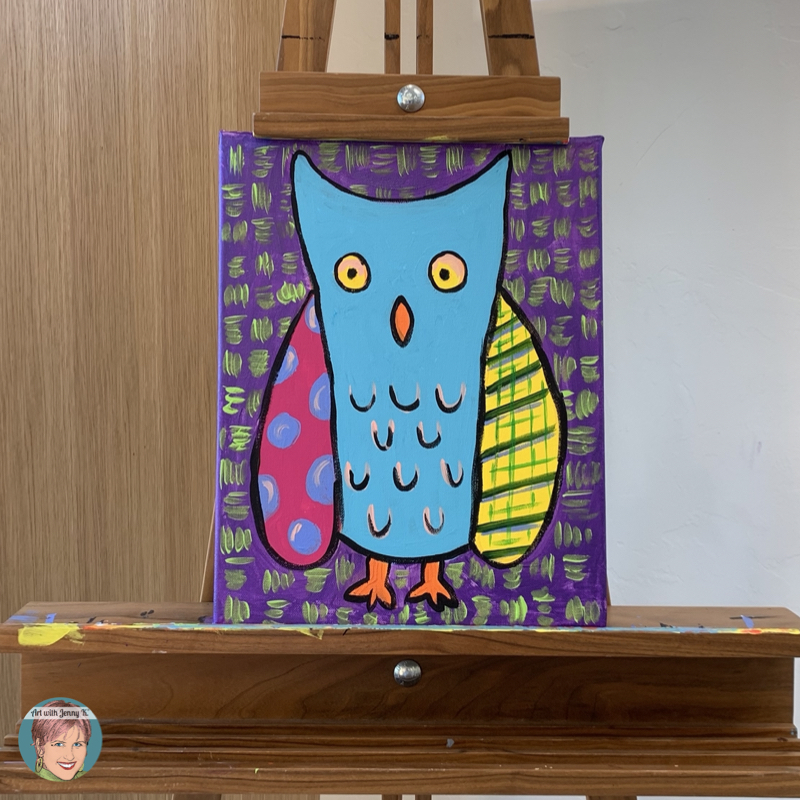
Draw tiny “u” shapes for the feathers on the owl’s belly. If you are painting the owl, you might want to wait to do this step until the very end. These details can be added over the color that you paint the larger shape of the owl’s belly. This is what I did below.
That’s it!
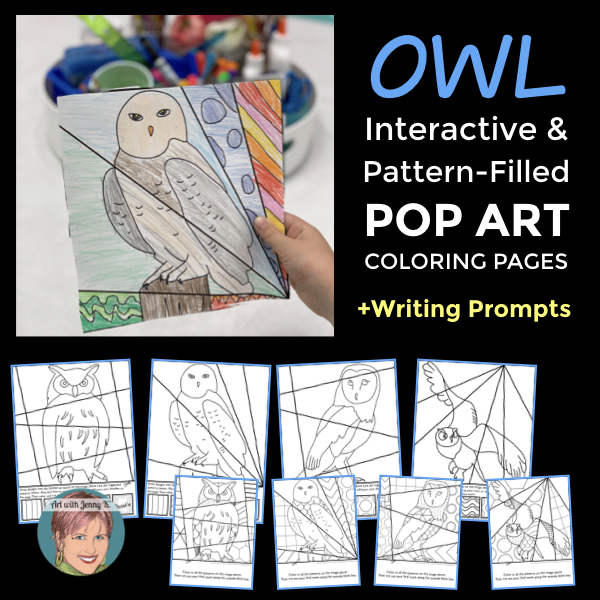
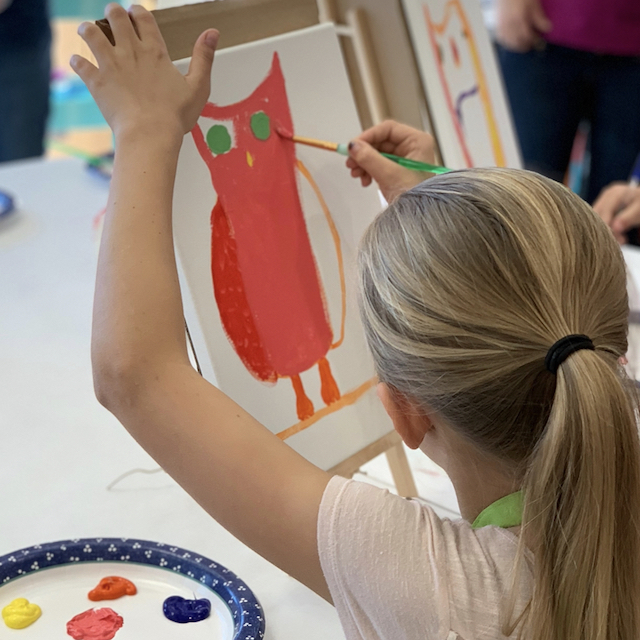
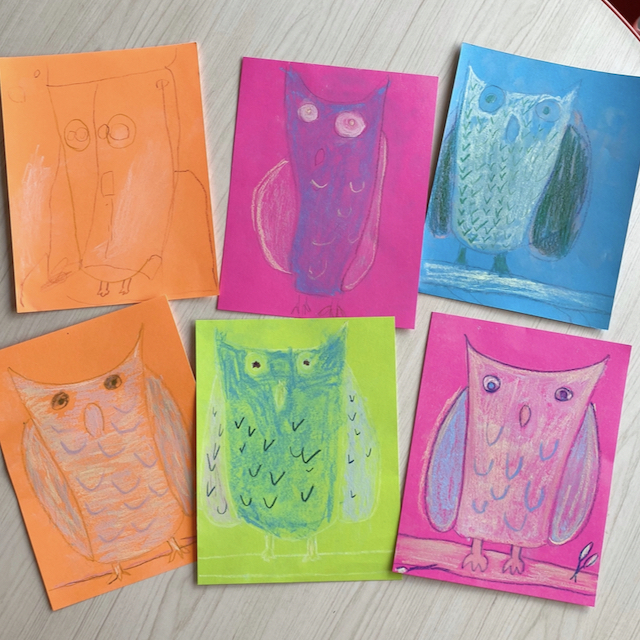
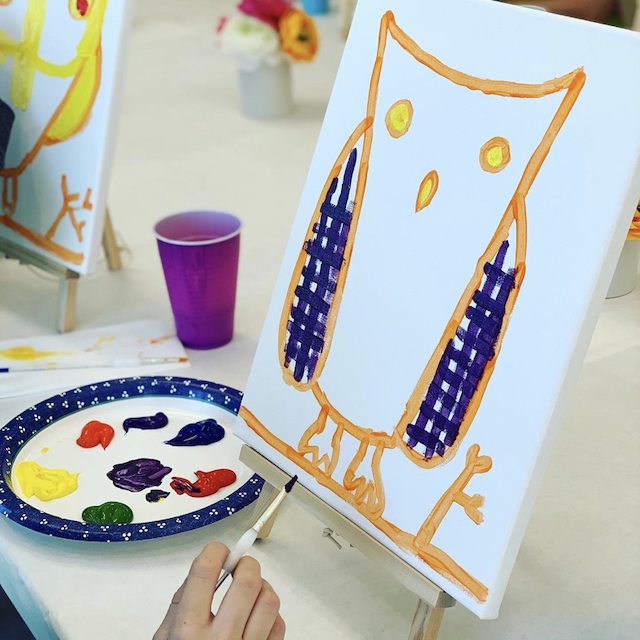
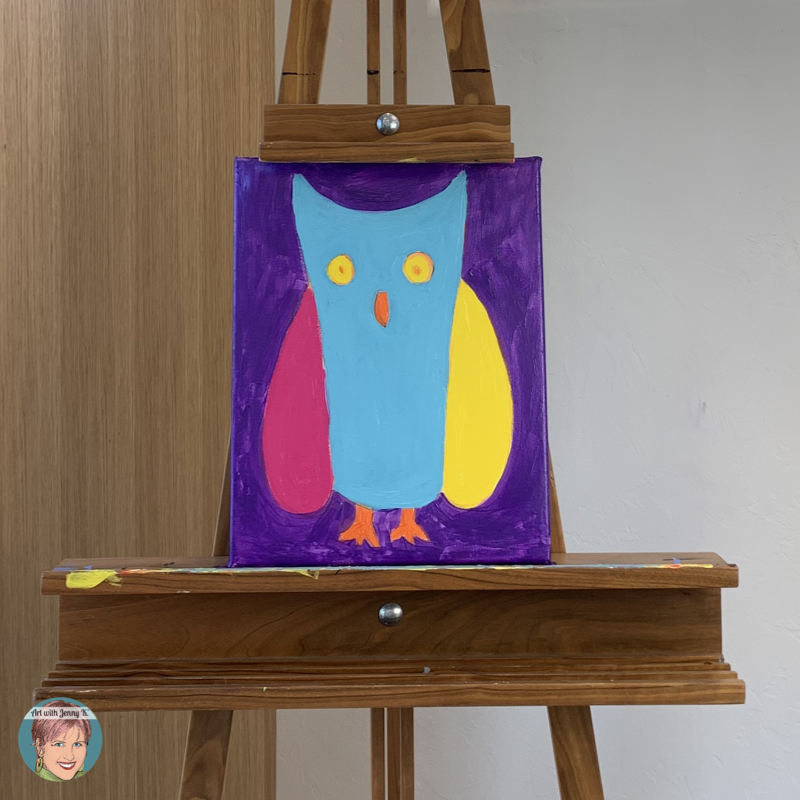
Now that you know how to draw an owl, there are many options for what you can do next with your drawing (or painting). If you drew an owl on paper, you could color it with crayons, markers, colored pencils, or even paint. If you are drawing an owl to create a painting on canvas (or paper), you can either color in the large sections of the owl with simple colors…
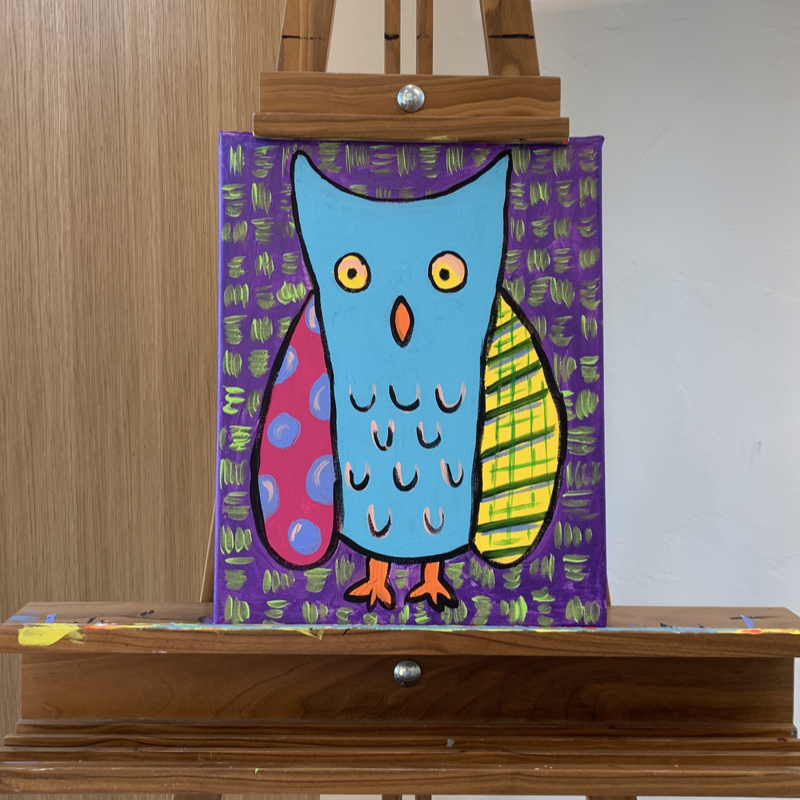
Or you can have some real fun and add patterns and designs into the spaces to make a really unique final owl painting.
Whatever you do with your owl, have fun with it and be creative! If you use my instructions and share your process on social media, be sure to tag me @artwithjennyk or #artwithjennyk so I can see the beautiful artwork your students made! You’ll find me on Instagram, Facebook, Twitter, and Pinterest.
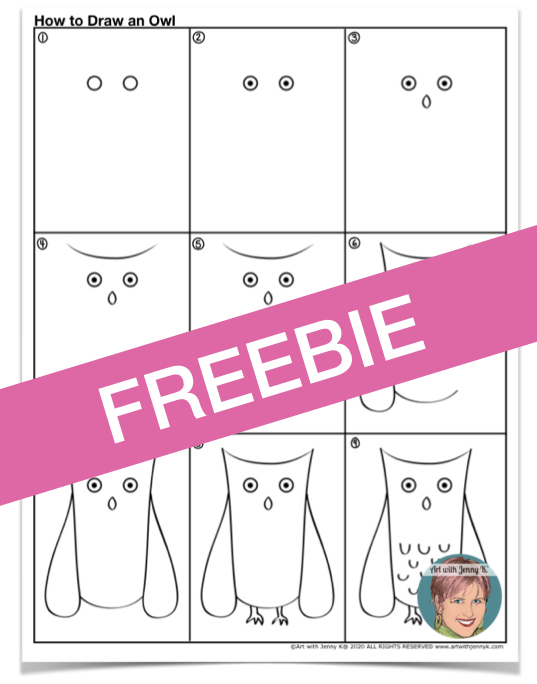
How to Draw an Owl FREEBIE
FREEBIE If you’d like these steps broken down into an easy handout that you can copy and use with your students, join my email list below, and I’ll send you a free how-to page right to your email (if you sign up and don’t see the free page, check your spam folder, sometimes it ends up there).
I love to spoil educators who believe in filling their classrooms with creative projects. Therefore, after you are on my email list, I will be inviting you to enjoy my subscribers-only library of freebies to use with your students or at home with your own children.
Sign up below:
Thanks for Reading,
Jenny K.