Art With Jenny K.

Holiday

Christmas Craft: Pour Painting Ornaments

Pour Painting Ornaments

Description

I love this Christmas craft. The pour painting ornaments come out so crazy cool! It is easy and fun, especially if you have the right supplies and setup. I’ve gifted beautiful pour painting ornaments to my daughter’s teachers, our neighbors, and just about anyone I could think of. I have even given away little personalized pour painting kits for Christmas gifts so family members and friends could make their own pour painting ornaments as well.

I love this Christmas craft. The pour painting ornaments come out so crazy cool! My daughter can’t believe we made these ourselves! I am sure neither will all the lucky people who receive them from us this year. I plan to attach these final pour painting ornaments to the front of our Christmas gifts this year.

It is easy and fun, especially if you have the right supplies and setup. Just like anything really “crafty” like this, the first time you do it, you’ll have to get the supplies, but after you have them (and know how to do this project), you’ll be looking for opportunities to pour paint on everything (trust me, I know!). So, let’s talk about the right supplies a bit.  

 Please note that any links that take you to Amazon are affiliate links (see disclosure here).

Make your own Pour Paint

Special paints for pour painting projects are pretty new to the market. I’ve been making my own for a while—a process that involves combining regular acrylic paint and a “flow” (a chemical that makes the acrylic paint pourable). Making your own is okay for small projects, but when I have a class full of kids, mixing up all the paint and the flow becomes tedious—and uses A LOT of paint. When I saw some pourable acrylic paint in the craft store the other day, I immediately got some and brought it home to try. It worked great! I would recommend using the premixed pour paint—but if you want to make your own, go for it!

To mix your paints yourself, you need some acrylic paints and a flow agent. I have used these paints and this flow agent. It is pretty easy! You can always keep a bottle of the flow around to mix with your regular acrylic paint whenever the inspiration arises to do some pour painting! Follow the directions of the package to mix the right amount of paint and flow.

Pre-Mixed Pour Paints

But for THIS pour painting ornaments project, I used premixed pour paints. There are a lot of pour paint sets on Amazon to choose from, and this is a set that I think is a good one. But you can make your own choice (make sure it says that the paints are premixed for pouring)—these also make great Christmas gifts for artsy-craftsy folks as there are many things you can do with pour paint.

I used clear plastic ornaments for my ornaments that I found at a crafts store (like Michael’s). They come in round (ball) shapes and disc shapes (basically, a flattened ball). I have used both, and both work equally well.

Christmas Craft: Pour Painting Ornaments

Supplies:

Step 1: Make the Pour Painting Ornament Stand

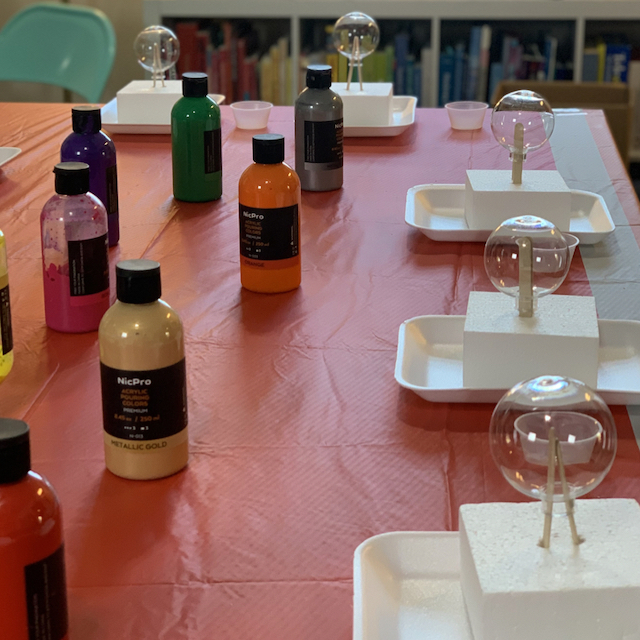
I used Styrofoam blocks and popsicle sticks as a base and a support for holding the ornaments up off the styrofoam. This is important because you want the paint to flow freely over the ornament surface and not pool where the ornament may touch the base.

I just stuck the popsicle sticks into the Styrofoam block. I found that two popsicle sticks per stand worked better than a single stick. Since I was going to make a bunch of these pour painting ornaments at one time, I prepped a bunch of stands (which was pretty easy since I had a lot of Styrofoam packing material I had been saving). If you don’t have easy access to styrofoam block and/or popsicle sticks, I am sure you can come up with other ways to suspend the ornaments off the ground!

Take the little metal top off the ornaments and then fit them upside down over the popsicle sticks. I put this stand in a tin foil pan to contain the mess because the poured paint will run off the ornament and down onto whatever is beneath. You could cover your surface in paper or cardboard, as well.

Christmas Craft: Pour Painting Ornaments

Step 2: Portion Out the Pour Paint

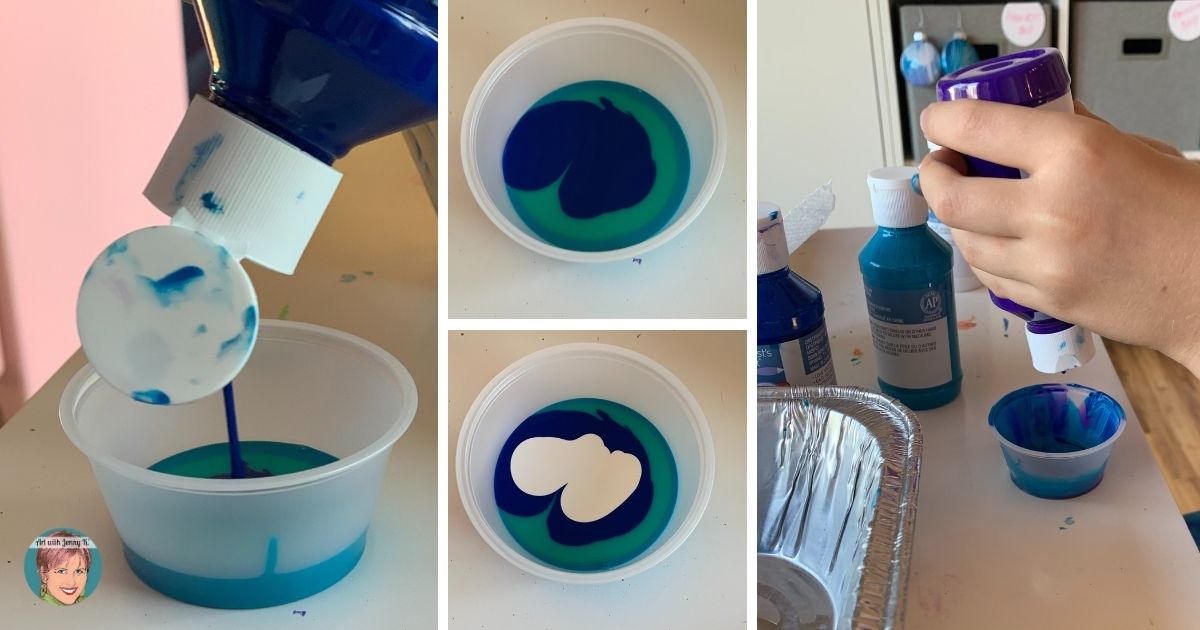
I poured out small portions of the paint into small disposable plastic cups. This way, I could control how much paint was used (especially if you have kids making the ornaments—they tend to dump WAY too much paint out of a bottle). You can combine different colors in a single cup—when you pour it out, it makes a cool effect. Just don’t mix the colors up in the cup. Instead, pour them into layers. This way, they’ll come out in layers!

I have found that mixing white is helpful, so I like to get large bottles of white pour paint.

Christmas Craft: Pour Painting Ornaments

Step 3: Pour Paint Over Ornament

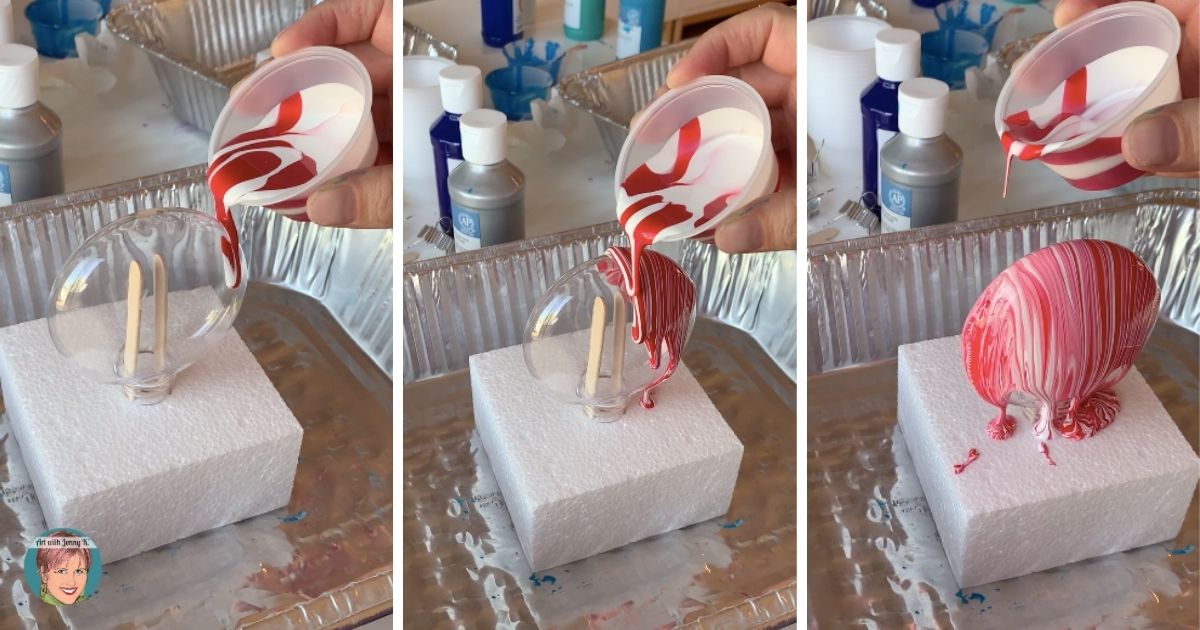
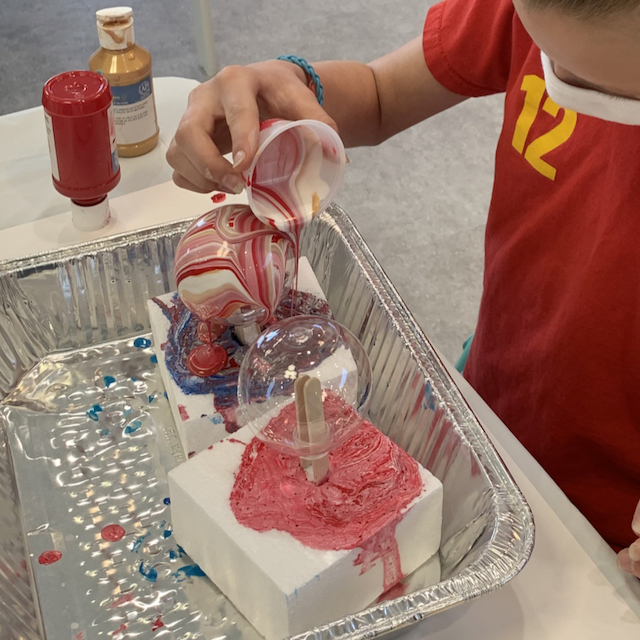
Carefully and SLOWLY, pour the paint from the little cups over the ornament. Pouring is the fun part! Use various colors to get the best effect if you pour too fast—the colors run together and get too mixed up.

Christmas Craft: Pour Painting Ornaments

Use your imagination and have fun! Vary how much paint you pour out and how you move the cup you are pouring from over the ornament. You can make thin stripes, thick stripes, swirls, etc. (See the video below for the technique I used).

Christmas Craft: Pour Painting Ornaments

TIP: If you are having trouble getting the ornament covered, you can pre-cover the bottom portion BEFORE you pour your colors over the ornament. I did this with the disc shapes because there were often gaps showing. Take some white pour paint and coat the bottom half. You don’t have to wait for it to dry. You can get started right away.

Christmas Craft: Pour Painting Ornaments

Step 4: Set Aside to Dry

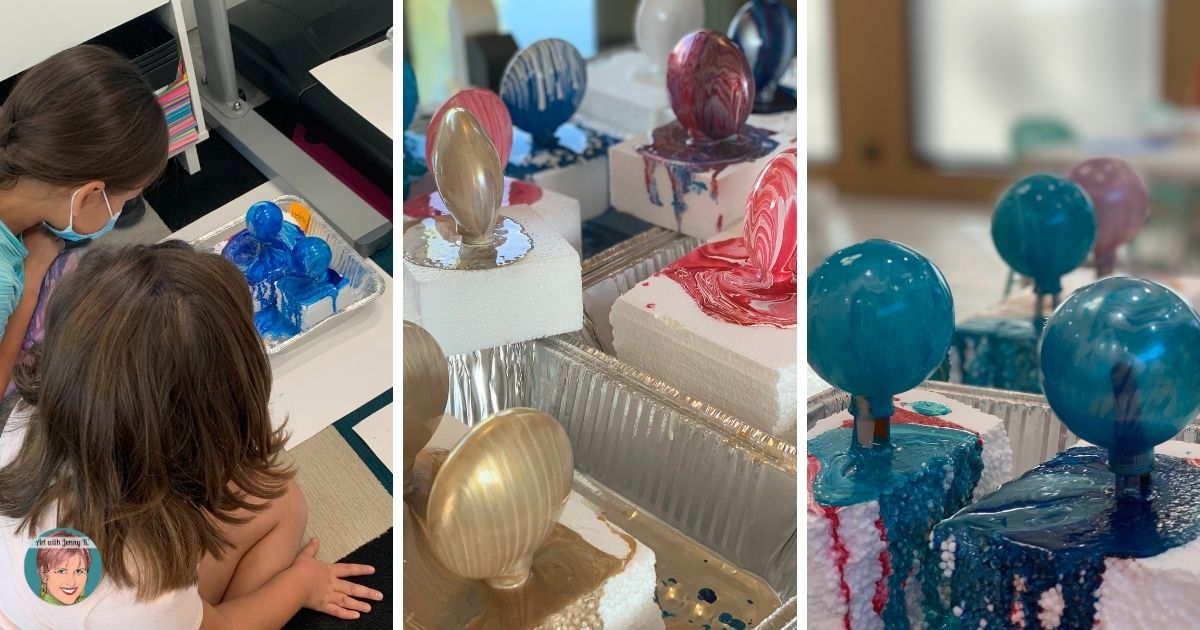
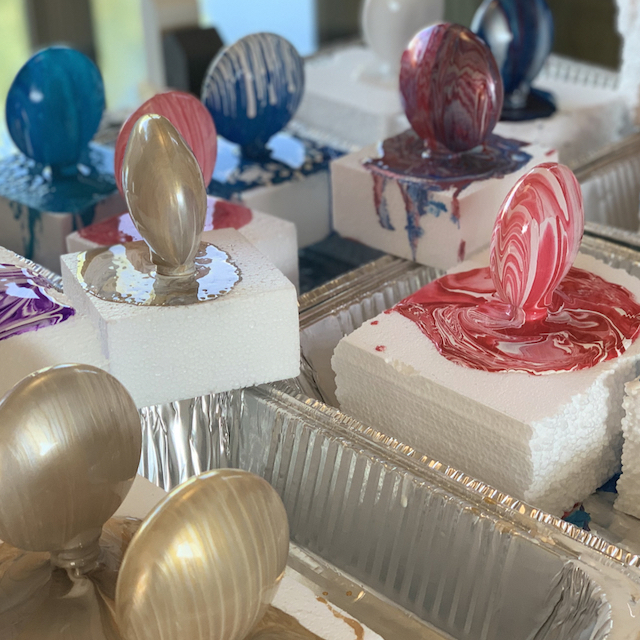
When you are happy with what you have, carefully move your ornament aside and start another one! Be careful not to touch the paint until it is completely dry—this can take several hours to a day…be patient!

When the ornaments are completely dry, you can lift them off their stand and put the small metal cap back on the top. They are now ready!

Christmas Craft: Pour Painting Ornaments

Step 5: Display!

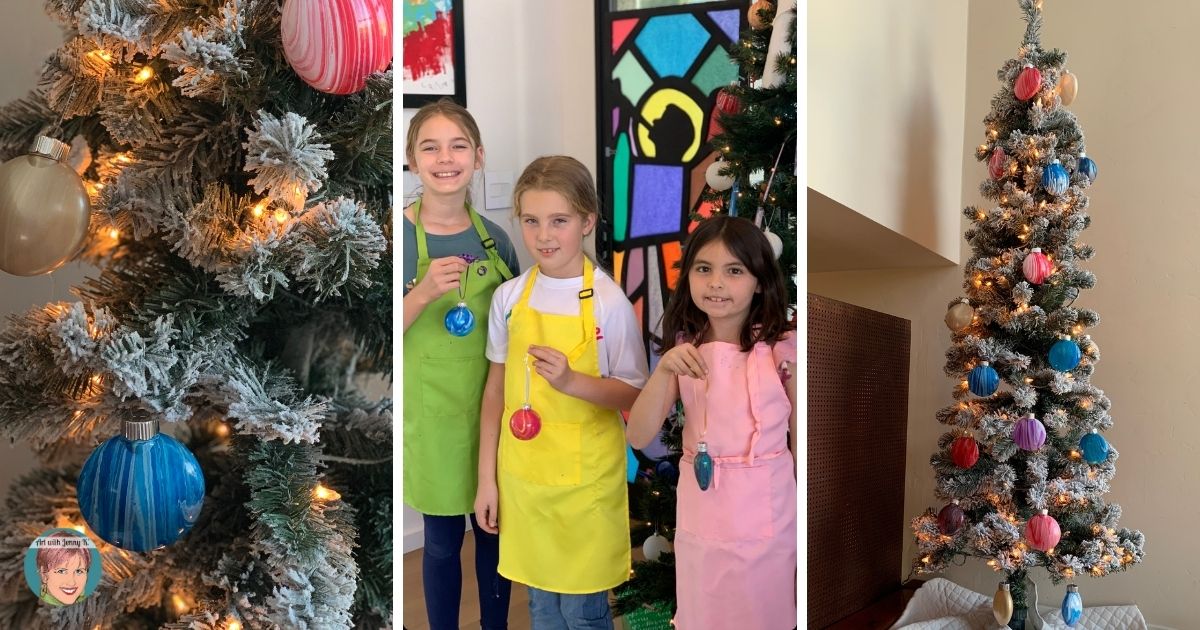
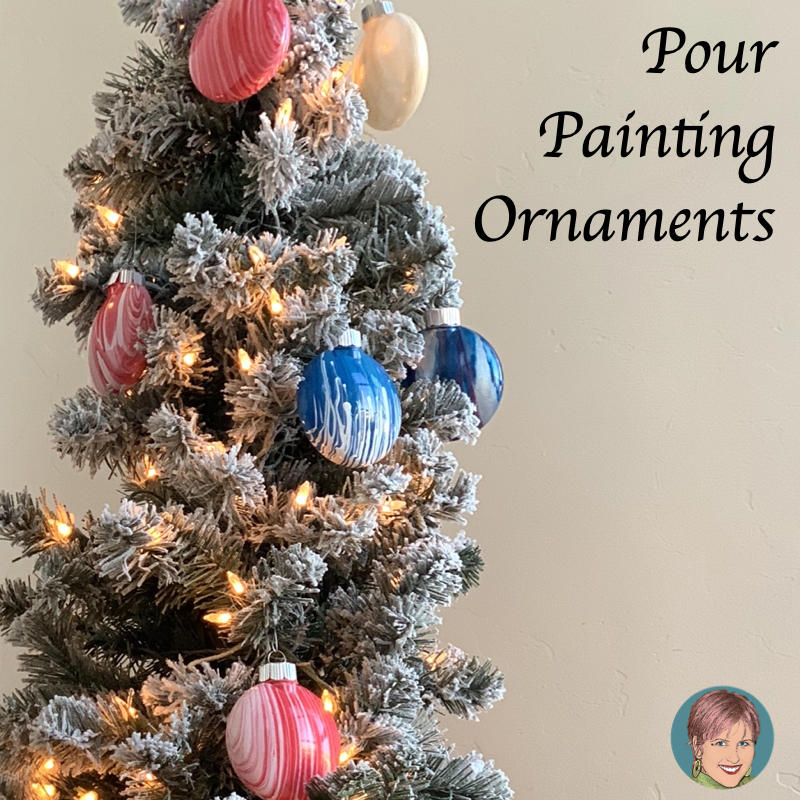
Hang your final pour painting ornaments on your Christmas tree, or give them out to friends and family. They make great teacher gifts as well!

Christmas Craft: Pour Painting Ornaments

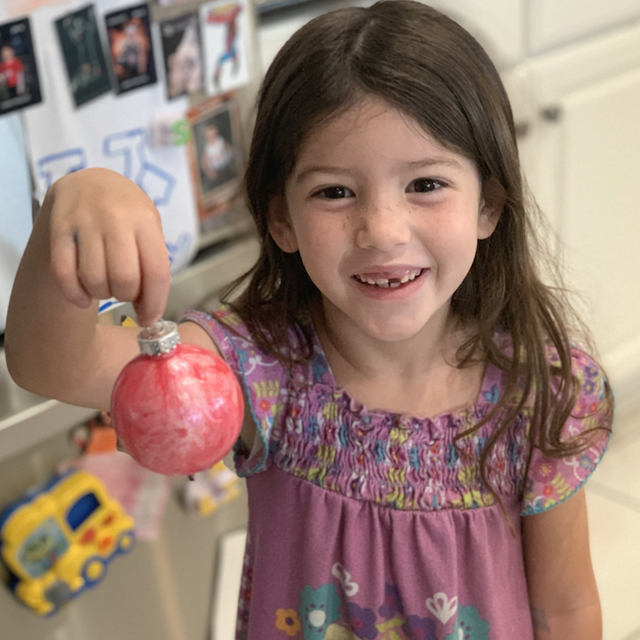
I hope you have as much fun making them as my daughter and I did making ours. Now we can’t wait to hand them out for Christmas!

(update 2022) Speaking of my daughter. She wanted to make a “How-To” video of my pour painting ornaments. You can see it HERE.

Christmas Craft: Pour Painting Ornaments

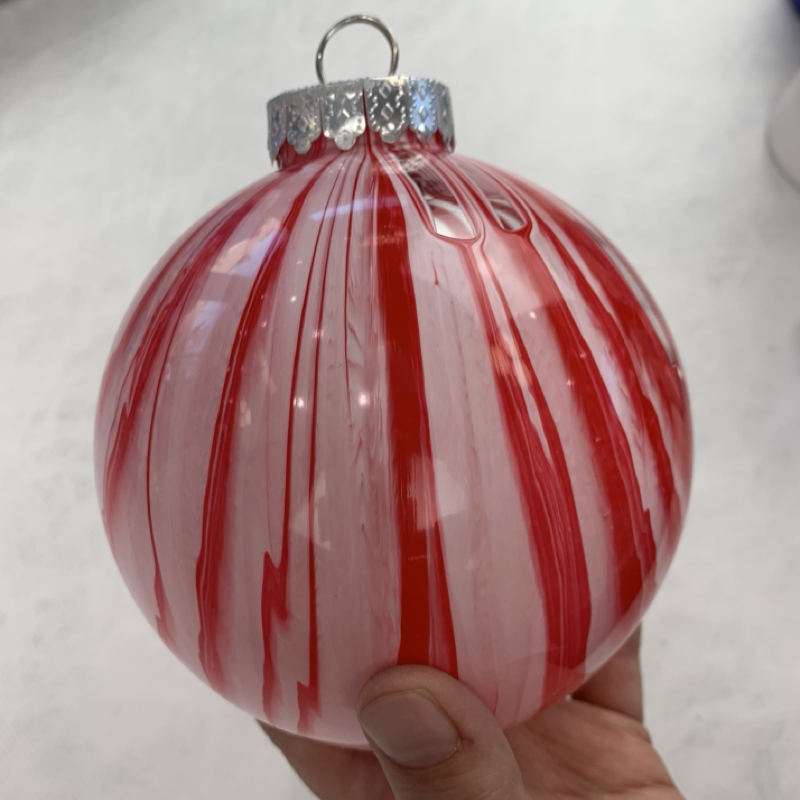
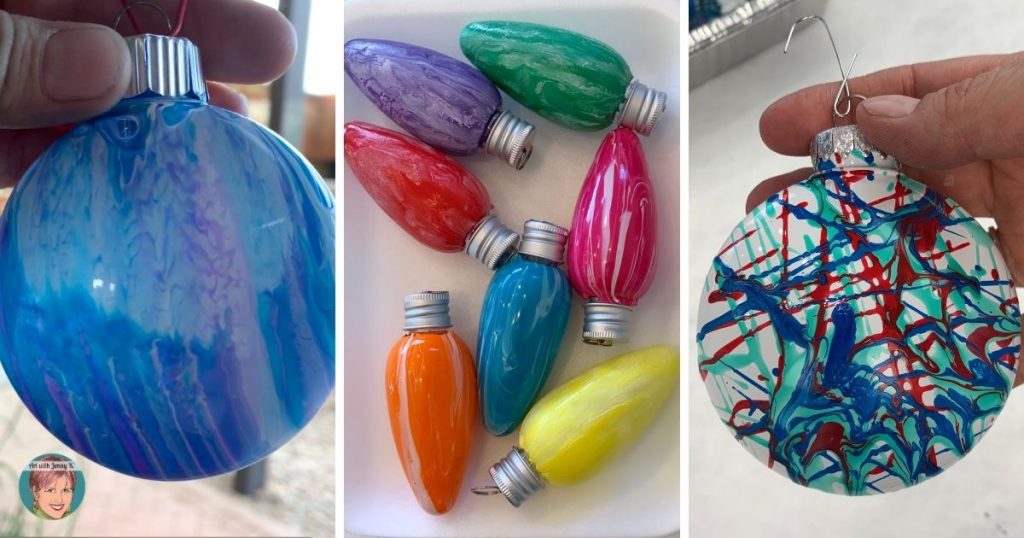
When I share my pour painting project with teachers on social media, they often ask me a few questions. The most popular one is, “What do the final ornaments look like when they are dry?”

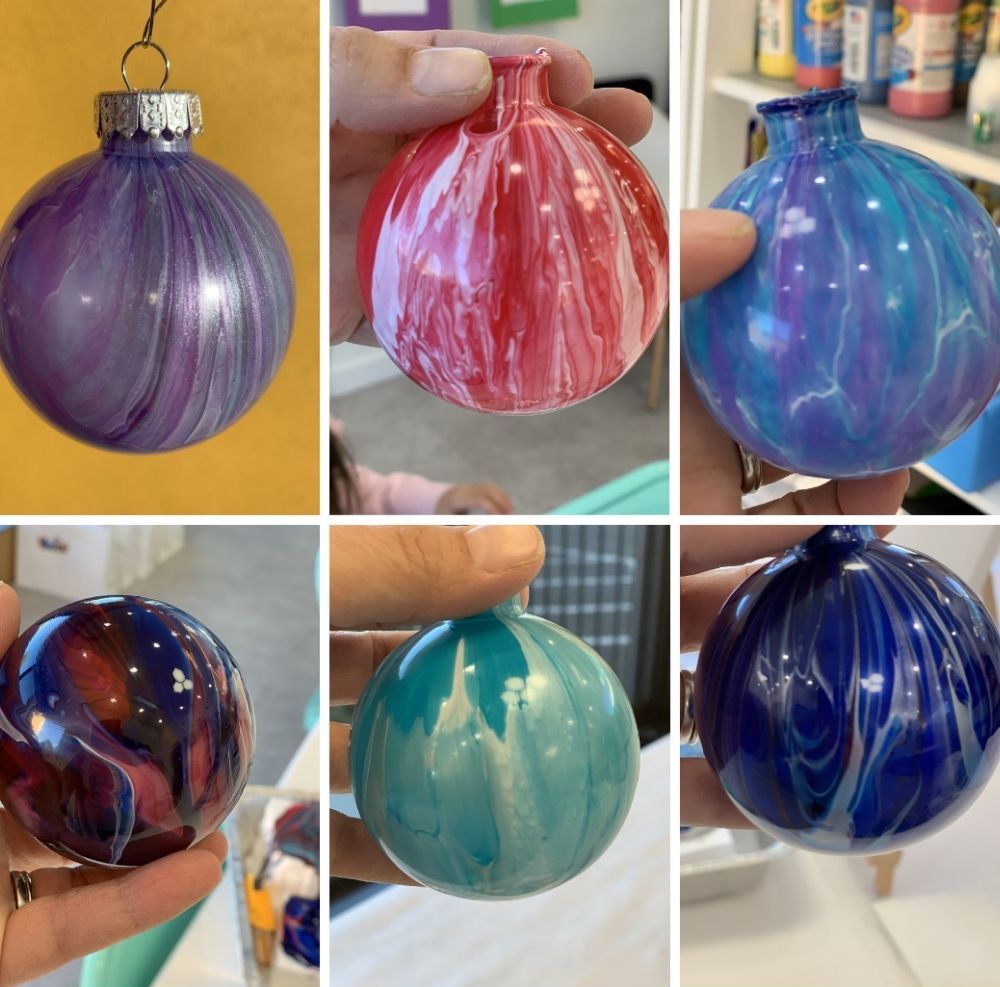
I wanted to add to this blog post more ornament examples from over the years and from different times that I have done this project. Since I first started doing this years ago, I have created pour painting ornaments with my nieces and nephews, my students (countless times), and adults.

I’ve gifted beautiful pour painting ornaments (finished) to my daughter’s teachers, our neighbors, and just about anyone I could think of (yes, of course, our mail lady and other delivery drivers have all gotten an Art with Jenny K. pour painting ornament 🤪). I have even given away little personalized pour painting kits for Christmas gifts so family members and friends could make their own pour painting ornaments as well.

Yes, when I, Jenny K., get into something, I go all in and try things as many different ways as I can. I imagine when Christmas comes around, all of my family members think, “Oh boy, what was Jenny up to this year? We are all sure to get a Christmas gift featuring her newest exploration!” I’m sure there is an eye roll or two in there—but I’m okay with all of that!

Here are some of the examples I promised.

Christmas Craft: Pour Painting Ornaments

Be Adventurous! Each year, when I do this pour painting ornament project with my students, we like to get creative with the shapes and colors of ornaments and with trying new techniques. I especially love the year I found ornaments in “light” shapes. They turned out amazing!

Christmas Craft: Pour Painting Ornaments

Be Creative! As always, I hope to inspire creativity. So please, feel free to use my tips, tricks, and experiences to get you started. But don’t be afraid to try different things. Different set ups have different results. For example, these more “Jackson Pollock” ornaments my daughter made. We still used pour paints, and we still “poured” the paint onto the ornament, but with more of a “flicking” motion to get this result. Also, for this design, we first painted the entire ornament white (let it dry) and then painted on the colors. The white is on the outside (not the inside).

Christmas Craft: Pour Painting Ornaments

Be Brave! I don’t think I’ll ever stop being amazed by the final results of this project. Below are a few examples of ornaments a teacher made (using my instructions) as gifts for the holiday season. I like these so much because they show how brave you can be with colors on your ornaments. Try mixing colors you wouldn’t ordinarily pair together and see what happens. You might be surprised by the stunning results, just like I always am!

Christmas Craft: Pour Painting Ornaments

Be sure to check back year after year to see more examples. Also, be sure to follow me on Instagram, particularly my highlights about Pour Painting because I have also done pour painting on other surfaces).

Maybe not just yet?? If you love looking at my pour painting ornaments but don’t have the time or resources this year to make them happen. That’s okay. Simply pin this blog post for another time when you can round up what you need to make them happen.

But don’t go anywhere just yet.

While my pour painting ornaments are full-on craft heaven (for some), they might seem like more of a nightmare for others.

Don’t worry—my child-centered activities are designed to allow children to be creative (and festive). They won’t break the bank when it comes to buying art supplies. And they aren’t super messy, so they can be done with a larger group of students or in your own home.

You may like my paper ornaments, table posters, and other holiday craft projects—all designed to be fun for kids and easy for teachers and parents.

Christmas Craft: Pour Painting Ornaments

If you are interested in fun, fresh, contemporary, art-filled Christmas ideas to use in your classroom or at home, I have a great round-up post highlighting several of my most popular (and favorite) activities. You can find that post HERE. Also, I have a lot of Christmas activities for classroom teachers in my Teachers Pay Teachers store—you can check out all I have to offer HERE.

Thanks for making art with your kids,

Jenny K.

Pin It!

Share & Save!

Out of the box ideas to your inbox!

Sign up today to receive Art with Jenny K’s eBook, The Benefits of Directed Drawing for Kids, and gain access to the AWJK Subscriber Library of freebies!

Continued Reading

Integrate art into your classroom!

Sign up for my newsletter and get out of the box ideas to your inbox!

Fill out and submit this form for a chance to be featured on ArtWithJennyK.com!

Grade
Grade
Category
Category