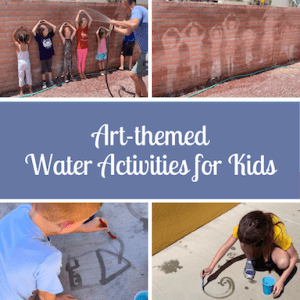
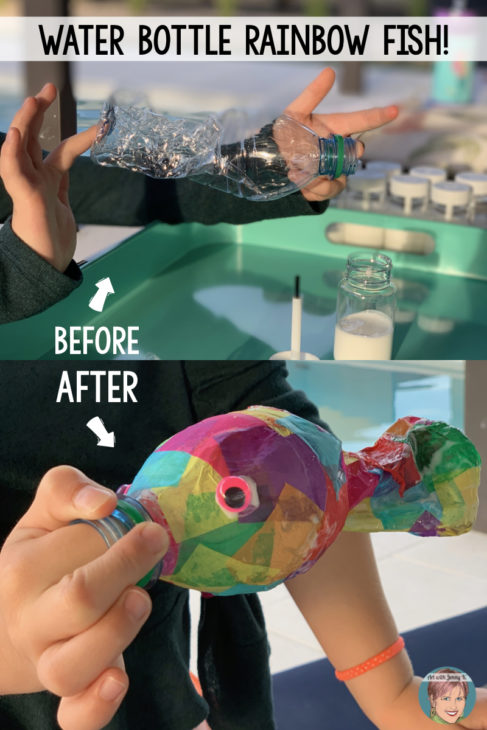
Years ago, I was planning an “under the sea” unit for the entire first grade at an elementary school where I was teaching art. For that unit, we created a recycled water bottle rainbow fish. This year, my daughter (kindergartener) was also studying “under the sea” for her school unit. I volunteered to come to her class and make a water bottle rainbow fish with her class. Since Earth Day is right around the corner, this was the perfect project—after all, we talk a lot about recycling—to do with her class.
Not only is this an inexpensive and easy project to do with children, but it’s easy to connect it to books and Earth Day. Of course, you can use it anytime throughout the year. It’s possible that you already have everything you need for this project. But if not, here is a list of the supplies you’ll need.
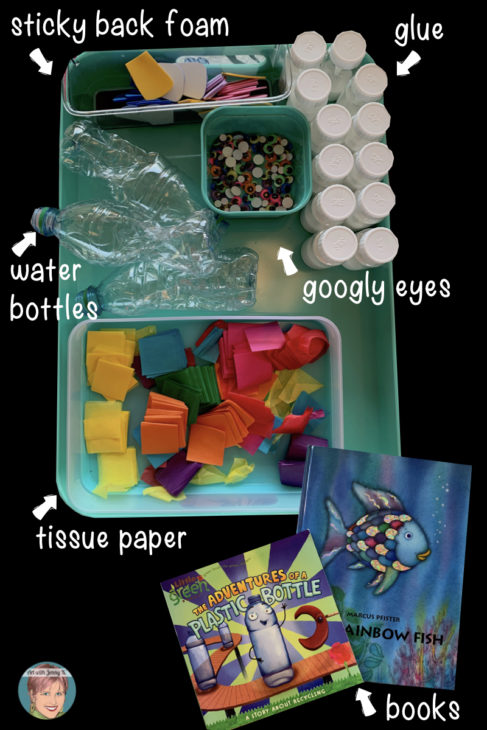
Water Bottle Rainbow Fish Supplies:
-
-
- glue and paintbrushes (or bottles with brushes and glue)
- googly eyes
- sticky-back foam
- water bottles
- tissue paper
- the book, Rainbow Fish
- the book, The Adventures of a Plastic Bottle
-
Whenever I can, I like to connect storybooks to art projects. It’s always a good excuse to read to children, and by making connections to stories we read—even small ones—the projects become more meaningful to children. For this project, I actually read two books to the kids. I only had one hour to do this project from start to finish.
I read the book Rainbow Fish to the kids as they were working and after I had given instructions (and they had all settled into the process of adding the tissue paper to their bottles). Usually, I like to start a lesson by reading a book to the class, but hey, we all need to do what works best for the situation at hand! I read the second book at the end of the project.
Water Bottle Rainbow Fish Steps
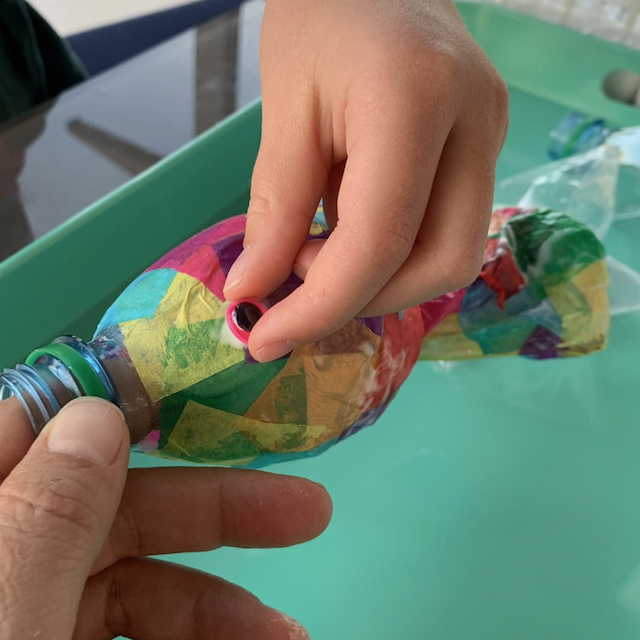
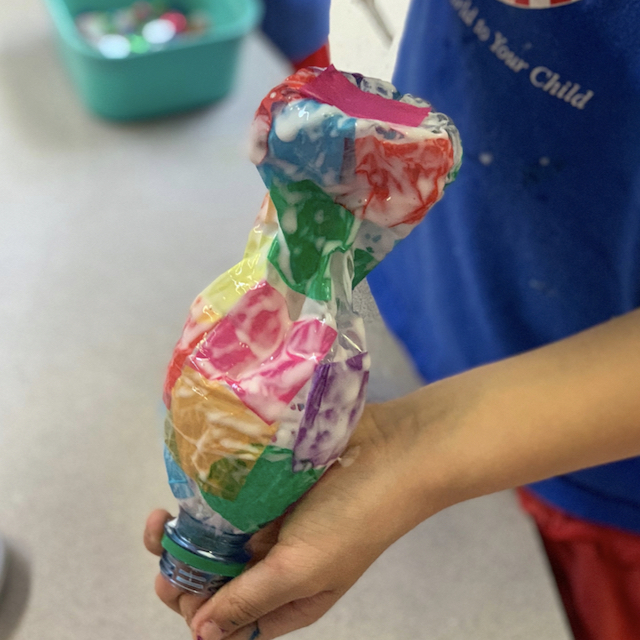
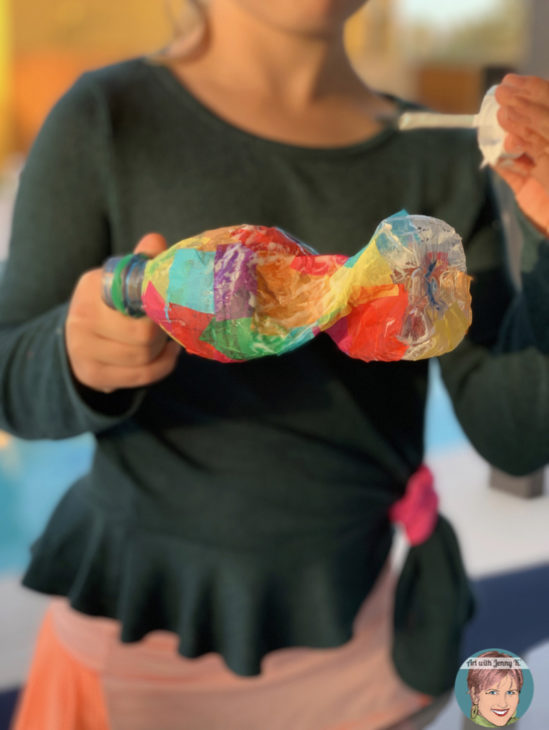
To get started, take a water bottle and remove the label. Then pinch the bottle towards the bottom and twist it, so you have a fish shape. The water bottle opening is the “mouth” of the fish, and the twisted portion is the back of the fish.
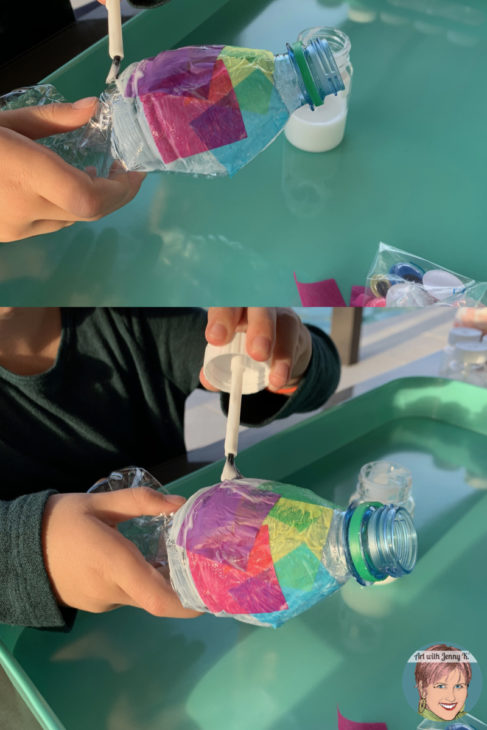
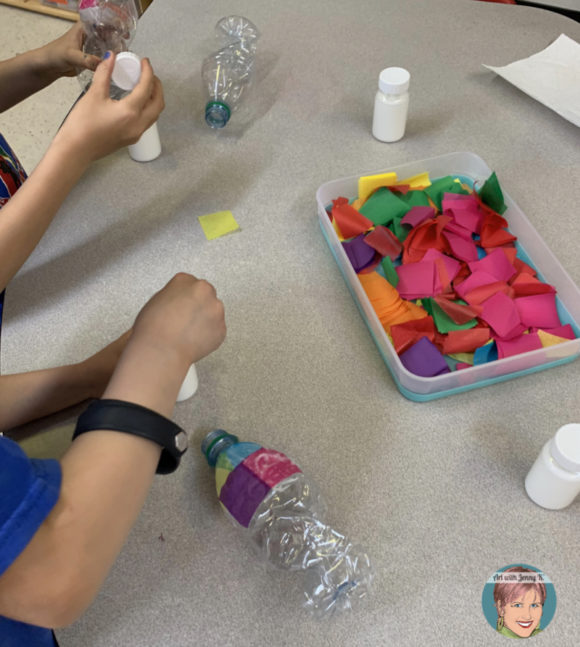
Then, take small pieces of tissue paper and glue them to the bottle. You can either get pre-cut pieces or have your students cut or tear small pieces from larger pieces of tissue paper. It’s best to “paint” the glue onto the bottle one small section at a time.
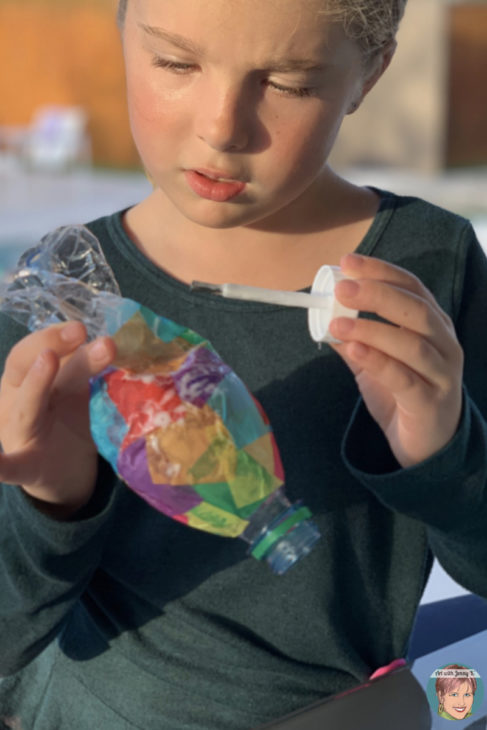
Then, add the tissue paper to the section where you have put glue on the bottle. You don’t want to cover the entire bottle in glue all at once—just a little section at a time.
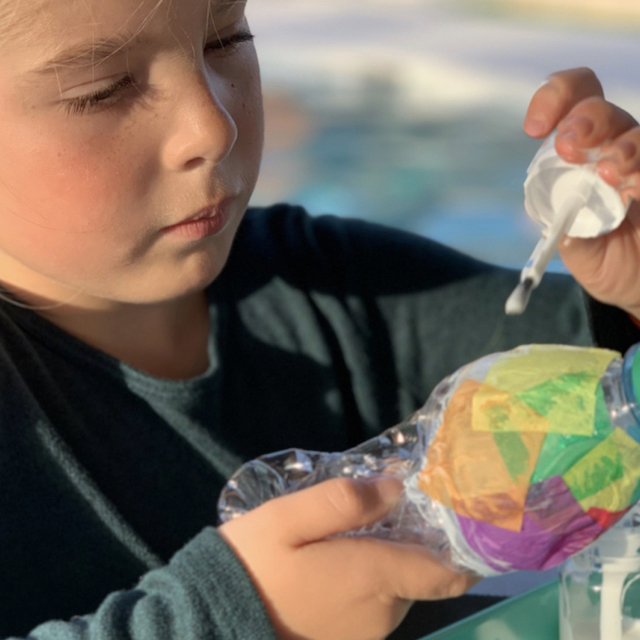
It’s also important that after you have glued the small pieces of tissue paper down, you spread glue on top of them as well. This will help keep the tissue paper pieces on the bottle and not sticking up all over. Start at the mouth and work toward the tail—painting with glue, sticking tissue paper on the bottle, and then adding a layer of glue on top of the tissue paper.
The “mouth” creates a really nice place to hold as you get towards the end of the fish, and it’s a sticky mess and hard to hold onto.
Tissue paper is fragile, so it’s easy to mold it into the small creased areas of the bottle and cover the entire “fish” with it.
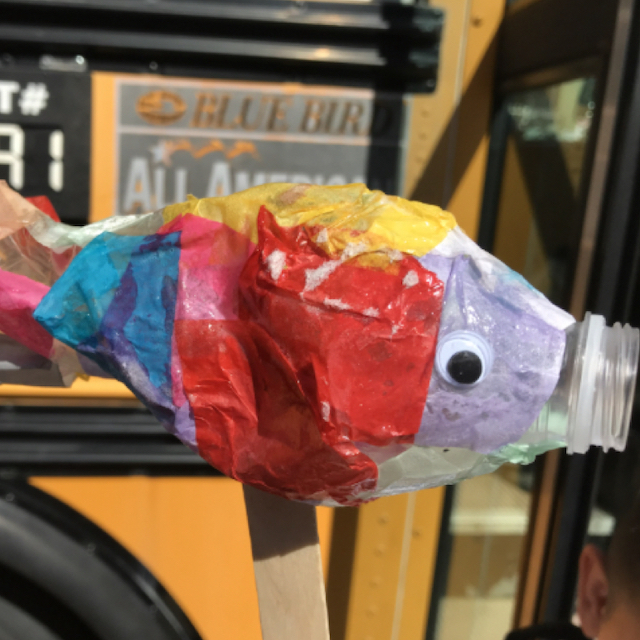
Since I read kids the book Rainbow Fish, I gave them rainbow colors of tissue paper to use. However, you could easily adapt this to use any particular color scheme—like all cool colors (blue, green, and purple), for example.
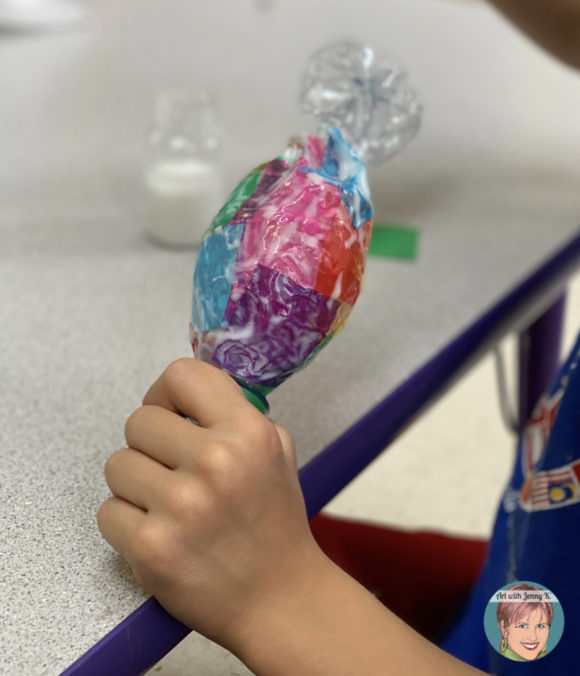
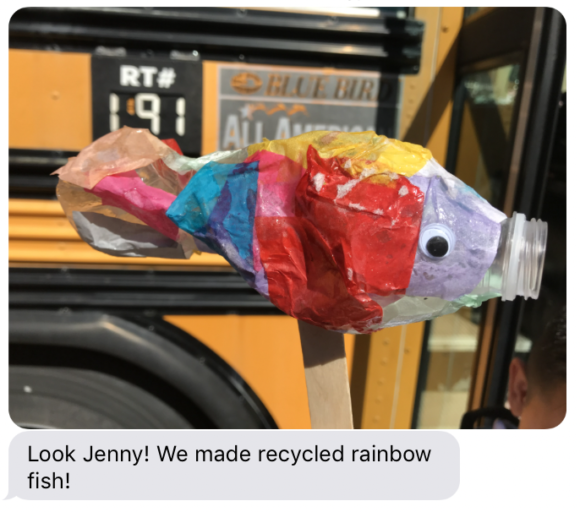
When the bottle is covered with tissue paper, you can add googly eyes and some fins. In fact, you can add as many details as you want. Use sticky foam for fins if you’d like, and add glitter if you feel courageous! When our fish were complete, I carefully set them out on a counter, standing them on the “mouth” portion of the bottle so they could dry (pictured below).
When everyone was finished, I read the students the second book I had brought—The Adventures of a Plastic Bottle. This book was great because it talks about the “life” of the water bottle, starting with crude oil under the ocean floor and how the bottle became a plastic bottle, was used as a vase, and then recycled into… well, I’ll let you find out at the end of the book what the bottle becomes after it is recycled.
Thanks for reading and being creative with your students!
Jenny K.
Make sure you tag me on social media if you share examples of how you’ve used my ideas or projects with your students. Tag me (@artwithjennyk) on IG, FB, or Twitter, and you can also use the hashtag #artwithjennyk. I love to see what you make. Like this teacher that shared how she made my fish with her students…