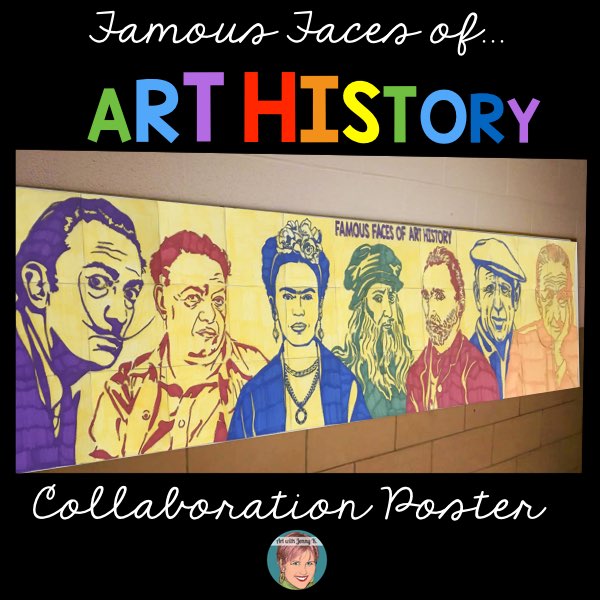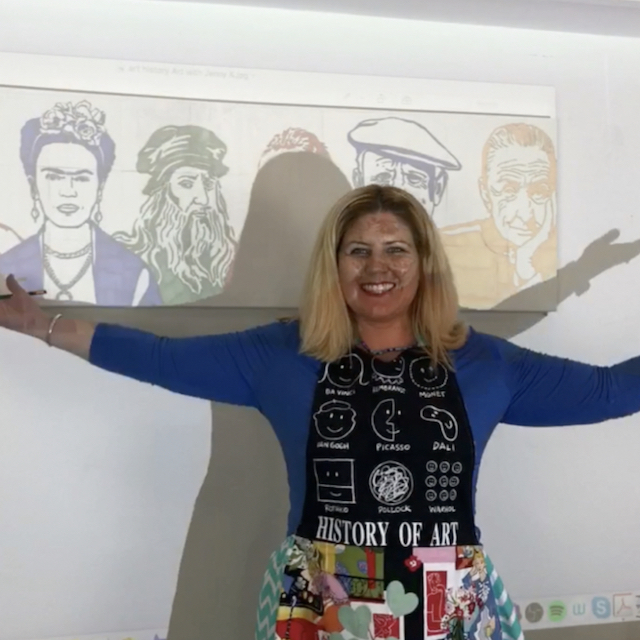
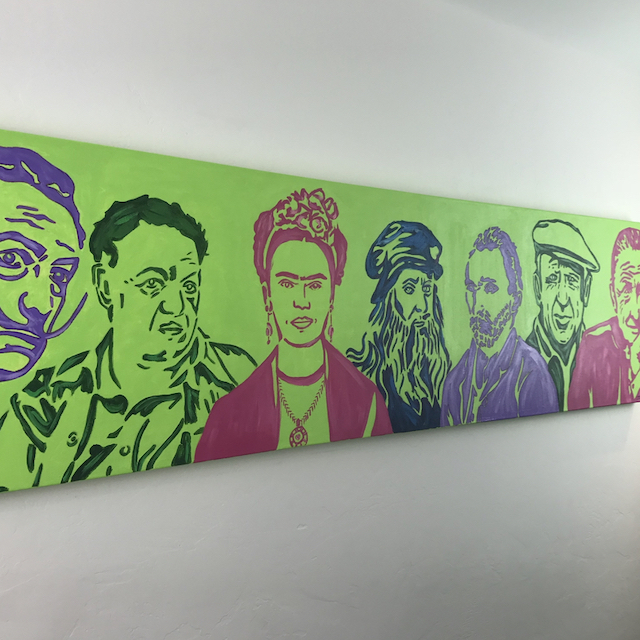
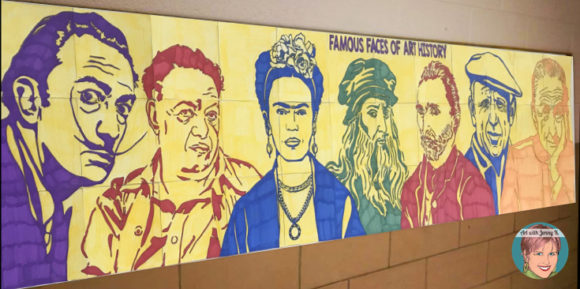
I was walking down my hallway one day, and I saw my Famous Faces of Art History collaboration poster hanging up – it looked good with markers on paper, but I was starting to think of how fabulous it would look with acrylic paint on canvas.
So I set out to make it happen.
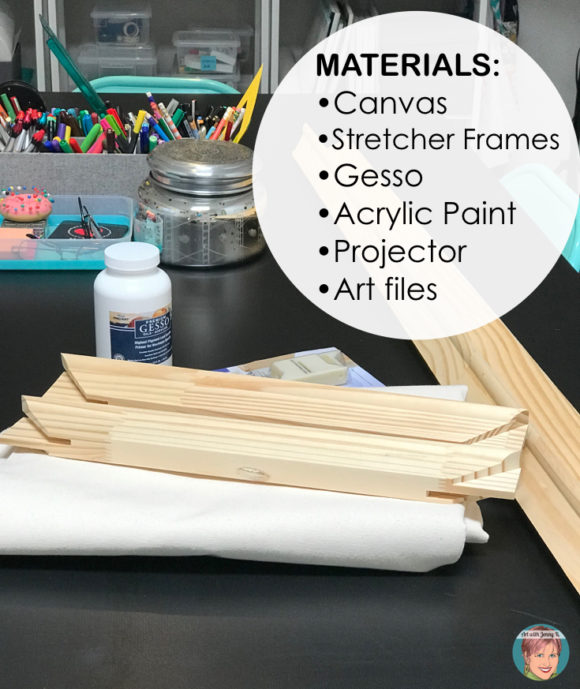
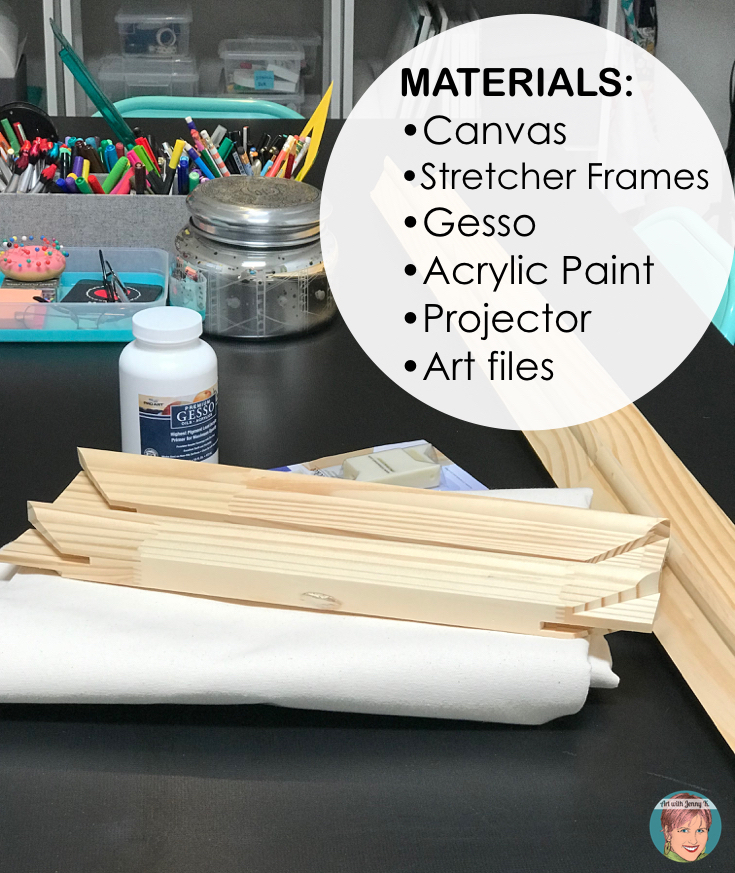
Art History Painting: Materials
-
-
- Canvas
- Stretcher frames
- Gesso
- Acrylic paint (colors of your choice)
- Projector
- Art Files (image of your choice)
-
If you are going to stretch your own canvas, you will need to purchase canvas and stretcher frames. You will also need a staple gun to attach your canvas to the stretchers. Any art store that sells these supplies will help you know how much canvas you need for your stretchers. If you don’t know how to stretch canvas, you can google how to do it. You can skip this part and purchase a canvas already stretched (and gessoed). I wanted to stretch my own canvas because I wanted a large painting measuring 18 inches x 70 inches.

Art History Painting: Steps
1. Stretch Canvas: Wrap your stretcher frames with the canvas – stapling on the back. Start by stapling the canvas down in one spot, then work directly across from that spot pulling the canvas tight and then stapling. Work your way around the canvas in this way – from one side to the other – pulling the canvas tight as you go. You might want to have someone help you with this step if your canvas is large. Also, you will need a crossbar on your canvas if it is large like mine.
2. Gesso Canvas: Once your canvas is stretched, you have to prepare it with gesso – this is thick white acrylic paint. If you purchased a pre-stretched and pre-gessoed canvas, you could skip this step too – it makes those pre-stretched, pre-gessoed canvases look pretty enticing, doesn’t it?!?
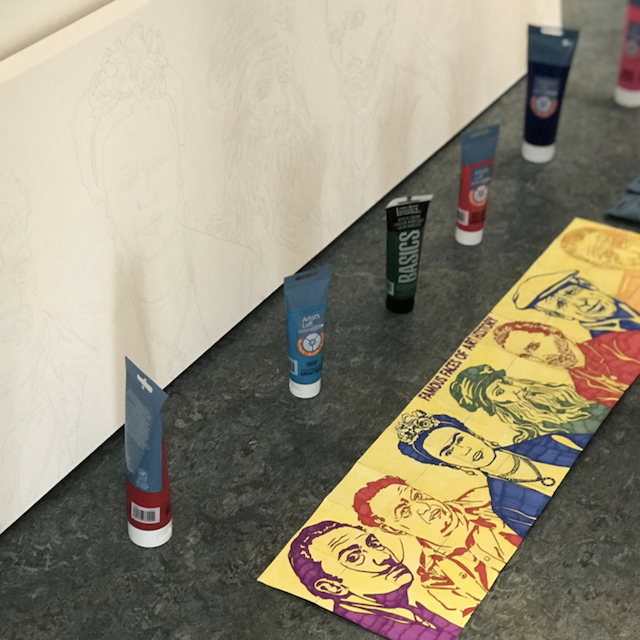
3. Project & Draw Image: I use a projector to project the image I will paint onto the canvas. Set up your projector to get the image you are working with to fit the entire canvas. I used the image from my Famous Faces of Art History collaboration poster. Trace all the shapes with a pencil directly onto your canvas.
4. Paint Image: Before you start painting, you’ll want to plan your colors. What colors will you use, and how will they look near one another??
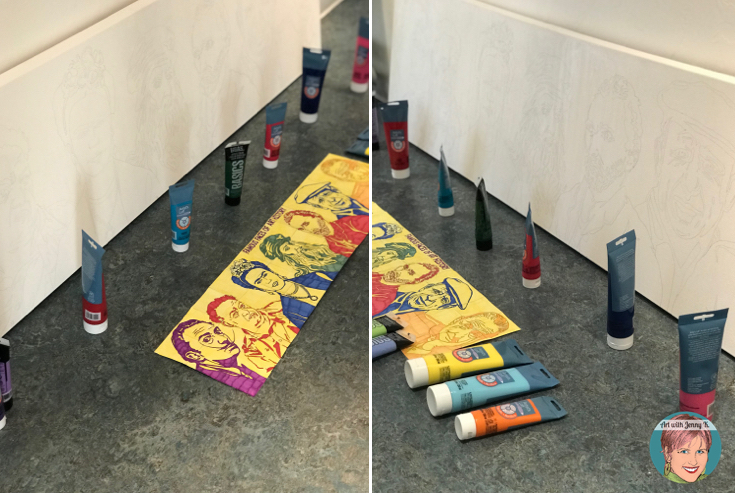
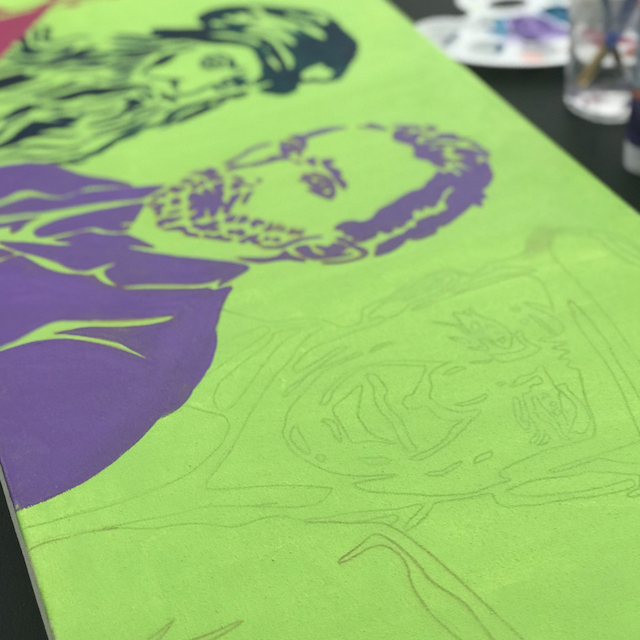
I planned my colors and experimented with how colors would look together on a small piece of canvas. I started painting the green background on the Dali portrait and then the purple (as seen in the video above). I quickly realized that this way of doing it was going to take forever and be tedious. So I decided to outline all my pencil lines with permanent colored markers, paint the entire canvas light green (right over the markers) and THEN paint each of the portraits. Since I chose a light green color, and since I had outlined the images with a permanent marker, I could see the lines through the background color – this made painting very easy (and more enjoyable)!
5. Display! I worked on this painting on and off for over 8 weeks. I was pleased when it was finally finished, and I could hang it up in my hallway (as seen at the end of my video earlier in this post).
There are so many ways you could adapt this for your own needs. I hope something in this post has inspired you to break out your art apron, paint and create something beautiful for yourself or your students!
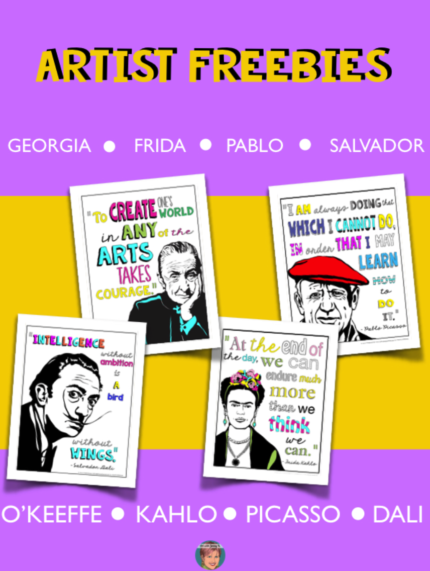
Email: Artist Freebies
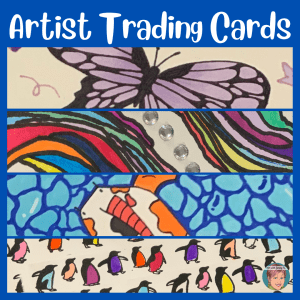
Sign up for my e-mail list and we’ll tackle creative teaching together. When you sign up you’ll be able to download these fun Art History coloring pages!
Thank you for reading – and for all you do for kids!
Jenny K.