- Canvas or paper
- Acrylic paint
- Paintbrushes
- Water cups
- Paper towel
- Palette (paper plate)
INTRO TO LANDSCAPE
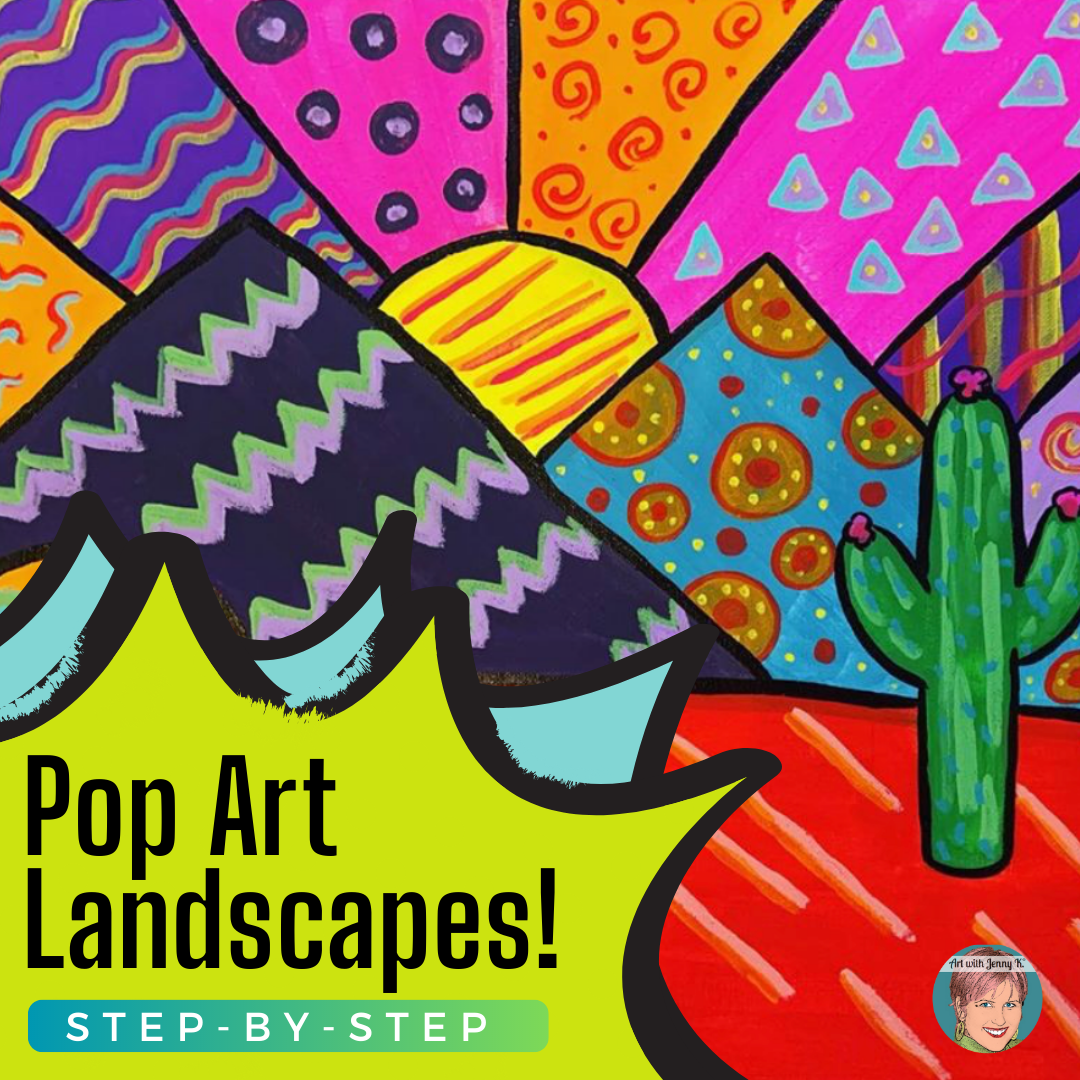
The Sonoran desert is a unique place where the famous saguaro cactus grows (the one with the arms). Did you know this type of cactus ONLY grows in the Sonoran desert? When people come to the Tucson area, they often expect, since it’s a desert, that it will be bare and flat. They are shocked when they see how green it actually is. Wildflowers bloom in the spring, and cacti get gorgeous flowers on them as well. It’s a beautiful place that teaches landscape in a perfect way.
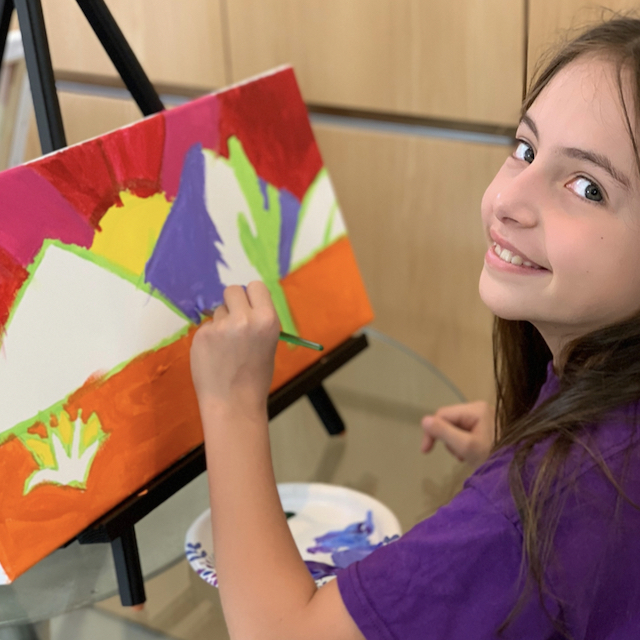
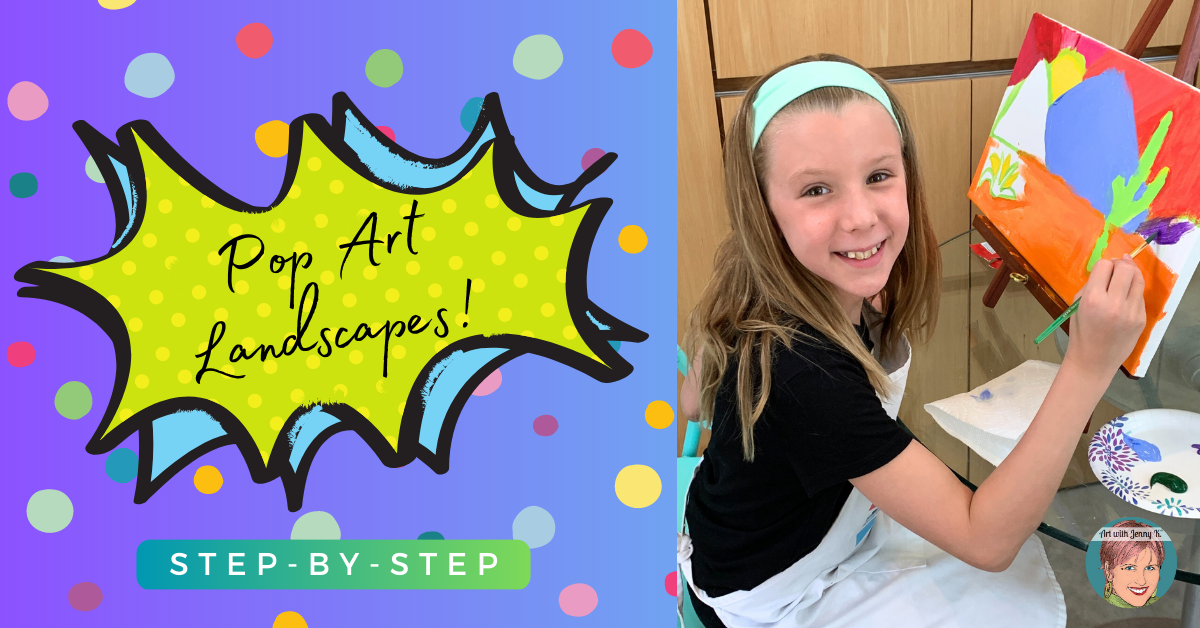
In this post, I’m going to share with you how my students and I created our Pop Art landscapes.
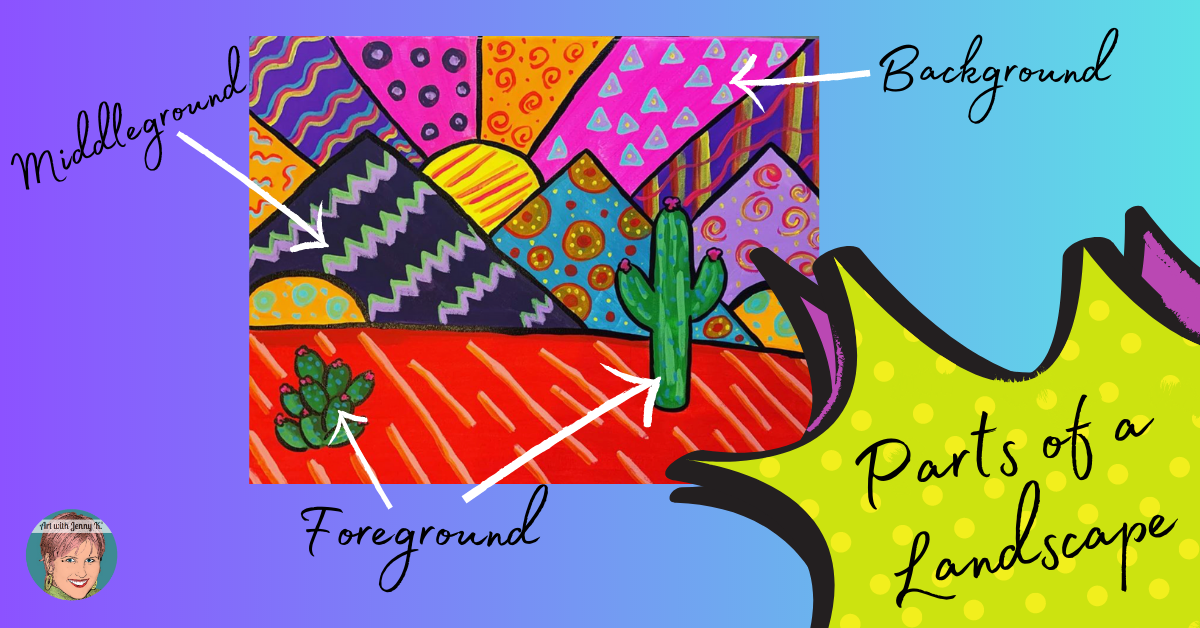
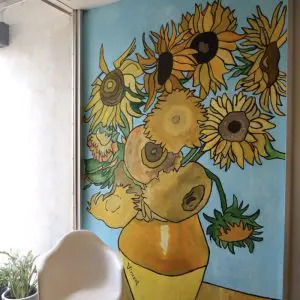
When you teach your students about landscapes, you’ll introduce them to the main parts of a landscape. Those are foreground, middleground, and background. To teach this concept, you might want to use my FREE Vincent van Gogh landscape lesson as an introduction to landscapes. You’ll find that lesson on TPT HERE.
1. UNDERPAINTING
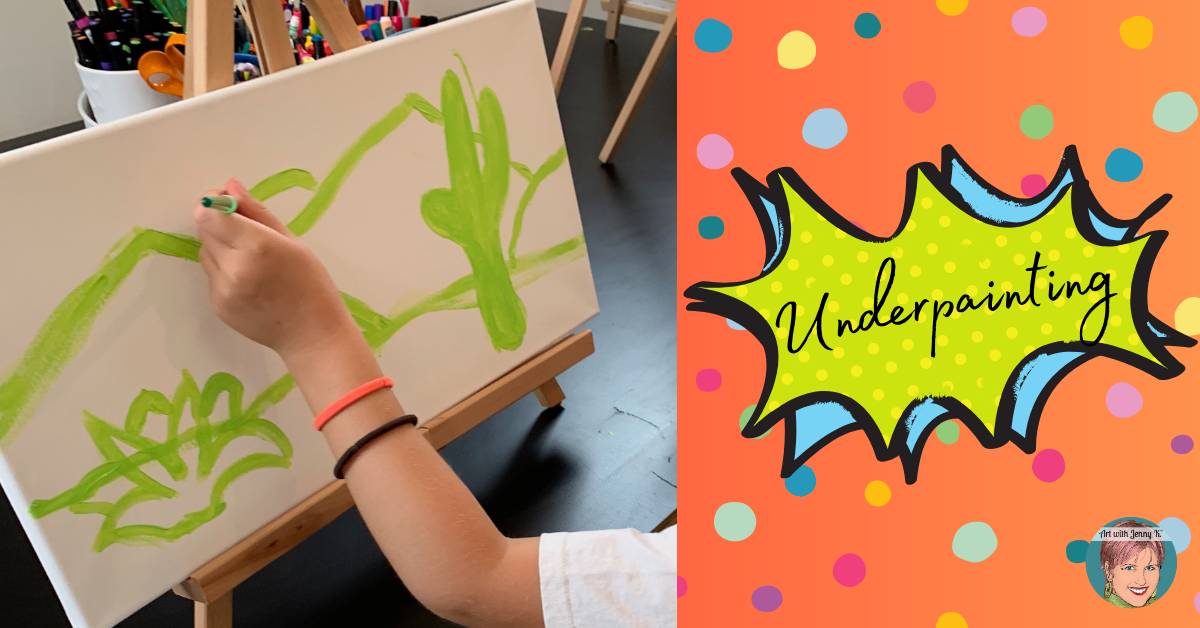
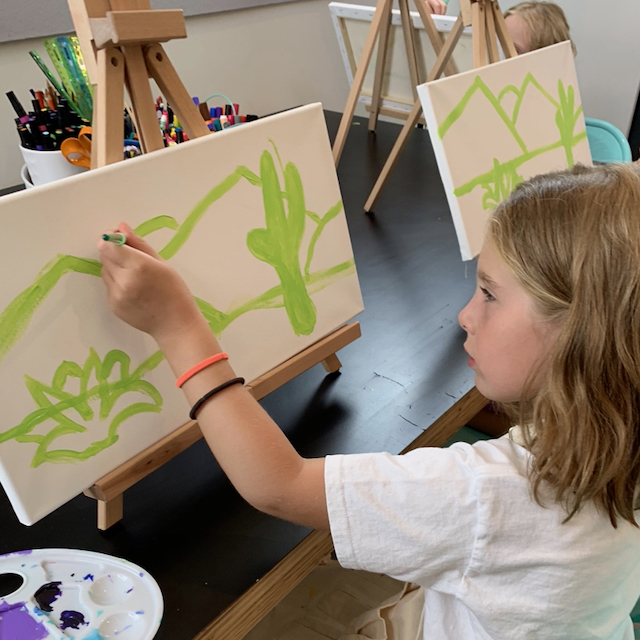
To start this project, have your students start using a light color like yellow or light green to make the underpainting. The underpainting helps them plan the shapes of the painting and will ultimately get covered up by darker colors of paint later.
First, your students will paint the foreground. Have them draw the horizon line about one-third of the way up from the bottom of the page. Then paint the cactus. A Saguaro cactus is a tall cactus with arms. They can paint a saguaro cactus by starting with their brush at the bottom of the painting and then painting it almost as tall as the top of the page. Then they’ll paint the other cactus closer to the ground.
Next, have your students paint the middleground by painting the triangle shapes of the mountains.
Finally, students will paint the background. The objects in a painting’s background are the things that look the farthest away in the painting. For this painting, instruct student’s to make a curved shape between their mountain peaks. This will be the sun. Then they can add lines across the sky for the sun’s rays.
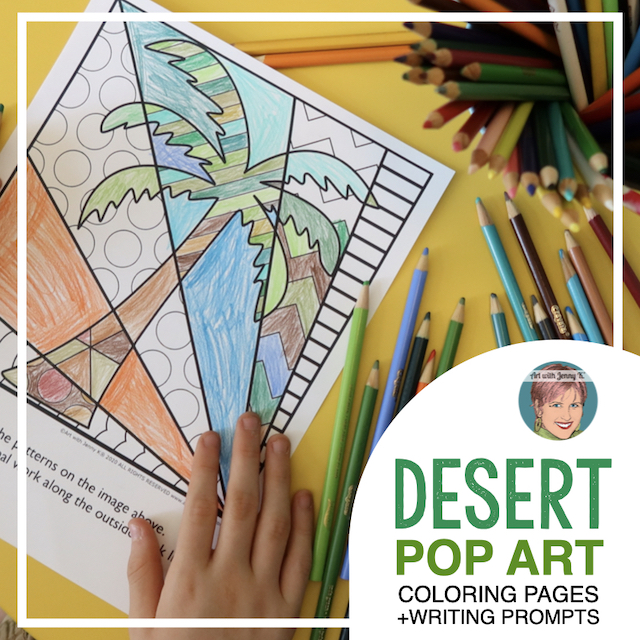
After you have done this step (and before the next step), try my extra credit Pop Art coloring pages (details at the end of this post).
2. ADD COLORS
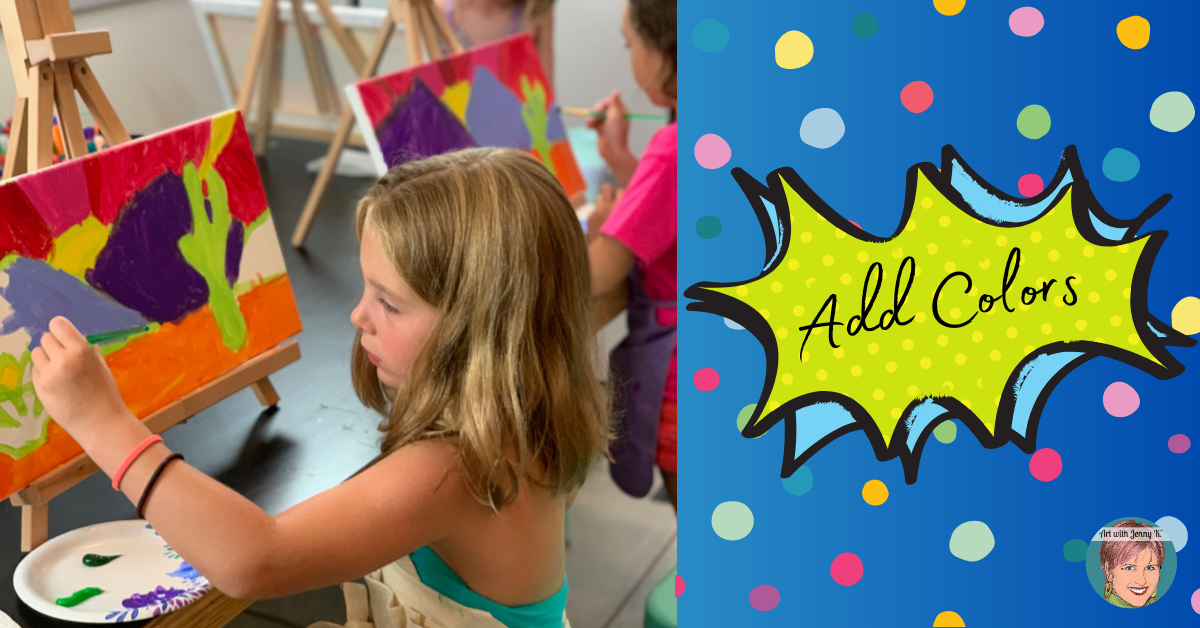
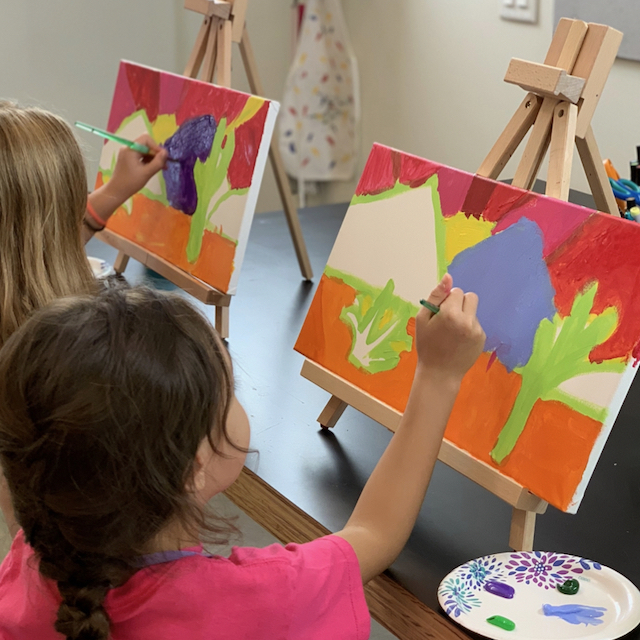
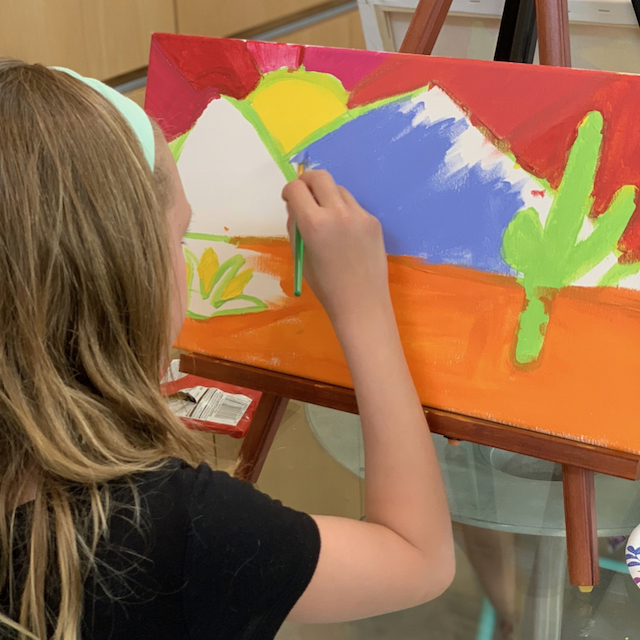
Now it’s time to paint over the underpainting. Instruct student’s to take the lightest color they plan to use (it’s probably the same color they were already using for the underpainting) and paint everywhere on the painting that is going to be that color.
When students start with the lightest colors and move to the darker colors, they keep their rinse water and brushes cleaner for longer. This saves you from having to help your students get clean rinse water multiple times during the project.
Pinks and reds work great for adding rays to the sun. Each cactus can be painted using different shades of green. Mountains are traditionally depicted in different shades of purple.
To get lighter shades of any color you’re working with, add white paint to your color. To get darker shades of a color, add some black to the color. Be careful when adding black. A little goes a long way, so only add a very tiny bit at a time.
3. ADD PATTERNS
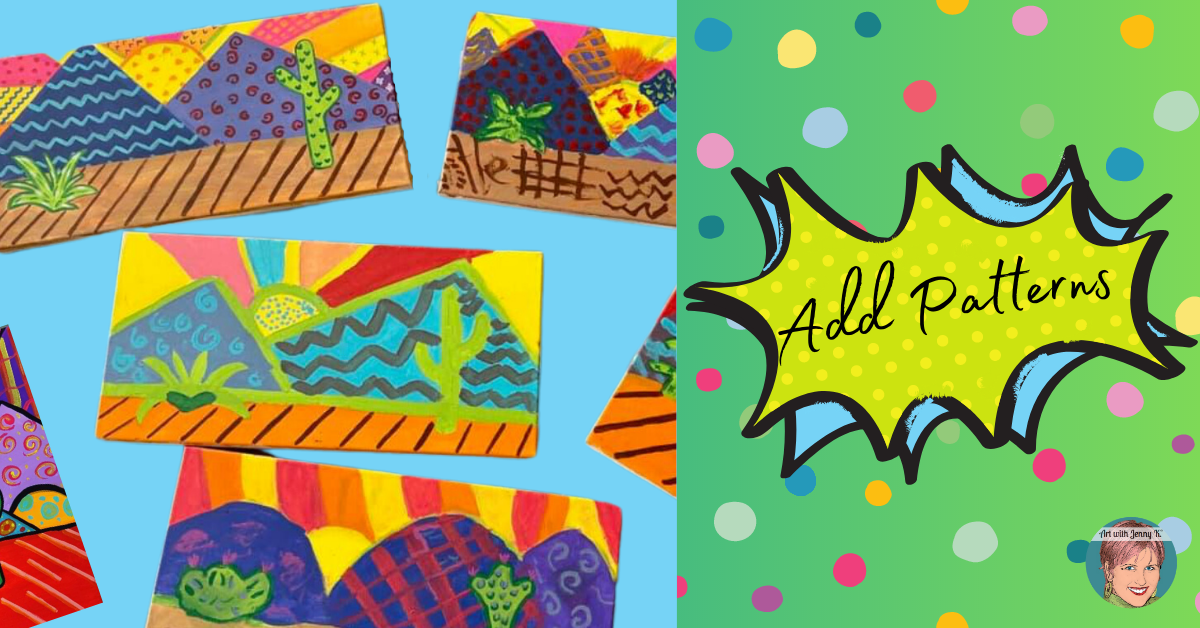
Once the paint is dry, it’s time to add the patterns on top. Students can paint directly on top of each of the different blocks of color in the painting with polka dots, stripes, chevrons, or anything else they’d like. Once finished with this step, you’ll have paintings full of fun colors and beautiful patterns.
4. OUTLINE
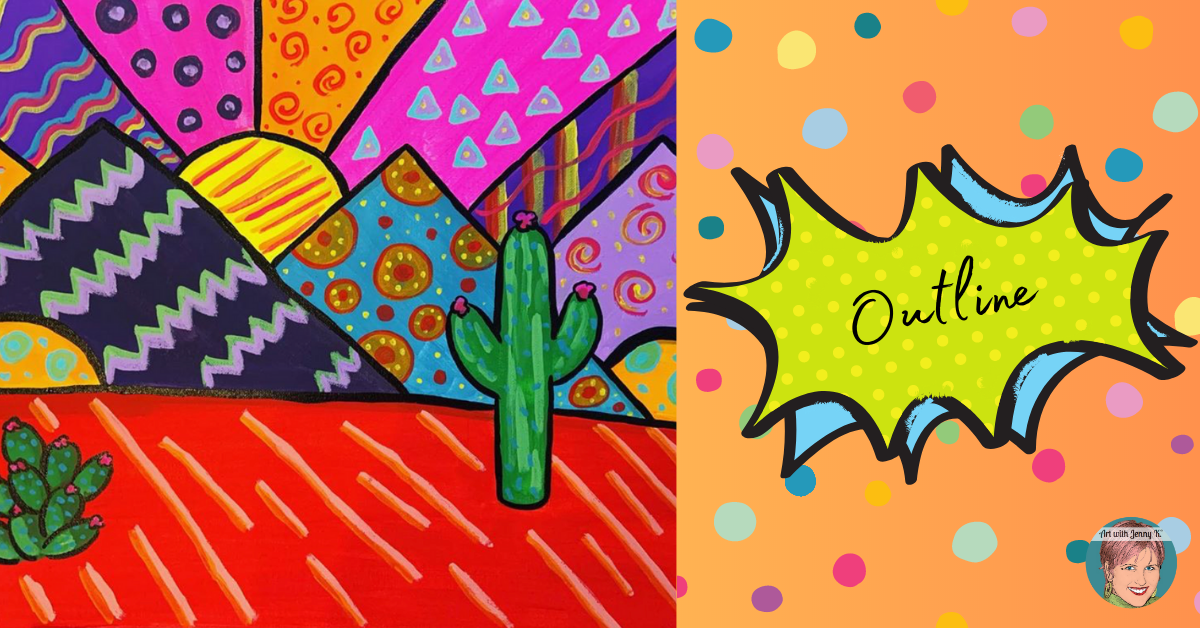
The final step is to outline each of the main shapes in the painting with black paint. This will make all the parts of the landscape show up clearly. Be careful to only do this once the patterns are dry so they don’t smear. Some children might find it hard to control the paint and may opt to use a permanent marker to complete this step or choose not to make an outline at all. All of these options will look beautiful in the end.
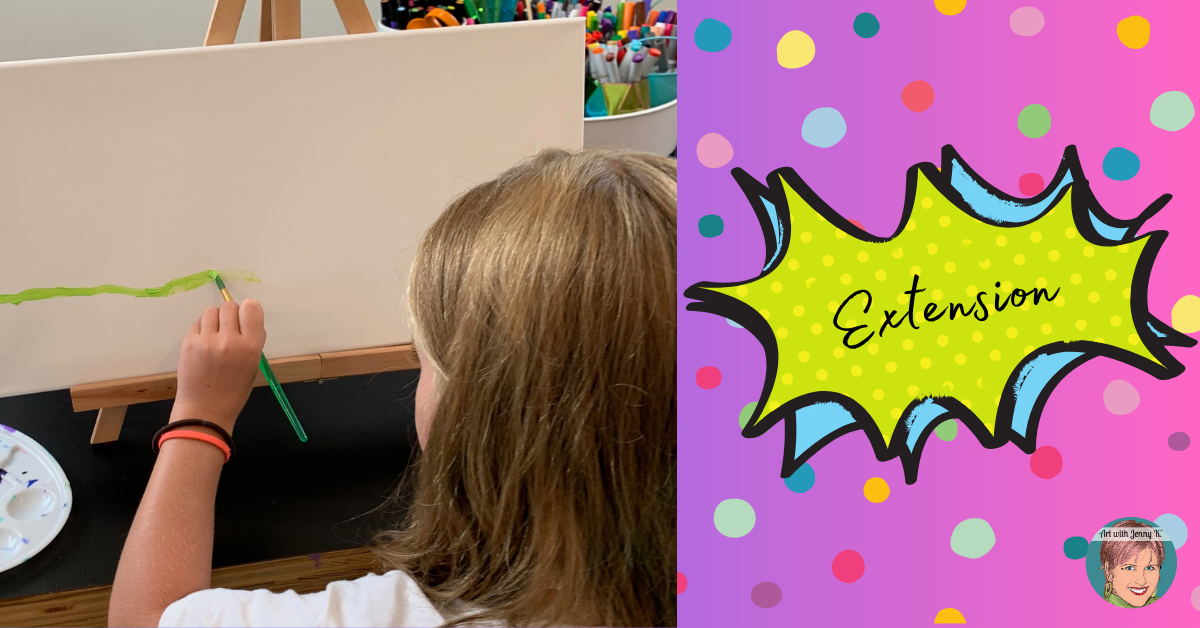
EXTENSION
Now that you know the different parts of a landscape, you can paint more for any place you go. Think about where you live. Looking outside your window, what would be in the foreground, middle ground, and background of a painting? Now try to paint what you see out your window.