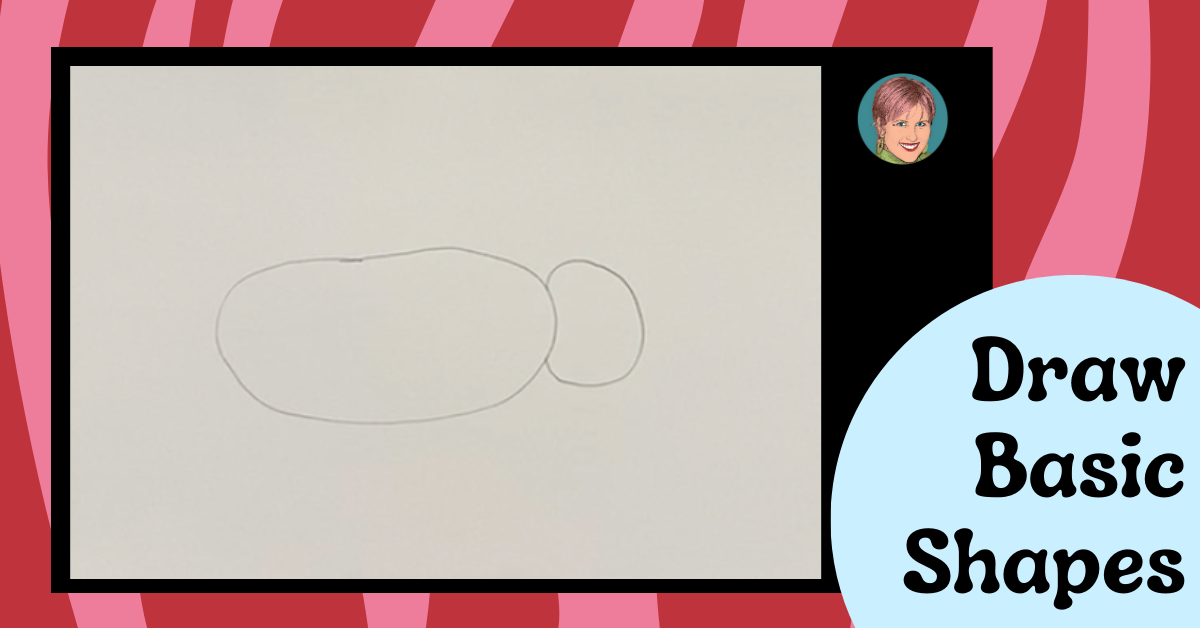
Start by first drawing a large oval in the middle of the page for the body of your chameleon. I recommend that you draw lightly so you can erase if you decide you want to. My students and I call this a “soft sketch.”
Also, be sure to leave some room for the tail of your chameleon. Then draw a circle for the head. A chameleon’s head isn’t circular. However, we will use the shape to get started, so again—draw lightly.
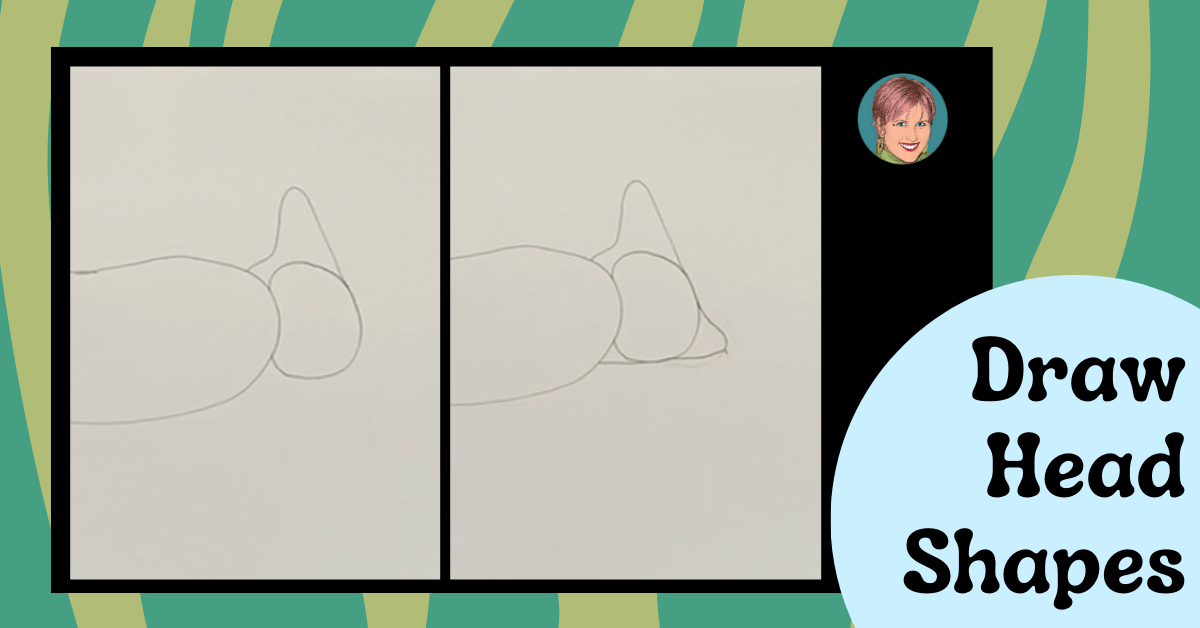
Then draw the head shape around the circle. You can do this in two parts, both starting at one end of the circle and then ending your lines over the place where the circle and oval meet.
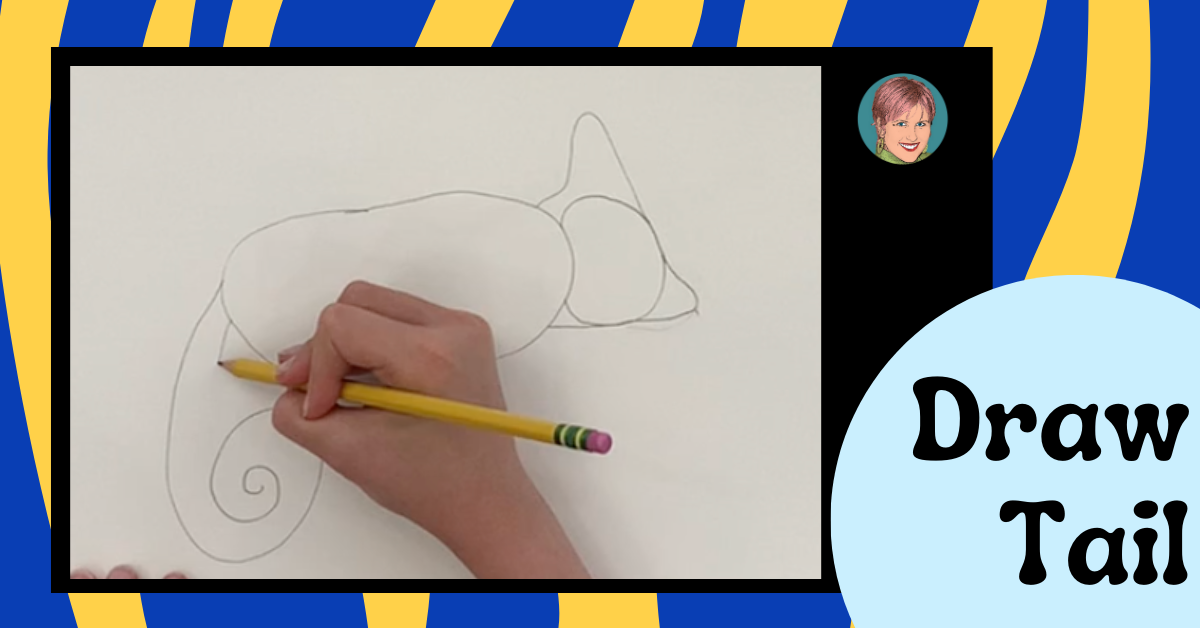
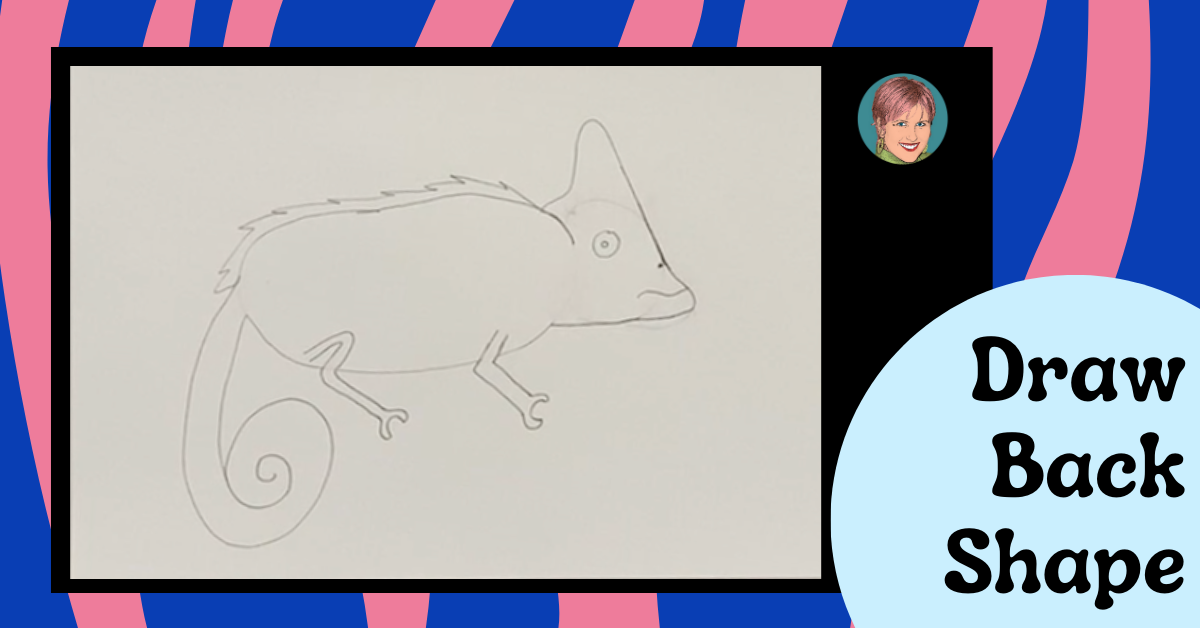
Next, draw the tail of your chameleon. To do this, start at the back of the oval, drawing your line down and swirling it at the end. Then draw a second line connecting the spiral to the back of the body.
Now your drawing is starting to have some signature chameleon shapes!
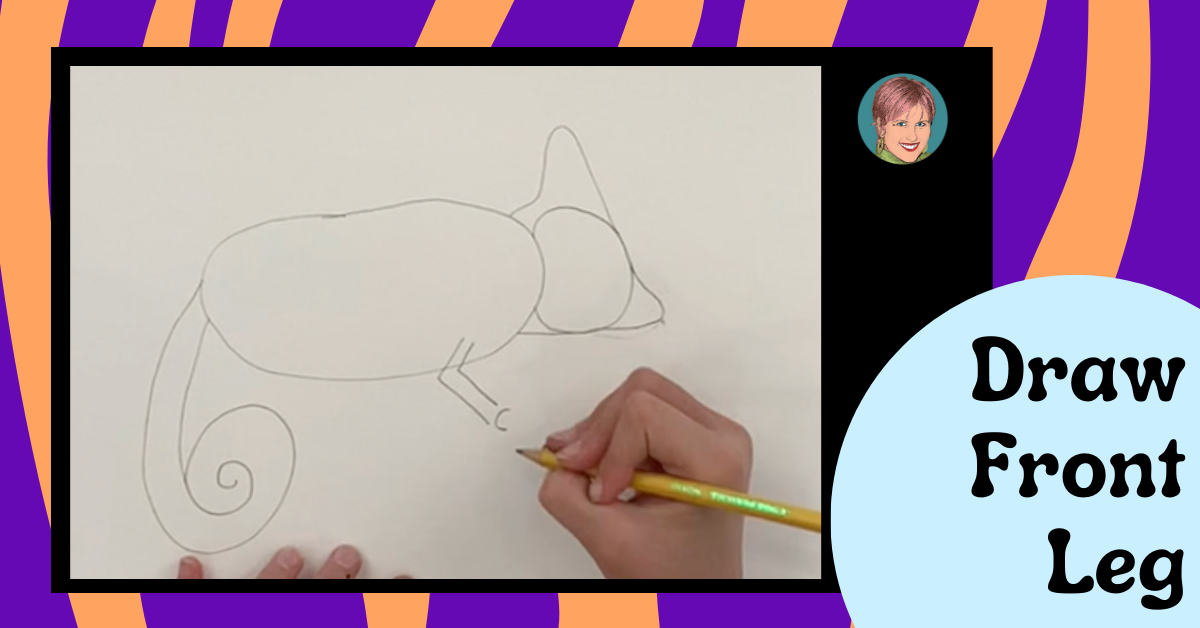
Let’s keep going drawing a chameleon — draw the front leg by drawing two “L” shapes parallel to each other. Then draw a small “C” shape close to the leg lines and finally connect the ends of that shape to the arm (you can see the finished front leg in the next picture).
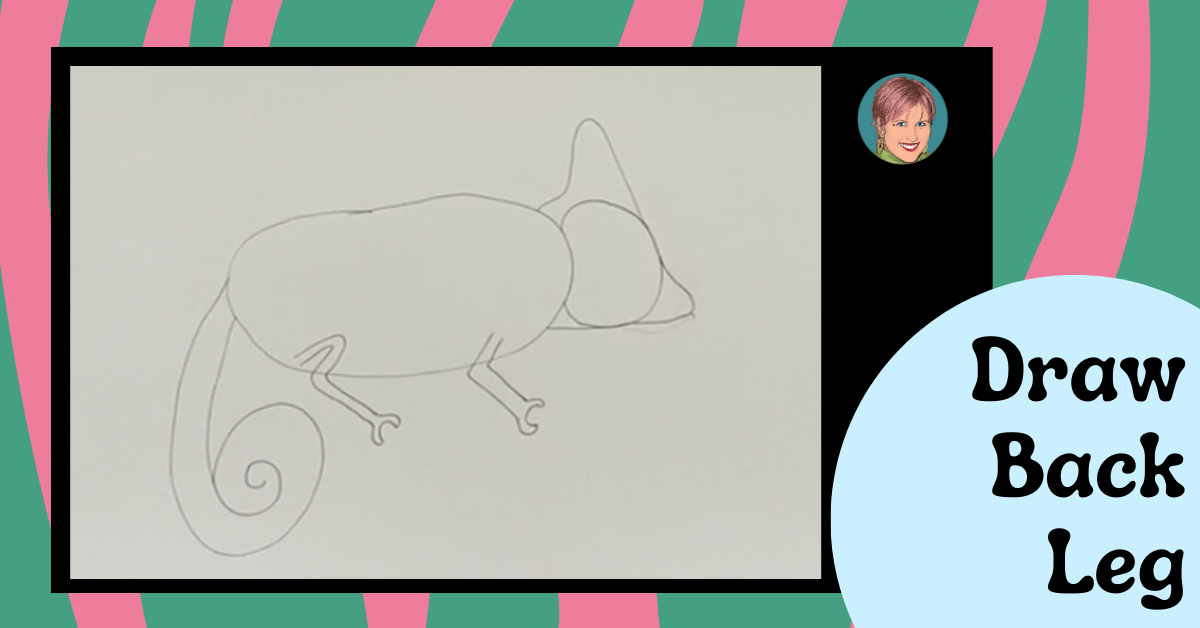
To draw the back leg, draw a line that goes—up—down—then out. Then draw another line parallel to it. Finally, draw and connect a “C” shape for the foot like you did on the front leg.
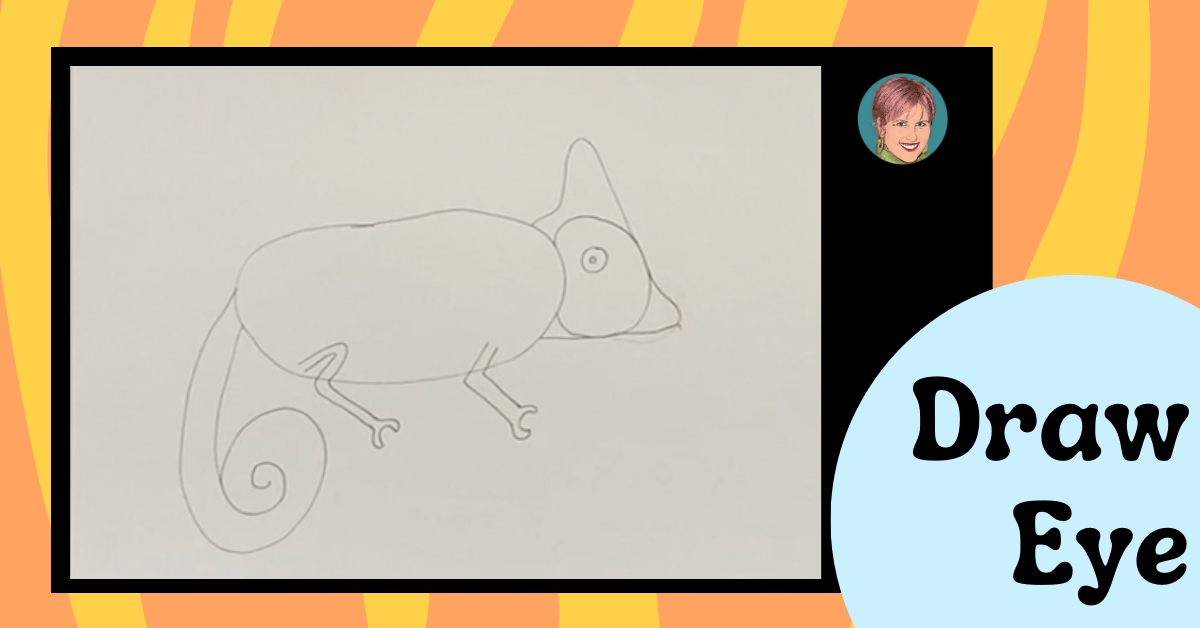
Chameleons have some very signature features. Their eyes are one of them! So, let’s be sure to add an eye to our chameleon drawing. To do this, draw a larger circle with a smaller circle (concentric circle) inside of it it.
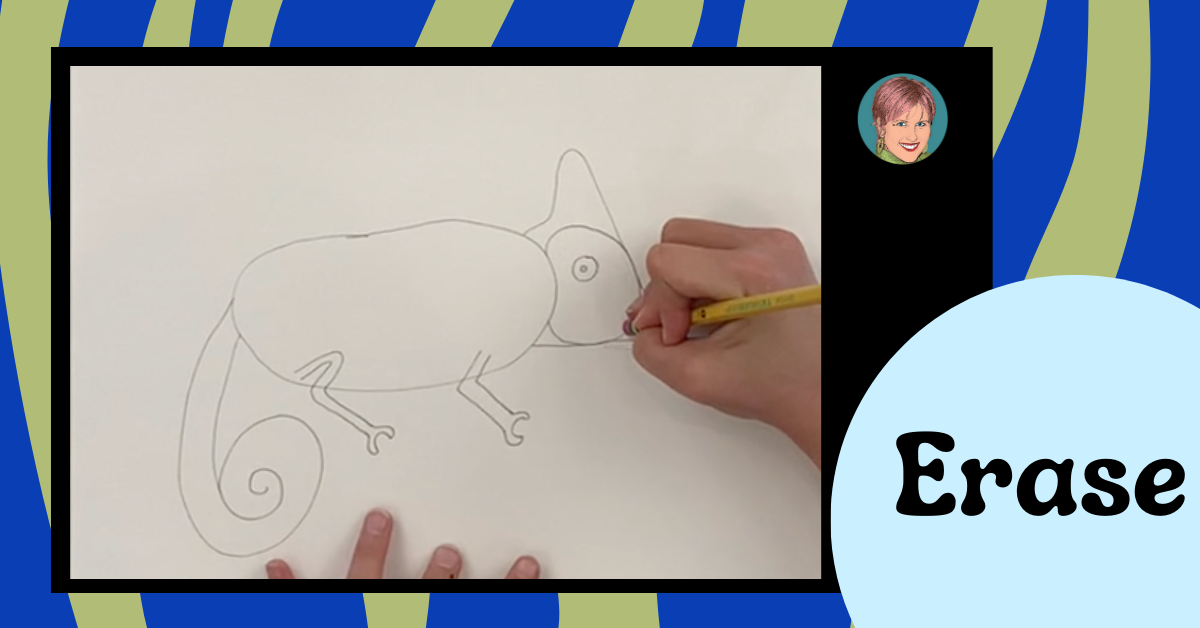
To get the head right, we will have to erase a few lines. A lot of times, when you’re learning to draw, you will use basic shapes to start your drawing and then go in and add more details before erasing the guide shapes.
To get some of your guide shapes to go away, you’ll want to start by erasing the circle head that we used to guide our proportions. Then, erase the part of the body that connects to the head (see the next image). Hopefully, you drew lightly and can easily erase your lines. If so, then you’ll want to draw over your final lines so that the head and body are one shape.
Next, erase the line where the tail and body meet. Then, erase the lines where the legs cross over the body oval. This will make it look like the legs are in front of the body.
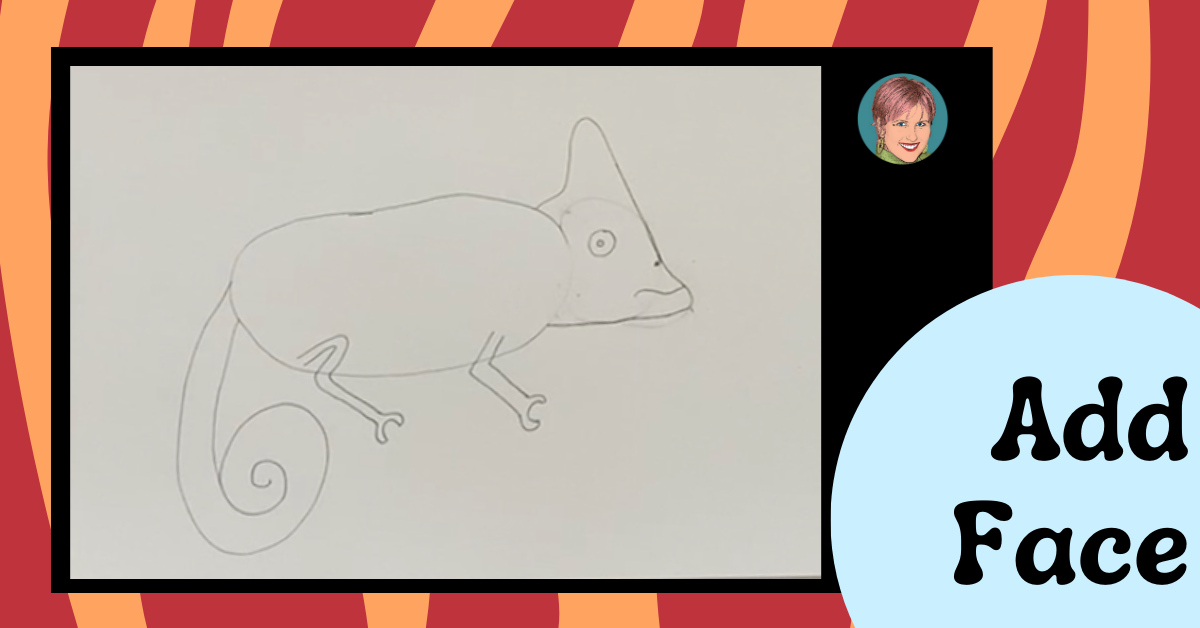
Your chameleon has an eye, but you’ll need to now add a line for the mouth and a dot just above it for the nose.
Wow—did you ever think a chameleon had so many signature features? Draw a jagged shape that goes along the back of the chameleon. This is going to be a zig-zag line.
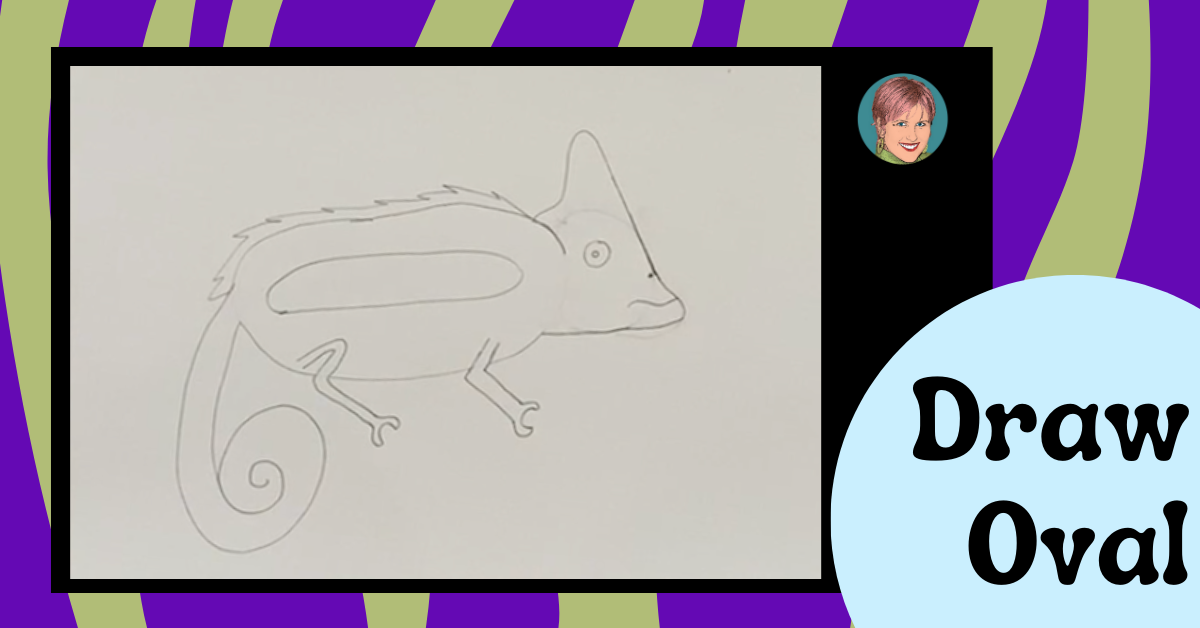
Then, draw an oval in the center of the body.
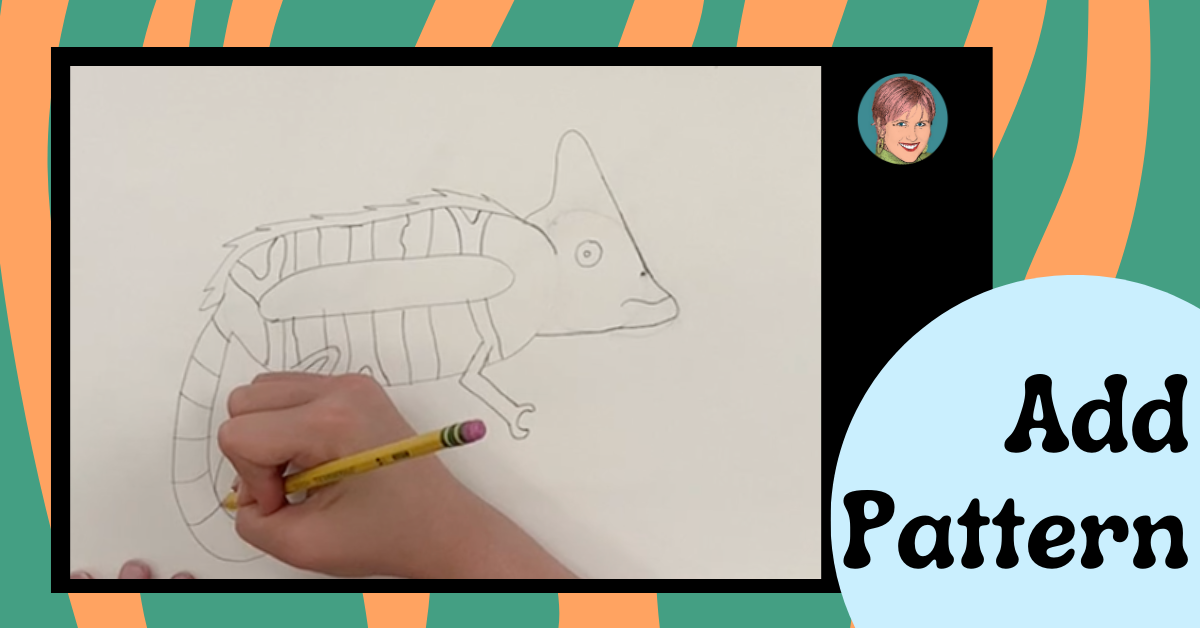
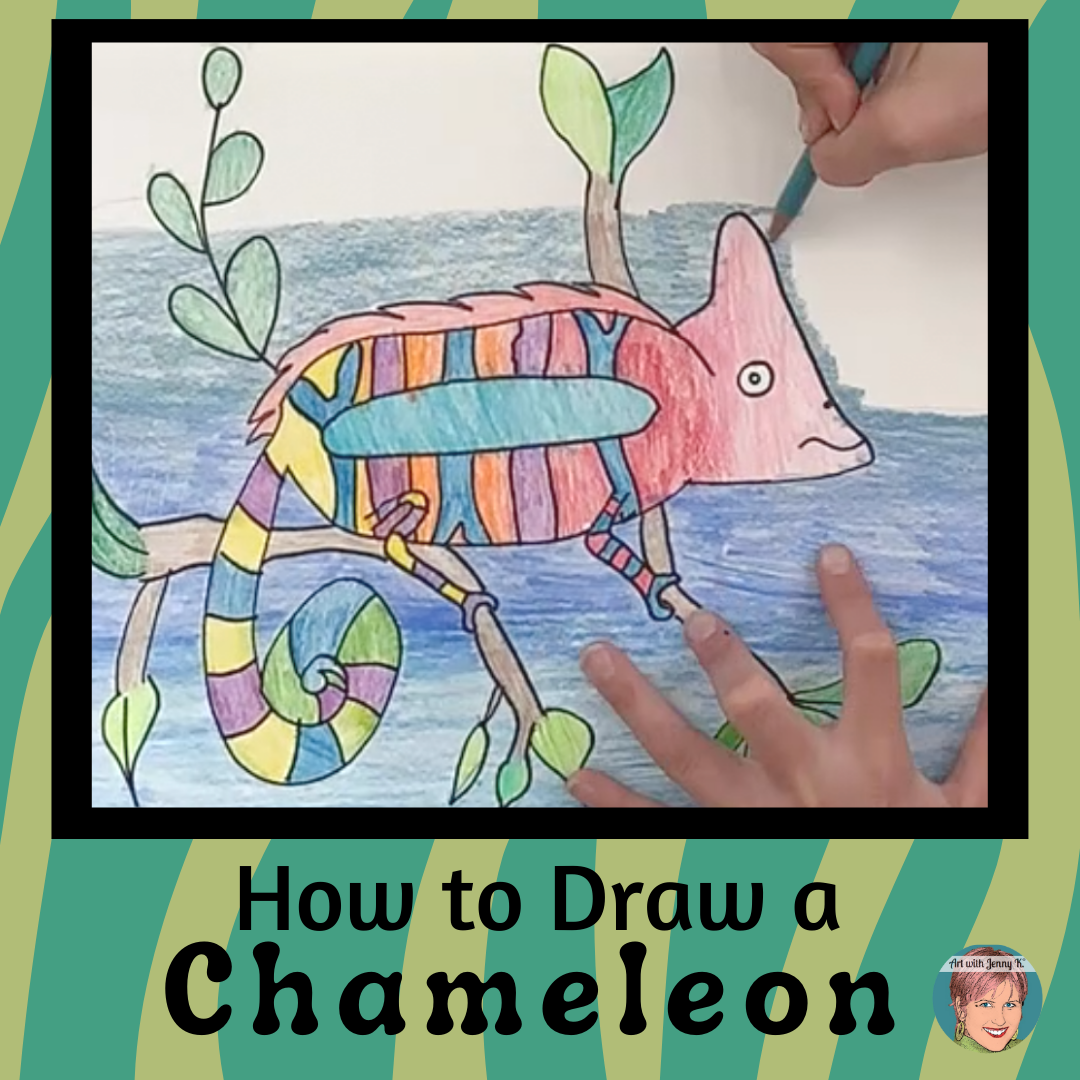
This part is so much fun. For this step, add a design around the oval. My students and I all gave our chameleons stripes, but you can use any design you like. Don’t forget to add the design on the tail and legs.
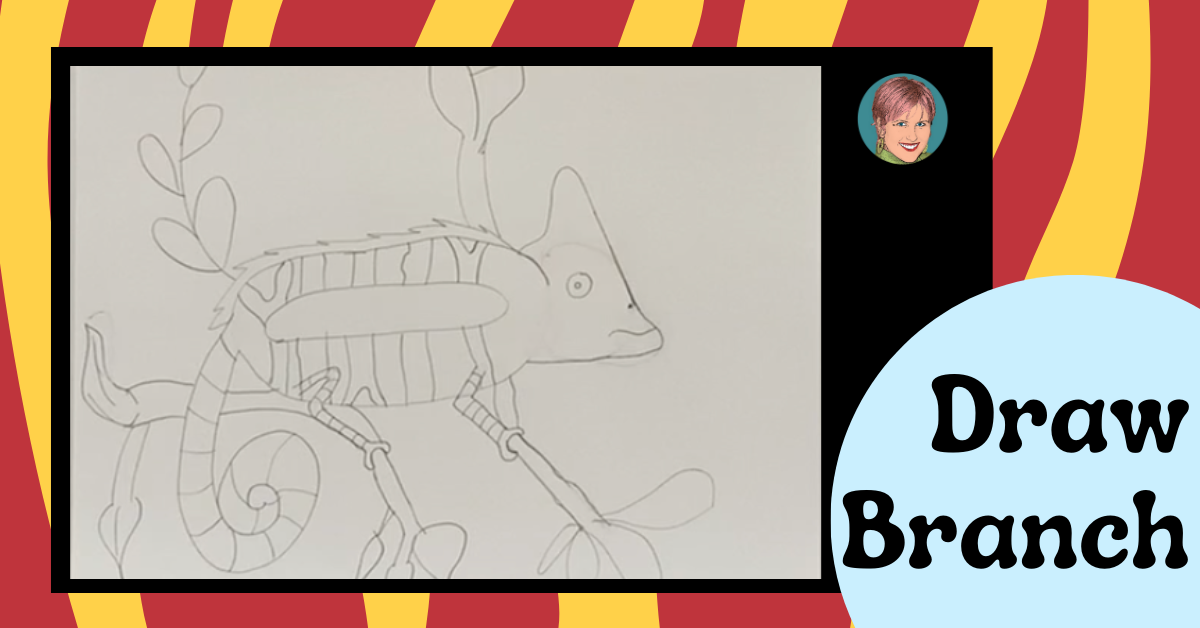
Next, draw the chameleon in its natural habitat. Start by drawing lines in the feet for the chameleon to be holding onto. Then, use your imagination to fill in the page with leaves and decorations—there is no wrong way to do this step. Have fun and let your imagination run wild!
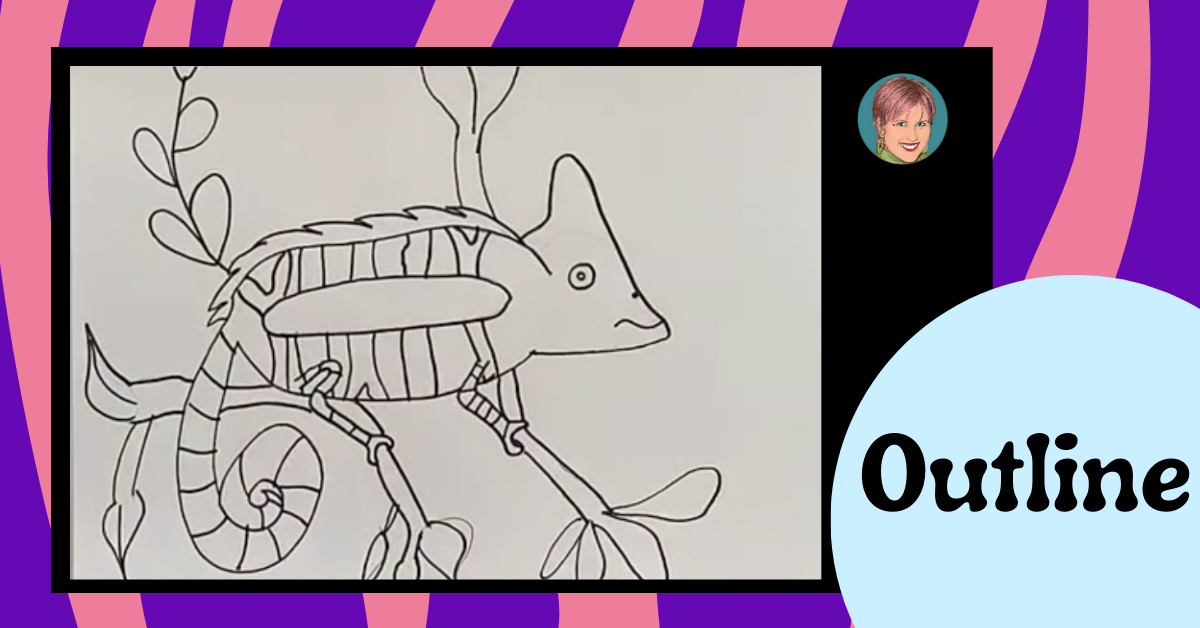
This step is optional. However, I think it helps make your drawing stand out. It’s also nice if you are going to use watercolor paints. Use a permanent marker to go over your pencil lines to define them—this will help remove any of those lines you erased, once and for all.
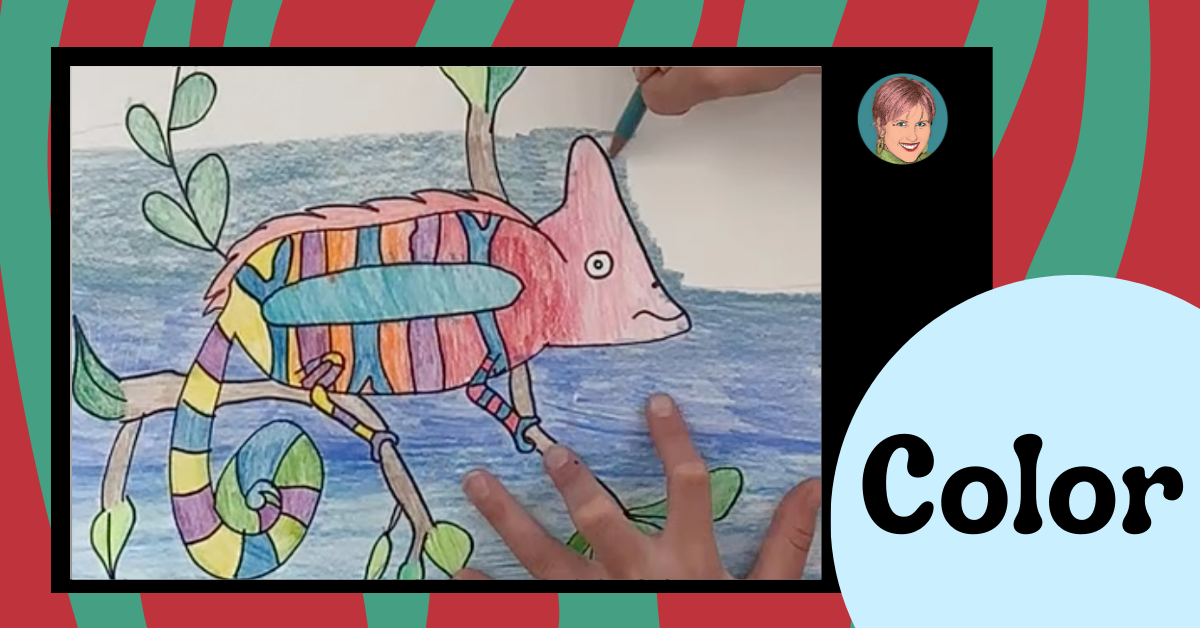
Finally, using your colored pencils or your medium of choice, color your chameleon however you like. Chameleons are so fun to color because they naturally have so many bright colors. Feel free to be bold with your color choices.


Purchase on Amazon!
Purchase on Amazon!