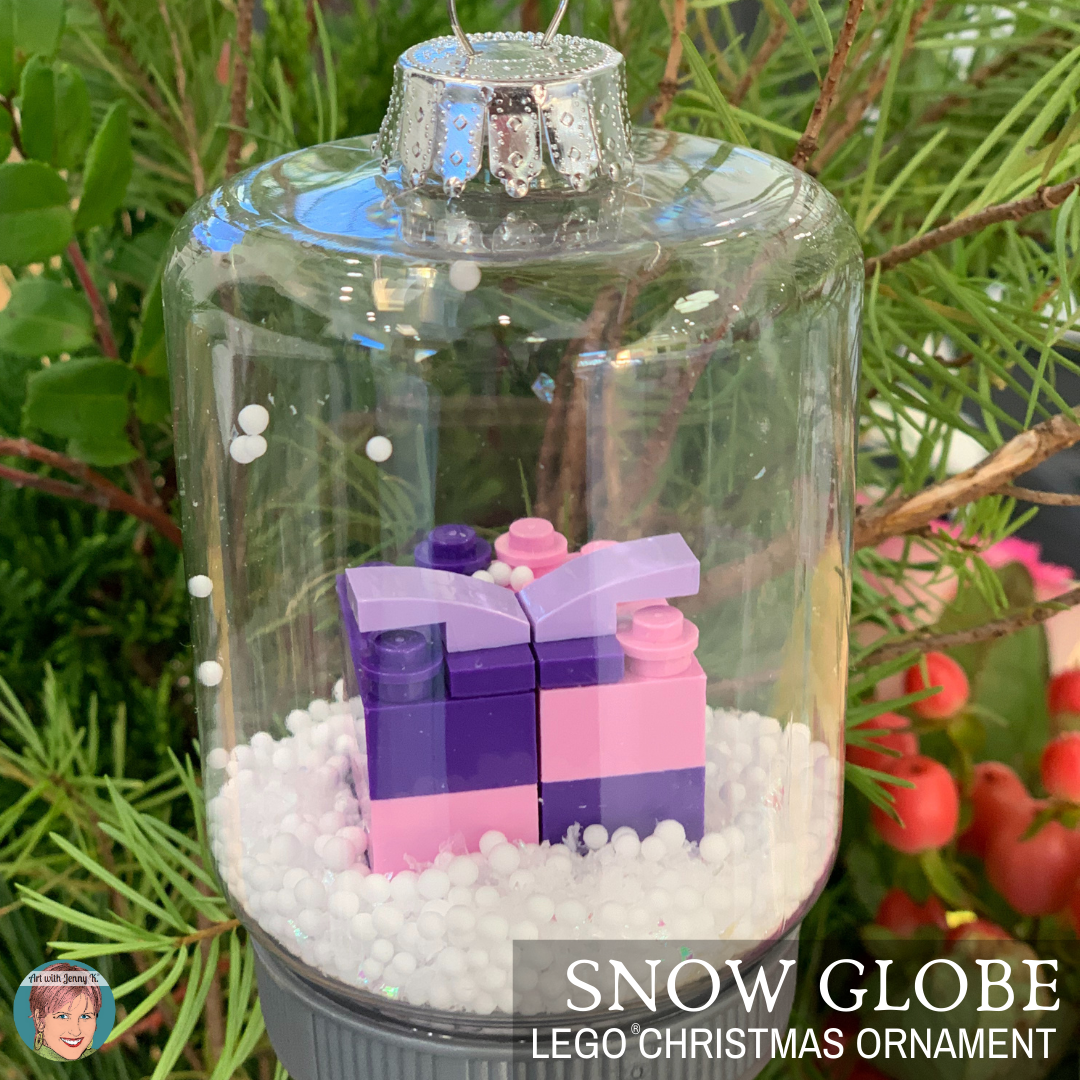
Sometimes, ideas come to me in pieces. Part of an idea will come at one time and the rest later, which seems like an appropriate way to have come up with this LEGO® Christmas ornament snow globe project—one piece at a time!
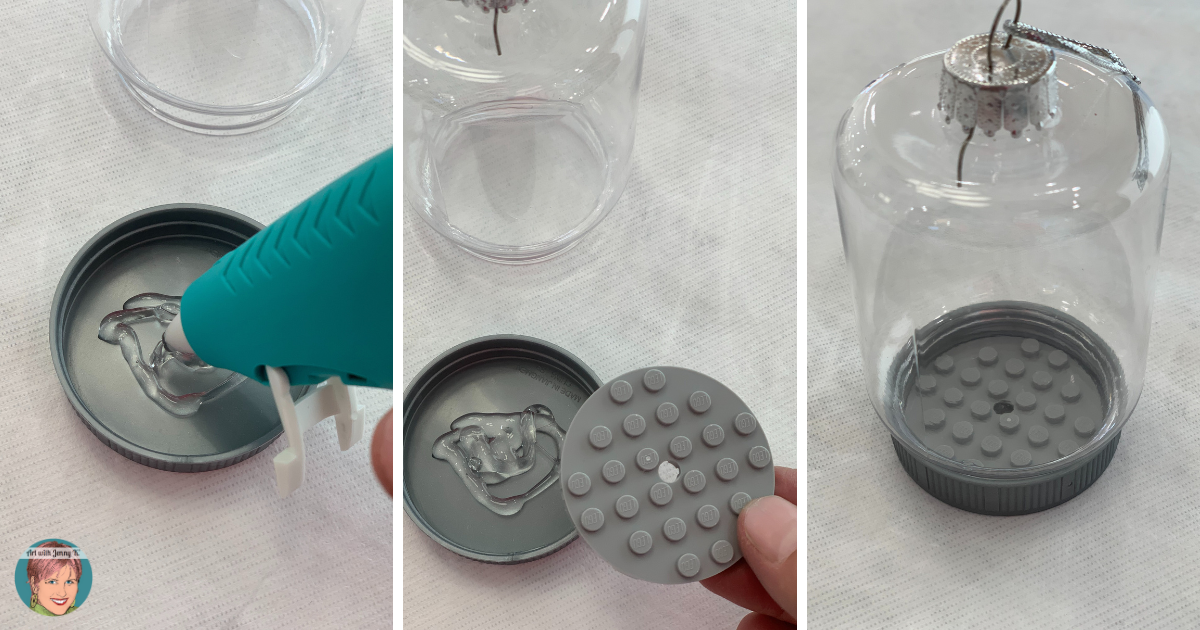
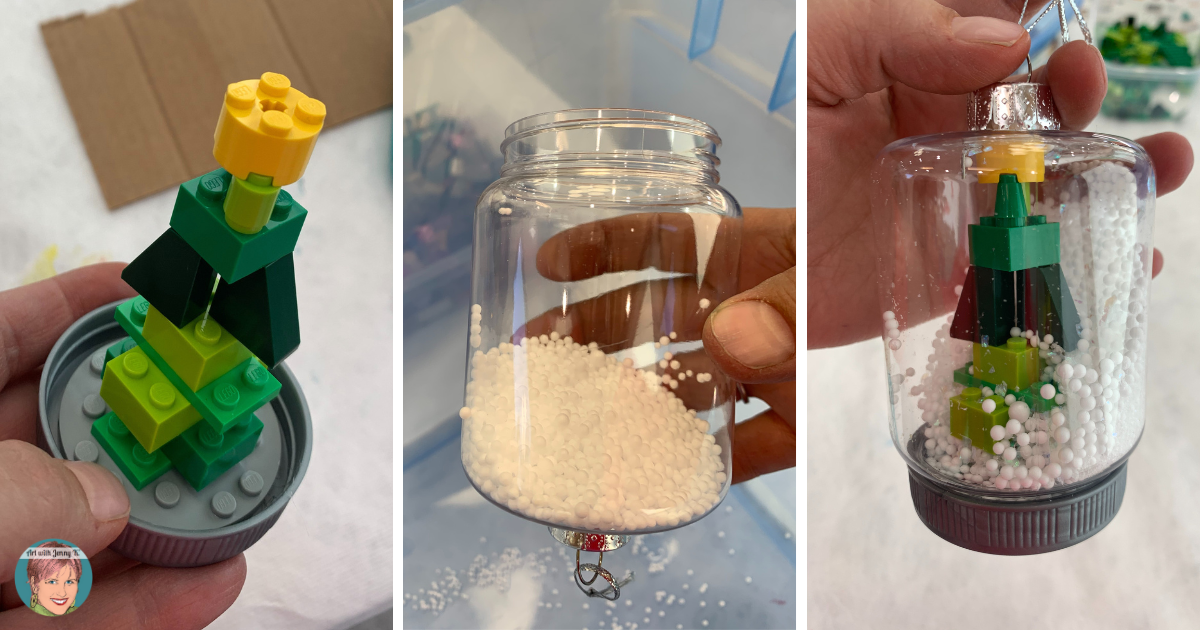
First, remove the top from the “bottom” of the snow globe ornament and see if you can find a flat LEGO piece that will fit into the top. Then, hot glue that piece into the top. This will give your students a base to build upon when they create their LEGO Christmas ornament design, and then it won’t fall over after they make their piece.
Finding the LEGO piece to fit in the top might be the hardest part, depending on what supplies you are using. I searched and searched for the right round LEGO piece. Then I gave up and asked my husband to search for me. Well, of course, he found them on eBay in like 5 minutes!
So, if you aren’t able to find round pieces to fit in the bottom of the snow globe, you could have your students create their LEGO Christmas ornament design first. Then, hot glue the bottom of their design to the bottom of the snow globe. This would be an easy workaround for this step.
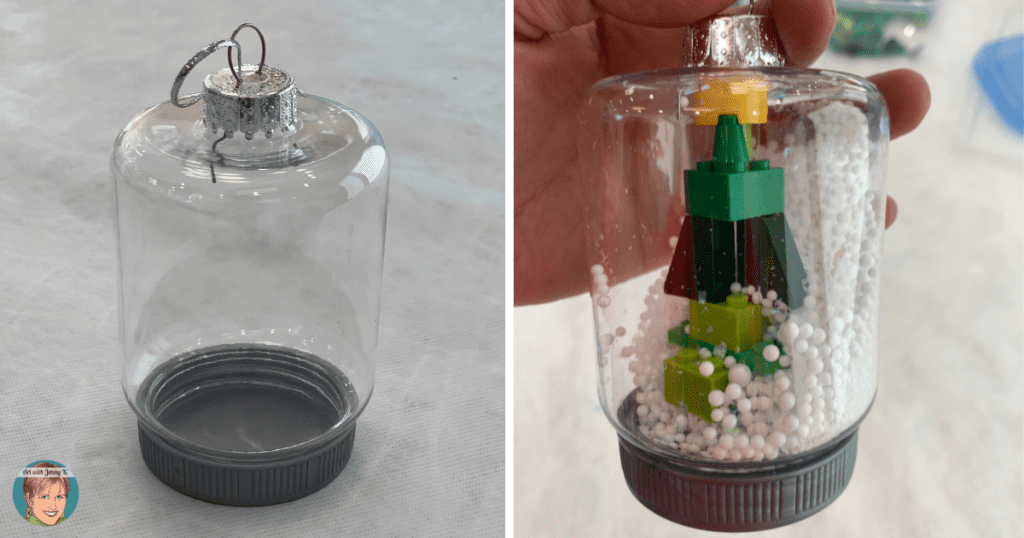
Make sure that you have the snow globe for your kids to use while they are designing their LEGO Christmas ornament. This way they can keep checking to be sure it fits and isn’t too tall or wide. I had to remind my students several times to keep checking to be sure their design wasn’t too big and that the globe would still fit on top.
Also, it helps to have the “snow” that the kids are going to add to their snow globe ready for them.
That’s really all the prepping that you need to do because the kids then bring the magic to this project!
This styrofoam “snow” is messy so I used a large storage bin to pour into the individual snow globes. This way, any that fell out would fall out into the bin, and not all over the room.
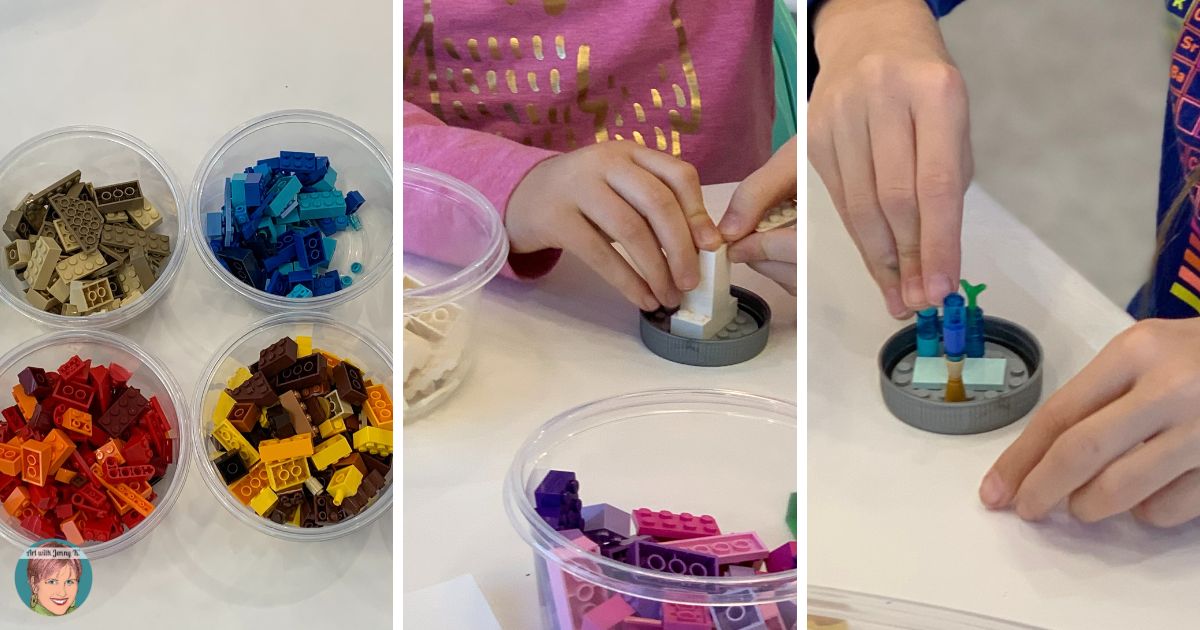
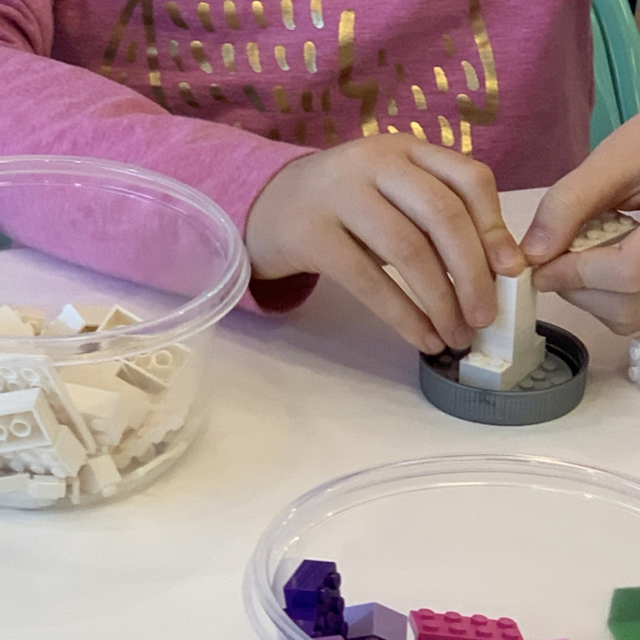
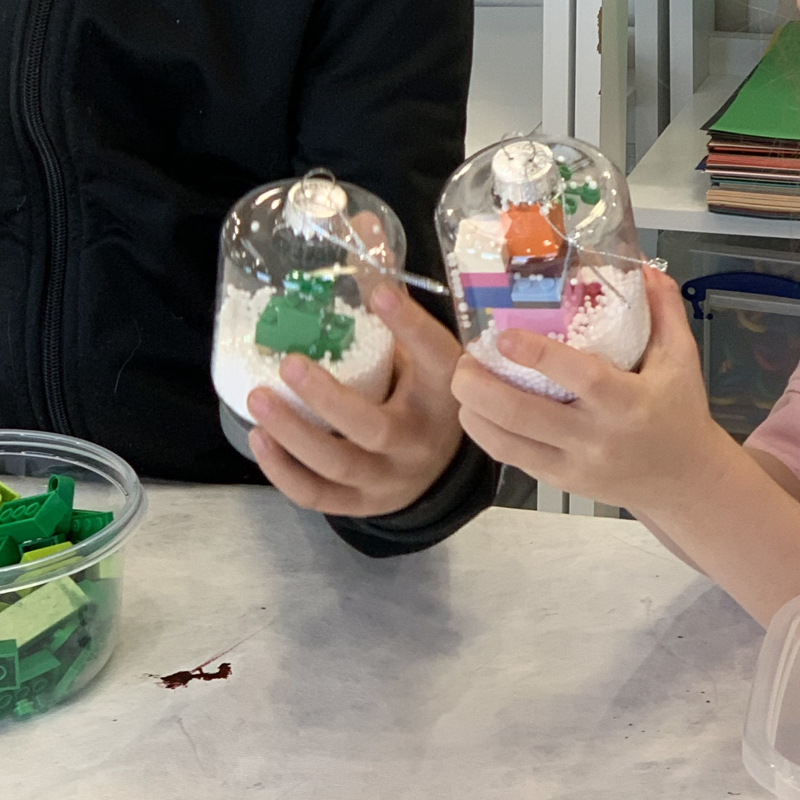
Have your students or children at home design their LEGO® Christmas ornament piece after you have the globes prepped and ready to go.
Here is a list of things I suggested that children could make.
And that’s really all the instructions that they needed. They were eager to start and get down to it!
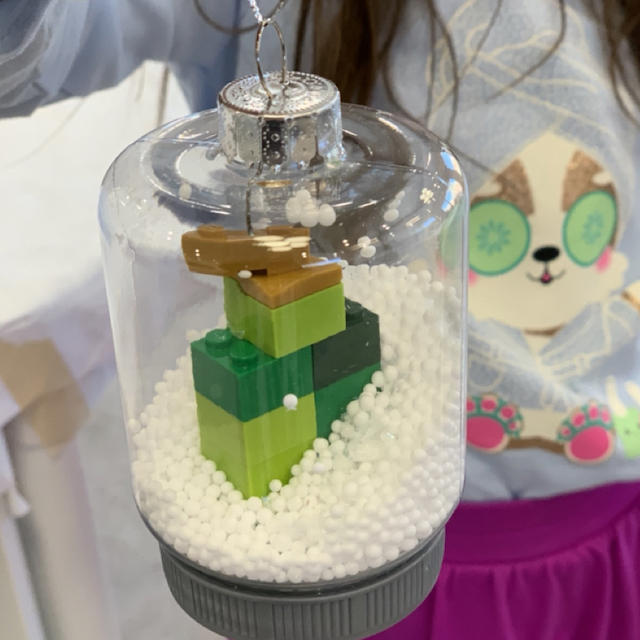
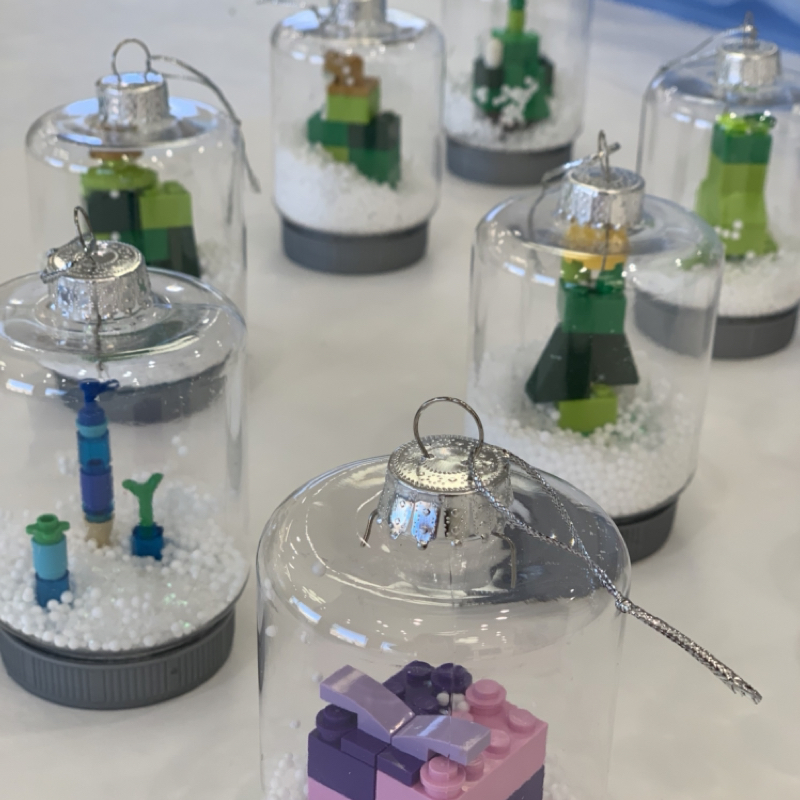
Here are some examples of the Christmas ornament snow globes that my students made.
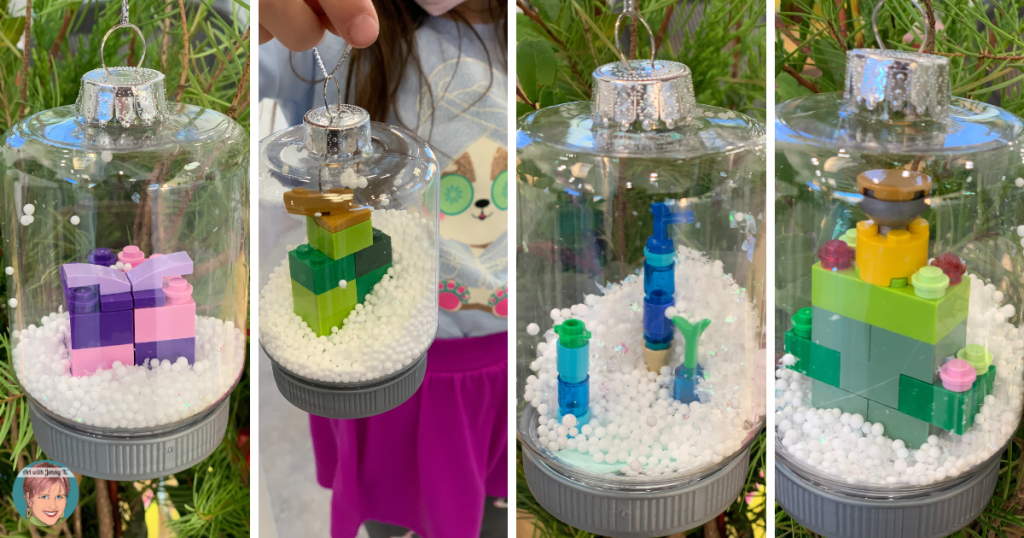
I think you’ll agree that the kids did a pretty great job with this project! I can’t wait for their families to hang these on their trees and cherish them for years to come.
Thanks for reading and for making art with your kids. If you want more DIY Christmas ornament ideas, I have an entire blog post with lots of other ones. You can check it out HERE.
Thanks for reading,
Jenny K.
If you do this project, please tag me on social so I can see it. You’ll find me on Instagram, Twitter, and Facebook at the handle @artwithjennyk.


Purchase on Amazon!
Purchase on Amazon!